In April 2018 I decided to try making my own garden flags. I taped down cotton cloth on cardboard with masking tape, then used acrylic paint to completely cover the cloth.

Once the paint was dry I hemmed the flags and sewed in the top channel so they could hang on my garden flag pole.
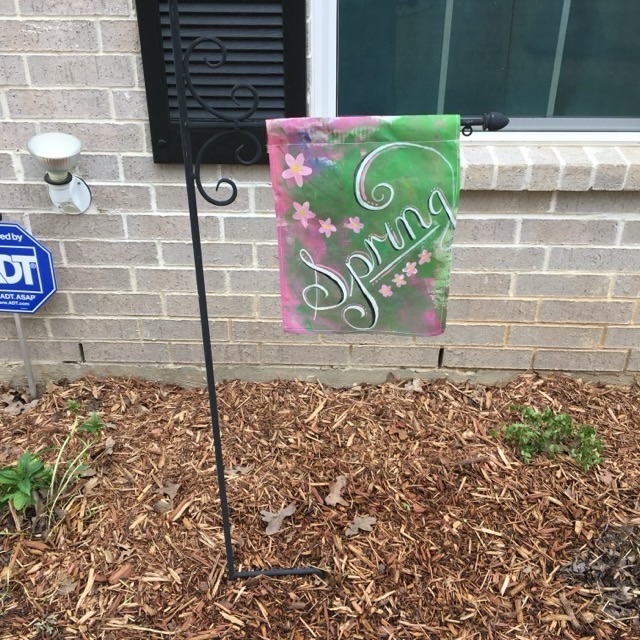
These flags held up remarkably well. If I were to make them again, I would be sure to iron the fabric before taping it down, and sew the pocket at the top wide enough to accommodate the loops that are on my holder. In summary, iron the fabric, and measure twice, cut once, which is good advice for most projects.