Zelda cosplay part 6

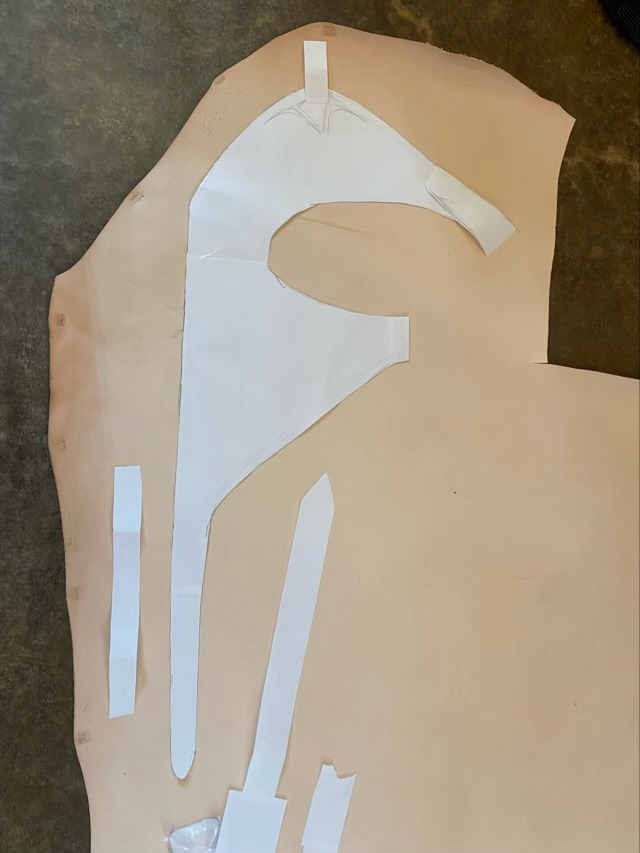
Yahaha! I’m not done making Zelda cosplay pieces! Yay! I also jumped on the opportunity to make some leather armor for a Link costume. I cut pattern pieces from paper for the fitting, then cut the leather using the paper as a guide. The leather is vegetable tanned tooling leather 3/4 oz, which is thinner than typically used for actual armor, but is suitable for cosplay where it is better to be light weight.

Photo description: paper patterns laid out on a side of tanned leather

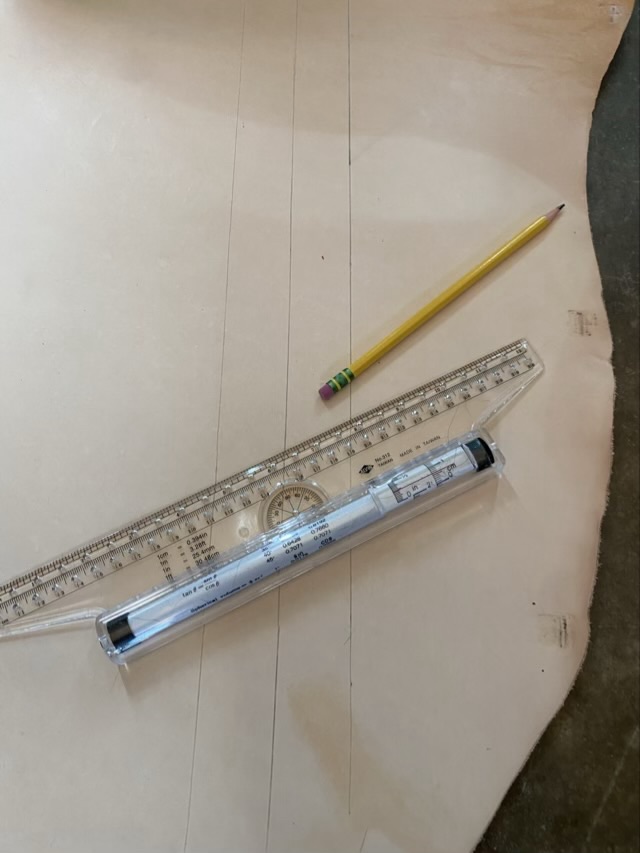
I used my rolling ruler to lay out strips of leather for belts. It isn’t as precise as a strip maker, but worked better than I thought it might.

Photo description: rolling ruler and number 1 pencil on a side of leather marked with pencil lead

3/4 oz leather can be cut easily with kitchen shears, which also makes it nice for cosplay applications.

Zelda cosplay part 5

The reveal! Here is the full Zonai panel for Zelda from the Tears of the Kingdom game.

Photo description: Cosplay outfit from Zelda Tears of the Kingdom with green under dress, off-white gathered over dress, and newly created front panel made of EVA foam sheet, acrylic paint, and silk

The jewelry panel is pinned to the silk with straight pins, because the EVA foam is easy to pin. The silk panel is safety pinned into the white dress that is a reused element from a previous Halloween. I sewed on the gold chiffon fabric the last time it was worn so that the dress wasn’t strapless. The under dress was my grandmother’s and is the same blue/green silk as the panel, but with a silver thread overlay pattern. I did sew knit side panels on that dress so that it had some breathing space.

Photo description: jewelry panel lifted from the silk panel to show they are different elements and not just painted on

And not so say that I have an impressive craft stash, but I bought very little for this assembly. Everything was reused or repurposed from previous projects. I did need to buy antique copper acrylic paint because I ran out, and as long as I was getting paint, also picked up a metallic dark green, which was a good choice for an under layer of the patina.

Zelda cosplay part 4

The bottom of the Zonai banner for my eldest’s Zelda Cosplay outfit was a challenge. In the images it looks like triangles hanging from the bottom of the panel. My jewelry cable method wouldn’t work because I would need to crisscross the wires, or bend them. I needed a way to attach them as if they were a whole fabric. Hm. Netting to the rescue. I cut the triangles from EVA foam sheet, painted them with pearlescent acrylic paint, then used the same paint to adhere the triangles to gold nylon netting.

Photo description: back of the triangles with the gold netting on top painted to the shapes
Photo description: gold netting trimmed and sewn to the bottom of the silk panel, back view

Tomorrow I will share pictures of the completed panel!

Zelda Cosplay part 3

The next part of the Zonai banner was a graphic on the silk panel. The silk was recycled from my grandmother’s swing jacket. It has a beautiful blue/green shimmer, but the jacket doesn’t fit anyone in the family anymore. I used a section for this cosplay banner, and I plan on parting out the rest of the silk for other long-term projects.

For the graphic, I replicated the design in Adobe Illustrator, then cut a card stock stencil using my laser cutter.

Photo description: graphic stencil cut into card stock

I did a test of the stencil before applying it to the silk, then “bounced” the acrylic paint onto the surface of the fabric.

Photo description: painted stencil

The method did not work as well as I hoped, and left a rough edge that I didn’t care for.

Photo description: stencil painted banner with rough edges and uneven application of paint

I went over the stenciled image with a paint brush and more acrylic paint to clean up the edges.

Photo description: brush painted graphic on silk

I was able to fix the graphic, and I would still use a stencil if doing a similar project, but would make sure I was using a stiff stencil brush and I would thin the paint before pouncing it on.

Zelda Cosplay part 2

I’m still working in the Zonai panel that Zelda wears in Tears of the Kingdom. Once I cut out shapes in the EVA foam sheet and gave them an initial coat of paint, I flipped them over on some wax paper to work on connecting all the pieces into a coherent whole. I used gold-colored, 49-strand cable beading wire inserted into a slit on the back of the pieces that I cut with a ruler and thin knife blade. It helped to use a small screw driver to tuck the wire into the slots. Once the wires were in place, I lifted the whole assembly to make sure everything hung evenly. To anchor the ends, I crimped on metal beads, then ran super glue down all the seams and ends.

Photo description: EVA foam pieces connected with cable beading wire inserted into slits

Once the wire was secure, I painted the back of the pieces, let it dry, then did the finishing coat of paint on the front.

Photo description: final coat of paint on the Zonai beaded panel using metallic copper acrylic paint and simulated green patina using metallic green base coat and light green wash

I absolutely love how this turned out. For cosplay, EVA foam is fantastic stuff. It is light, easily cut and carved, and paintable.