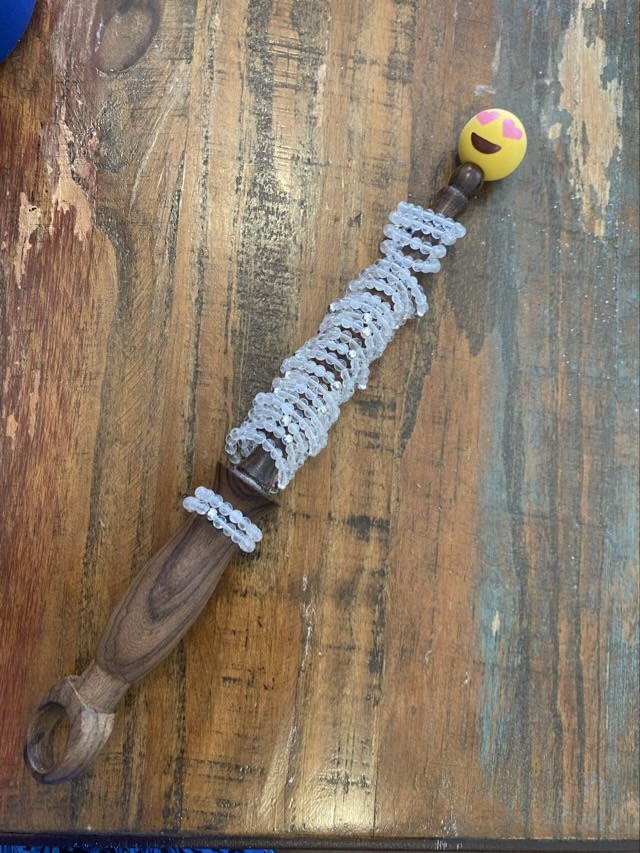
My turned rosewood distaff made by Enid Ashcroft is a beautiful piece of work. I appreciate that the top end is just the right size for a pencil topper, and not only does it function well for its intended purpose of holding fiber for spinning, it can also function as a ring holder. Pictured below it is holding many sizes of quartz bead rings.
Photo description: ring distaff holding rings with a heart eyed emoji topper
The thought process that lead up to this discovery was “I need something that will keep these rings in size order during transport.”
Photo description: two moths in the dryer with a wool dryer ball
I’ve started a new campaign to keep the moth community sparkling clean: Moth Balls! Toss the ball into the dryer and it releases hundreds of detail oriented nocturnal lepidopteran insects to scour clothing. Ew, no, I’m kidding, April Fools. Gah, the thought (shudder).
I did find moths in my dryer at the dawn of Spring. They were safely transported outside. It was weird finding them there, though. We’ve lived here for seven years and I’ve never before found flying insects in the dryer. I wonder if I have a crack or breakage somewhere.
Photo description: moth rescued from the dryer on a piece of paper
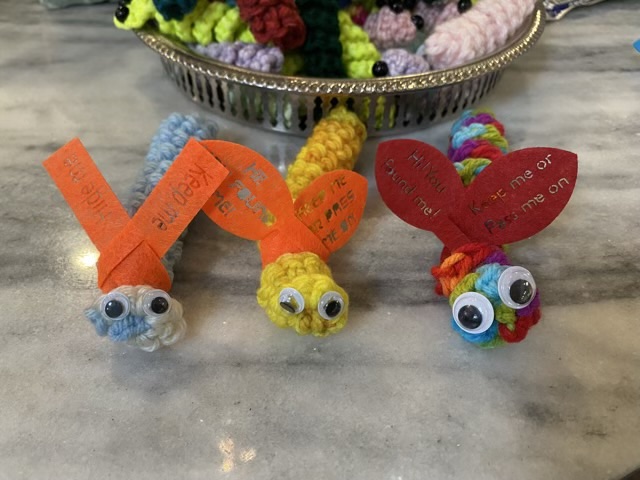
When we hide rocks for the Kindness Rocks project, we put some simple instructions on the back. I wanted to put something similar on my worry worms. I started with a scarf idea, with a simple slit for the attachment and words burned into man-made felt. After a couple tests, I thought the scarf looked more like wings, so changed my design in Adobe Illustrator, saved it as an SVG, and imported it in my laser cutter’s program.
Photo description: three worry worms with a scarf (left), wings with a bold font (middle), and wings with a thin stencil font (right)Photo description: yellow and orange felt in the laser cutter, there were definite cutting differences between colors, in this photo the orange cut much cleaner than the yellow with the same settingsPhoto description: purple glow worry worms with a with purple wings that say “Hi! You found me! Keep me or pass me on” with more worms and wings in the background
I just love their little wings! I did find it interesting that the thin stencil font was easier to read than a bold stencil.
I took these to my regional chorus competition and my chorus had a great time “hiding” them for other competitors to find.
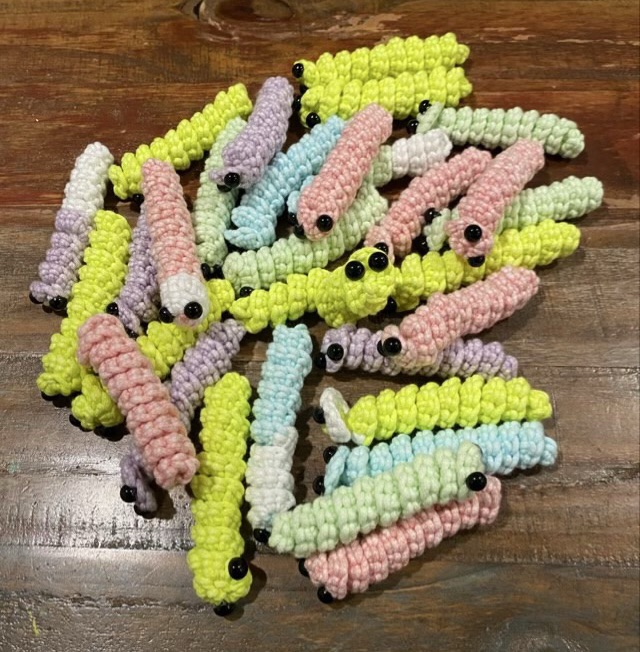
I had left over yarn from my glowing jellyfish hat, so I made glow worms! These are a glowing version of my worry worms.
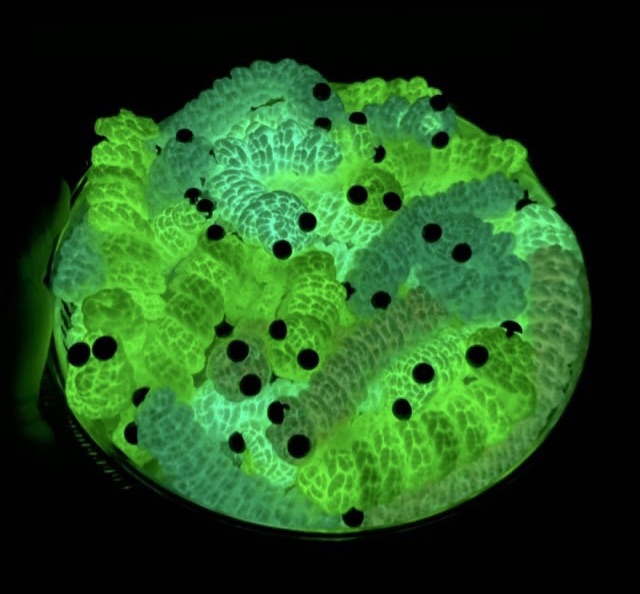
Photo description: worry worms crocheted with five colors of Lions brand DIY Glow Cozy yarn with black sew on eyesPhoto description: glow worms in a dish, in the dark, glowing shades of green
I did enter them in the Lion brand Show us your Glow contest by tagging the picture in Instagram, but did not do a social push because I wanted my friends and family to vote for the jellyfish. Neither made the top 10, but there were some spectacular entries with serious time investment and large social backing. I do have my patterns available for free for the worry worm, and the jellyfish hat!
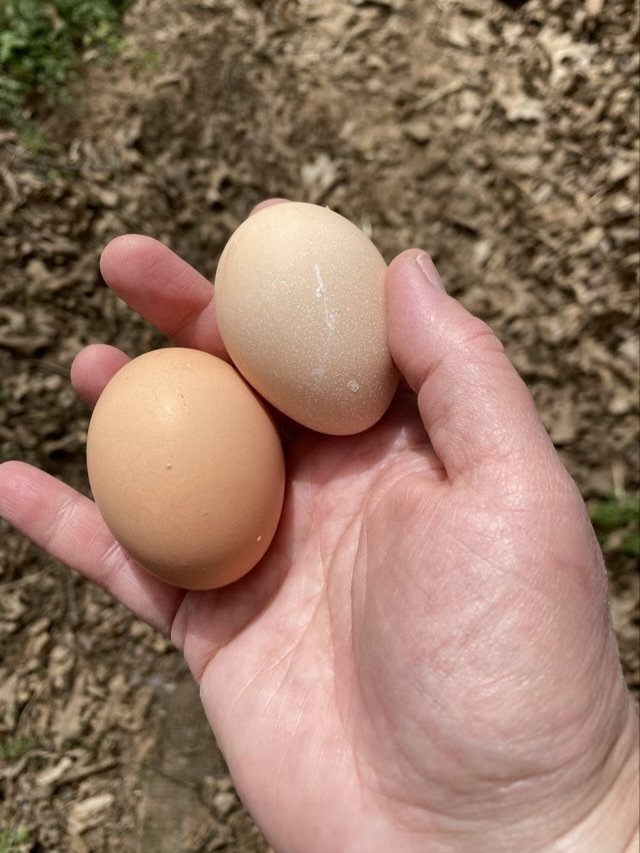
Photo description: hand holding two eggs, one darker brown, one almost pink
So I have at least one Faverolle hen laying eggs. I’m shocked because they stopped laying last June, 8 months ago. They are nearly 6 years old, and their window of “egg rest” gets longer every year. The almost pink colored egg on the right is a Faverolle egg. Well, it is a hatchery quality Faverolle egg. Better bred Faverolles lay eggs that can more easily be called pink. Wing Ding the Black Star hen is a good layer and the other darker egg is hers. Another clue that the eggs were laid by two different hens is the weight. Wing Ding seldom lays an egg under 60 grams, my Faverolles almost never lay an egg over 60 grams.