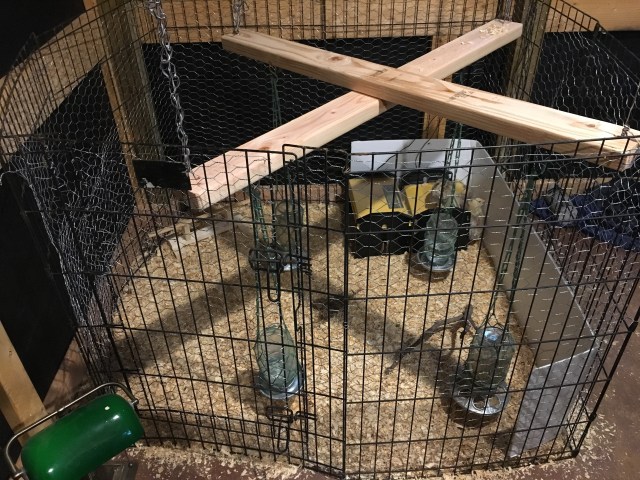
What a big day! We decided the best way to give the chicks a bigger enclosure was to line the old dog cage with chicken wire. We put pine shavings down inside and moved them in during the morning. They seem to appreciate the larger space. We rigged some scrap 2×4 together and hung it from the rafters and added metal eyes to hang the water and food jars in the new space. We had to adjust the height a bit, but it seems to work without too much swinging.
Larger space for the chicks
The chicks also had their first outside time. They seemed to enjoy running on the dirt and picking at leaves. We did another step for training our dog and had him lay down by the cage while the chicks moved around.
Our dog outside the chick enclosure
He could see them this time, but he did well not freaking out. And we protected the chicks from our outside cat, who thought she was going to get a snack!
While we cleaned out the brooder, we had a trial run on a larger space for the chicks. We took an old dog enclosure and put it in the corner of the coop and put a couple of chicks in at first to see if they could escape. They seemed OK, so my eldest sat with them and we put them all in there.
Shortly after we shot the video the chicks started to pop through the gaps! Pop, pop, pop! We had a scramble getting the chicks rounded up and putting up barriers to keep them contained. We should have shot video of that, but we were much more concerned about escaped chicks!
I was able to get the old brooder quickly cleaned out while my eldest herded chicks. Then we put the chicks back without further incident, but we will have to rethink the new space.
The chicks are now 16 days old, and have grown so much! It was too cold to get them out of the brooder and weigh them, but we’ll do that soon, on a nicer day. I did need to raise up one of the heaters because the larger chicks had to duck and crawl to get in. I kept the other one down low because we still have smaller chicks. Their colors are definitely changing and differing. We have lighter shaded chicks and darker chicks. The feed store said that their chick source guaranteed 95% females. This should be interesting.
This year we tried dying our hard boiled eggs with natural dyes! It was an interesting process, and another that definitely has a learning curve.
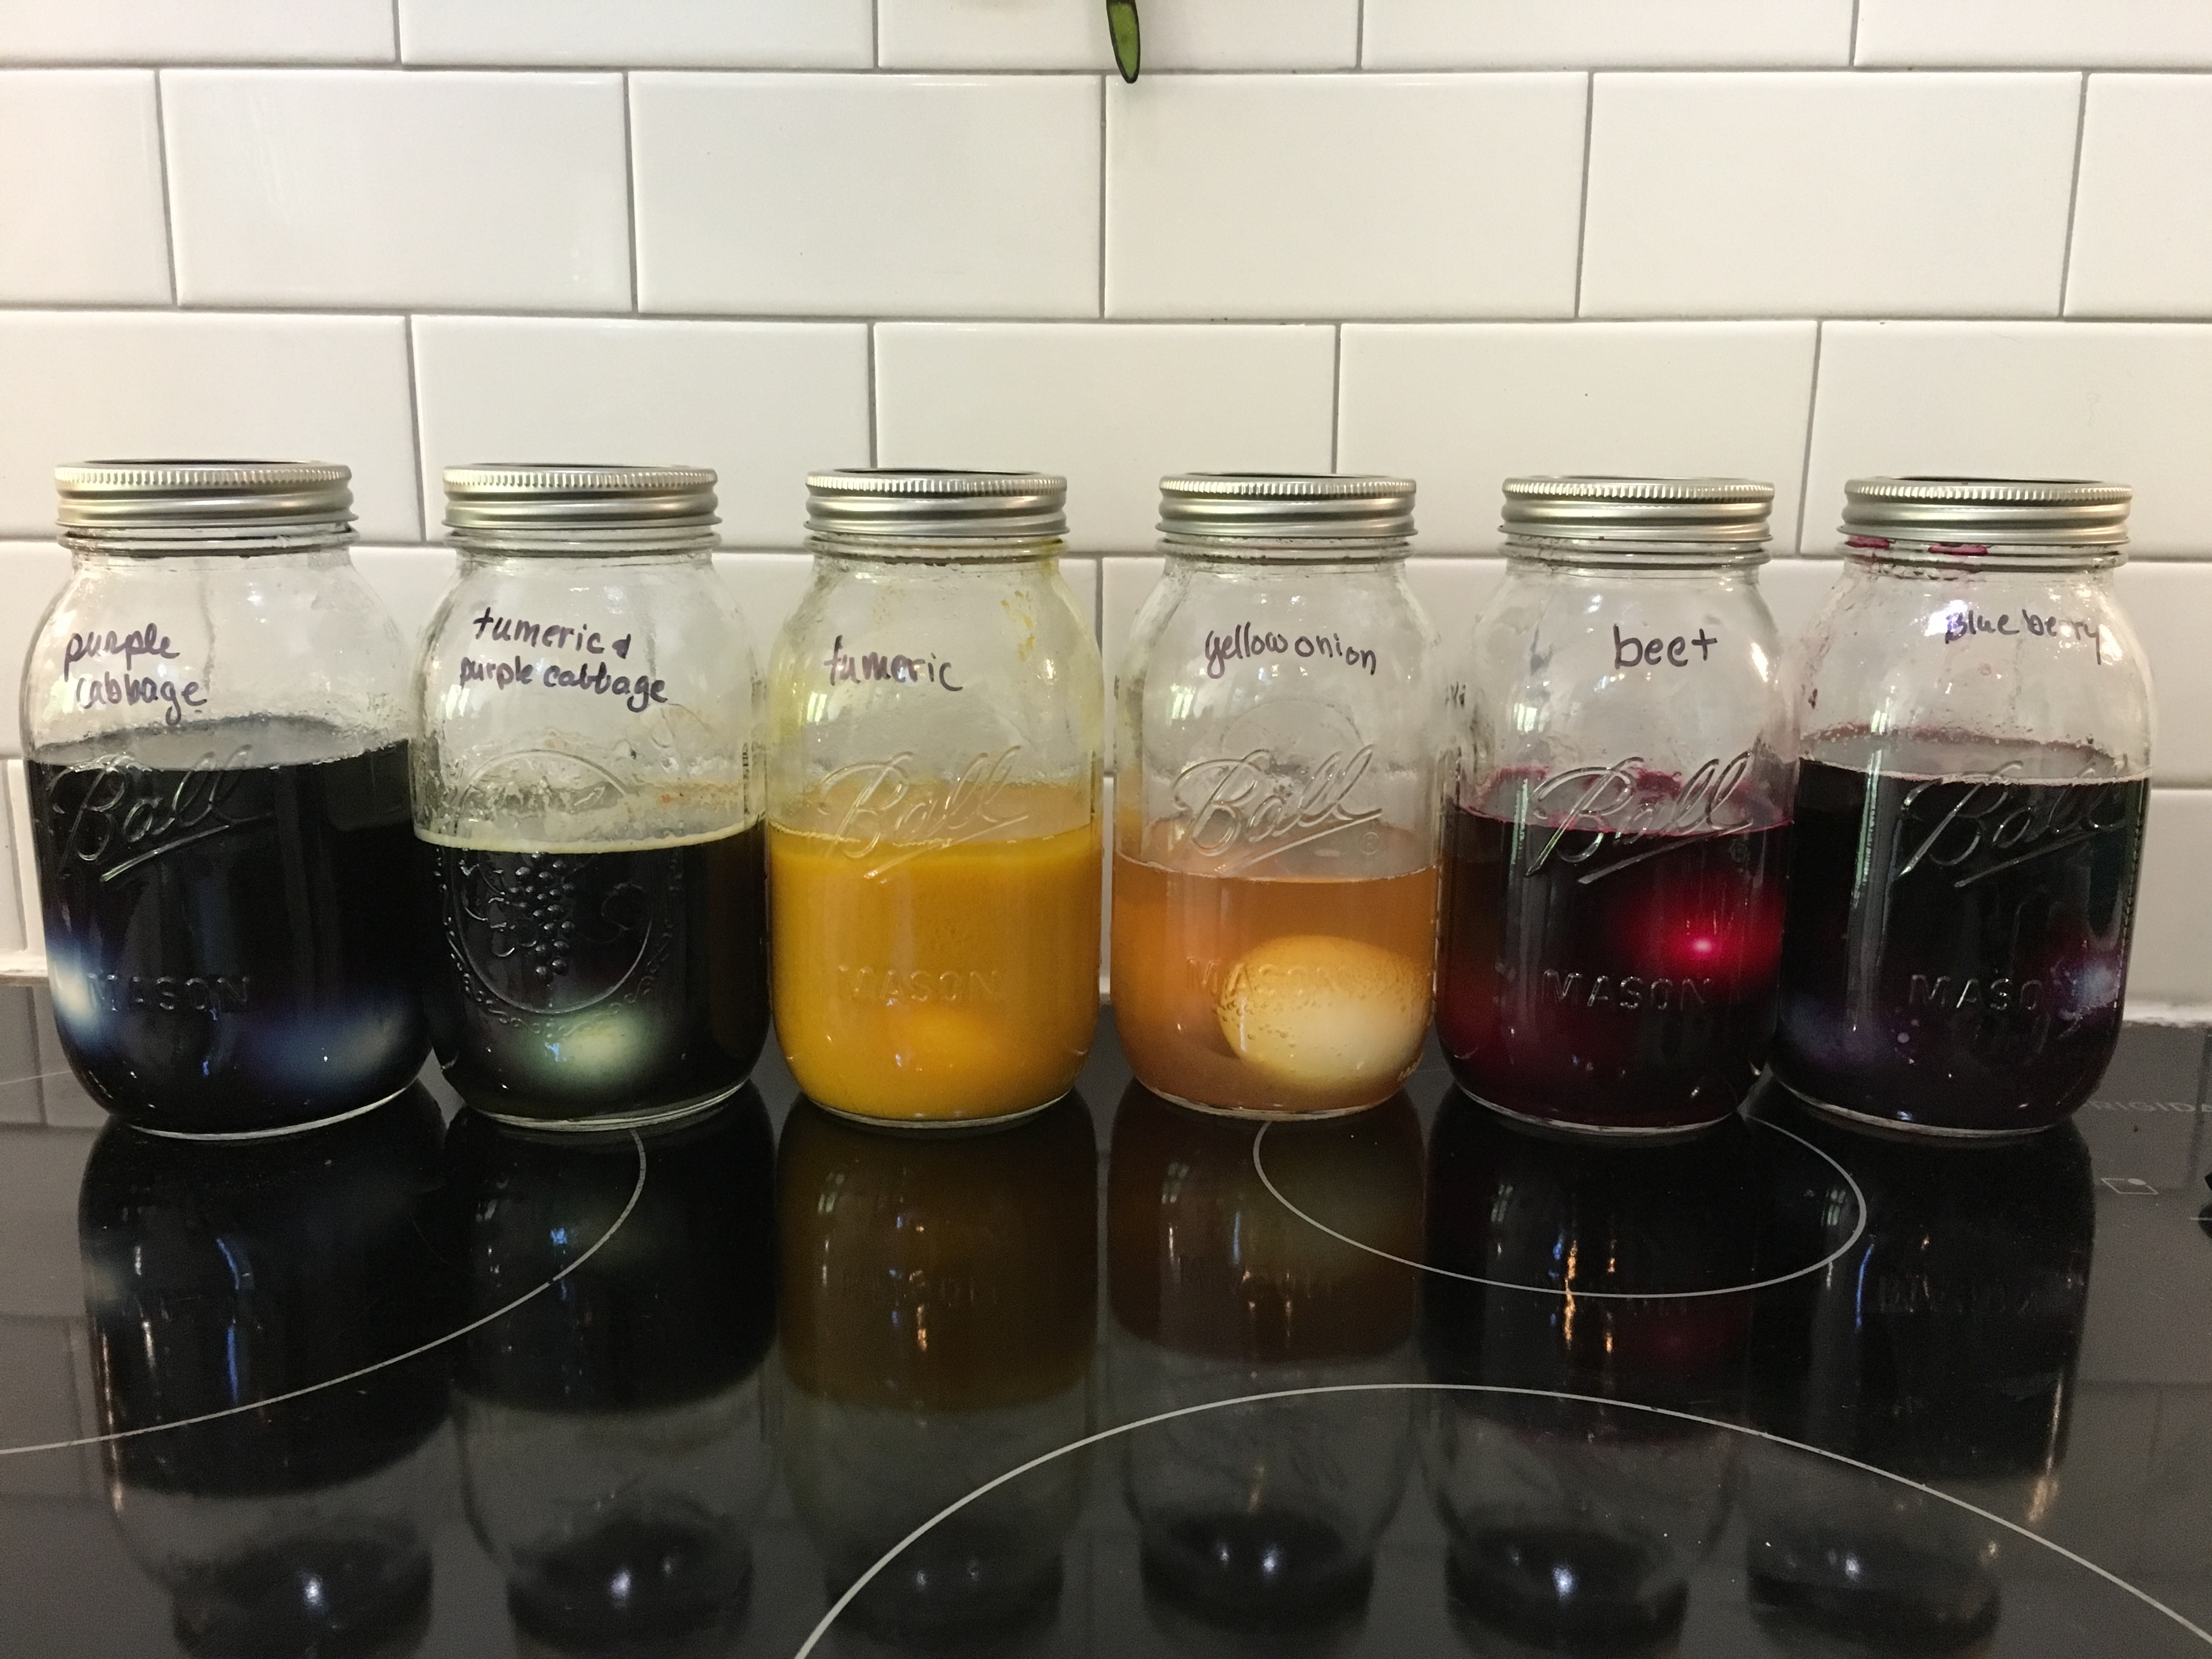
Natural dyes for hard boiled eggs (no vinegar in the purple cabbage solution on the left)
We roughly followed Fresh Egg Daily’s instructions, and bought blueberries, beets, yellow onions, turmeric (buying a small bag of this in the bulk section was less expensive), and purple cabbage. We halved the recipe in most cases, using only 2 cups of water and about 1.5 cups of veggies (or 1 Tbsp turmeric), and added 2 Tbsp vinegar, except for the purple cabbage. Now vinegar in the dye is what helps the dye set on the shell of the egg, but if you make a solution of purple cabbage juice acidic (which is what happens when you add vinegar), the liquid turns pink instead of blue, so I did not add vinegar to that jar. We also tried boiling the turmeric and purple cabbage together for the green color, then boiling them separately and adding about a cup of each liquid together in a different jar. I had already added the vinegar to the turmeric solution, so the “boiled separately” solution was a rusty brown (and I hid it in the pictures, because it was not a pretty color solution).
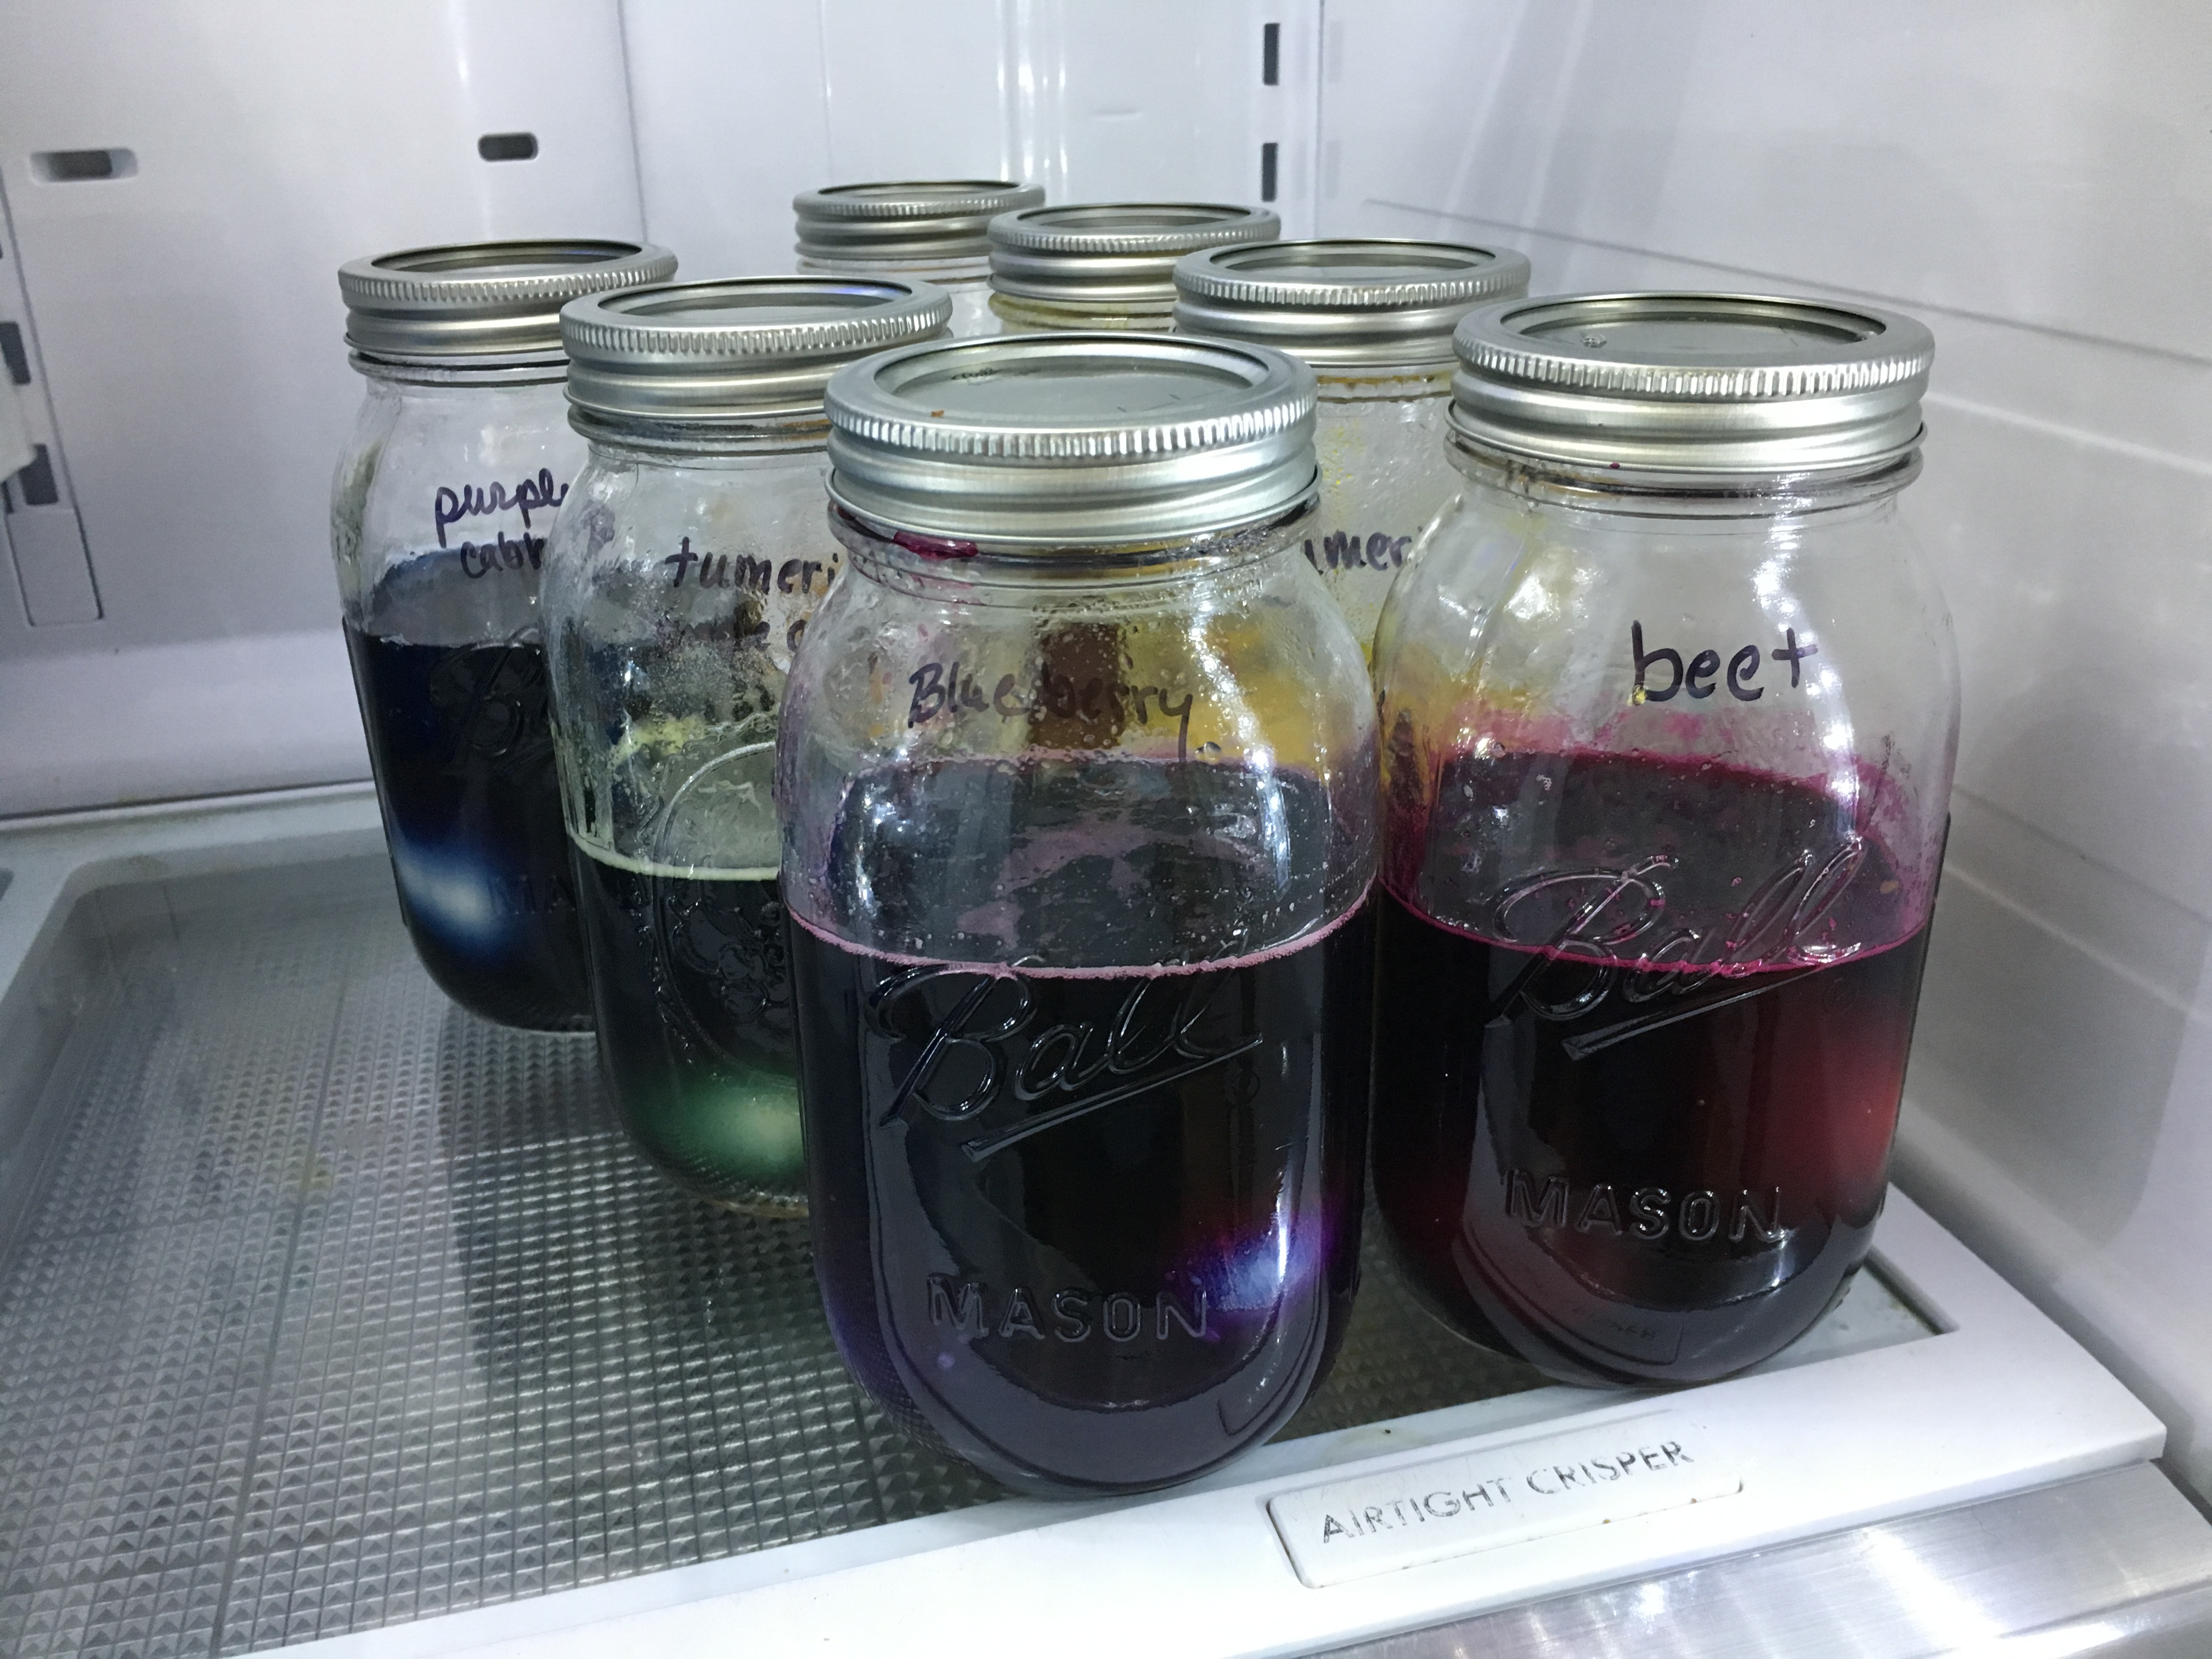
Eggs in solution in the refrigerator
We put hard boiled eggs in each jar and refrigerated them longer than recommended. We pulled the blueberry and beet after 48 hours, and the others after 72 hours.
From left to right: blueberries, purple cabbage (no vinegar), purple cabbage and turmeric, turmeric, yellow onion, beet
Results: I should have taken pictures of the blueberry dye and the beet dye right after I pulled them out of the solution, and then after I rinsed off the particulates. This picture is a day later, and the colors have started to go brown. The most surprising result was that even though the turmeric and purple cabbage solution color was brown, the eggs turned out green. The two darker green eggs had more vinegar in the solution. The purple cabbage solution without vinegar barely colored the eggs, but where there was a crack in the shell, definitely colored the egg white a blue color. I picked off a bit of shell on the beet dyed eggs as well to show the egg white color (no longer white).
Thanks for sticking with the length of this post. Here is a video of chicks learning to perch and fly as your reward.
The chicks are two weeks old! I’m now adding chick grit to their feed, and I found a large jar of brewer’s yeast with garlic that I thoughtfully bought months ago and apparently hid in the back of the pantry, so that is going into their feed too.
I gave them a little clump of dirt and grass from outside. They were extremely dubious at first, I was hoping to get some video of excited chicks, but they waited until I was gone to pick it apart. Oh well.
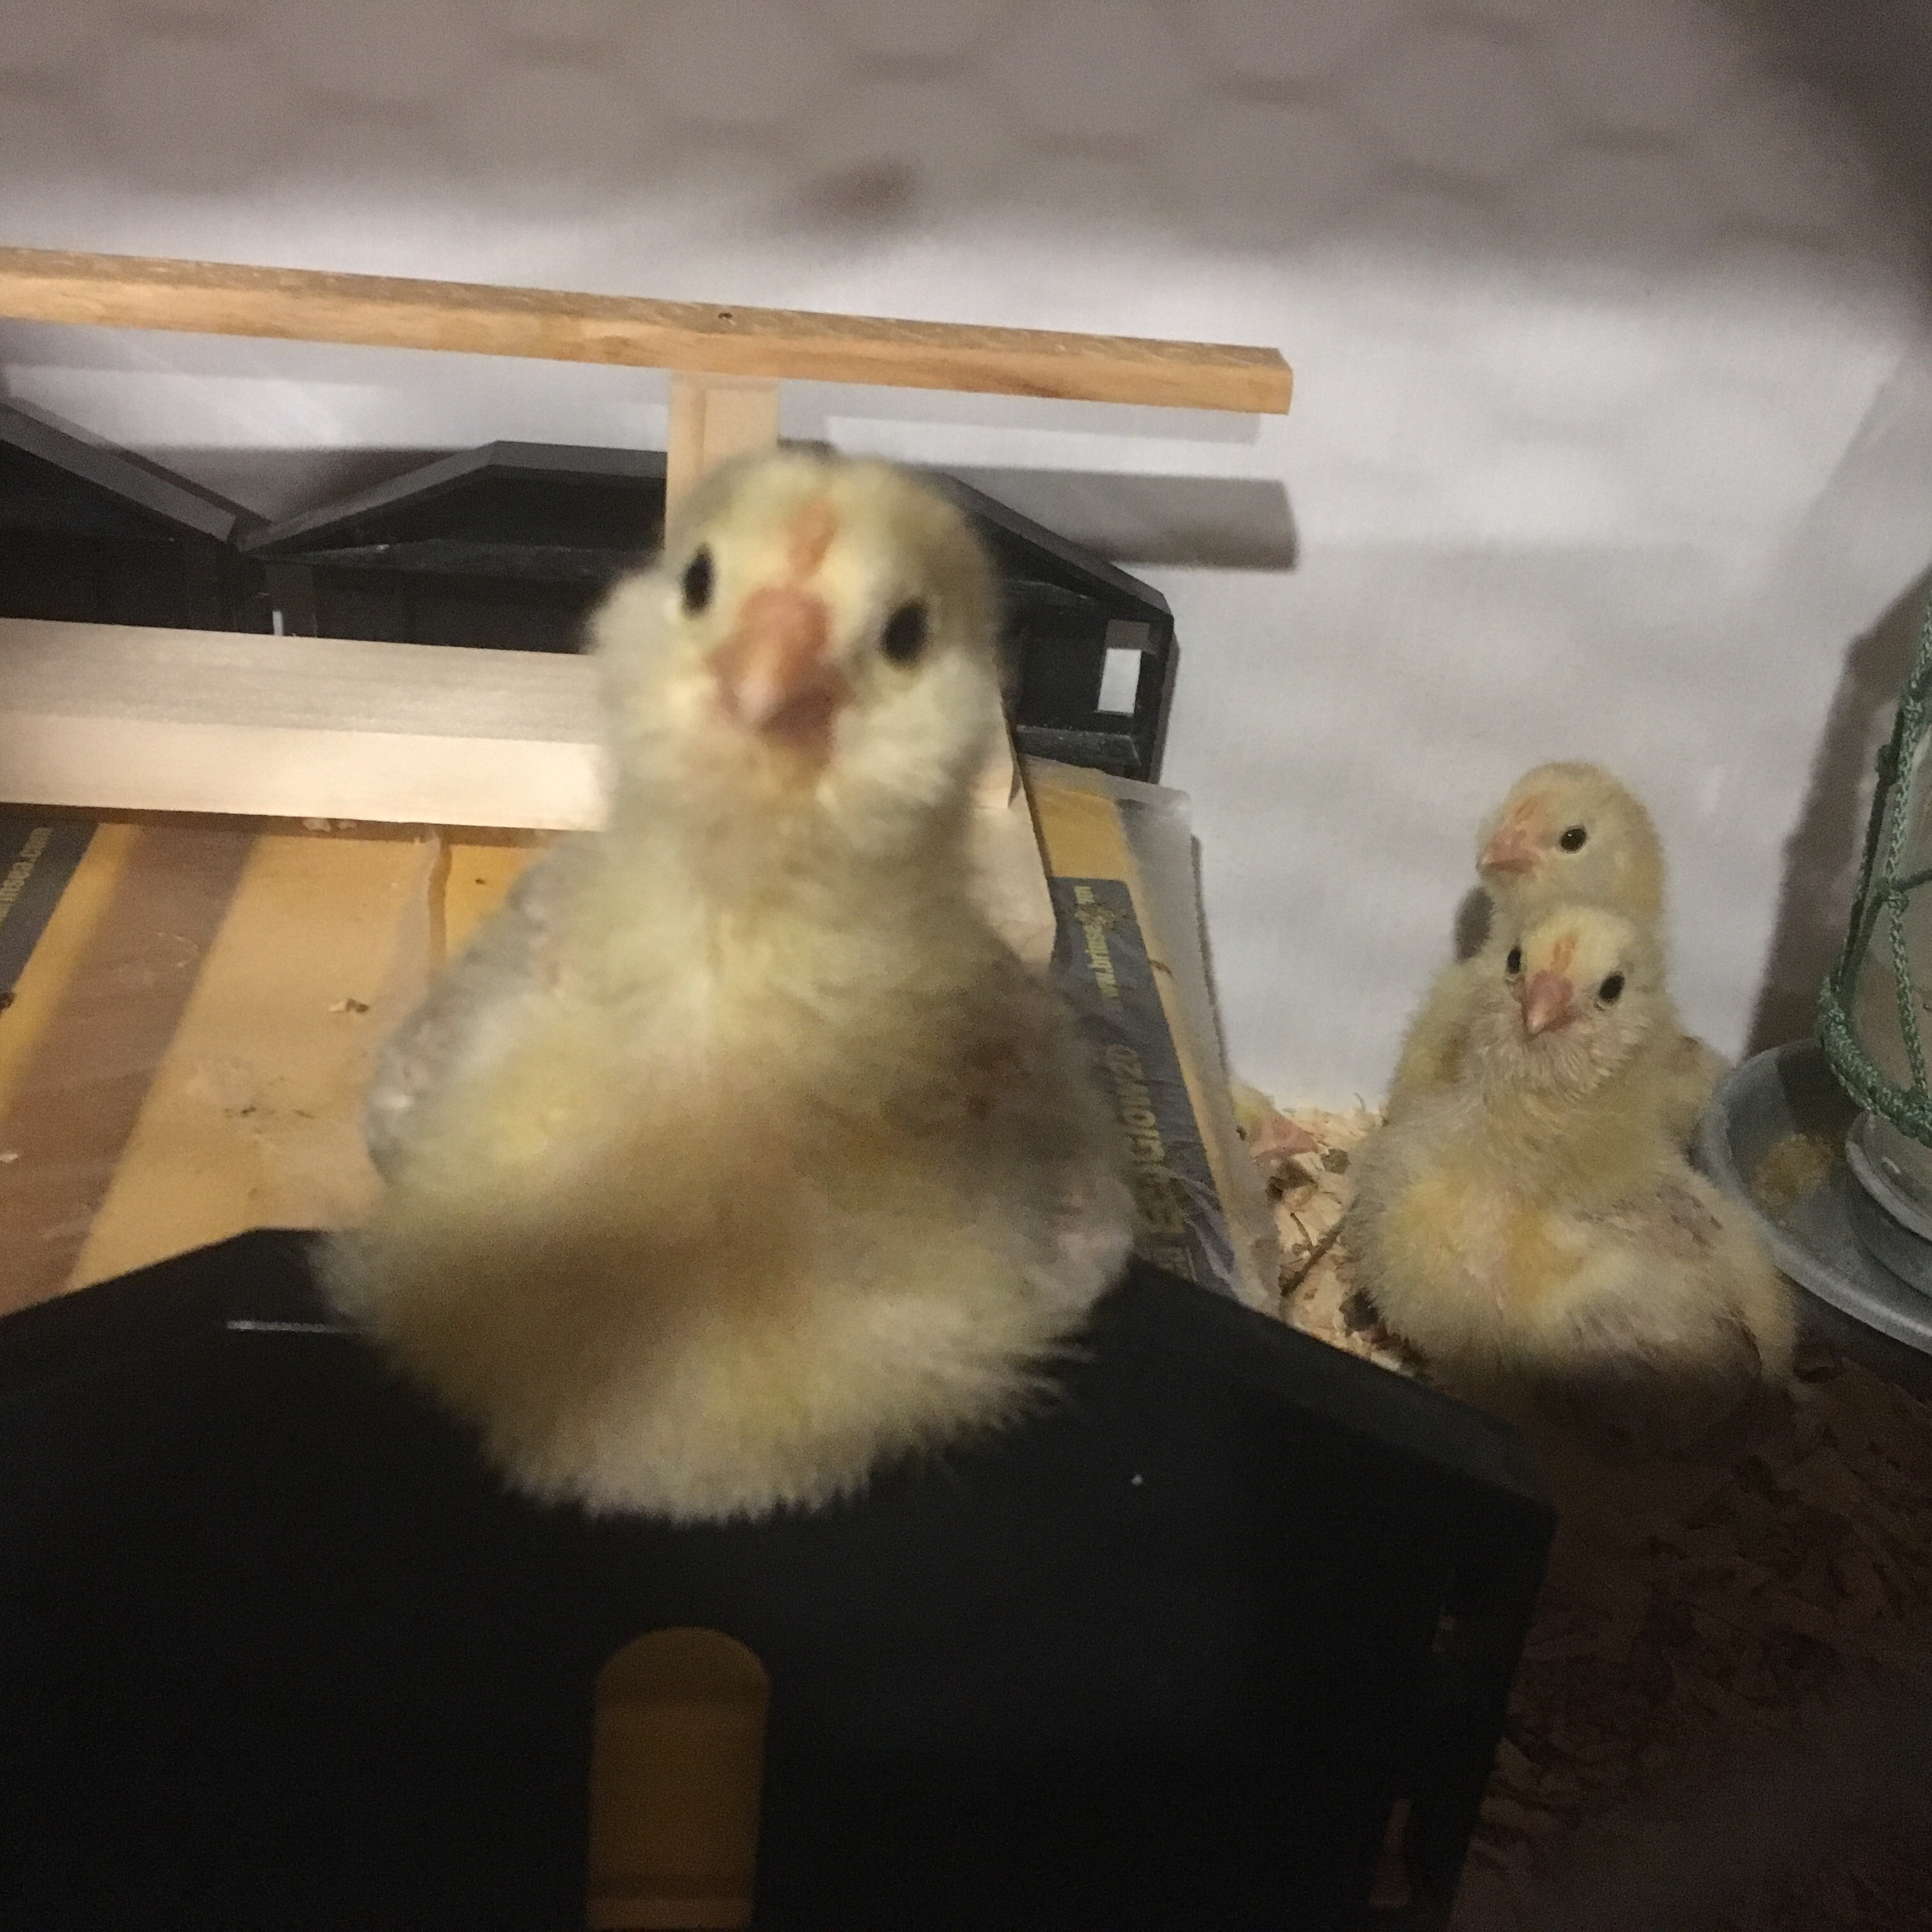
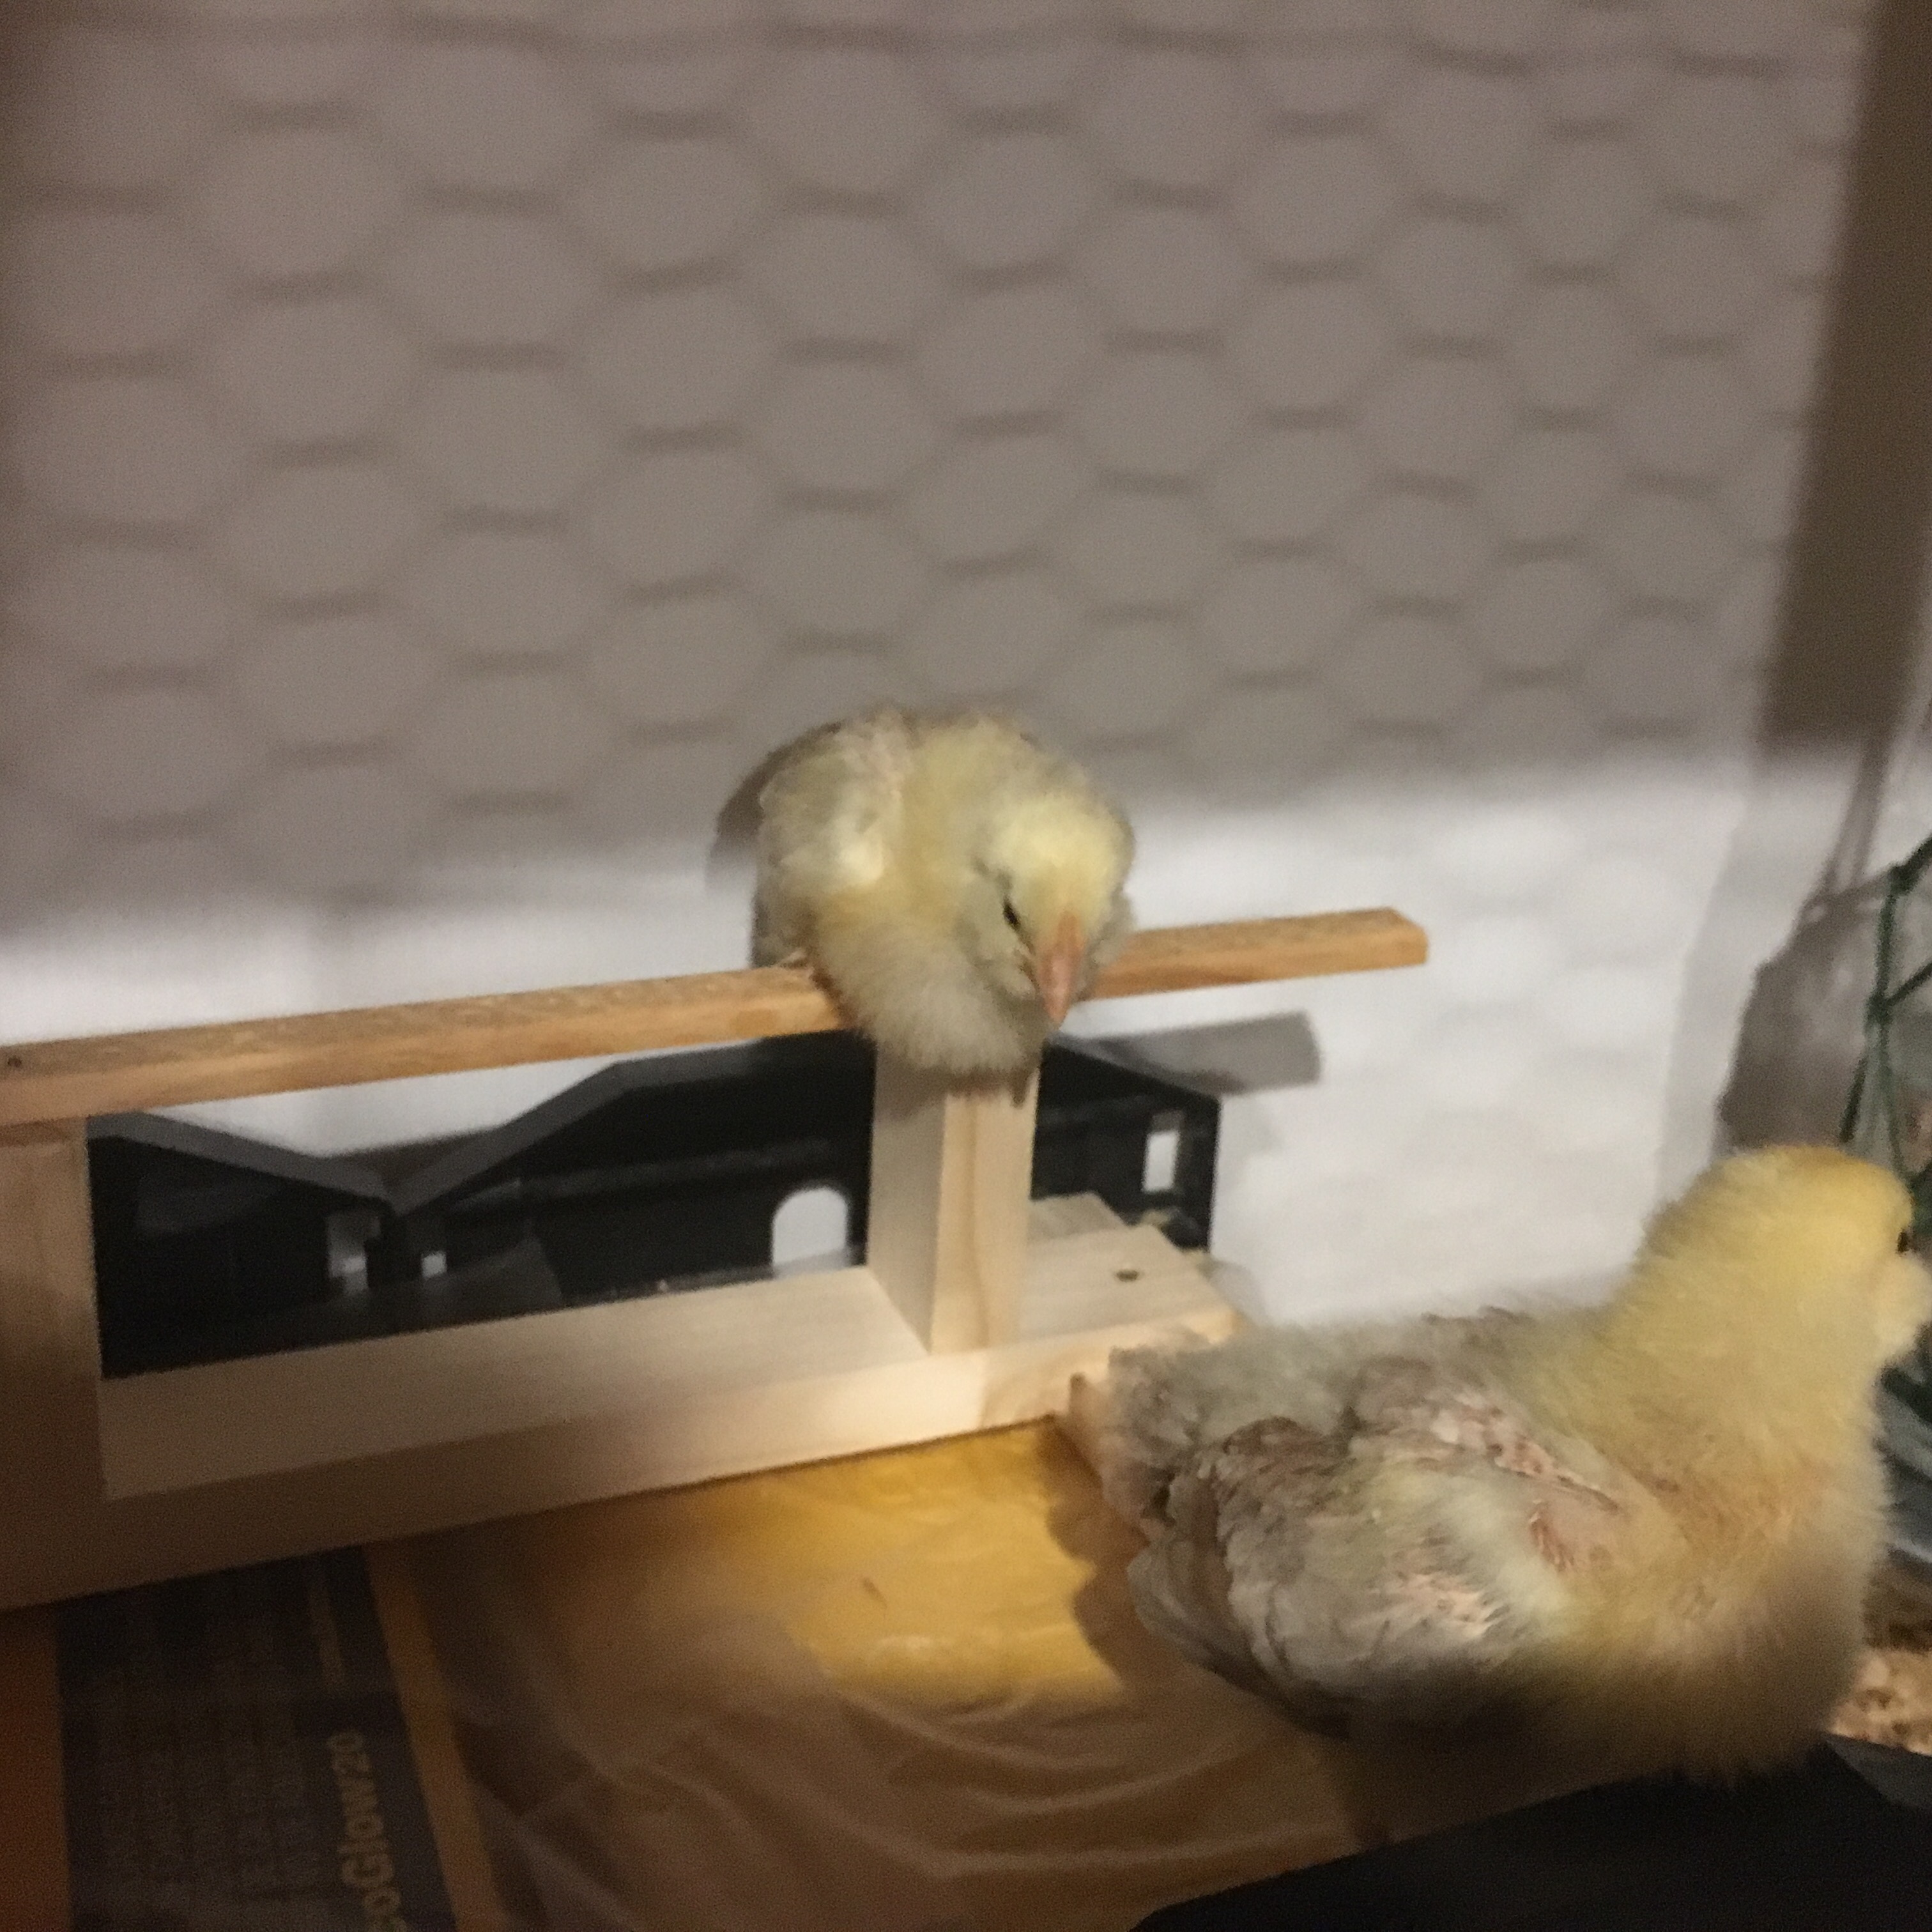
They are also starting to attempt perching. We’ve had a stick in their brooder since day 1, and they flutter on that a little, but today I found one perched on the side of the heater. Tigger likes to perch on my hand and walk up my arm. Which reminds me, I need to get files to dull their sharp little nails.
Perching on the heater end
A little later my eldest was able to convince another chick to perch on the little practice perch I made from scrap wood.