Yup, more photo pairs that I took at the Myriad Botanical Gardens in Oklahoma City, OK. This time outside in the gardens.
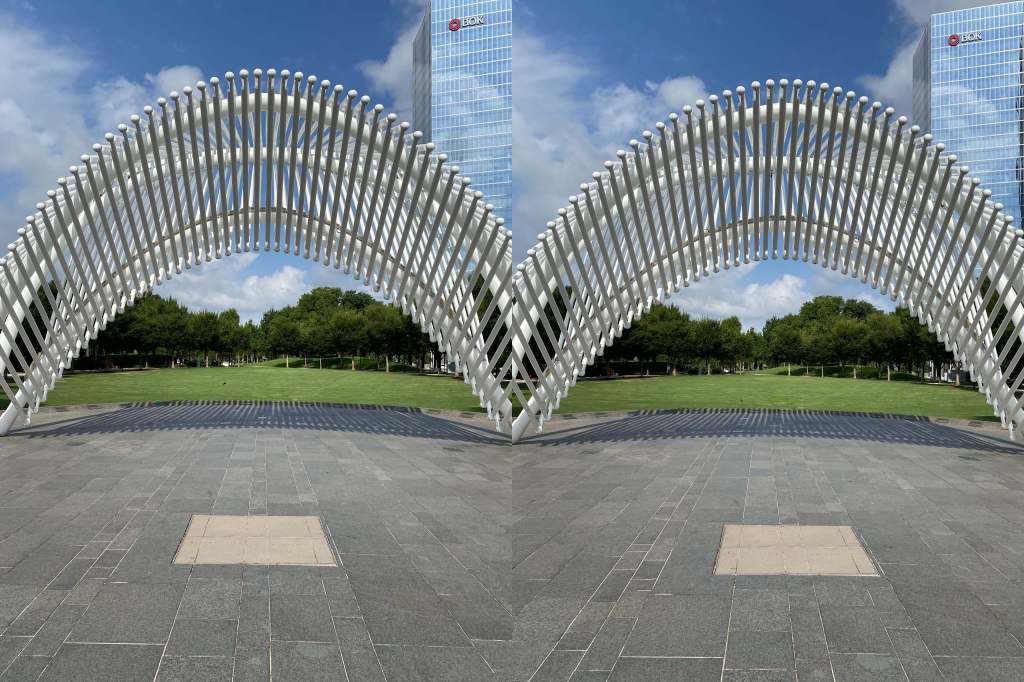
Photo description: Parallel view, Band Shell at the end of the Devon LawnPhoto description: Cross view, Band Shell at the end of the Devon Lawn
I had high hopes for the 3D viewing of the Band Shell (and really should have made my eldest try the acoustics with me, or recruited people for a quartet, or even tried a little yodel, I thought it was a shade structure at the time of the photography). The tile work has depth, but the structure doesn’t really, and the building and trees are too far away. Hm.
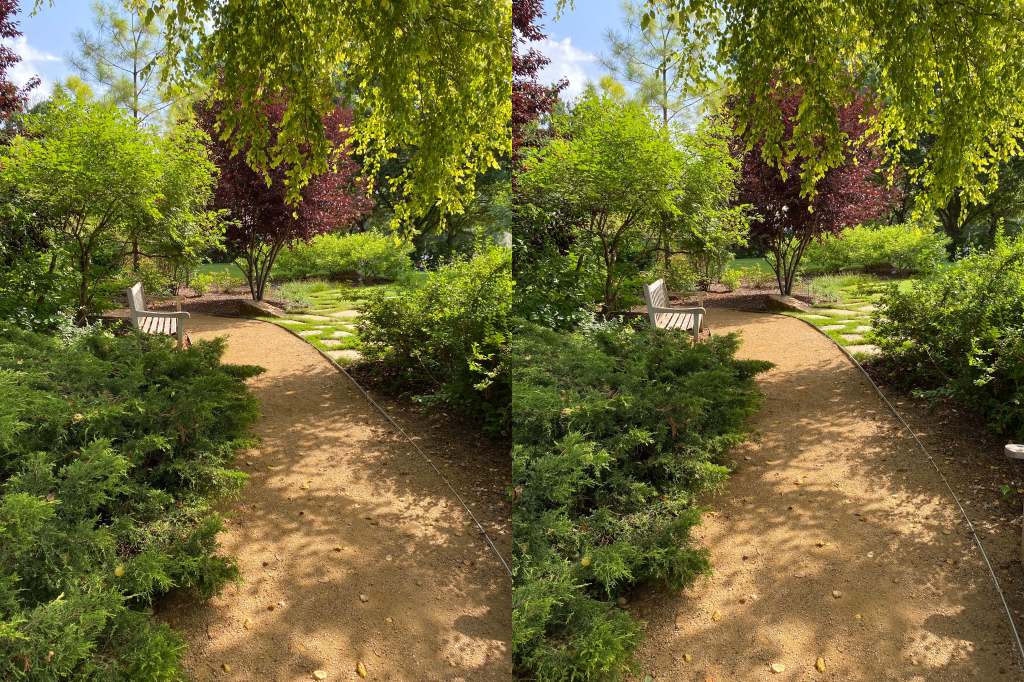
Here is a little walkway to a wood bench, which always makes me happy, where ever I find them.
Photo description: Parallel view, Walkway and bench in the gardensPhoto description: Cross view, Walkway and bench in the gardens
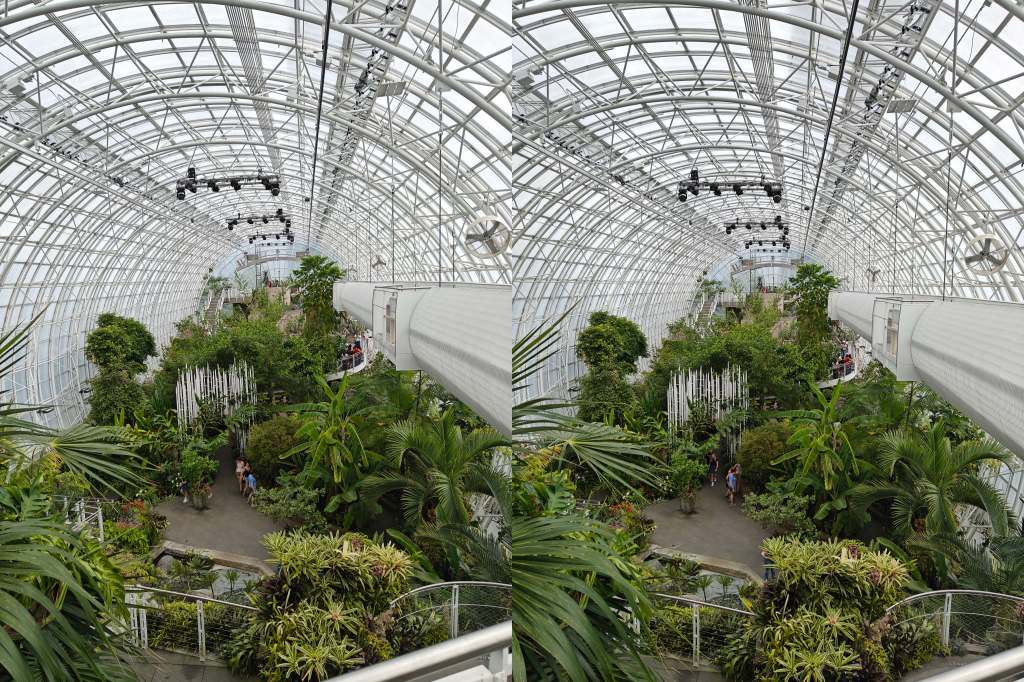
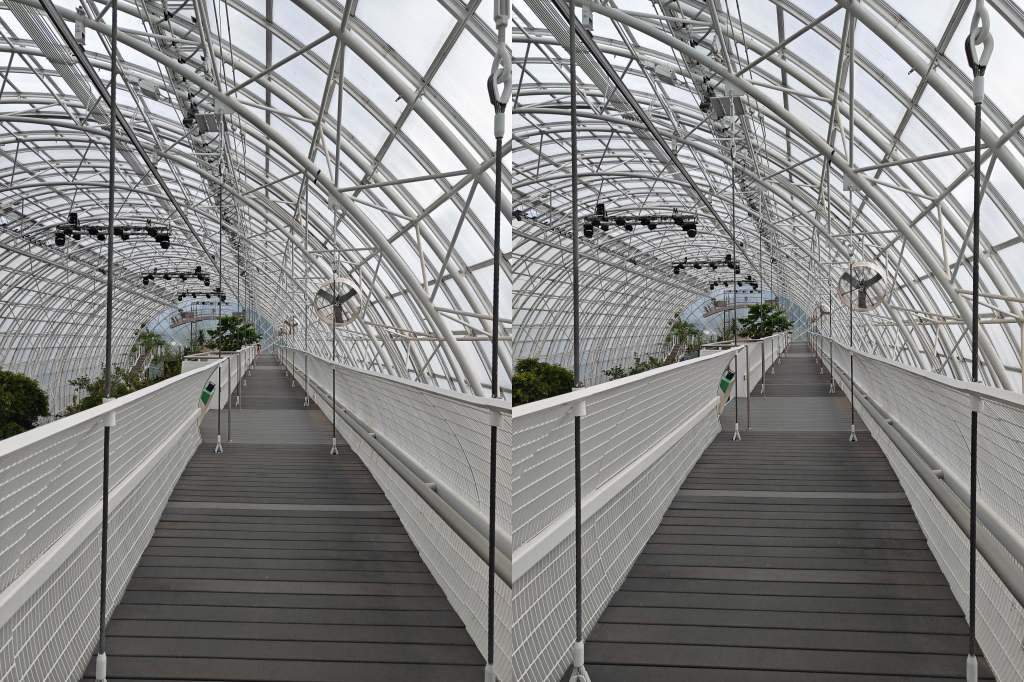
Here are a couple more photo pairs that I took at the conservatory at the Myriad Botanical Gardens in Oklahoma City, OK.
Photo description: Parallel view, looking down the conservatoryPhoto description: Cross view, looking down the conservatory
The trouble with the stereographic photographs above is the people. They aren’t holding still, so are in different positions even with the quick succession that I took the photos. When I view the parallel image, the people are ghost-like and impossible to focus on.
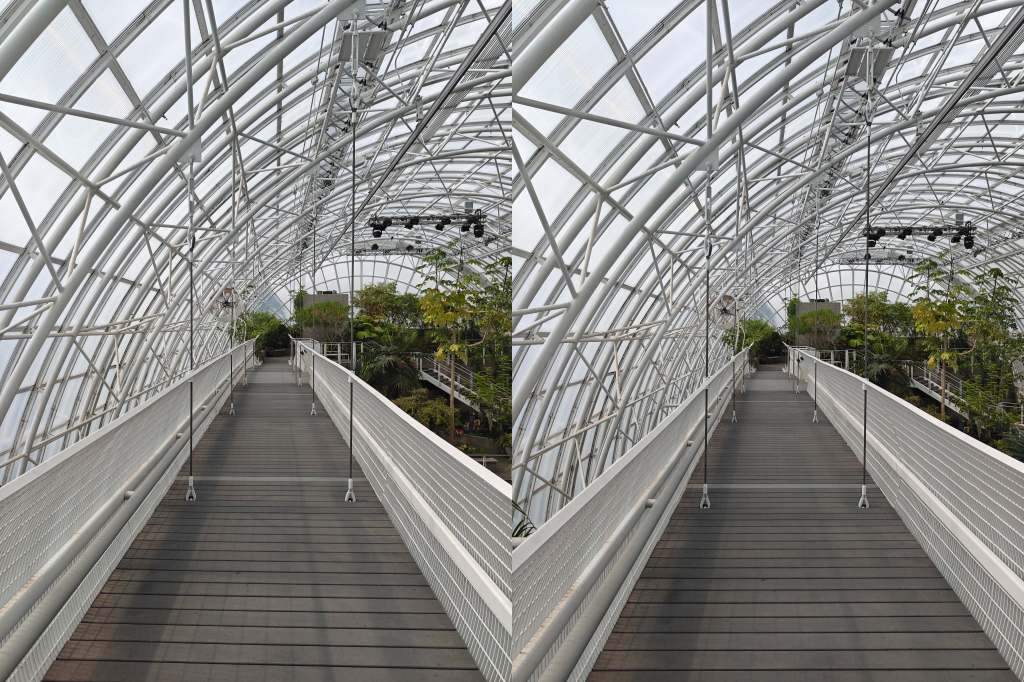
Below is a set of pictures of the walkway again, but with some plants in the background and no people.
Photo description: Parallel view, Walkway in the conservatoryPhoto description: Cross view, Walkway in the conservatory
Um, yes, I have more photo sets. I’ve been only posting two at a time to give your eyes a break, but if you don’t like these at all, you might want to check in with me in a few days for different content.
I recently visited the conservatory and gardens at the Myriad Botanical Gardens in Oklahoma City, OK. So many opportunities for stereographic photos! I took many using my eldest’s phone, a OnePlus. I stood with my feet shoulder’s width apart, the camera at eye level, then shifted my weight left, took a picture, shifted by weight right, and took the second picture.
Photo description: Parallel view, Walkway in the conservatoryPhoto description: Cross view, Walkway in the conservatory
I decided to prepare the photos on my computer, rather than fiddle with placing on my phone. I found out that I can’t view the parallel photo if the combined pictures are larger than my phone screen! Hm. I can’t view the cross view 3D effect at all, but in the stereographic posts I’ve seen, there are people that have the opposite problem. The difference between setting up photos for parallel or cross view is just switching photo positions. It is the same two photos, just swapped. Easy enough to do when on the computer.
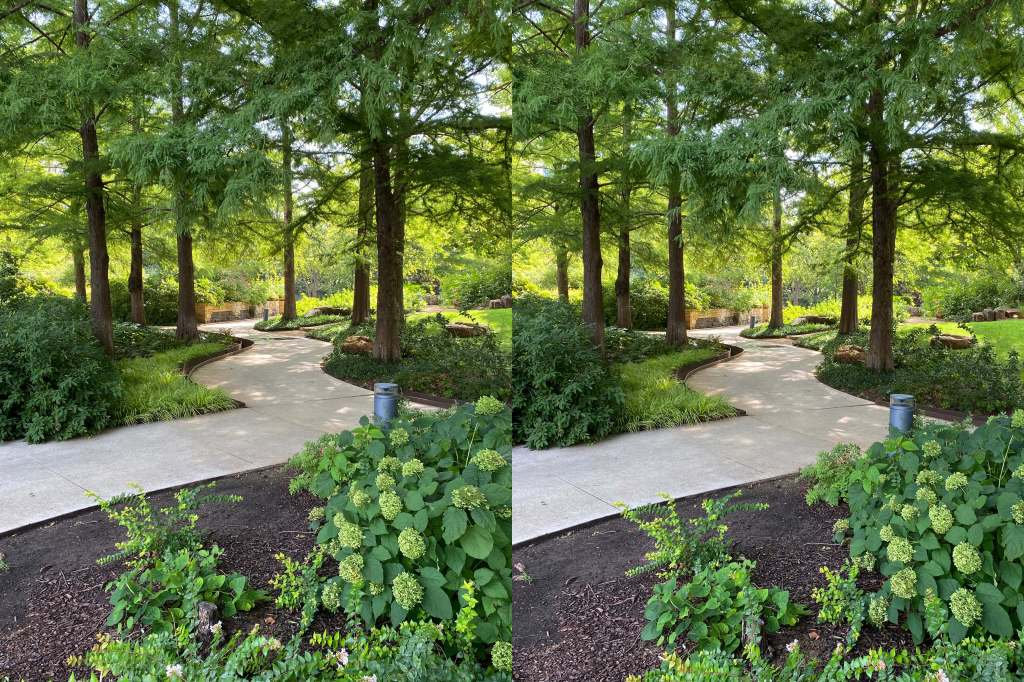
I also found that while the conservatory walkway has spectacular depth, trying to get the pictures to merge is dizzying with all those lines. So here is one that is less straining.
Photo description: Parallel view, Walkway in the gardensPhoto description: Cross view, Walkway in the gardens
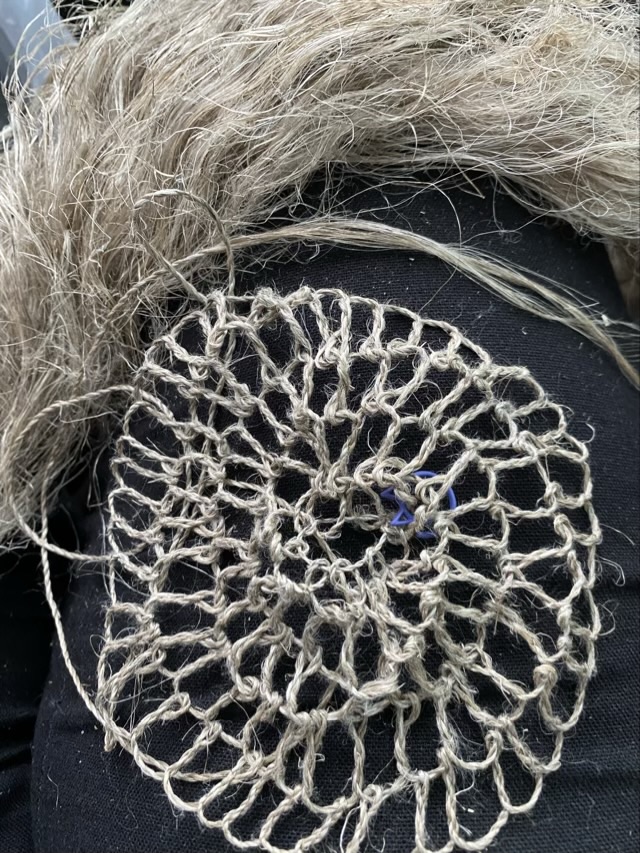
I’ve started a new project using the processed flax fiber from Sally Pointer’s twine kit. I’m making a twisted loop bag and twining the cordage for it as I go.
Photo description: two strand twined cordage made from flax fiber (in the background)Photo description: the start of a twisted loop bag made of flax cordage, approximately six hours of worktime
I started the project as a car riding diversion. I like the twining because I can do it mostly without looking, which allows me to watch the scenery going by.
I learned to twine with a Z twist, which is opposite of the S twist that Sally Pointer demonstrates for beginners. This is fine, but when I went to start the twisted loops for the bag, the technique makes Z twists for each loop. I thought my bag would be happier (less twisty) if I made S twists to balance the Z cordage, so had to adjust the way I made loops by going in the opposite way from the video. It took some brain power, and I’m going to have to be careful going forward to keep the same stitch direction, but I think it will be worth it.
I’m not using a needle for this project, just flax and my hands. I started with a nalbinding needle, but it kept slipping off, which was irritating, but the newly made flax cordage is stiff enough that if I fold the end, it is easy to thread through the loops.
Last thought on this post: flax cordage is strong. The line I’m making is fairly thin, about four-five strands doubled, but I cannot break it with my hands.
In February 2015 I finished a crochet project for my Dad that has a basket weave looking texture for a hat and scarf.
Photo description: black scarf and hat crocheted with black wool yarn
The technique uses front post and back post double crochet stitches in sets of three. It is actually an easy texture to achieve, but I recommend not using black yarn while trying to learn to count the stitches and rows. Also, size up any wool hats, as wear causes light felting, which shrinks the hat.