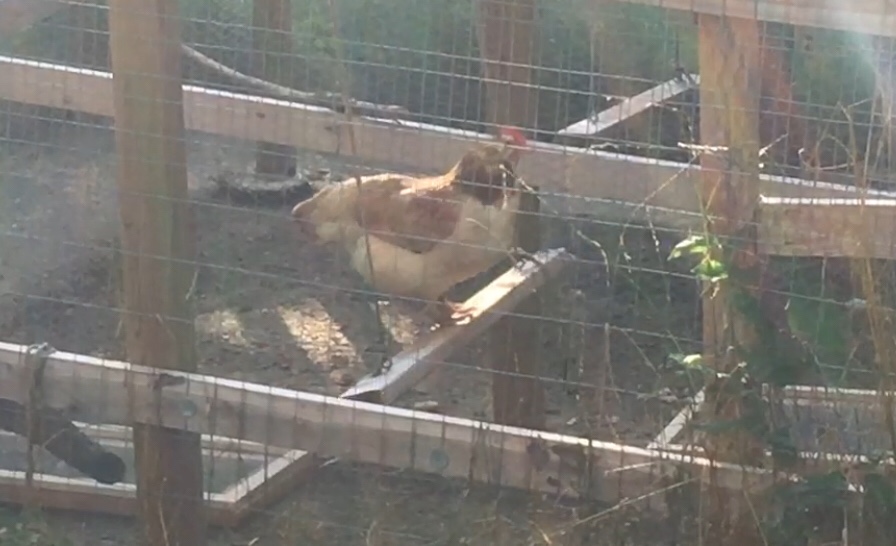
Because it is amusing to watch, here is a video of one of my hens on a swing. They regularly get up on the swings, but I rarely can get a video because as soon as they see me they run over to demand mealworms.

Because it is amusing to watch, here is a video of one of my hens on a swing. They regularly get up on the swings, but I rarely can get a video because as soon as they see me they run over to demand mealworms.
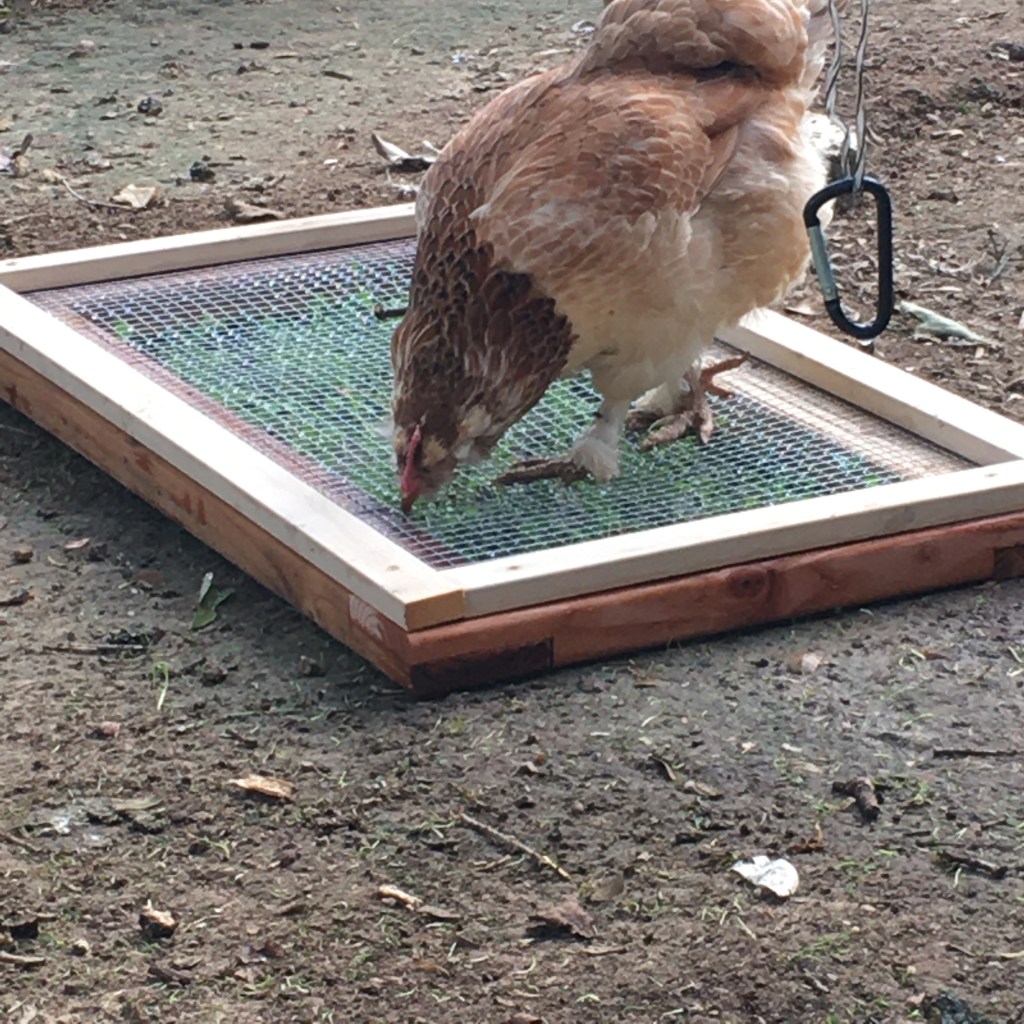
I finally broke down and made some chicken salad bars. These are basically just hardware cloth in a wood frame designed to let the plants grow through the frame, but keep the chickens from scratching up the roots. I used scrap lumber: 2x4s for the base, and 1x2s for the top (to protect the chickens from sharp wire edges). I made a square and a rectangle because that maximized my wood scraps. The hardware cloth is 1/2” squares.

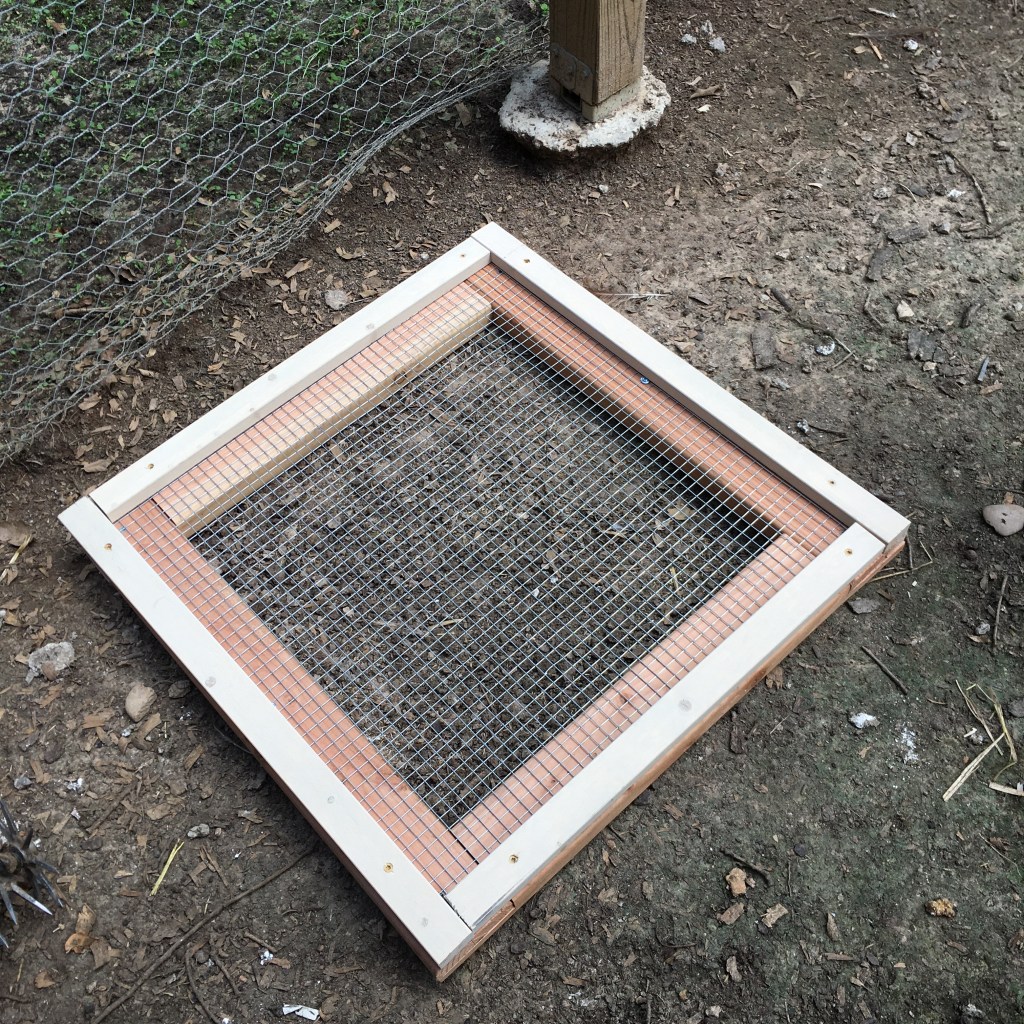
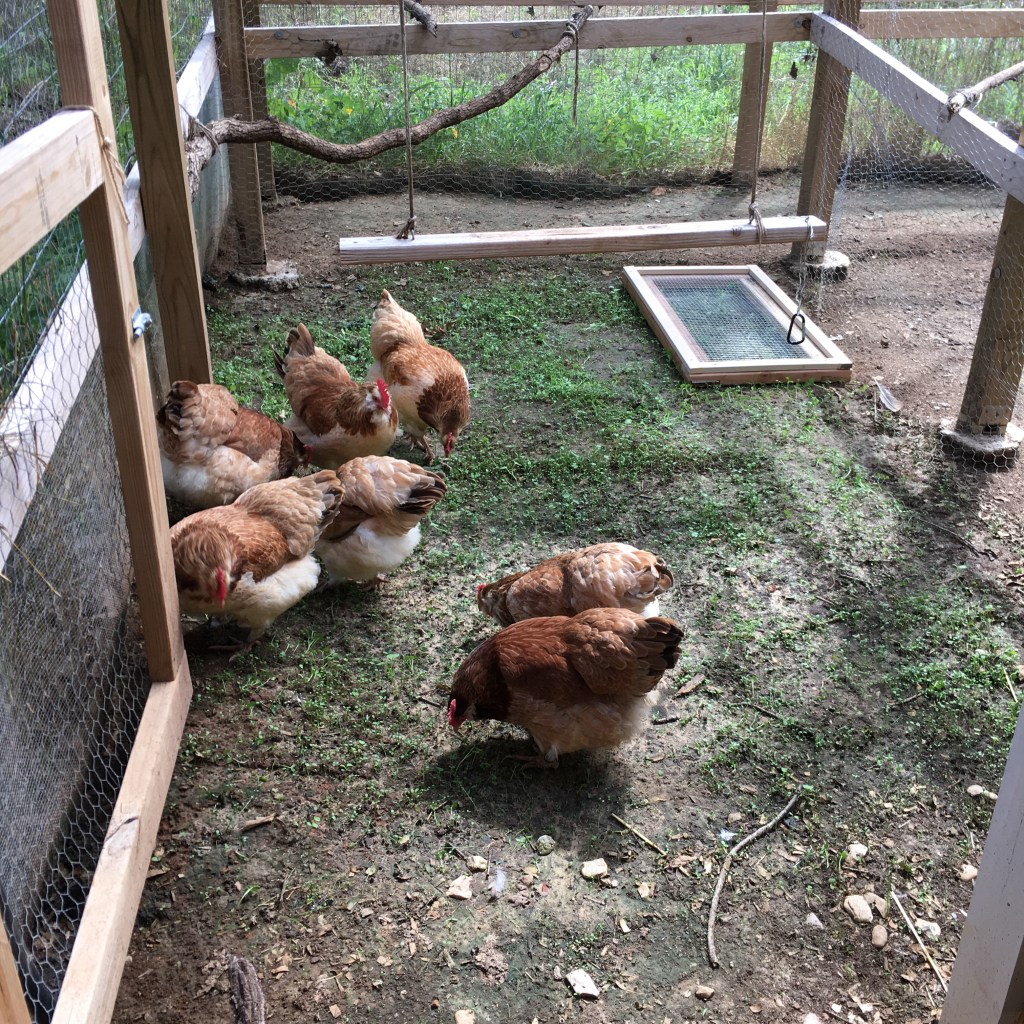
My hope is that the chickens will have a more steady access to fresh greens, rather than spending a week growing sprouts in a run, and the hens consume the lot in a day and a half.
My cotton fabric stash is gone, transformed into masks and donated to a local children’s hospital and given to friends. I had to break down and buy fabric (gasp!). Good quilting fabric is expensive, by the way. Although I liked the pattern I used for the donated masks (they were relatively easy to make, stored nicely, and had filter pockets), they were bulky with the pleats and after washing were a bunched up mess because the wire was sewn in. So I started mixing and matching patterns to see if I can come up with something better. Looming on the horizon is the potential for my kids to go back to school with masks. I need something easy to wear and wash.
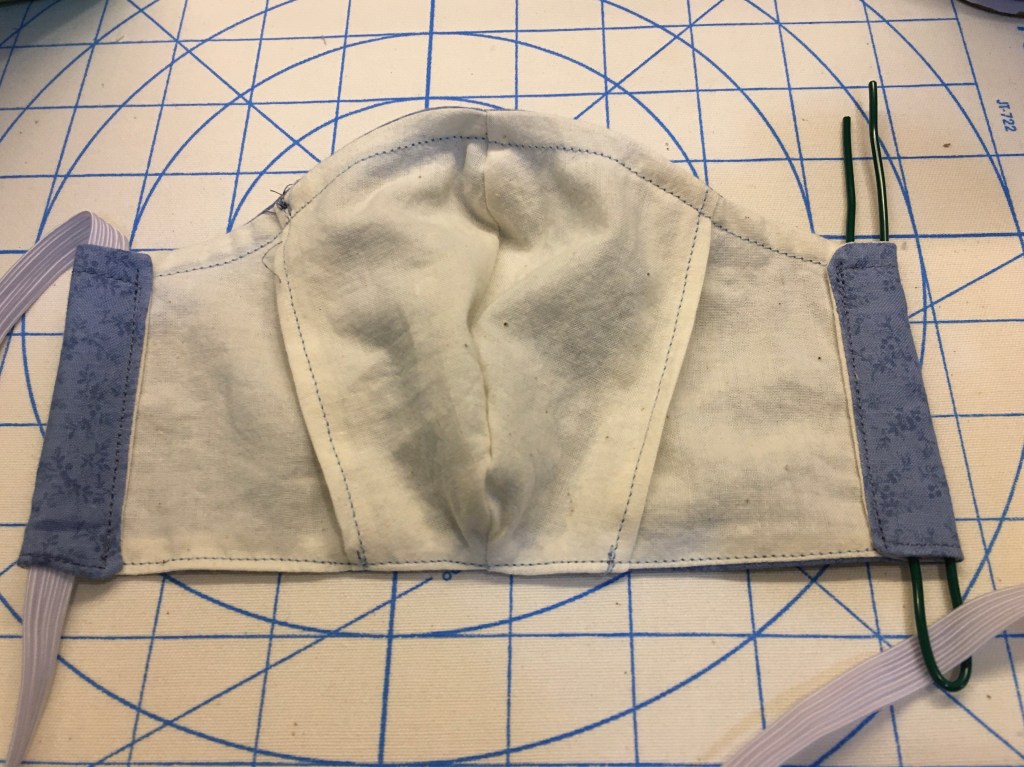
One of the top features I like in a mask is tie sleeves, so that it is easy to trade out kinds of ties. This is important for us as we move forward because ear loops work for one kid, but not the other. And if the ear loops start to irritate, we can switch to a different strap method. Here is a quick video on using a U shaped wire to thread the ties. In the mask above, I used this basic pattern, but extended the sides to give room to make the sleeves (thanks Mom for that idea!). I also printed two more copies of the pattern and made overlapping mouth and cheek sections to allow a filter to be slipped into the mask. I like this filter pocket better because the cotton is between the filter material and the mouth of the wearer. The idea for this came from this pattern.

The other thing my masks need is a removable wire, so I can take the wire out before I wash the mask. As it turns out, by making the inner layer with three pieces, then sewing along the edge (wider at the top to accommodate the wire), it forms a pocket with two access slits. It takes a little wiggling to get the wire in and under the cheek sections, but once in it stays put. Getting the wire out isn’t terribly hard either, just fiddly. A wire slightly longer than the mouth section with the ends curled works well.
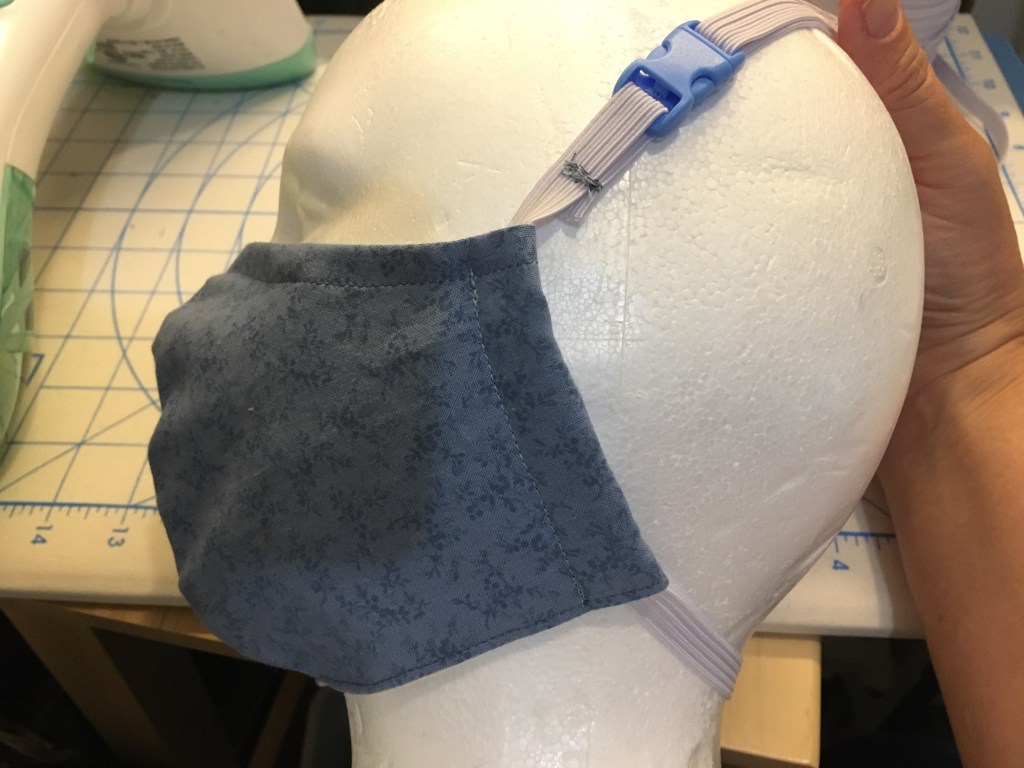
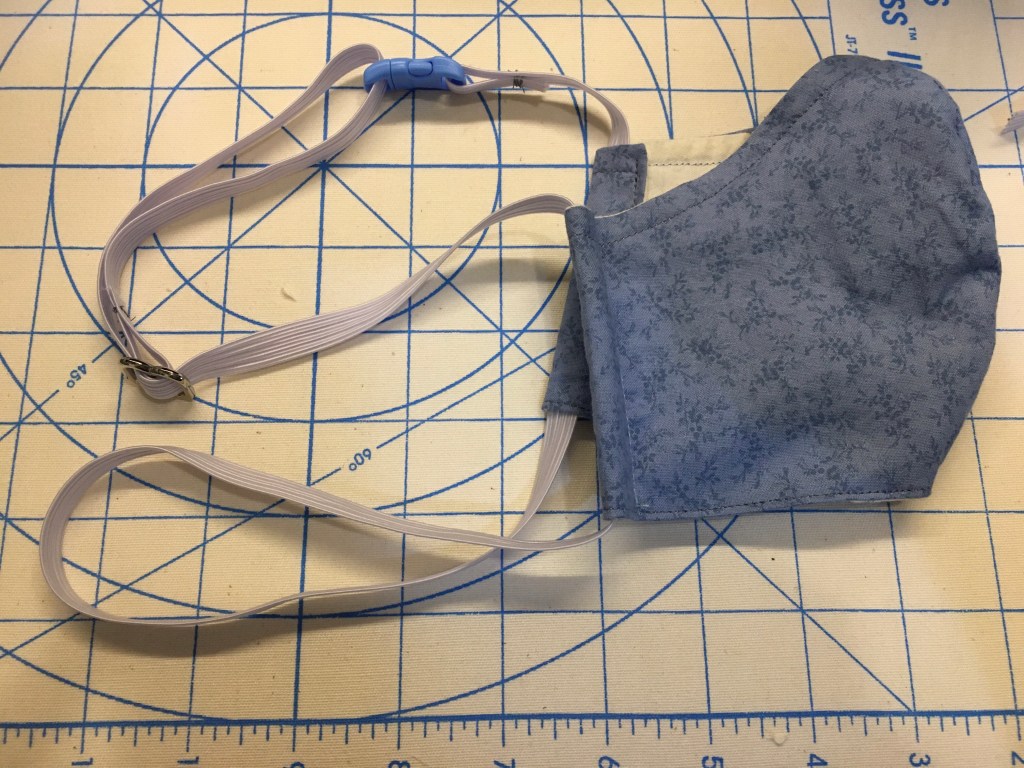
The final thing we are testing is an alternate strap method to ties or ear loops. My youngest wears glasses and hearing aids, so ear loops are out. Tying straps behind the head is also fiddly. So we are trying 3/8” elastic in a loop. The loop is adjustable with the use of a figure 8 slide, and clips together with a buckle (although once at the right size, the elastic has enough stretch to just pull it into place).
No, I don’t think masks can guarantee not catching a virus, but they do a great job reminding me not to touch my face!

The day lilies are blooming in my front yard. I love when I find the right spot to plant and the flora flourishes. These are particularly fancy with their triple petal layers.
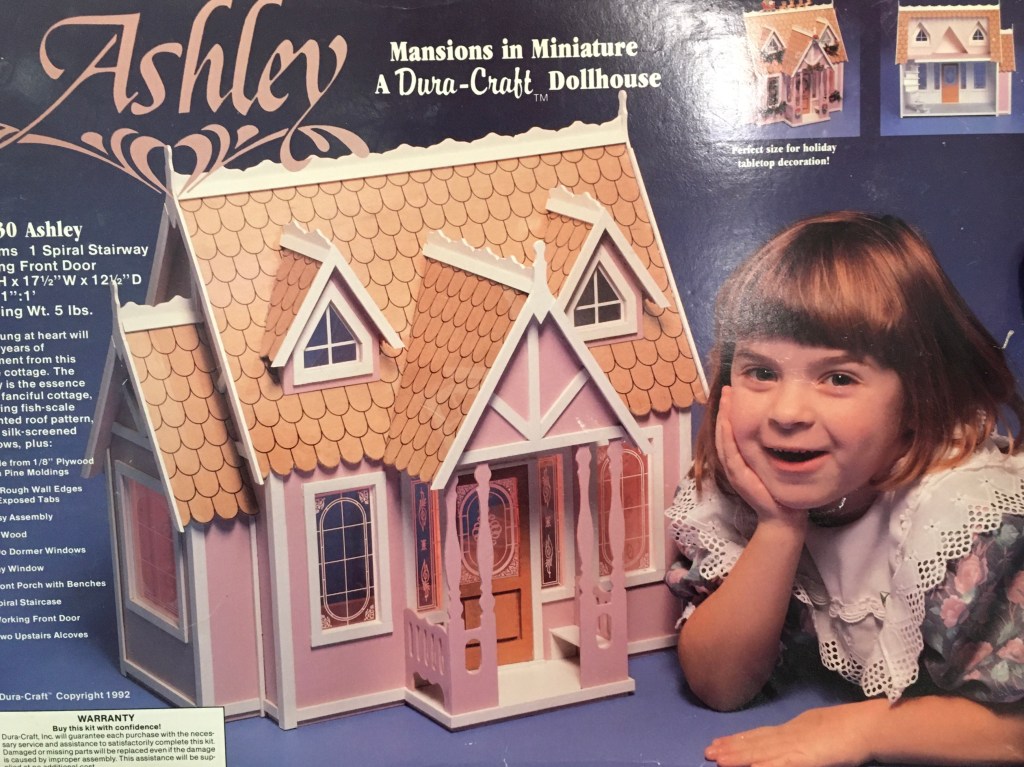
It seemed a good rainy day project, maybe stretching to a few days. The instructions said easy assembly. My youngest was enthused and helped me paint it her favorite color: pink. I convinced her not to have the entire thing a solid pink, mainly by promising to paint all the trim white myself. Oh so much tiny trim.
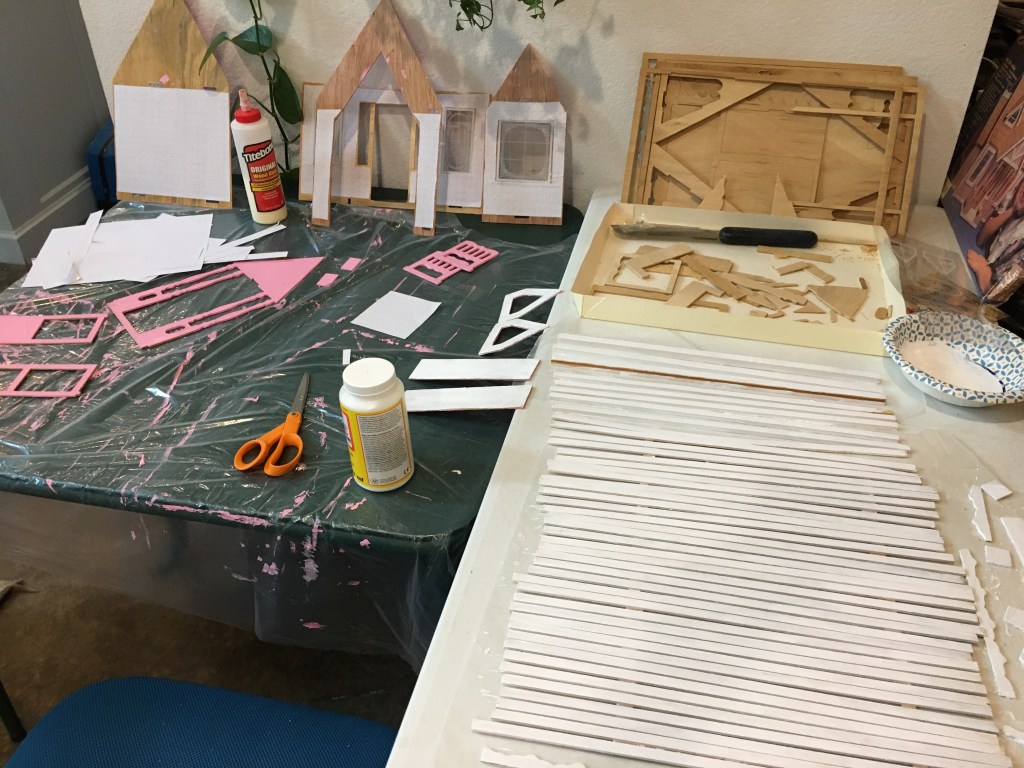
My grandmother gave me this dollhouse after I was married. My husband found the kit recently when he was cleaning out the garage. I’ve had it for probably 24 years. The Dura-craft dollhouse company went out of business in 2005. The copyright date on the instructions is 1992. I discovered these last two facts after the project was spread over two tables and a bench in the middle of the house.

I discovered on day two, after the painted parts were dry, that the company and I have different definitions of “easy assembly”. Each piece of tiny trim needs to be cut to size. I have some good wood glue, but even that needs some time to set before going on to the next step. So it will take awhile to get everything assembled using a stop and go method. My youngest does come by and show interest and helps, which keeps me going. I may also be getting a wee bit obsessed. My youngest wanted wall paper inside, “Pink flowers” wall paper. I designed a repeating pattern in Photoshop and then shrunk it down to doll house size and printed it. I then used Modge podge glue to attach the paper to the wall, and other coat of glue on top to protect the paper. Maybe a little obsessed…


