Keep the door closed

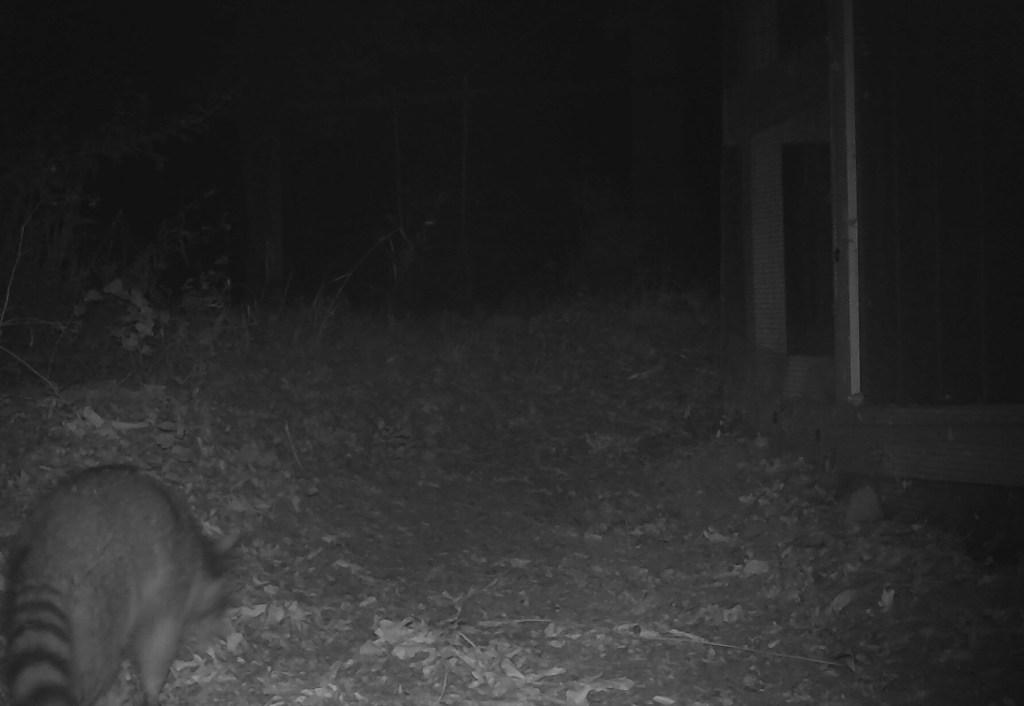
Raccoon behind the coop

I had contemplated keeping the back door of the coop open at night to really let the cool air flow through the coop. There is a “screen” door with chicken wire instead of screen, but chicken wire won’t hold up to the attentions of a raccoon, and after the trail cam took a picture of a raccoon right behind the coop, leaving the door open is a definite no. In fact, I need to line the inner door with hardware cloth and put a heavy two step latch on it just in case a raccoon gets bold before I close the back door! (The solid door has three latches on it and a pad lock.) I had originally intended the inner door to only be utilized when I was out in the coop, but I found that keeping it as a breezeway after dinner makes a 10 degree difference in the inside of the coop. When the temperature in the coop goes from 95 to 85, it is worth airing out.

Armadillo behind the coop

The trail cam also took a decent picture of an armadillo behind the coop. There is hardware cloth buried all around the coop and runs to keep the diggers out.
Paint pouring rocks

I have been hearing about paint pouring projects for about two years. At the beginning of the summer I purchased some flow agent (Floetrol, but there are others), but didn’t get around to giving it a try until now. I’m sorry I waited, this was fun! My kids really liked it, and it wasn’t nearly as messy as I feared it would be.

Preparing to paint pour

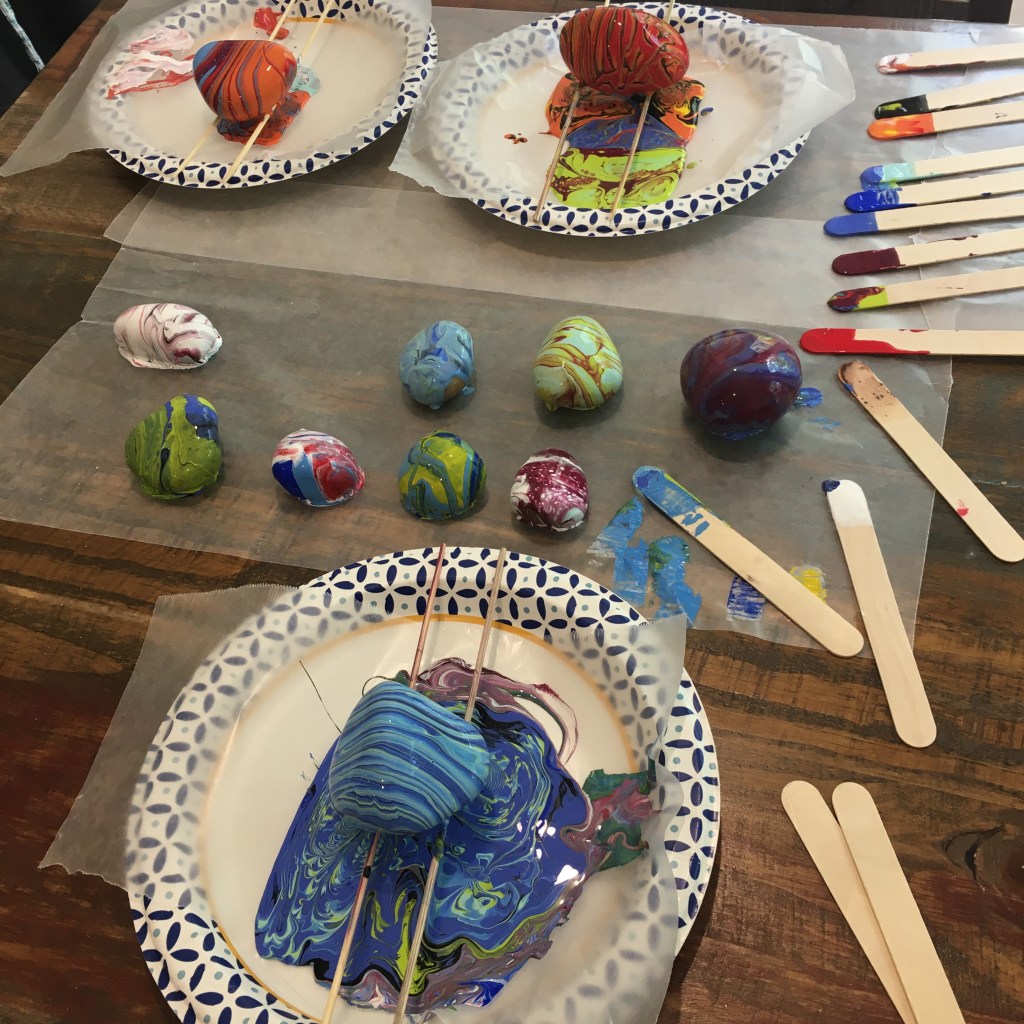
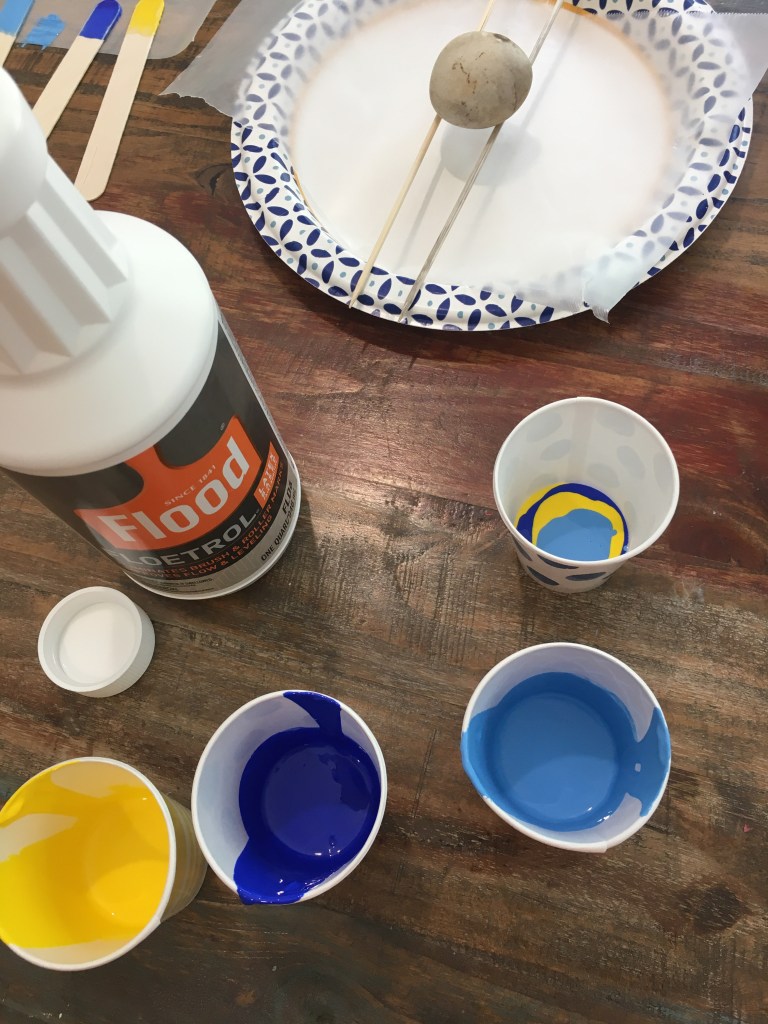
I lined paper plates with wax paper to catch the drippings. (When the paint is dry we will use the drippings for another project.) I put bamboo sticks across the plates to hold the rocks above the plate. I used 5oz paper cups for mixing and pouring. I mixed about twice as much Floetrol as paint, so the consistency was about the same as pancake syrup. When the solid colors were mixed, I poured spots of color into a different cup. Then I handed over the cup and let the kids pour!

Paint poured rock by my eldest

After pouring, we let the rocks sit for a bit, then moved them over to another sheet of wax paper so we could pour more.

Paint poured rocks waiting to dry

I don’t feel like we have wasted paint since we caught the drippings and used up all the mixed paint. The stir sticks will dry and can be used again. Some artists use washable cups, which is a good idea if this becomes a frequent craft for us.

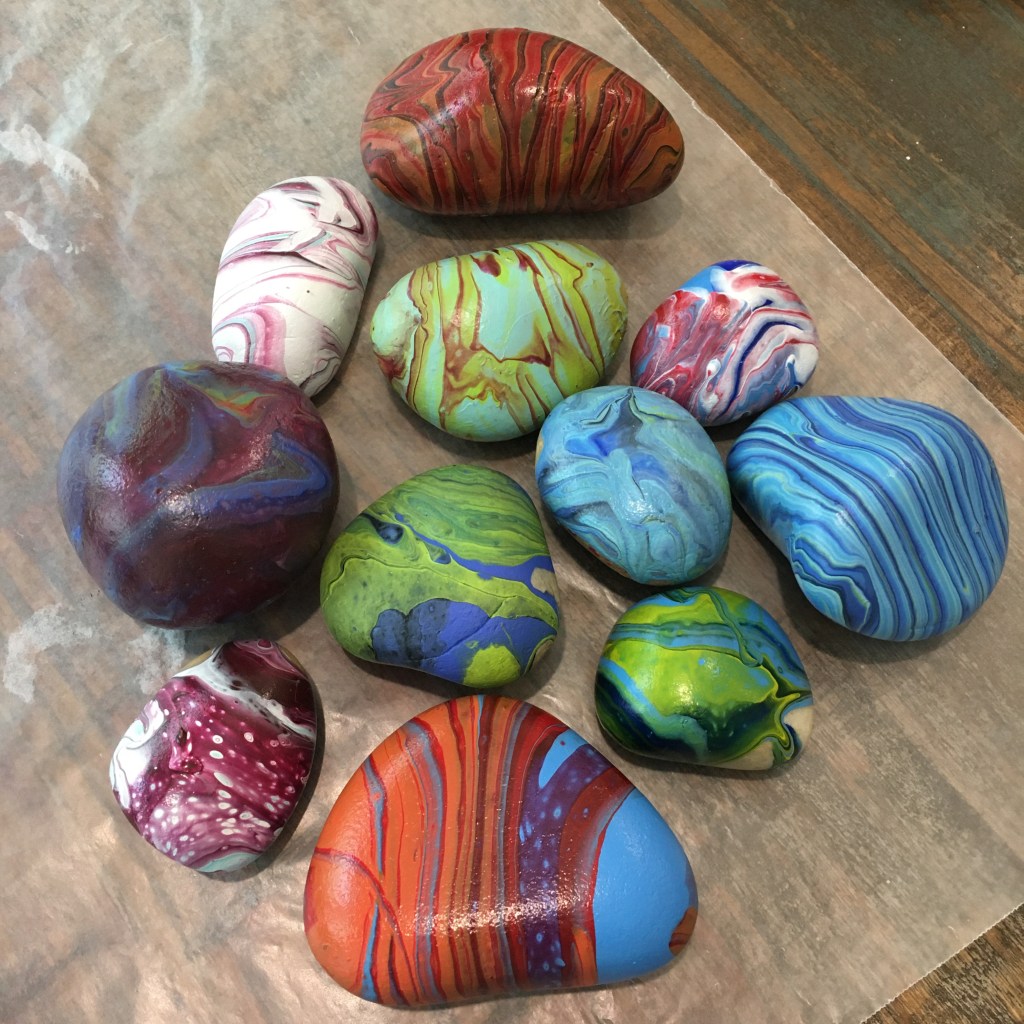
Dried paint poured rocks

Once these have sat a couple days, I will put on a protective clear coat. These are too pretty to just leave to the elements!

Green grass

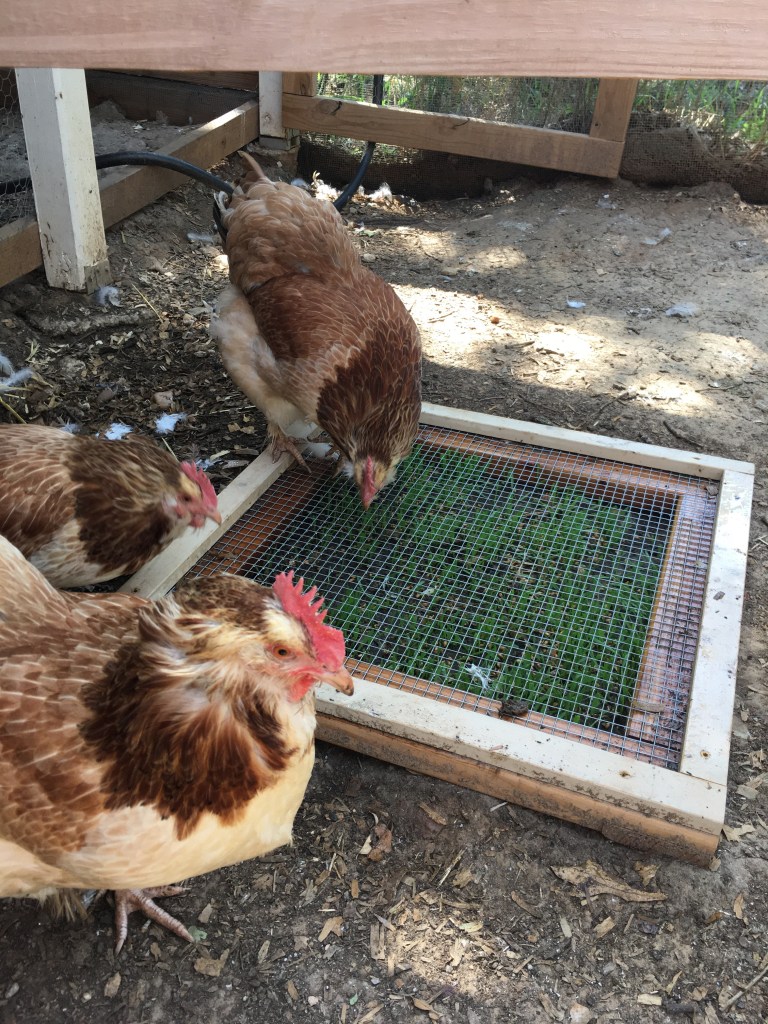
Chickens at the “salad bar”

I purchased some wheat seeds for the two “salad bars” in the coop runs. The forage seed I was using had more dicotyledons (two leaf) sprouts than monocotyledons (one leaf) sprouts. The sprouts weren’t growing through the mesh, but bending down underneath. The wheat grass is working nicely as it can grow through the mesh and be neatly trimmed by the chickens, which they do enthusiastically.

Froggy went a courtin’

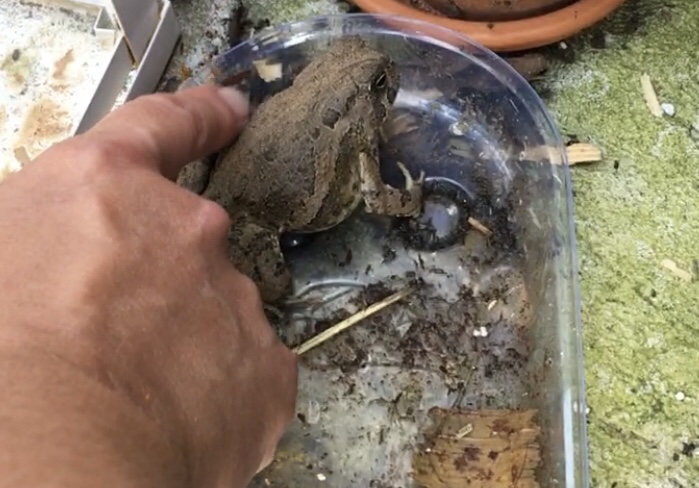
Toad likes back rubs

I’ve seen videos of people giving a toad a back scratch, and the toad leans into the attention as if in enjoyment, but I didn’t think this was a regular toad behavior. Imagine my delight when one of the house toads let me give him (her?) a scratch! Oh wait, you don’t have to imagine, here is the video. Warning, my voice goes hypersonic and I speak baby talk to the toad (incidentally, I never use this speech mode with children, it is reserved for animals).

Ear saver head band

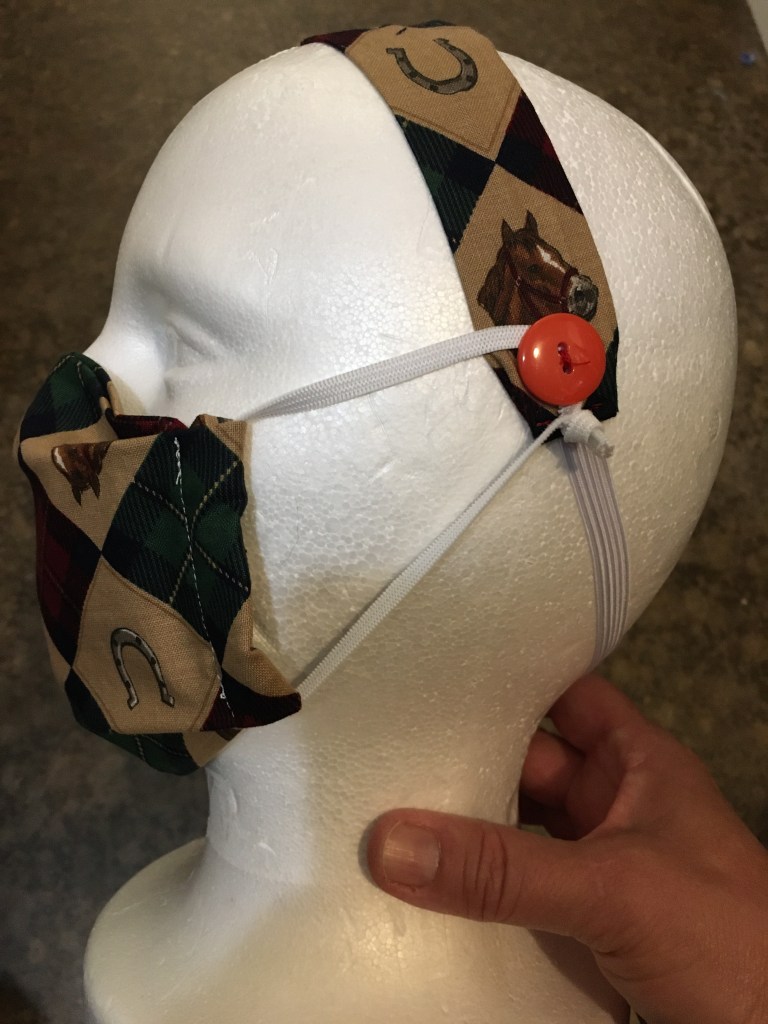
As I make masks, I have long strips of waste fabric, so I made some head bands with buttons to try as ear savers!

Child’s mask attached to buttons on a head band

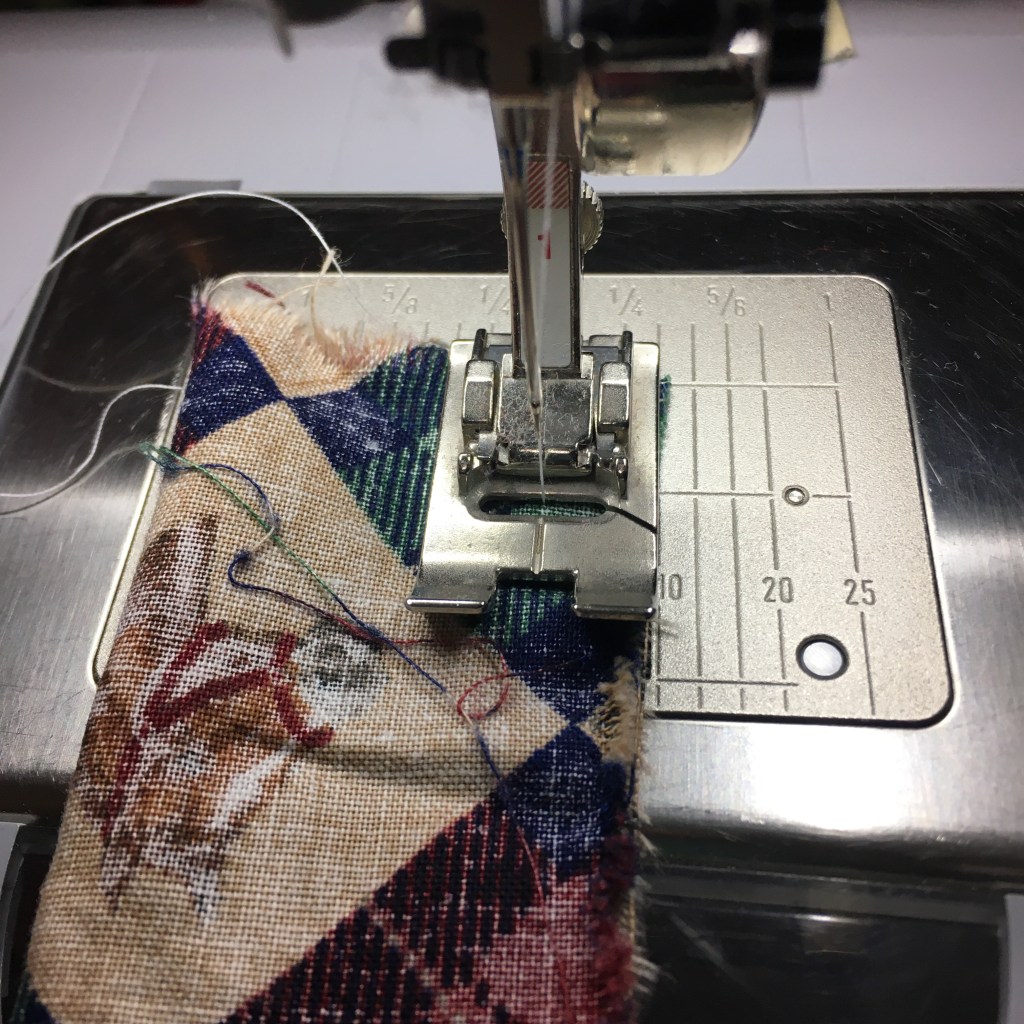
To make the headband, I made a strip of fabric 3” wide and 15” long for an adult size, or 3” x 12” for a child size. I folded the strip lengthwise with right sides together and sewed a 3/8” seam.

Sewing the seam for the headband

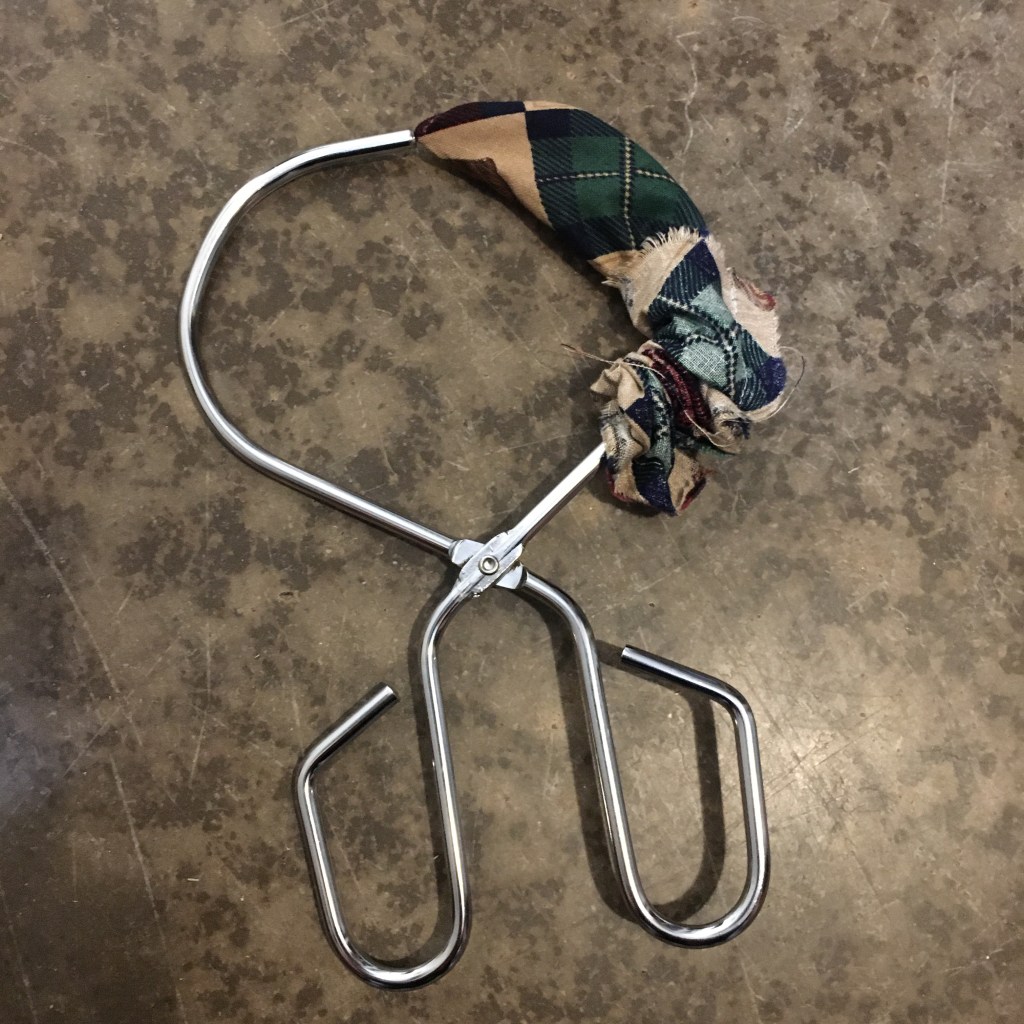
I used a tube turner to turn the fabric tube inside out, then pressed it flat.

Tube turner

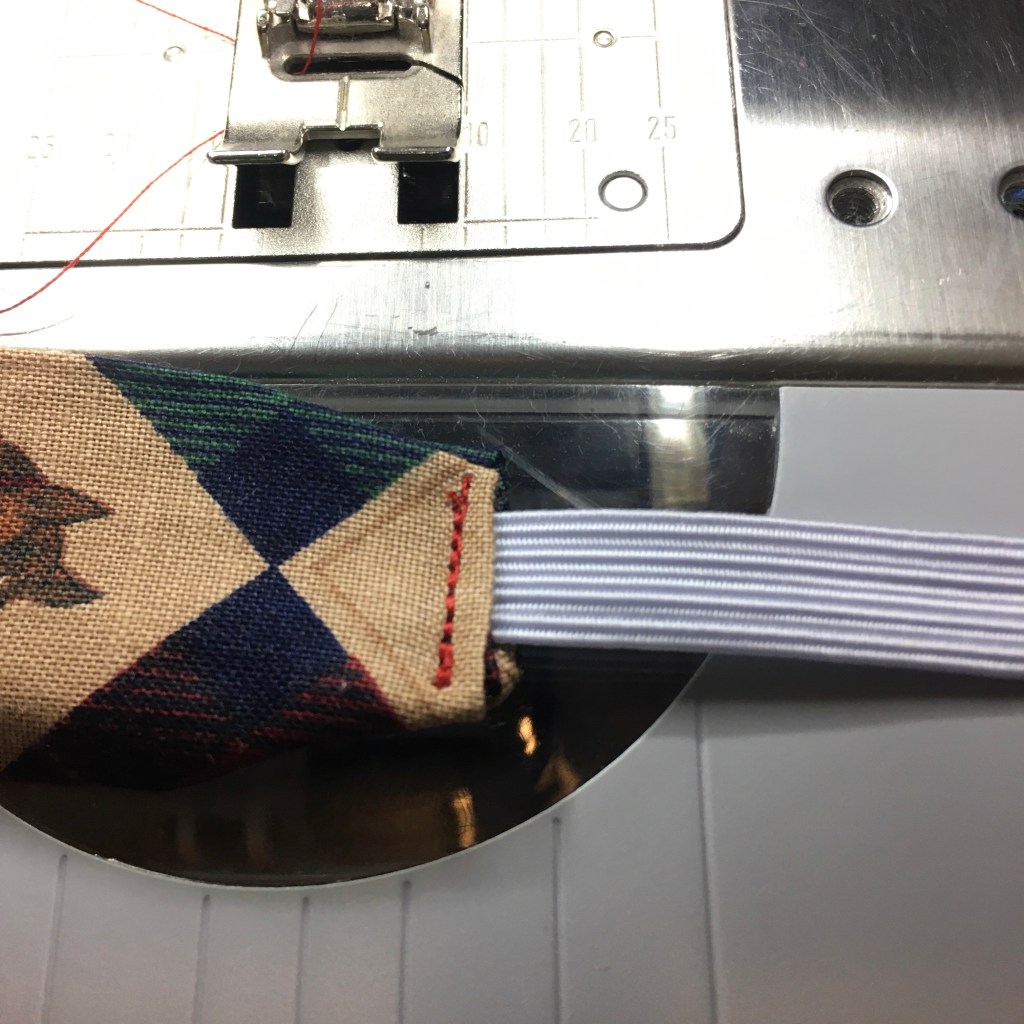
To attach the 3/8” elastic, I folded the end of the tube to the inside, then made two inverted folds on the sides to reduce the width of the headband (other sizes of elastic would work as well). I sewed across the end to secure the elastic.

Elastic sewn in

After sewing in the elastic on one side, I measured 21.5” from the end of the fabric for the adult size (19.5” for the child size), cut the elastic, and sewed in the second side. With the elastic secured, I sewed on machine washable buttons.

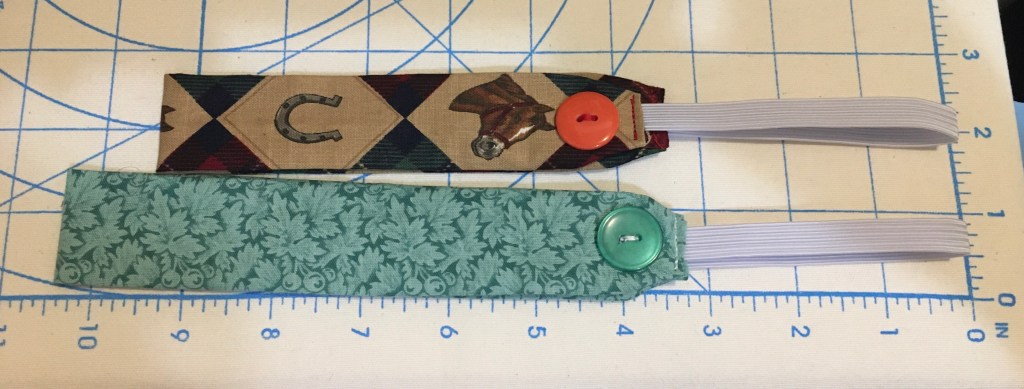
Ear saver headbands (top child sized, bottom adult sized)