I don’t often rip out my needle work, I usually find a way to make it work either for the original purpose or by pivoting to a new use. For example, a hat that is too narrow for a head becomes a drawstring bag. I have to be deeply unhappy with the work, or really be in love with the yarn. In this instance it was both. I found a pattern for a dragon scale crocheted blanket that looks fabulous with color changing yarn. I love the idea of dragon scales and tried it with my hand-spun Jacob’s wool yarn. The pattern completely disappeared in the marled yarn, the fabric was heavy, and was tedious to crochet.
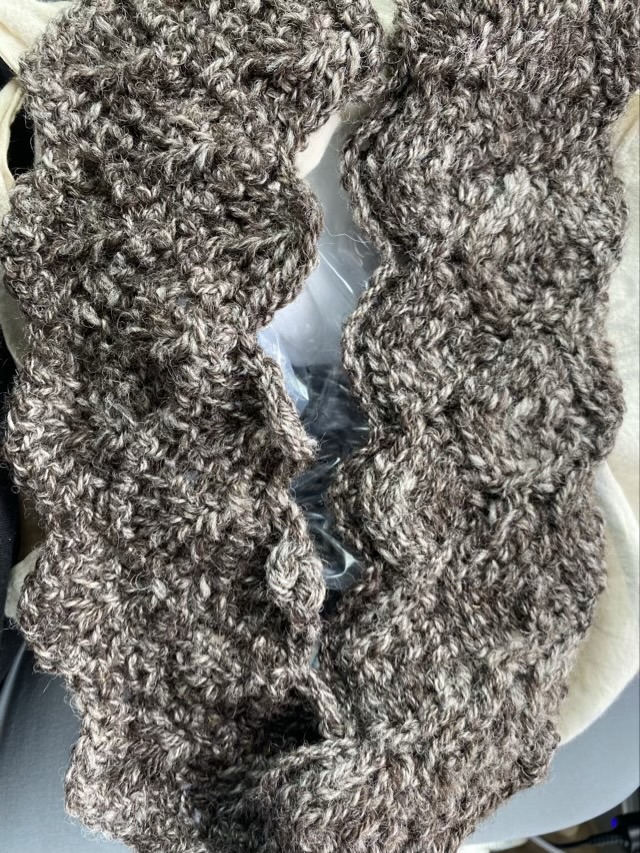
So I ripped it out.
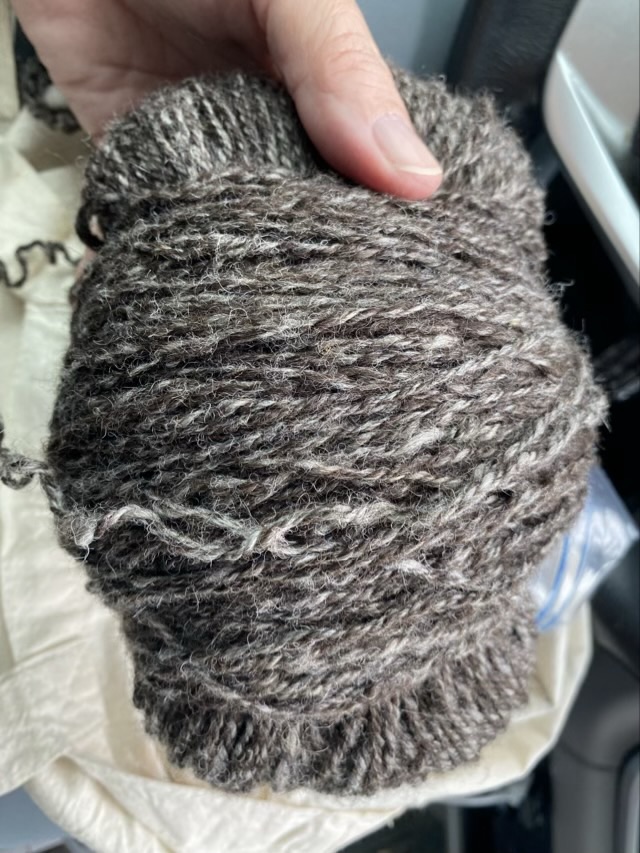
I later did rewind the yarn cake and started on a new crochet pattern with a more open stitch.
This is a post to prove that I indeed do rip out on occasion.