Weird but works

I noticed that I had to spin my experimental spindle quite often. I was not able draft fast enough and the twist built up and reversed the spindle. I needed to either draft faster, or slow the spindle down. I started by drilling a couple holes in the base of my spindle and wiring in an embroidery hoop. Moving the weight away from the center slows down the spin (yay physics!)
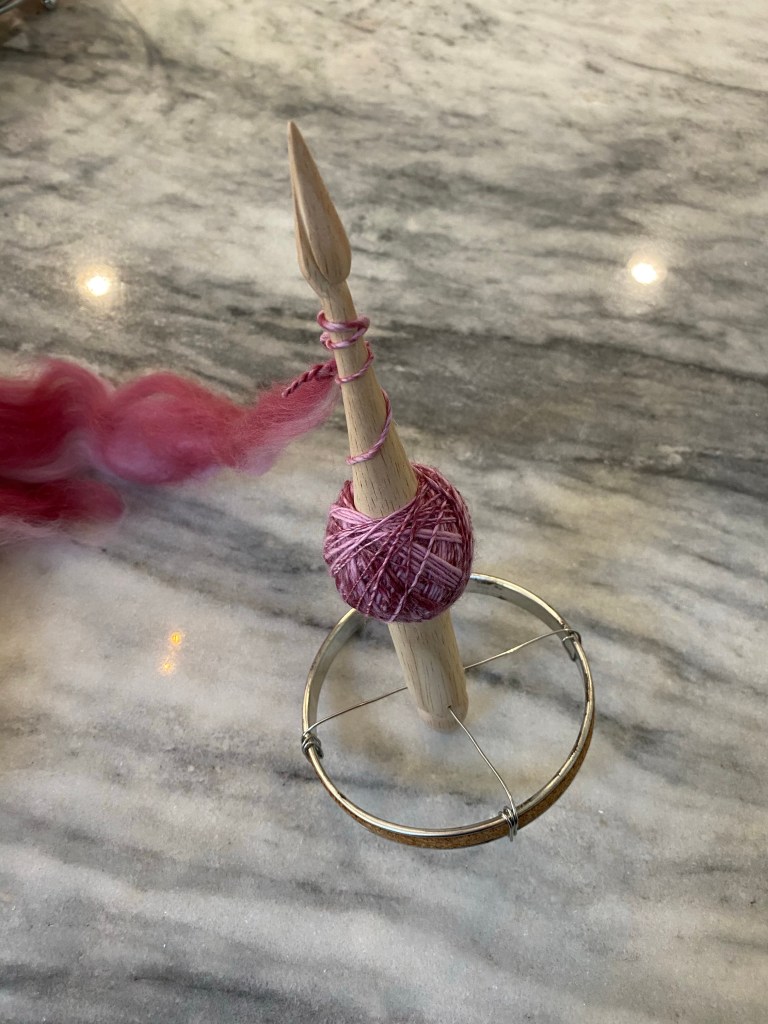
Spindle with wired-in embroidery hoop

This worked well, but was very heavy. So I visited a local craft store and picked up some steel macrame hoops. Rather than wiring them in, I had the idea to snap them on. Because I so helpfully included an indent at the bottom of the spindle (which at the time I just thought was pretty), I could make a catch with the wire so the hoop could be changed out.
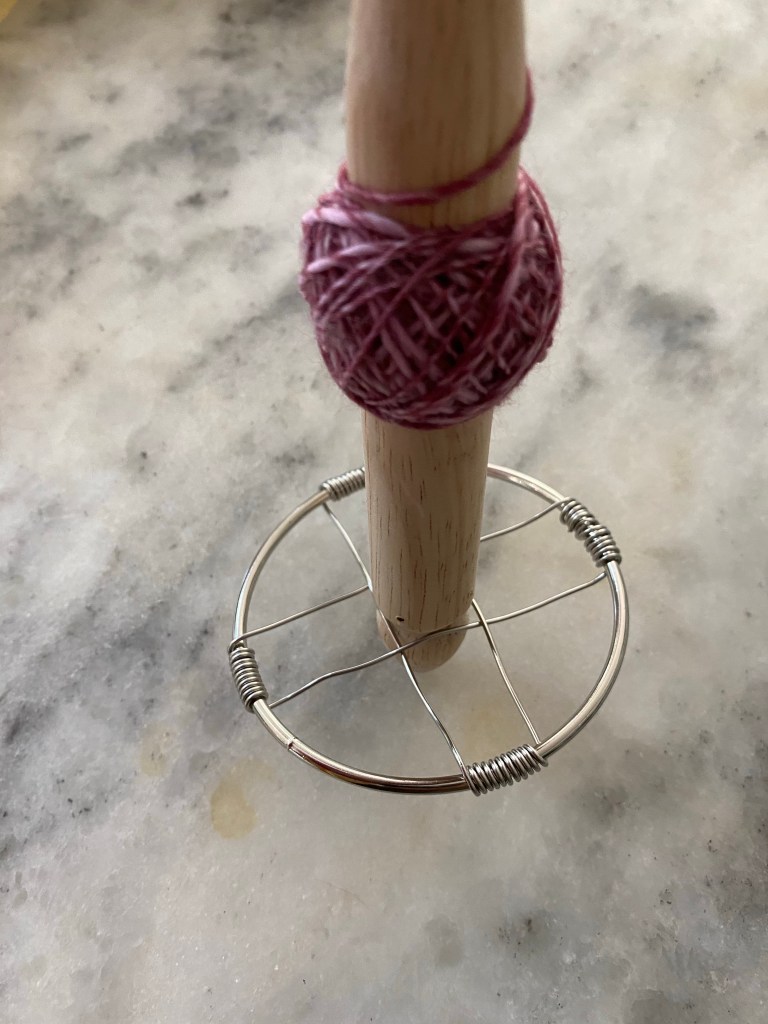
Spindle with wire hoop to adjust spin dynamics

I need to perfect the balance (which using a lathe on the spindle and more precise wiring should help), but with this modest modification I could produce yarn so much faster. The hoop is low enough that I can still use the nostepinne style ball wrapping, and when I want to use the spindle supported, the hoop pops off. It is not really surprising that I came to this solution. Wire is one of my favorite mediums, right up there with wood.
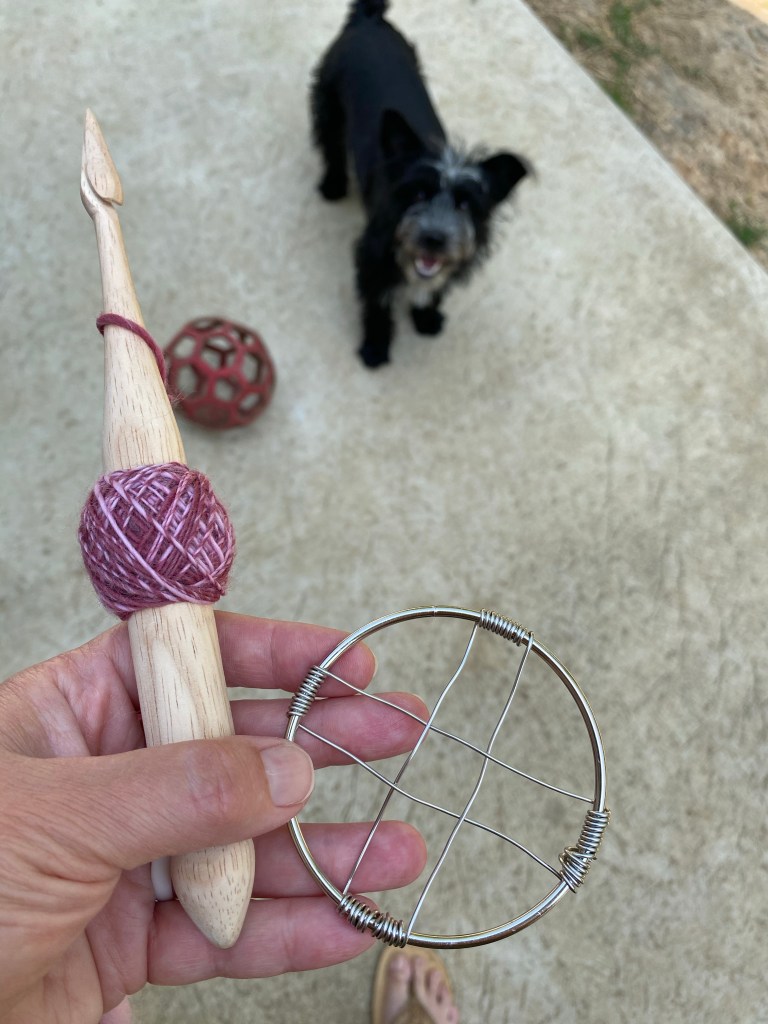
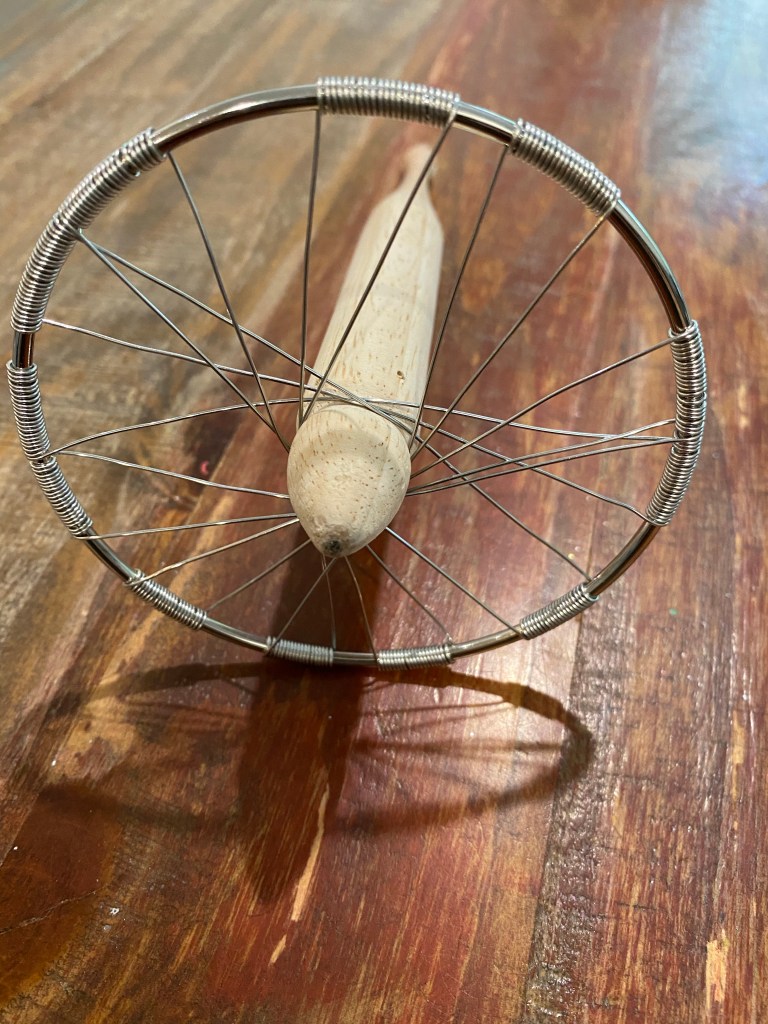
Hoop removes easily (which also means if I drop it, it pops off and sustains less damage than a permanently wired hoop)
Here is a variation on the wired “clip on” edge weighted hoop, still not quite right, but I feel I’m getting close.

Happy Honeysuckle

Native yellow honeysuckle in bloom

The honeysuckle in the corner is super happy this spring. I think it rather enjoys the new drip line feeding its roots.

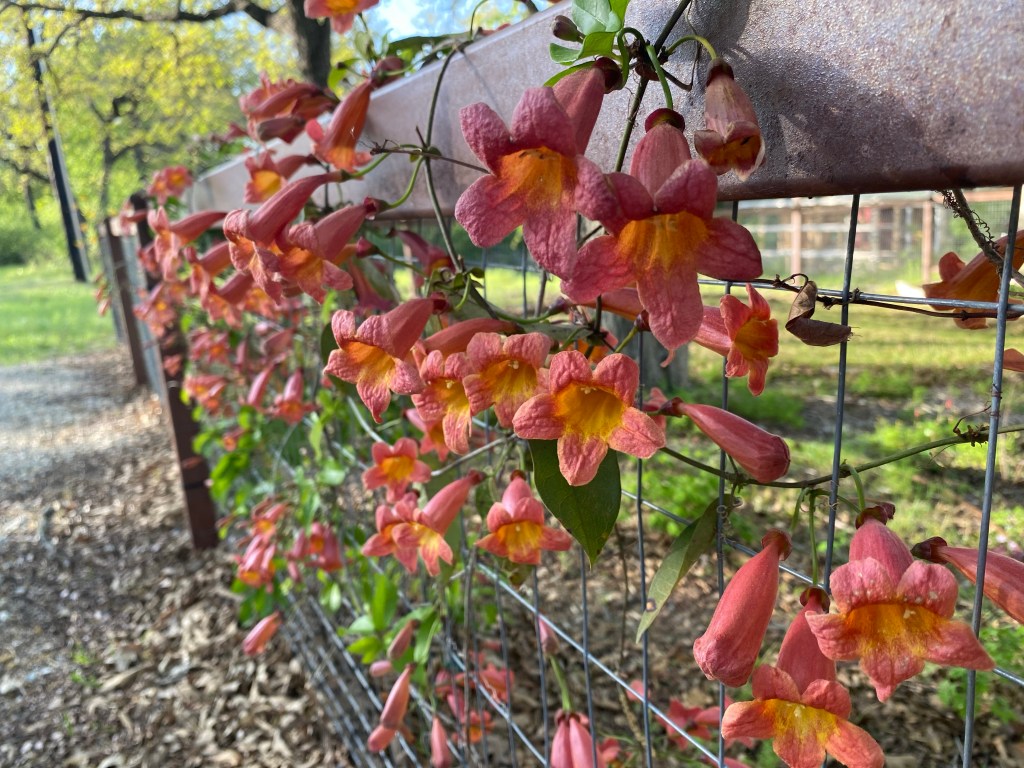
Crossvine in bloom

We thought for certain the crossvine had succumbed to the artic cold in February, but it is also happy and full of bloom. I’m very glad I didn’t rip it out!

Fear is the project killer

Even I am not immune to project fear, which leads to bundles of yarn in various states of assembly moldering in a corner because I’m not sure what to do. My forever alpaca project has been that way for months (I started it over a year ago) because I had an inkling that I didn’t have enough to make a vest. I was right.

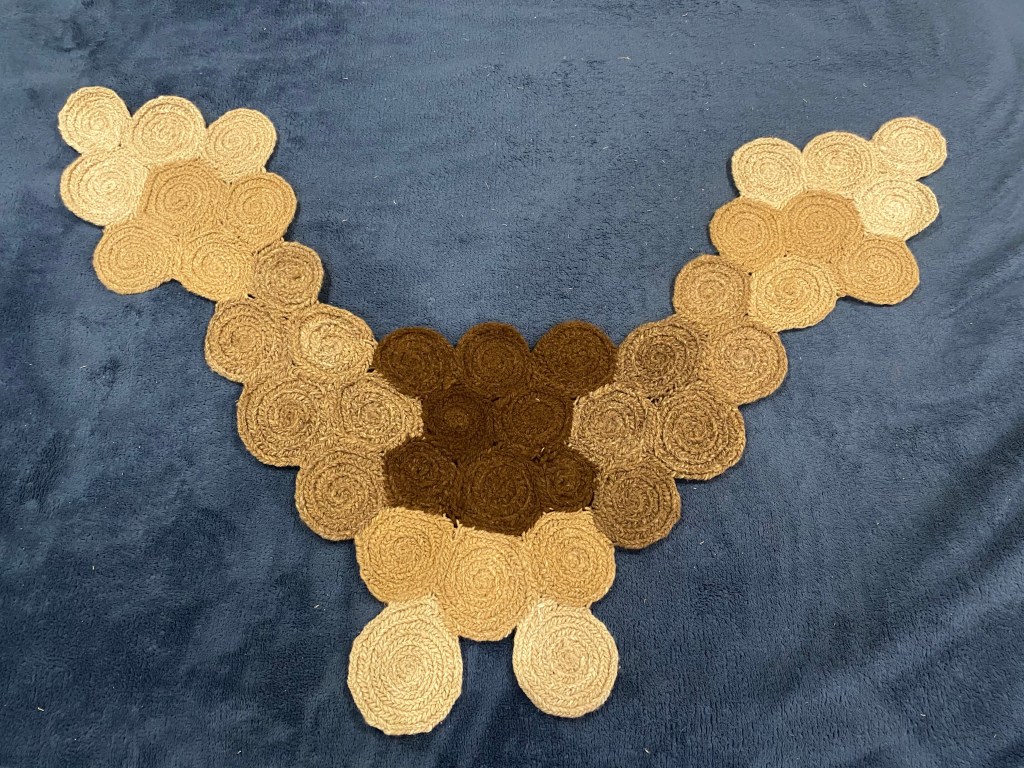
Nålbound spirals laid out on my favorite vest

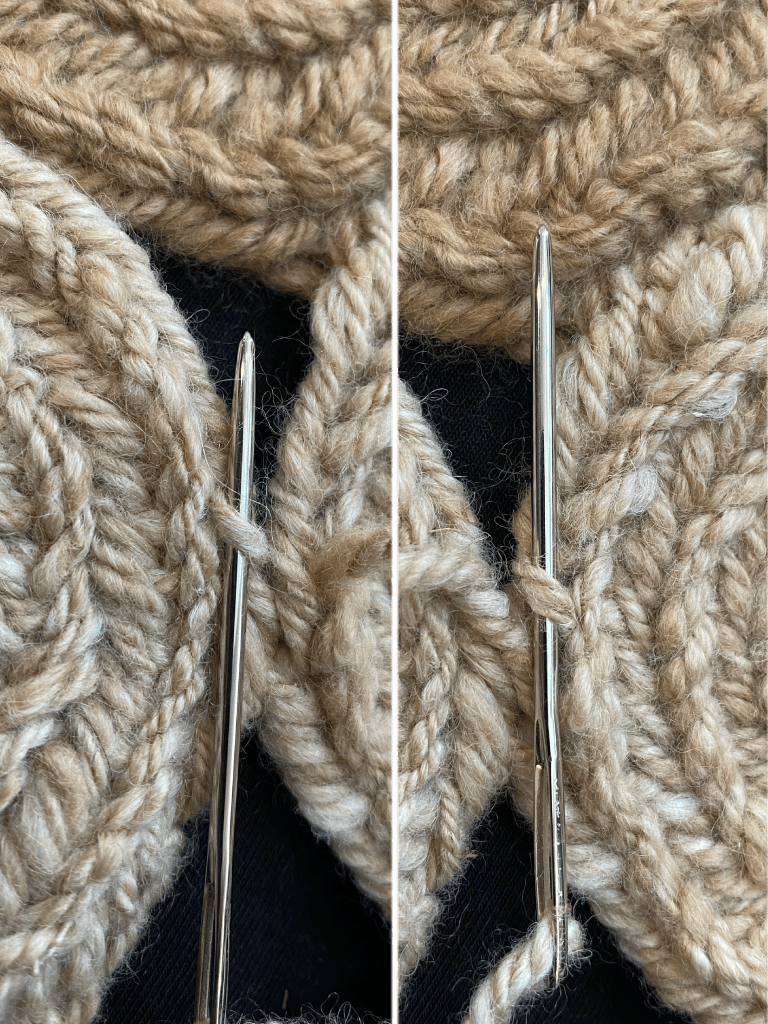
The idea was to lay out pieces on a vest that fit well, then sew the bits together to form a new vest. I’m not really wanting a bolo vest, and I spun all that fiber at one time, so I would be more consistent. I’m not sure I could spin it up the same now. So. Time for a new plan. I laid out the spirals in several different configurations, and when I had one I liked, took a picture and started sewing using the tails I left after nålbinding. To sew, I used a mattress type stitch, where the needle points the same direction for each stitch, just switching sides.

Two images showing stitching the circles together, picking up loops on the left and right respectively

I was planning on a scarf, but when I did a test fit (as you do), I realized I could shape it more like a shawl or large collar.

Nålbound circles connected
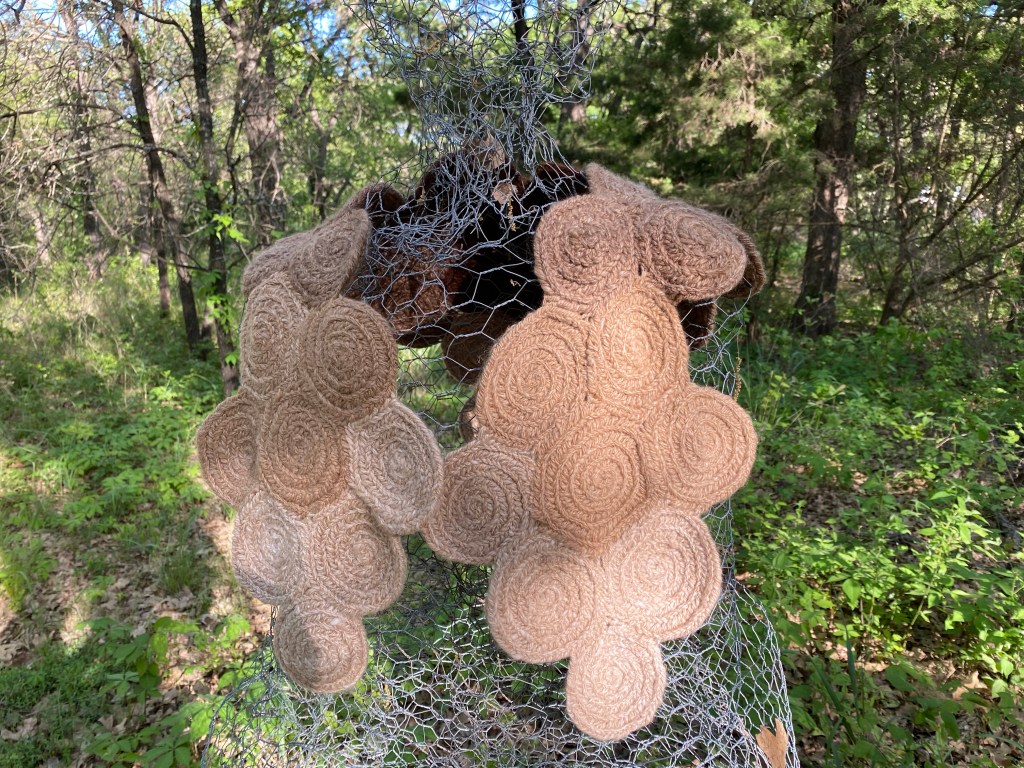
Back of shawl
Front of shawl

I also realized that I may still be able to turn it into a vest by adding a body section. Hmm.

Watching?

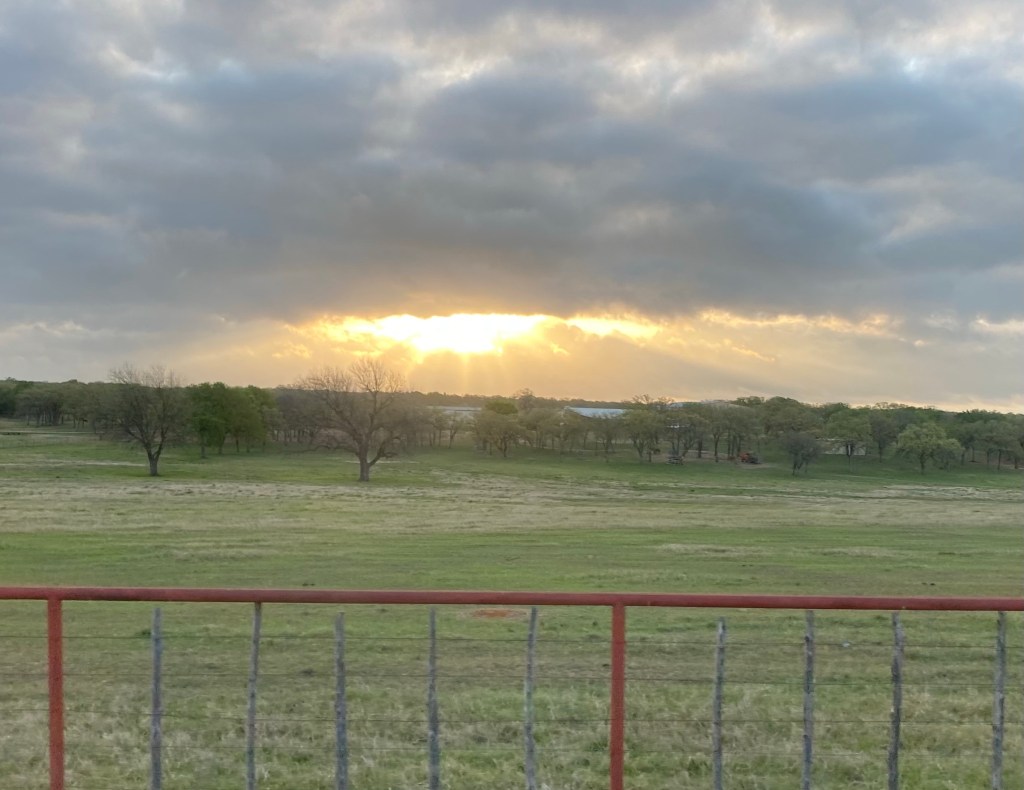
We had a rather striking sunrise the other day. I snapped a picture (I was not driving), then realized after that it looked like a giant eye. And not really a benevolent one. I had “From a Distance” by Bette Midler stuck in my head the rest of the day.

Sunrise eye

Doll jacket

I used the gimp yarn I spun to make some more doll clothes, because there wasn’t near enough to do much else. I wanted to see if I understood the construction of a nålbound sweater, but it is very difficult to get a sweater on a doll, so I also tested cutting the fabric and finishing it.

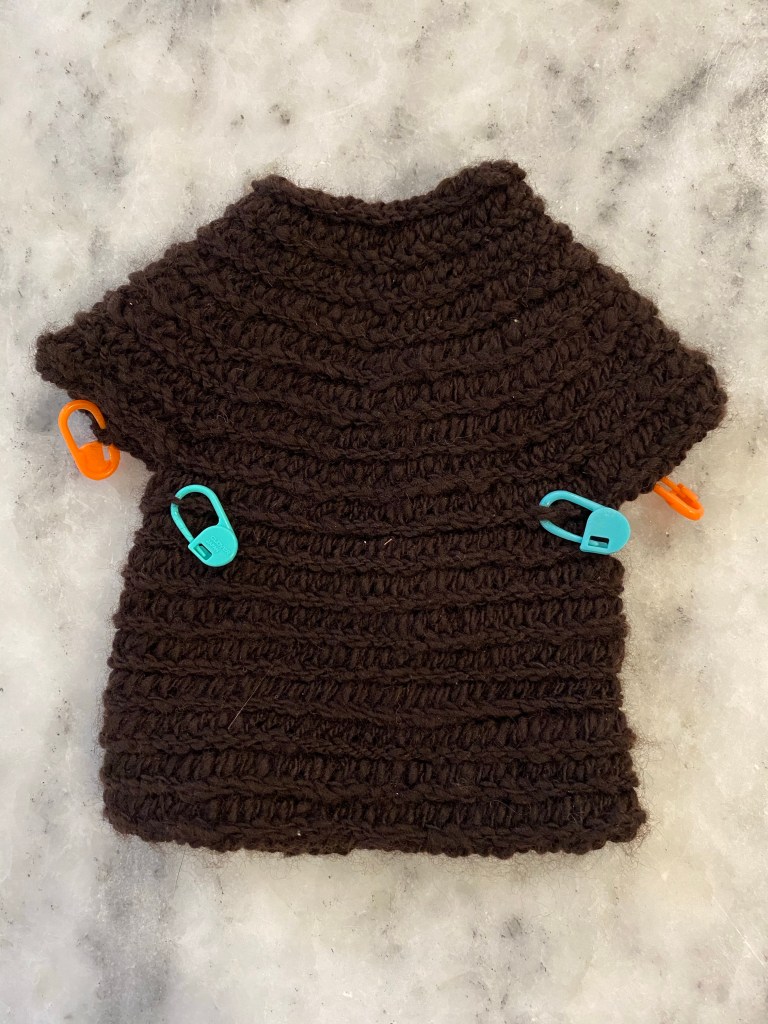
Nålbound doll sweater made from the bottom up

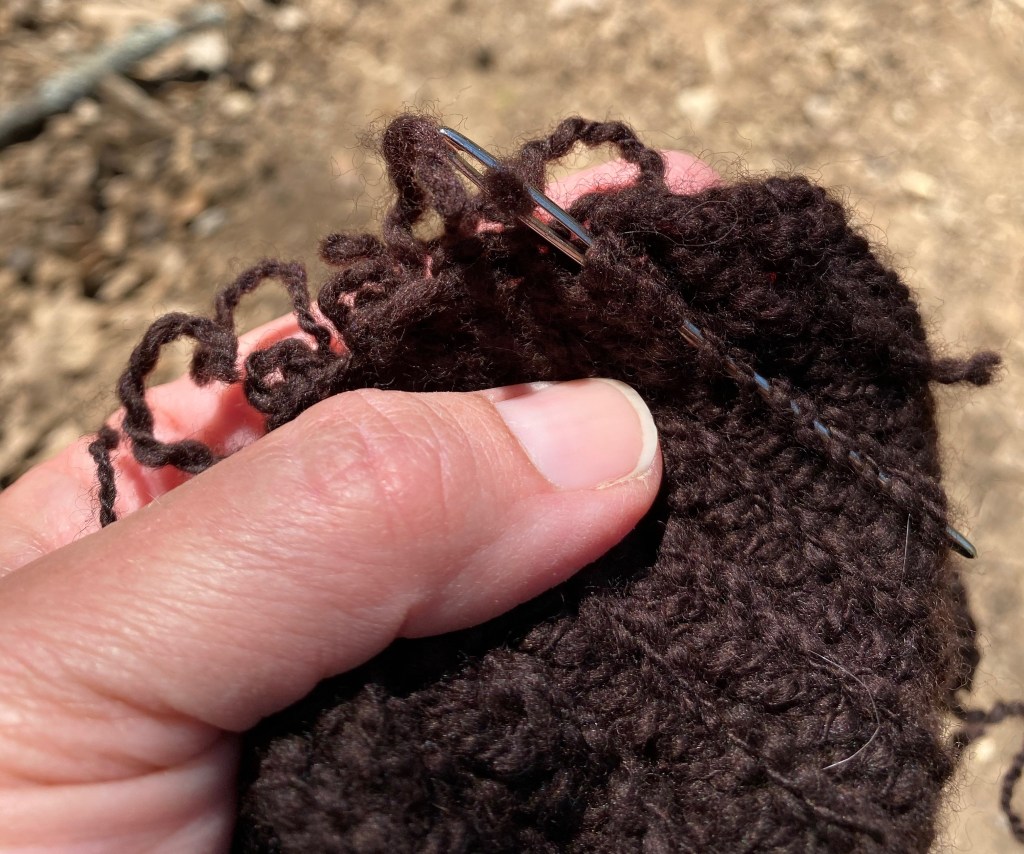
I used an existing shirt as a guide for the dimensions, and started from the bottom. When I reached the armpit area, I made a loop on each side, then calculated my decreases. I added 50 stitches with the arm holes and needed to reduce an additional 20, all over 7 rows, so each row needed 10 decreases. I placed markers and did decreases at and between the markers (so I didn’t have to count stitches!) I then cut the garment up the front and removed the partial strands, then pulled the attached threads snug. Using a tapestry needle I ran the ends back through the fabric on the inside.

Running the cut ends back through the fabric

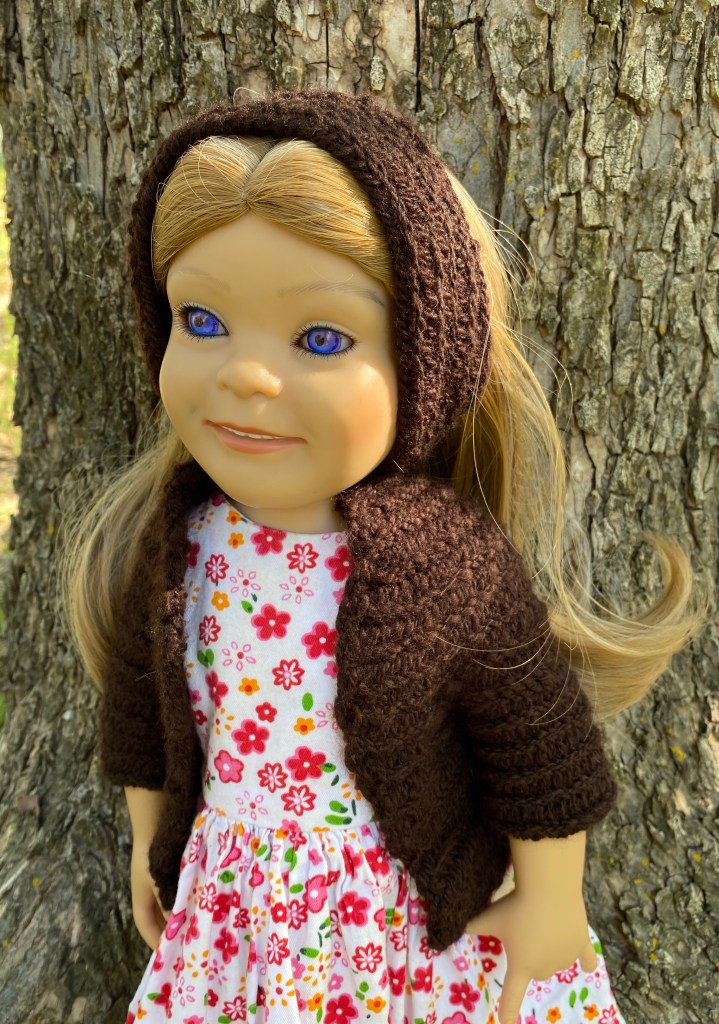
I was going to add an edging, but I quite liked how the edge came out just by neatening the cut yarn. Nålbinding is amazing! I then added sleeves to the arm holes. I had a little extra yarn, so I made a matching ear warmer as well.

Finished doll jacket and ear warmer, 2-ply gimp Merino wool hand spun, Finnish 1+2 F1 stitch

This doll is also sporting a new wig. Her old wig’s glue deteriorated and it fell off, so we ordered a new one that matched my daughter’s current hairstyle and superglued it in place. I’m not ready for doll hospital work, but was glad I could do a slight repair. Her original eye color faded due to moisture attack, however I am not up for changing eyes. That is intense. I used sharpies and some isopropyl alcohol to repaint the eyes so she didn’t look like she had heavy cataracts.