Weaving plarn

Back to talking about plarn. Yesterday I posted about how I connect and spin loops of plastic grocery bags as I stitch. I wanted to learn a new nålbinding stitch and using plarn was a perfect way to practice without wasting expensive fiber. The stitch is a Finnish 2+2 stitch as described here (this page also talks about how different connections affect the finished texture, I chose M1 + F1 because it looks more braided). I started my chain, and made it long enough that I could make a beach mat, if I so chose. It is easiest to do nålbinding in the round, so I continued in the round (nålbinding can absolutely be cut and tidied up later). As I progressed, I felt the texture would be better suited for a bag than a mat (it has a rough feel due to the twist). So then the dilemma was how to deal with the base of the bag. I could stitch it straight, as a tote bag, which wouldn’t stand on its own. I could sew an oval piece of hard plastic in, but what plastic, and would it still be recycling? I could nålbind an oval, which is downright tricky. What about weaving? It is an experimental piece anyway, could I weave a base? I found a box that fit snugly in my nålbound tube and connected the first loop by threading it through the edge and looping it back on itself (as you do for connecting loops).
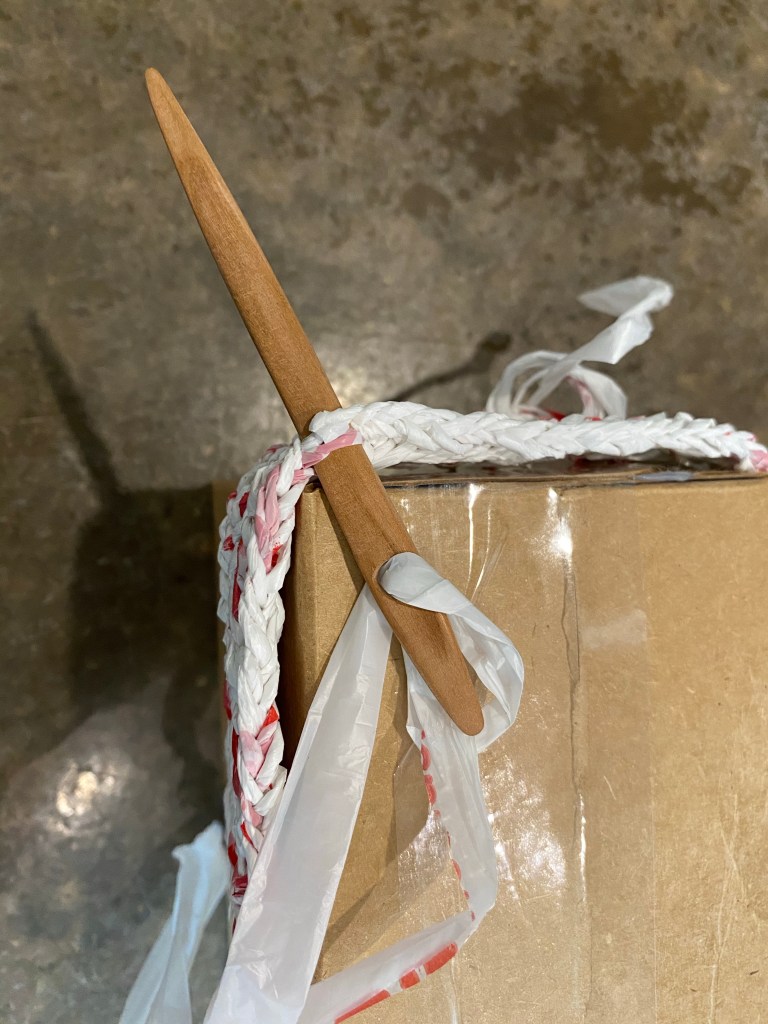
Starting the weaving

I then gave the loop some twist and ran it the long way along the box, out through the edge, then back in through the next stitch. I added loops and twist as I went, making the warp threads for the weaving.
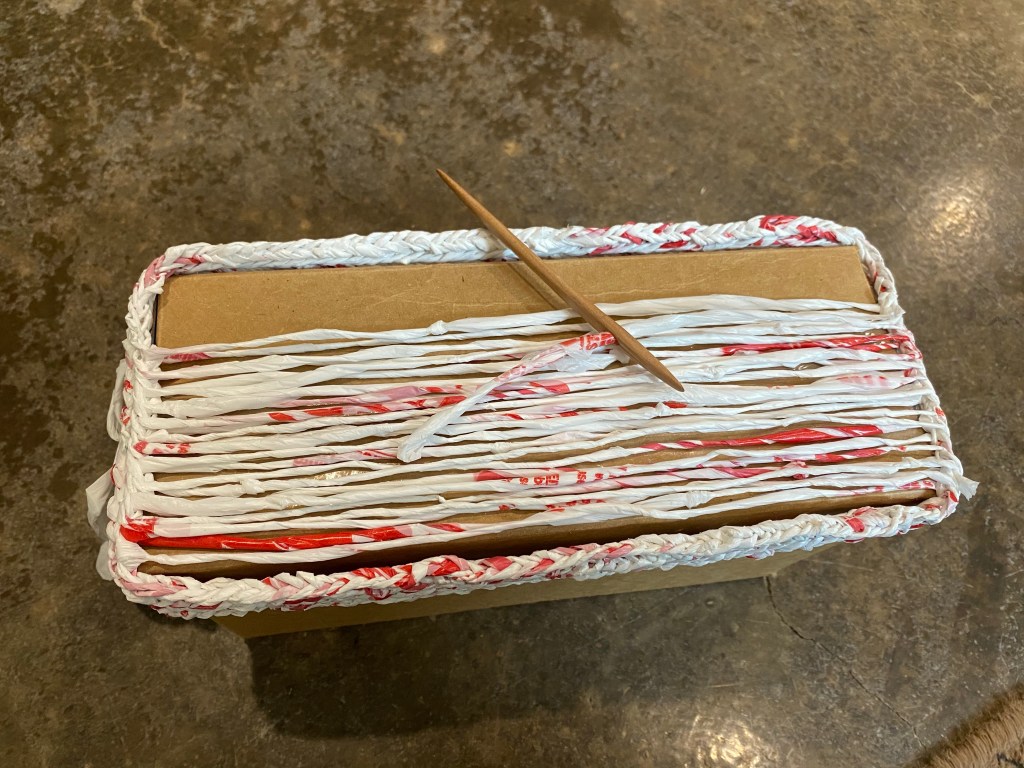
Setting up the warp threads with plarn

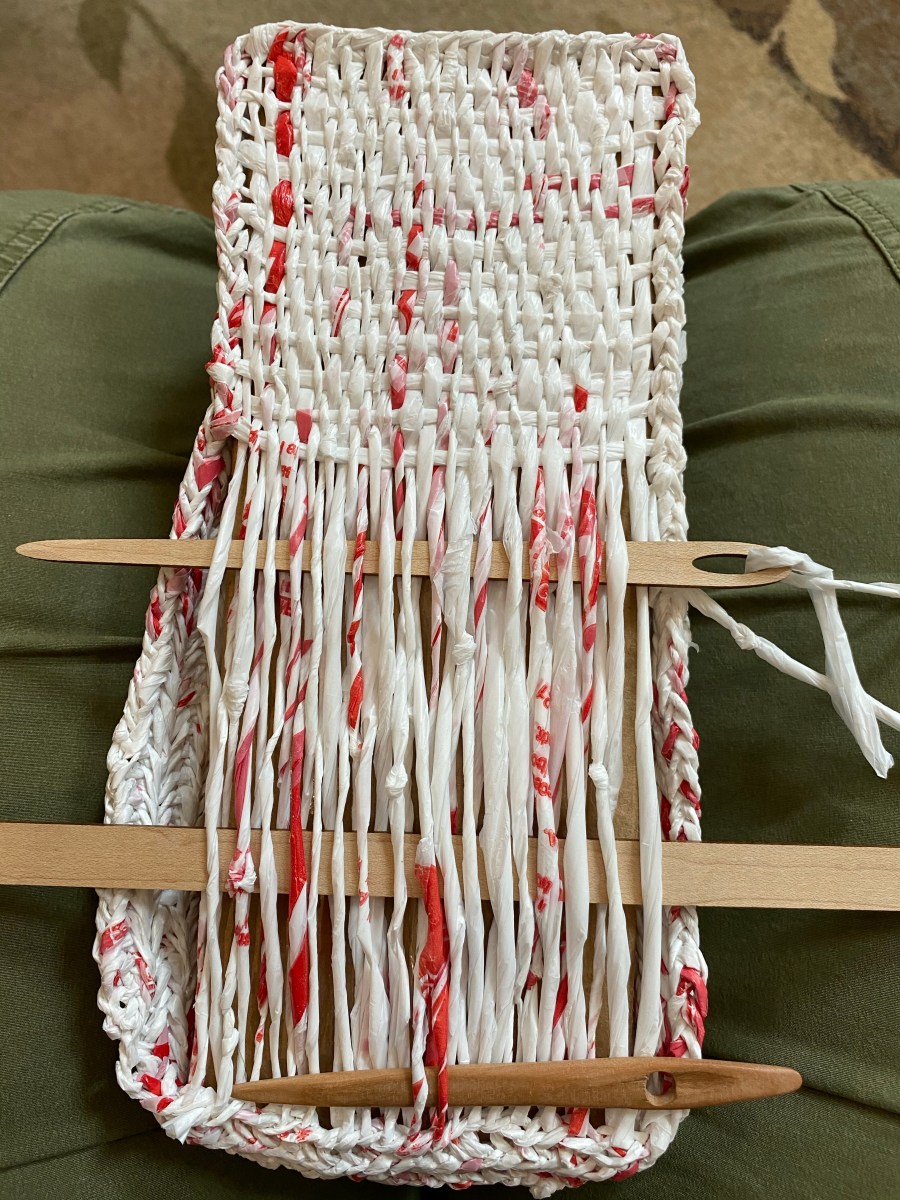
When it was time to start the weft, I realized that I didn’t have to break the plarn, I could just turn the box and keep going. I used a plain weave (over, under, over, under), and used a pick up stick to hold one shed, and a longer wooden needle to pick up the alternate threads. My nålbinding needle was best for connecting to the edge because it is smooth and doesn’t abrade the plastic.
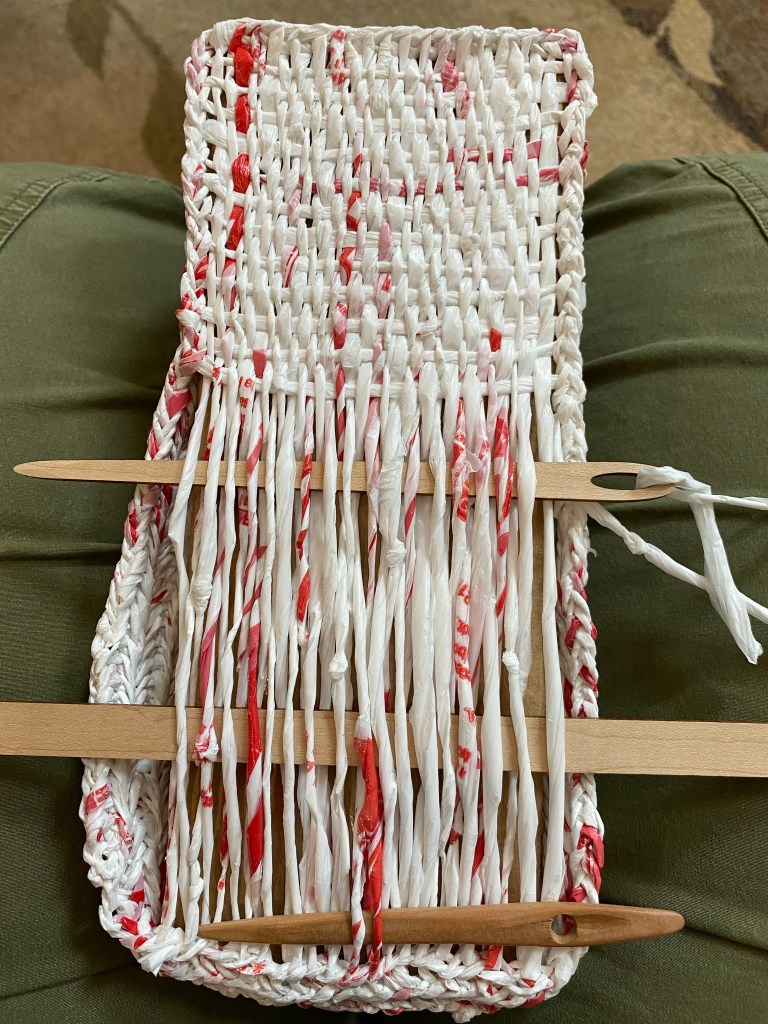
Weaving the weft on the bottom

I had to adjust my spacing as I went; I started off putting the weft through every edge stitch, then ended up every third stitch to get the weft to be straight. At the end, I wove in the tail and clipped it on the inside of the bag. (Only one tail to weave in, hurray!)
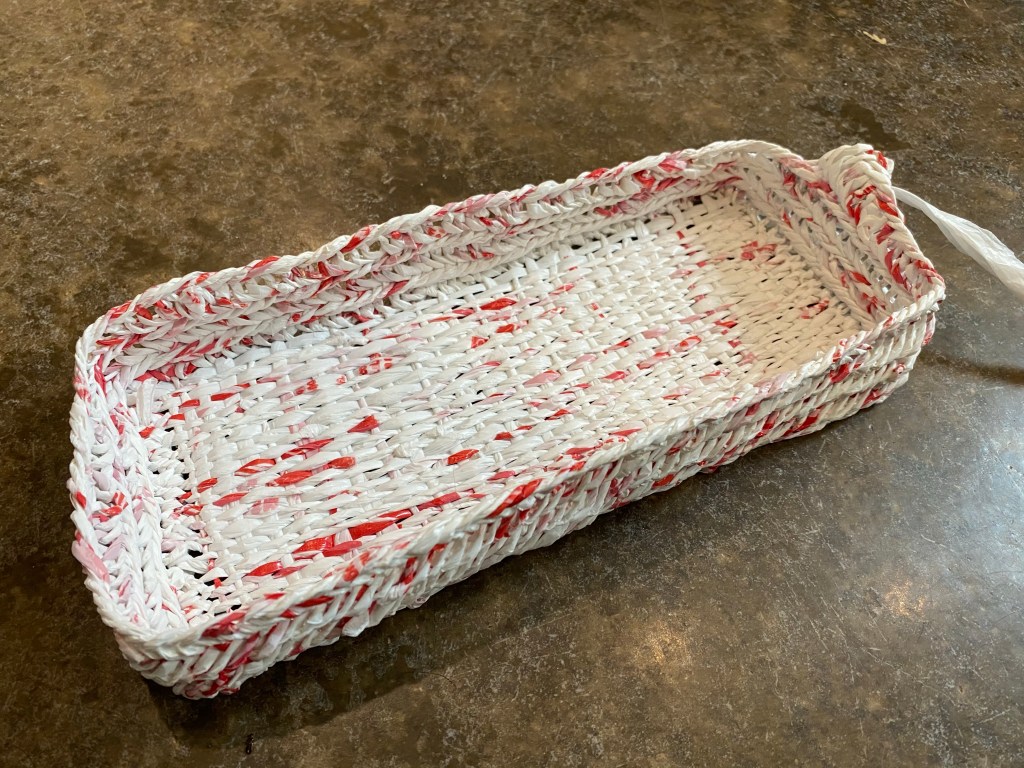
Woven base for nålbound bag (in progress)

This was a very pleasing experiment. I really like the woven base: it feels nice and is sturdy. I will continue to build up the sides with nålbinding, but that will take awhile. I’ll post an update when it is done!
Spinning as I go: plarn

A crafting friend recently reminded me of the value of plarn. Plarn is yarn made from plastic (PLastic-yARN). Typically it is used in recycling efforts by giving new life to used shopping bags. (And oh the things people make, just image searching plarn is its own rabbit hole.) The attraction of cutting up bags is that if you cut them from side to side you end up with loops, which are very easy to connect into longer pieces. So I set my grocery bags out to dry, then cut them into loops by folding them length-wise several times, squeezing out the air, and cutting about one inch sections. (I found the measurement of the end digit of my tallest finger is one inch. Convenient.)

Sections cut from a grocery bag

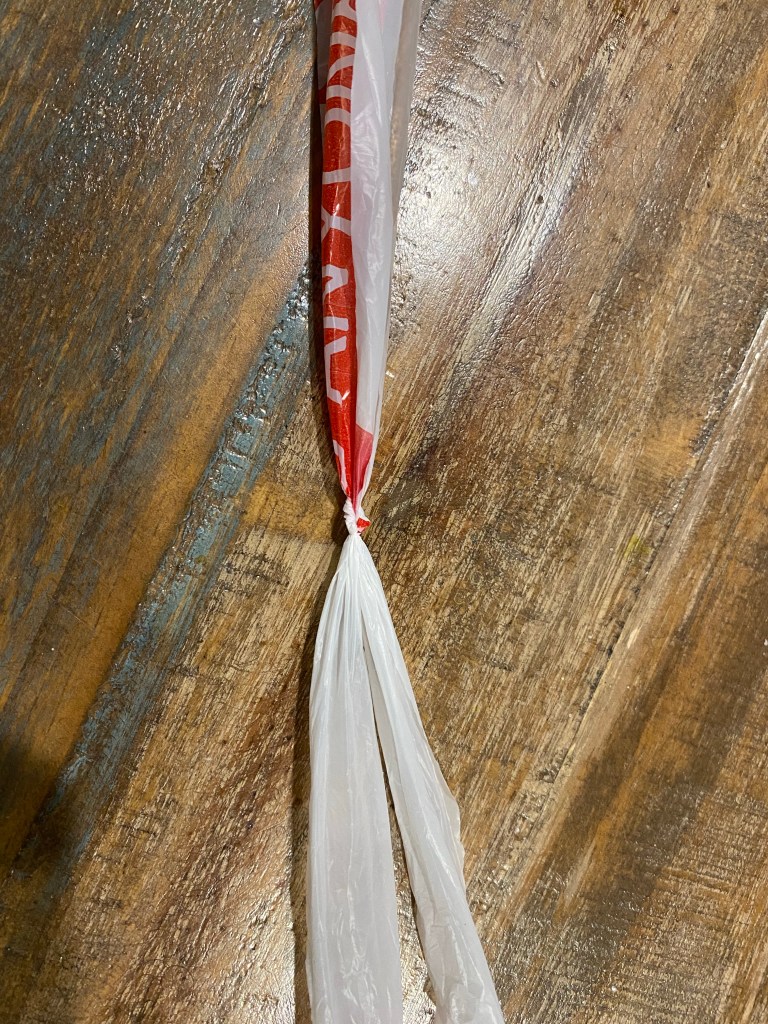
I really enjoy nålbinding, and connecting short sections is the exact method needed for this technique. Rather than making a large length of plarn, I decided to attach as I go. But can I spin it too? Well of course. It actually works quite well to attach a loop, use the hook on my drop spindle on the other end of the loop, and spin just that section. (It is possible to put twist into the plarn with a pencil or fingers if you don’t have a spindle with a hook.) Putting twist into the strand makes it more durable and easier to work with when making stitches. The tighter the twist the harder the plarn feels; I prefer to twist until the diameter is about the same as the knot.

Plastic bag loops attached and aligned
Two loops pulled snug to make a small knot
Drop spindle hook used to put twist in the section

I did a short video to show this technique. (I used a new method for closed captions, so check that out too.) This post is getting rather long, so I’ll talk about what I’m doing with the plarn tomorrow.

Basil harvest

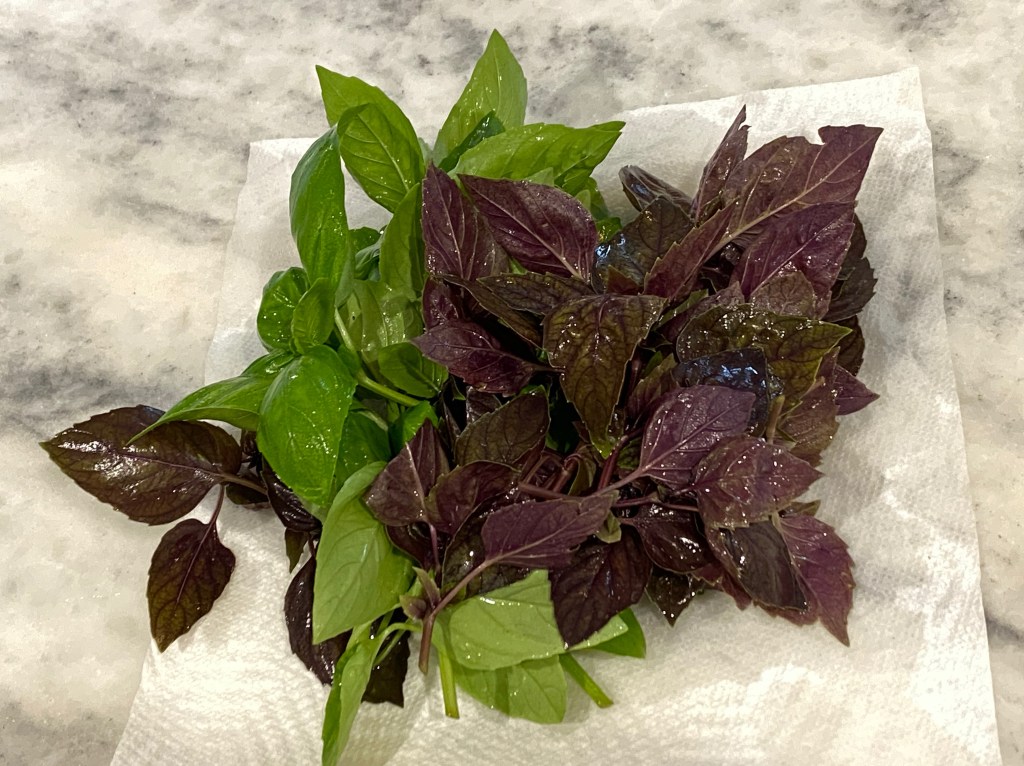
Sweet Basil and Red Basil from my garden

My basils have finally grown enough for harvest! I have a Thai Basil Chicken recipe that I love that calls for three cups of fresh basil. My harvest wasn’t quite there, but the dish still tasted good. I planted four pots of basil with three varieties: sweet, red, and Genovese. All of the Genovese was nibbled away by something, but the sweet and the red are doing very well.

Reversible tote bag with pockets

I’ve been wanting to make a pocketed bag for awhile. I decided to use some excess fabric thus reducing the stash as well as making something useful!

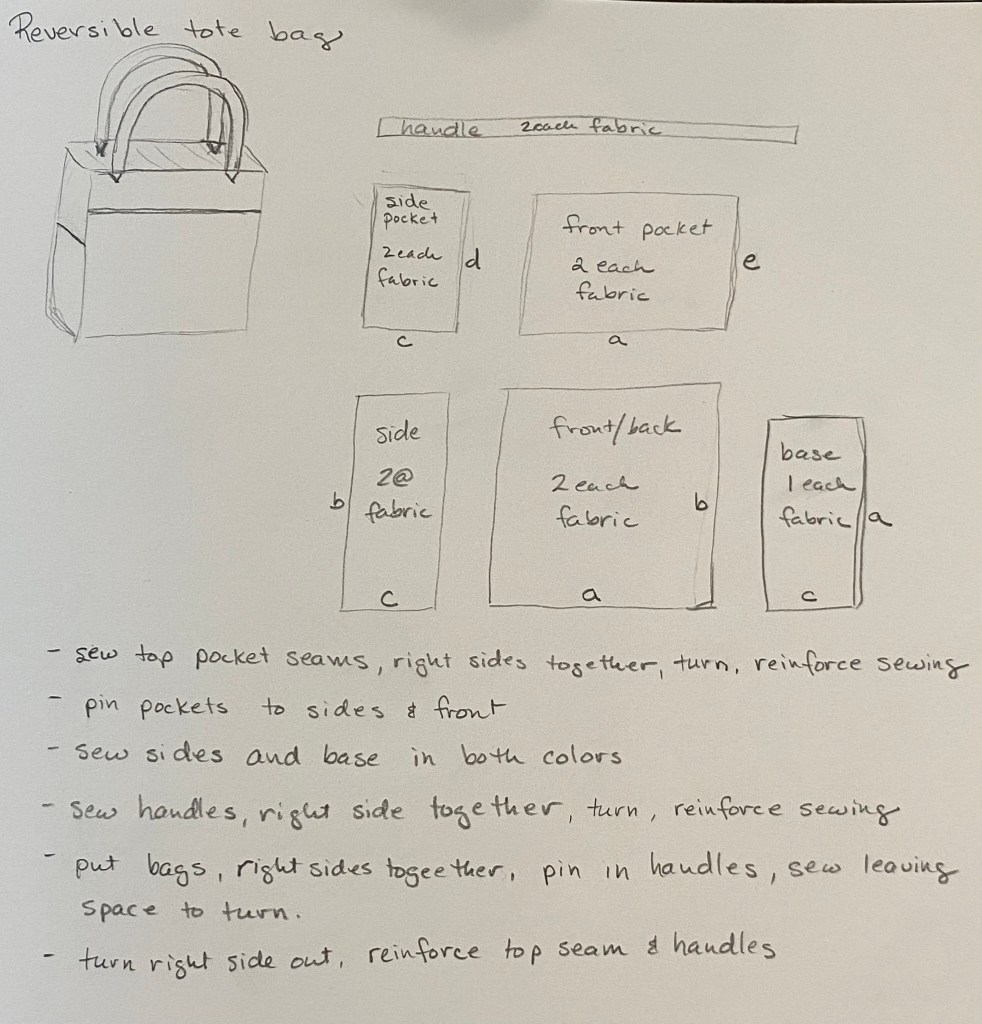
Sketch of bag plans

When approaching a sewing project, I usually collect my thoughts by doing a sketch and a rough outline of the steps. Then I use paper to make a pattern. This basic idea can be adapted to different sizes, but my primary goal was to make the side pocket fit a bottle of water (it is good to have priorities). Since this is size independent, I’ll give the outline of the steps below. Pictures of the finished project are at the end of the post.

1. Choose two coordinating fabrics. Iron fabric, then cut out pattern pieces.

2. Sew one piece of each color side pocket together at the top, right sides together. Turn right-side out and sew along the seam close to the edge. Repeat for all pockets.

3. Place the side pocket with right side out on the matching side panel. Place the side panel with pocket right-sides together with the matching bottom. Sew the seam, reinforce the area at the top of the pocket by going back and forth. Sew the plain side panel to the opposite side of the bottom.

4. Repeat step 3 with front panels.

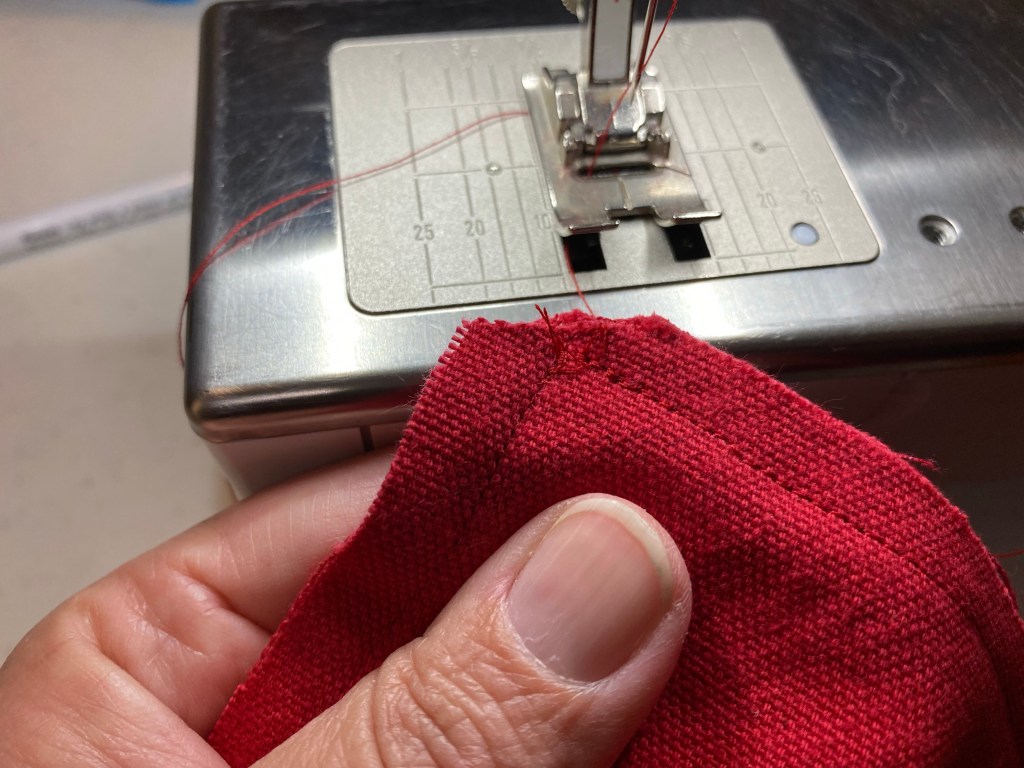
5. Sew up all four sides, from corner to top. Clip the corners.

Be sure to clip corners to keep them neat

6. Repeat steps 2-5 for the other fabric color. I prefer to have one pocket per panel, so be careful of pocket position (yeah, I had to do some seam ripping).

7. Sew handles right sides together, then turn right-side out. Press. Sew over seams, close to edges.

Tube turner devices are handy for turning handles

8. You should now have two one-sided bags and two handles. Place the bags right sides together and pin the handles right-sides together between the bags (loop tucked inside). Sew the top seam, but leave about 4-5” open for turning. Be sure to go over the stitches securing the handles a couple times.

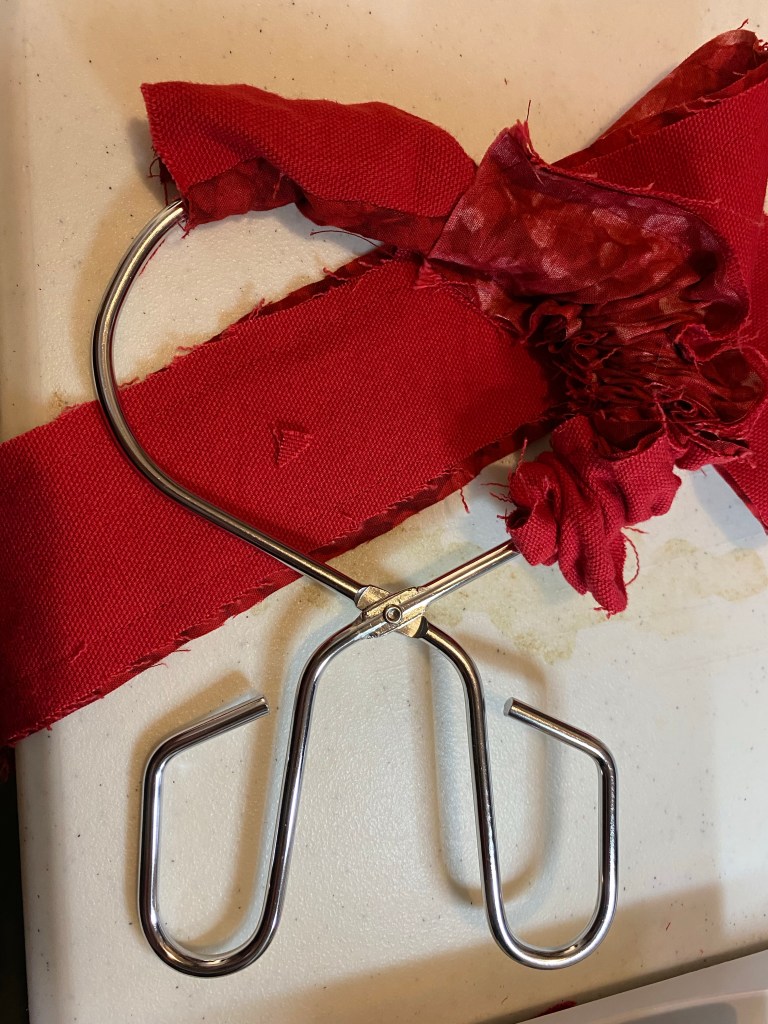
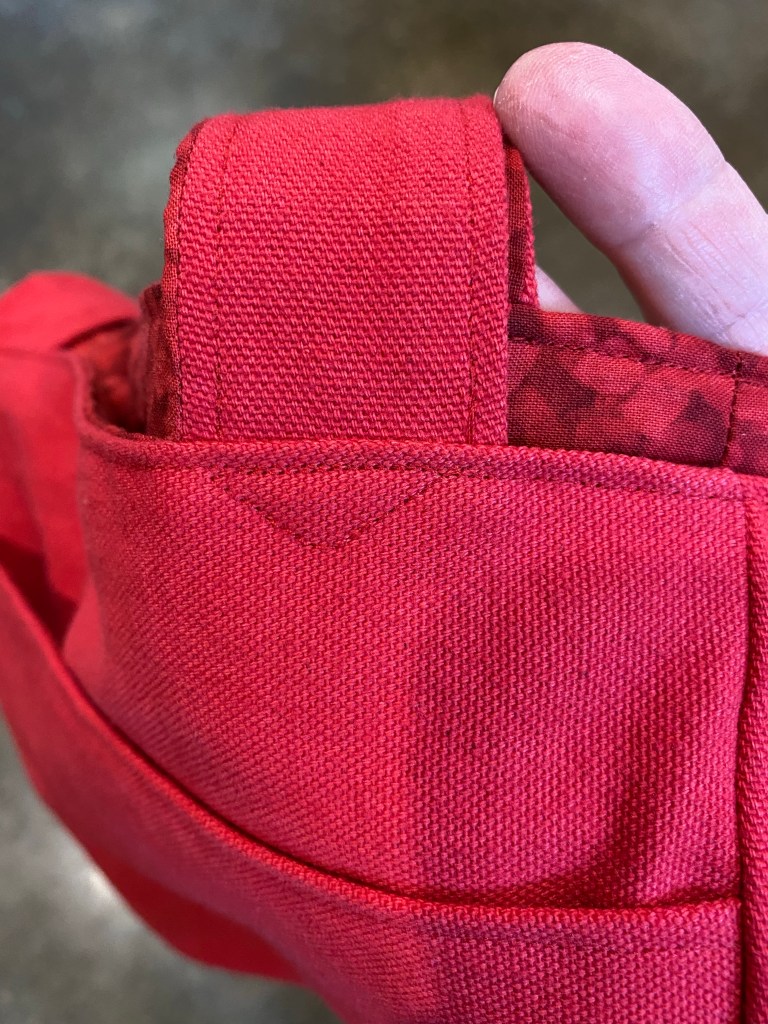
9. Turn the bag right-sides out. Sew the top seam close to the edge, and add some more security stitches to the handles (I sewed triangles). Done!

Close-up of handle stitching
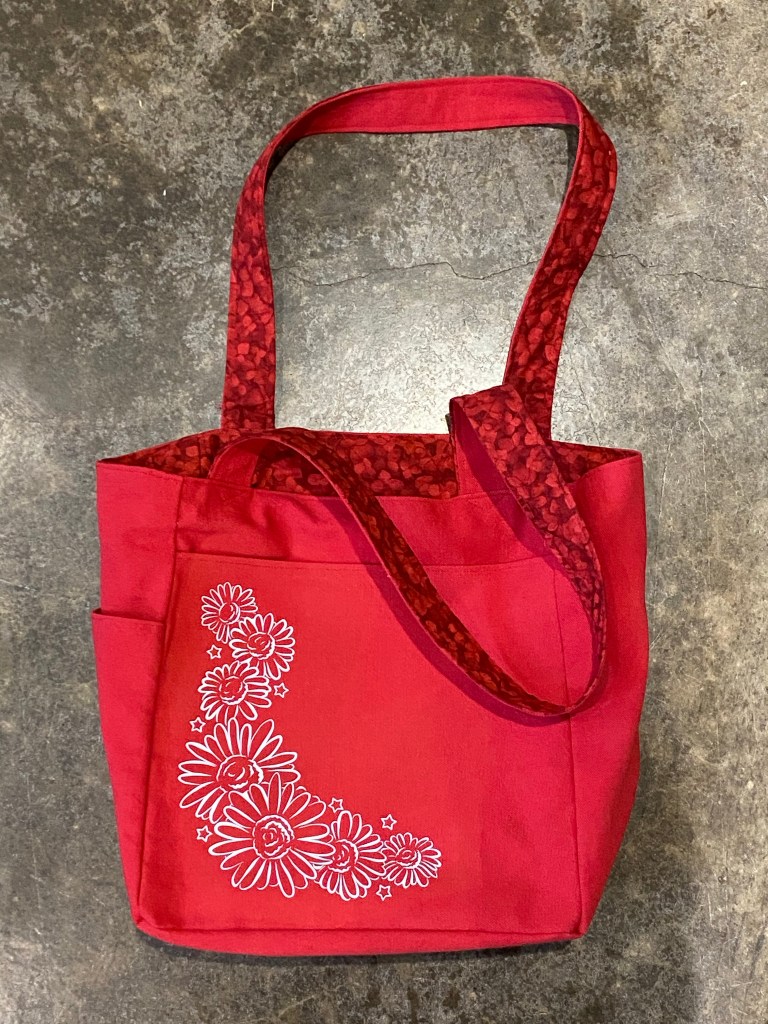
Finished bag (patterned side)
Finished bag (plain side) with an iron-on decal I designed