I did not trim back the Gregg’s Mistflower this fall. It is now tall and gangly, but blooming and full of fluttering wings. We have many Queen butterflies, but I’ve spotted some others visiting the purple tufted flowers as well.
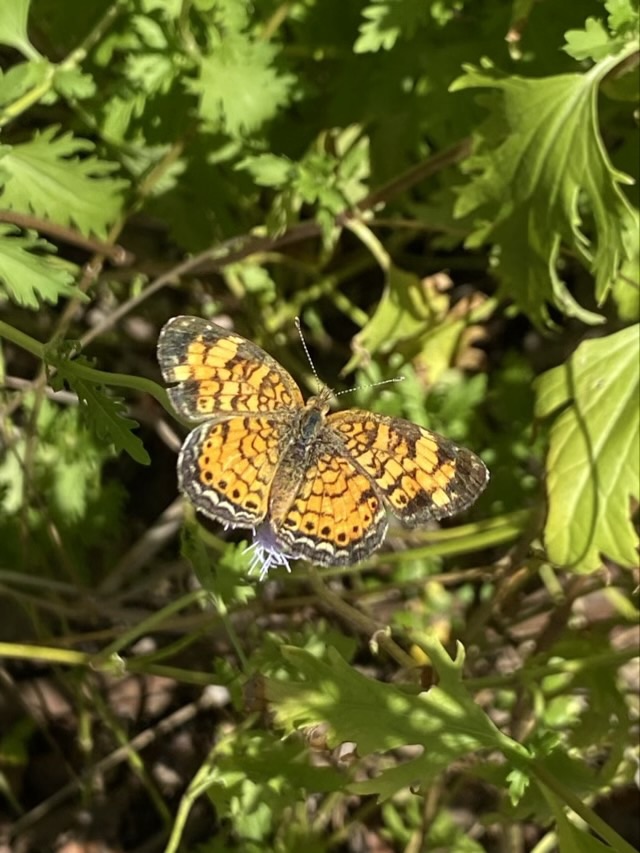

Gregg’s Mistflower is native to Texas and in proper light conditions grows to 2 feet tall. The front flower bed doesn’t get enough sunlight which makes the plants gangly and closer to three feet tall before it falls over and grows up again from the fallen stems. Since it is native, at the end of the season, and after a nice solid rain, I’m going to relocate these plants into our meadow, which does get a little more sun. They are self seeding and spread and the idea of a meadow full of butterflies is attractive. They also bloom in both spring and fall, making them a valuable source of nectar.