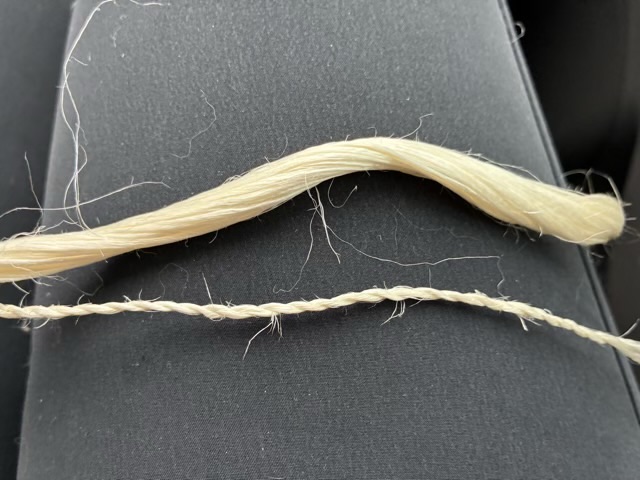
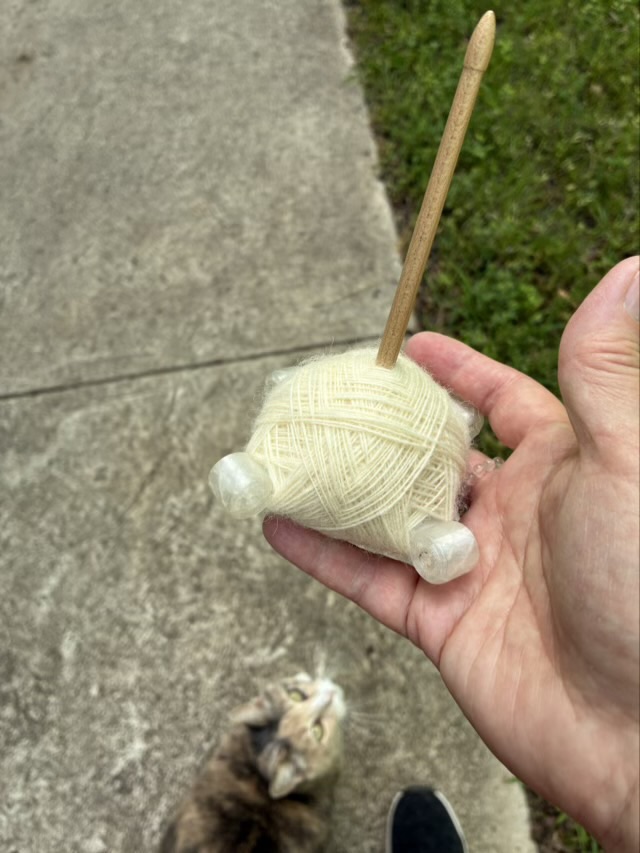
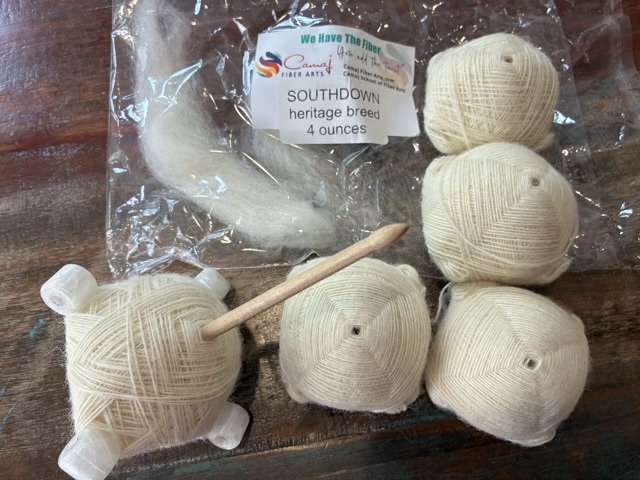
Iris leaf trivet

I recently found a tutorial from Sally Pointer on looping around a core and really wanted to try it. I look some dried and rehydrated iris leaves from my garden, twined them, then started looping. I didn’t have enough material for a basket, but the thick twine did make a nice trivet.

Photo description: trivet made of twined iris leaves with simple looping over a core construction

I did overestimate the amount of core, but rather than cut it off, I switched to just looping with the tail and was able to add some width to the trivet. I then sewed a leather label in a circle to an outer loop.

I like this method of construction. The core gives a way to tighten the stitches and fill in the density of the looping. It can also be done as the twine is created and without tools, which makes it a great skill when I am waiting and don’t have a project with me.

Garden redo

As much as I love Gregg’s Mistflower and the mass of butterflies that love the purple tufted blooms, the front garden bed was not the right environment. Even though it is one of the places in our yard that receives the most sun, it isn’t enough to keep the plant from bolting, growing too tall, and falling over onto the side walk. Mistflower also really doesn’t like being trimmed, it won’t flower if trimmed shorter, and the whole point is to flower.

Photo description: front garden bed full of bolted Gregg’s Mistflower

Gregg’s Mistflower is native to Texas and self seeding, so in order to remove it from the flower bed, I first pulled up all the plants, then dug out the top layer of soil.

Photo description: same front flower bed dug out to reach the clay underneath the amended soil

Tearing out the plants took about an hour. Digging down 3-6 inches across the entire bed took 5-6 hours. I put the seed heads in the meadow, where the sunlight is brightest, and I spread the dirt in the meadow and around the house in areas it was needed.

I am hoping this will also help with the chronic grass problem in this flower bed by removing the roots that kept coming up. I had one hardy hibiscus that was struggling in the lower light that I also replanted.

The next step is to fill the space with garden soil and mulch and plant different species.

Yes, it is December and I’m gardening. It is Texas.

Iris leaf basket

I made a small basket entirely from dried iris leaves. The spokes are large iris leaves, and I twined multiple smaller leaves together around the spokes.

Photo description: starting the twining with dried then rewetted iris leaves
Photo description: finished basket made from iris leaves gathered from my yard

The leaves were soaked more than was ideal for weaving, so to dry it I put it in the oven on low and weighed the basket every twenty minutes until the weight was constant, indicating all the water was gone. Air drying a basket that wet would have given too much time for mold to set in.

I found some iris printed fabric and lined the basket. It took me two tries to sew a liner that fit the shape of the basket, and I ended up with a single layer that wrapped over the top lip of the basket.

Photo description: iris printed fabric liner on the iris leaf basket

To finish off the basket, I added one of my new leather tags to the edge of the liner.

Photo description: laser engraved leather sewn-on tag that says “iris leaves”

I like twining, so plan on harvesting more iris leaves in the spring, drying, and practicing on more twined baskets.

Photo description: basket in use holding sewing tools

Final deviation

I’ve finished my Bucilla felt wreath kit with a final deviation from instructions. I was supposed to cut out a donut shape of cardboard to go between layers of quilting batting. Instead, I bought a wire wreath support. The cardboard would have worked fine, but the wire makes me feel better. The wreath is 16” in diameter, but a 14” wire support fit better.

Photo description: wreath parts laid out before sewing: green felt back, quilt batting, wire wreath support, quilt batting, decorated felt wreath top
Photo description: my signature mark and the year stitched in yellow embroidery thread on the back of the wreath prior to sewing all the layers together
Photo description: finished Bucilla felt House Cat Wreath with deviations hanging on an interior door

I also used a bit of wire attached to the wire frame through the felt for the hanger.

I have done a felt kit now, I don’t think I will do another. I did get lots of interesting ideas while completing the project, though.

Of the bells, bells, bells

The last ornamentations for the Bucilla felt wreath kit are many tiny embroidered and sequined AND stuffed felt bells.

Photo description: Nine yellow felt bells with only the embroidery done, sitting on a calico cat

The pattern only has seven decorated sides, with the back sides unadorned yellow felt, but it bothered me that in the picture for the pattern one of the bells on a string was turned backwards, showing the plain side. So for those two bells, I decorated the back as well, increasing the tiny sewing required.

Photo description: felt bells stuffing, assisted by a bamboo stick

I found that using a bamboo stick to place the stuffing in the tiny elements of the felt wreath really helped.

Photo description: finished felt bells attached to the wreath in the indicated positions, dilute calico investigating the felt on the floor

Honestly, if I had had tiny metal bells in my stash, I would have put those on instead of spending all that time embroidering and adding sequins. I definitely had Edgar Allan Poe’s poem going through my head the whole time.