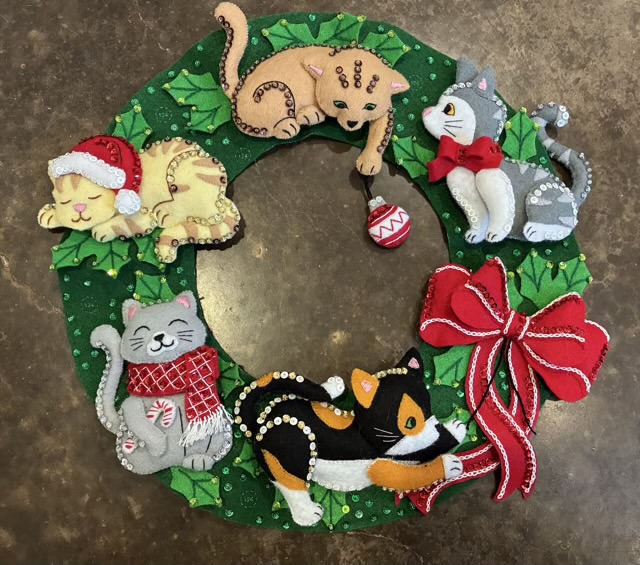
I’ve finished my Bucilla felt wreath kit with a final deviation from instructions. I was supposed to cut out a donut shape of cardboard to go between layers of quilting batting. Instead, I bought a wire wreath support. The cardboard would have worked fine, but the wire makes me feel better. The wreath is 16” in diameter, but a 14” wire support fit better.
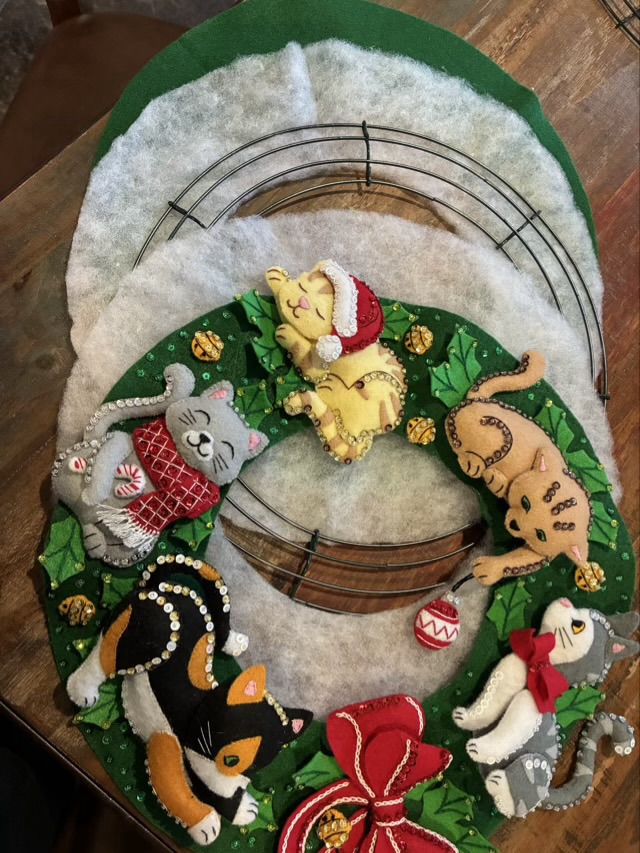

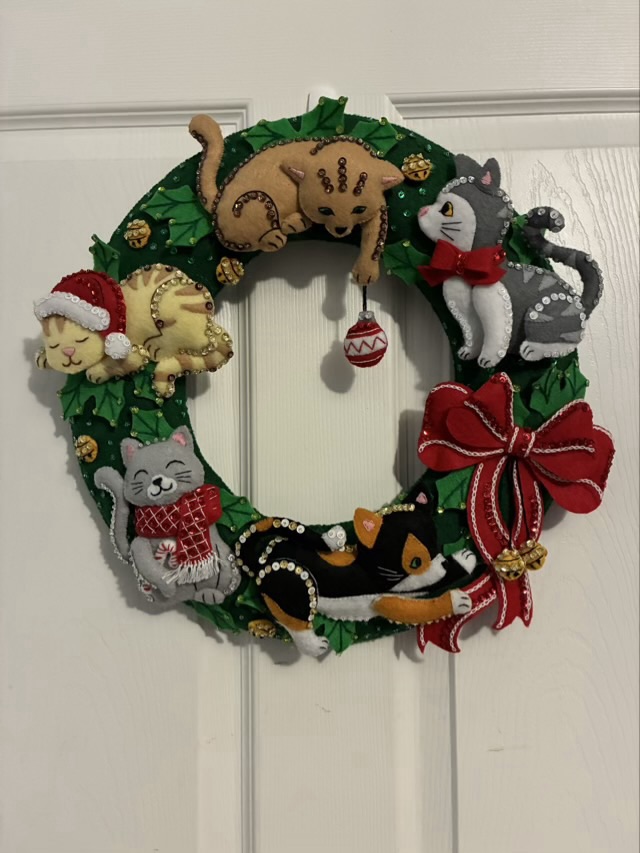
I also used a bit of wire attached to the wire frame through the felt for the hanger.
I have done a felt kit now, I don’t think I will do another. I did get lots of interesting ideas while completing the project, though.