Texas beret

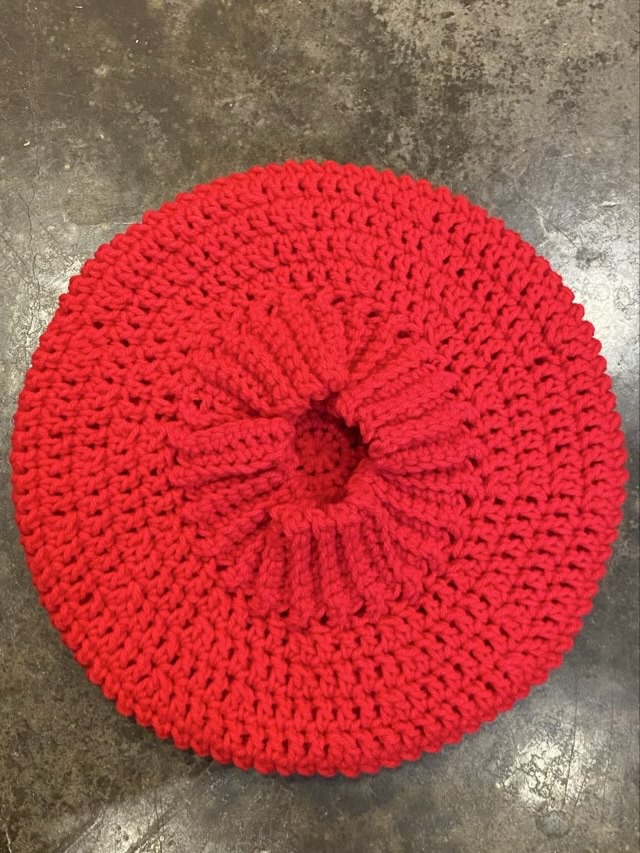
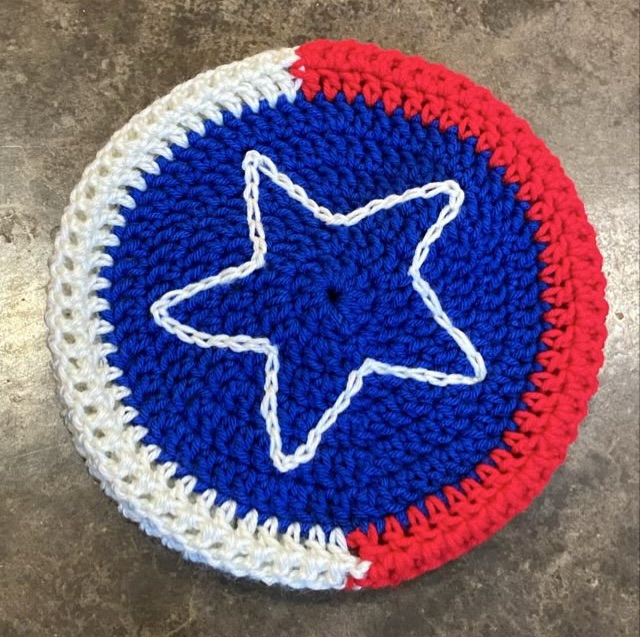
There was red, white, and blue in the acrylic yarn I was given, and I had the idea of making a Texas flag beanie with a blue top and the sides red and white. My beanie-to-beret mistake here was I used a crochet hook a size or two too big, and the white yarn was a smaller diameter than the red and blue. The crown spread out flat instead of making a gentle curve, so once again I changed the plan to make a beret. The white yarn was the softest, so I used that for the single crochet ribbed band. To finish it off, I embroidered a star outline with the white yarn.

Photo description: blue crocheted circle rimmed with half white, half red, with a chain-stitch embroidered star in white on the blue
Photo description: band side of the hat showing the ribbed band inside the white and red sides

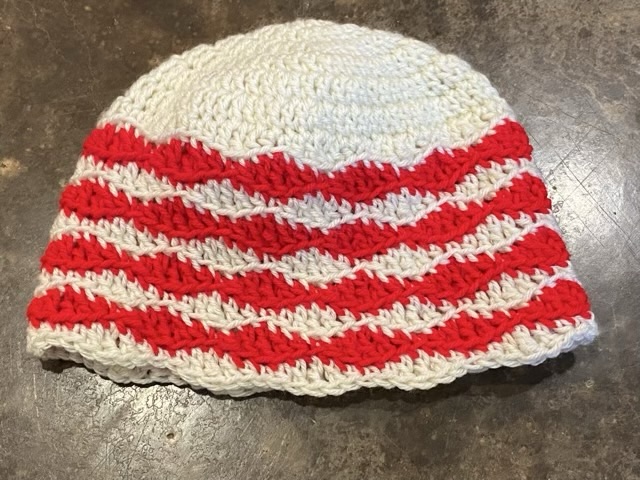
To get the two halves of the hat different colors, I didn’t work in the round, and didn’t carry the yarn, but rather worked half the stitches in white, switched to red, joined the white at the other side, chained 2, turned the work, and did the red back to the white, picked up the white and stitched to the red. All stitches are double crochet (American notation).

Throwback Thursday: silver buttons

I did some experiments in button making in February of 2010, tiny silver buttons for my button-collecting Grandmother. One set fashioned from sterling wire, and the other set from silver clay and cubic zirconia, which can survive the firing temperature of the clay.

Photo description: five silver wire buttons on a square printed card with my tree logo and a superimposed branch with five green circles for the small buttons. There are two looped flower buttons, and three double spiraled buttons made of square wire, twisted square wire, and round wire.
Photo description: five small buttons made from silver clay in the shape of leaves, two with cubic zirconia inserts on a square printed card similar to the other photo.

All the buttons have shank loops for sewing, rather than holes through the buttons. It was a fun project, and I think they came out interesting, although they are mostly for show. They are functional buttons, but not practical buttons.

Spinning cotton

Since I purchased a high speed whorl for the Ashford Traveller spinning wheel, I thought I would see if I could spin cotton. Cotton has a short staple length and needs a high degree of twist to hold together.

Photo description: Egyptian cotton top spun on an Ashford Traveller with a high speed whorl

I’m definitely still working on my learning curve, but I’ve been getting sections that are even and not over spun. There are still lumps and bumps, and sometimes I’ll under spin and have several bits let go before I get back to stable yarn. I’ve divided my fiber into three sections to spin on three bobbins to make a three ply later. I hope.

Bumpy beret

Once again distracted, I decided to try a crochet puff stitch to add some texture to a hat. And again, my circle expanded flat instead of nice curve, so I finished it as a beret rather than a beanie.

Photo description: red acrylic beret top with seven puff stitches per row, staggered, alternating double crochet rows with single crochet plus puff stitch rows
Photo description: underside of the same beret showing the double crochet rows finished with a single crochet rib band

A puff stitch uses techniques from both increase and decrease stitches. Essentially you increase six double crochets in one previous stitch and finish by decreasing them all together so the stitch count doesn’t change. The width of the row does, however, which is why my circle just kept expanding.

Wavy beanie

Next on the hat docket: stripes! But with a twist, or rather, a wave. I started the beanie with rows of double crochet in white yarn, then used a combination of single, half-double, double and treble crochet stitches.

Photo description: white and red crochet beanie style hat

Technical details:

In a magic circle 12 double crochets (dc)

Row 1: 2 dc in each stitch (24 stitches)

Row 2: 2 dc, 1 dc around (36 stitches)

Row 3: 2 dc, 1 dc, 1dc around (48 stitches)

Row 4: 2 dc, 1 dc, 1 dc, 1dc around (48 stitches)

Row 5: 2 dc, 1 dc, 1 dc, 1dc, 1 dc around (60 stitches)

Row 6: chain (ch) 1, *half double crochet (hdc) in next stitch, dc, treble crochet (tc), dc, hdc, sc. repeat from * around. Before completing last hdc, join in new color. Slip stitch to the beginning of the round. Don’t cut old color, don’t carry the old color around.

Row 7: ch 3 (counts as tc), make all stitches in the back loop: *dc, hdc, sc, hdc, dc, tc. Repeat from * around. On last stitch join in first color.

Row 8: ch 1, *hdc, dc, tc, dc, hdc, sc. Repeat from * around.

Repeat rows 7 and 8 until desired hat length is reached.

Tips: when lining up the rows, the tallest stitch pairs with the previous shortest, so the tc will always go in a sc, and vice versa. Putting the stitches in the back loop gives a nice line to the wave.