Good thing it is useful, because it is rather lopsided.
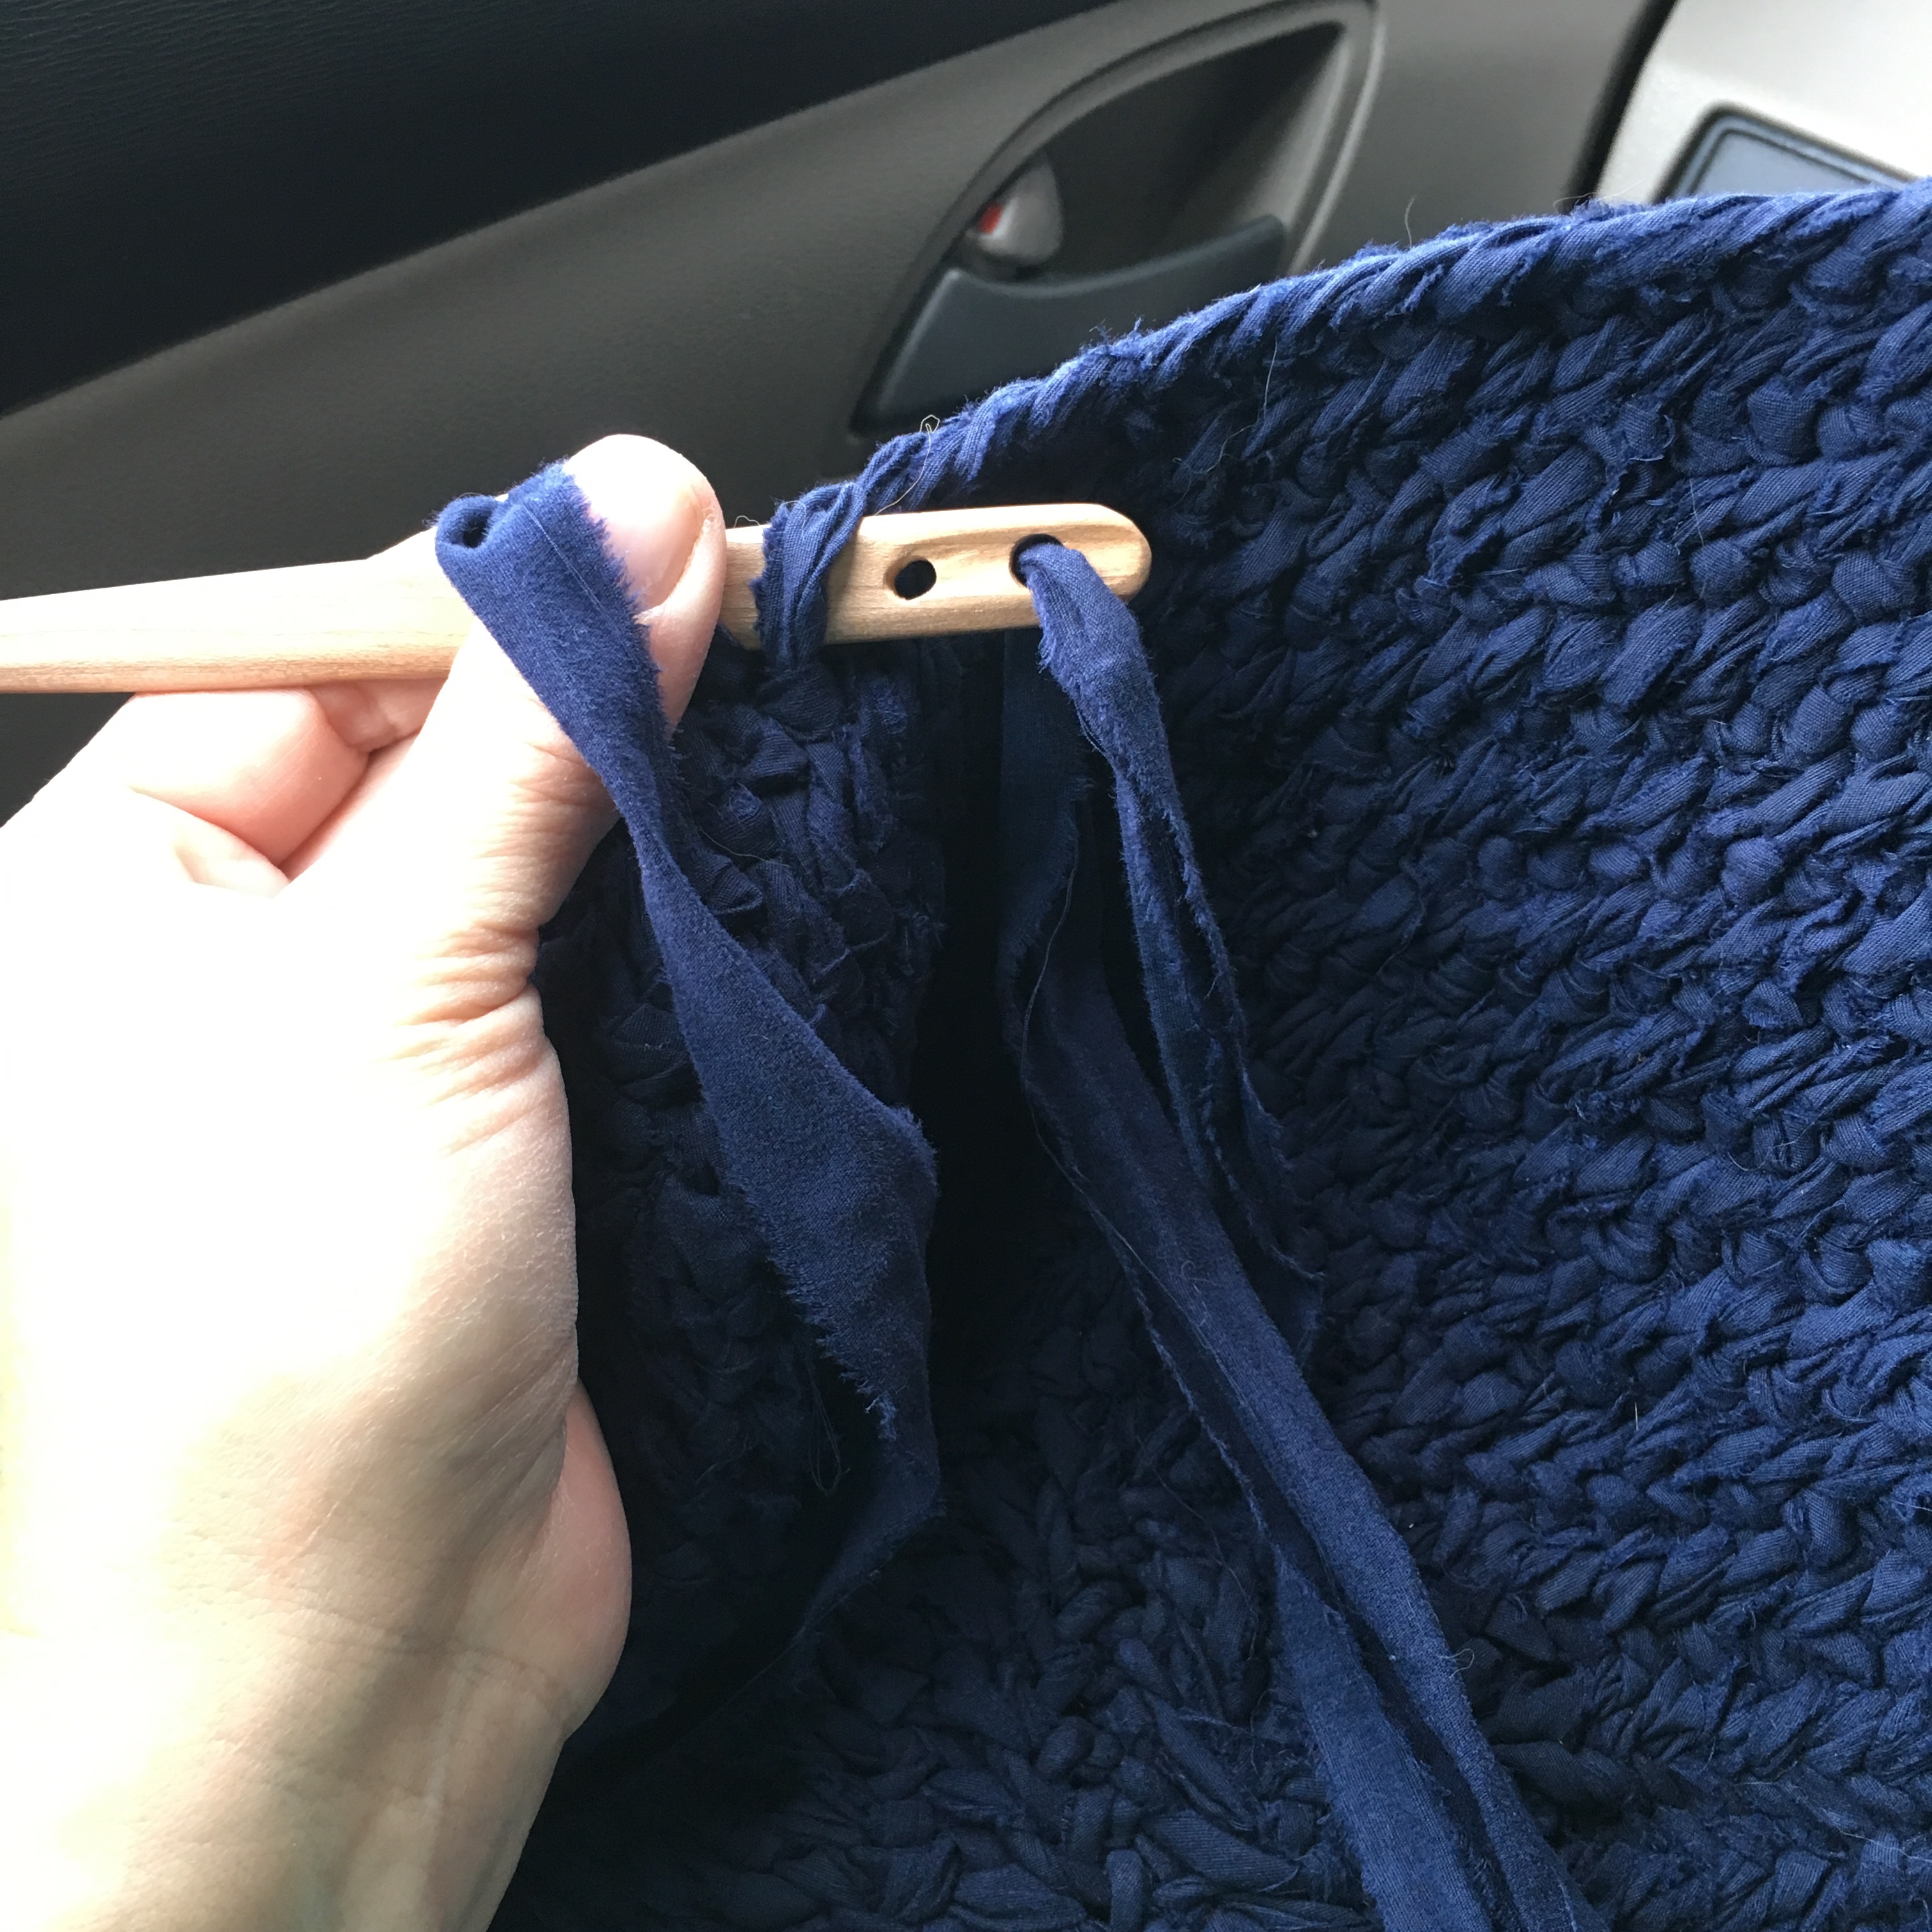
I decided to practice my nålbinding by making a rag rug from a fitted sheet that had worn out. I cut off the elastic, then tore the sheet into 1” strips. I wound each strip into individual loose bundles so they didn’t tangle together. Using the Finish 1+1 aka Oslo stitch, I worked the strips into an oval rug form. I was eyeballing where increases needed to go, so the end result is kinda funky. I had to block it (get it wet and lay it flat to dry) to get it mostly flat. Although it took me a month to make, I admit that I only did about three strips in a sitting. If I make another one with the top sheet, I’ll twist each strip, and evenly space the increases. I did find that I like to chain the increases, rather than stitch into the same stitch. I like the texture better. So lessons learned. And it will still keep feet from getting cold while someone is brushing their teeth.
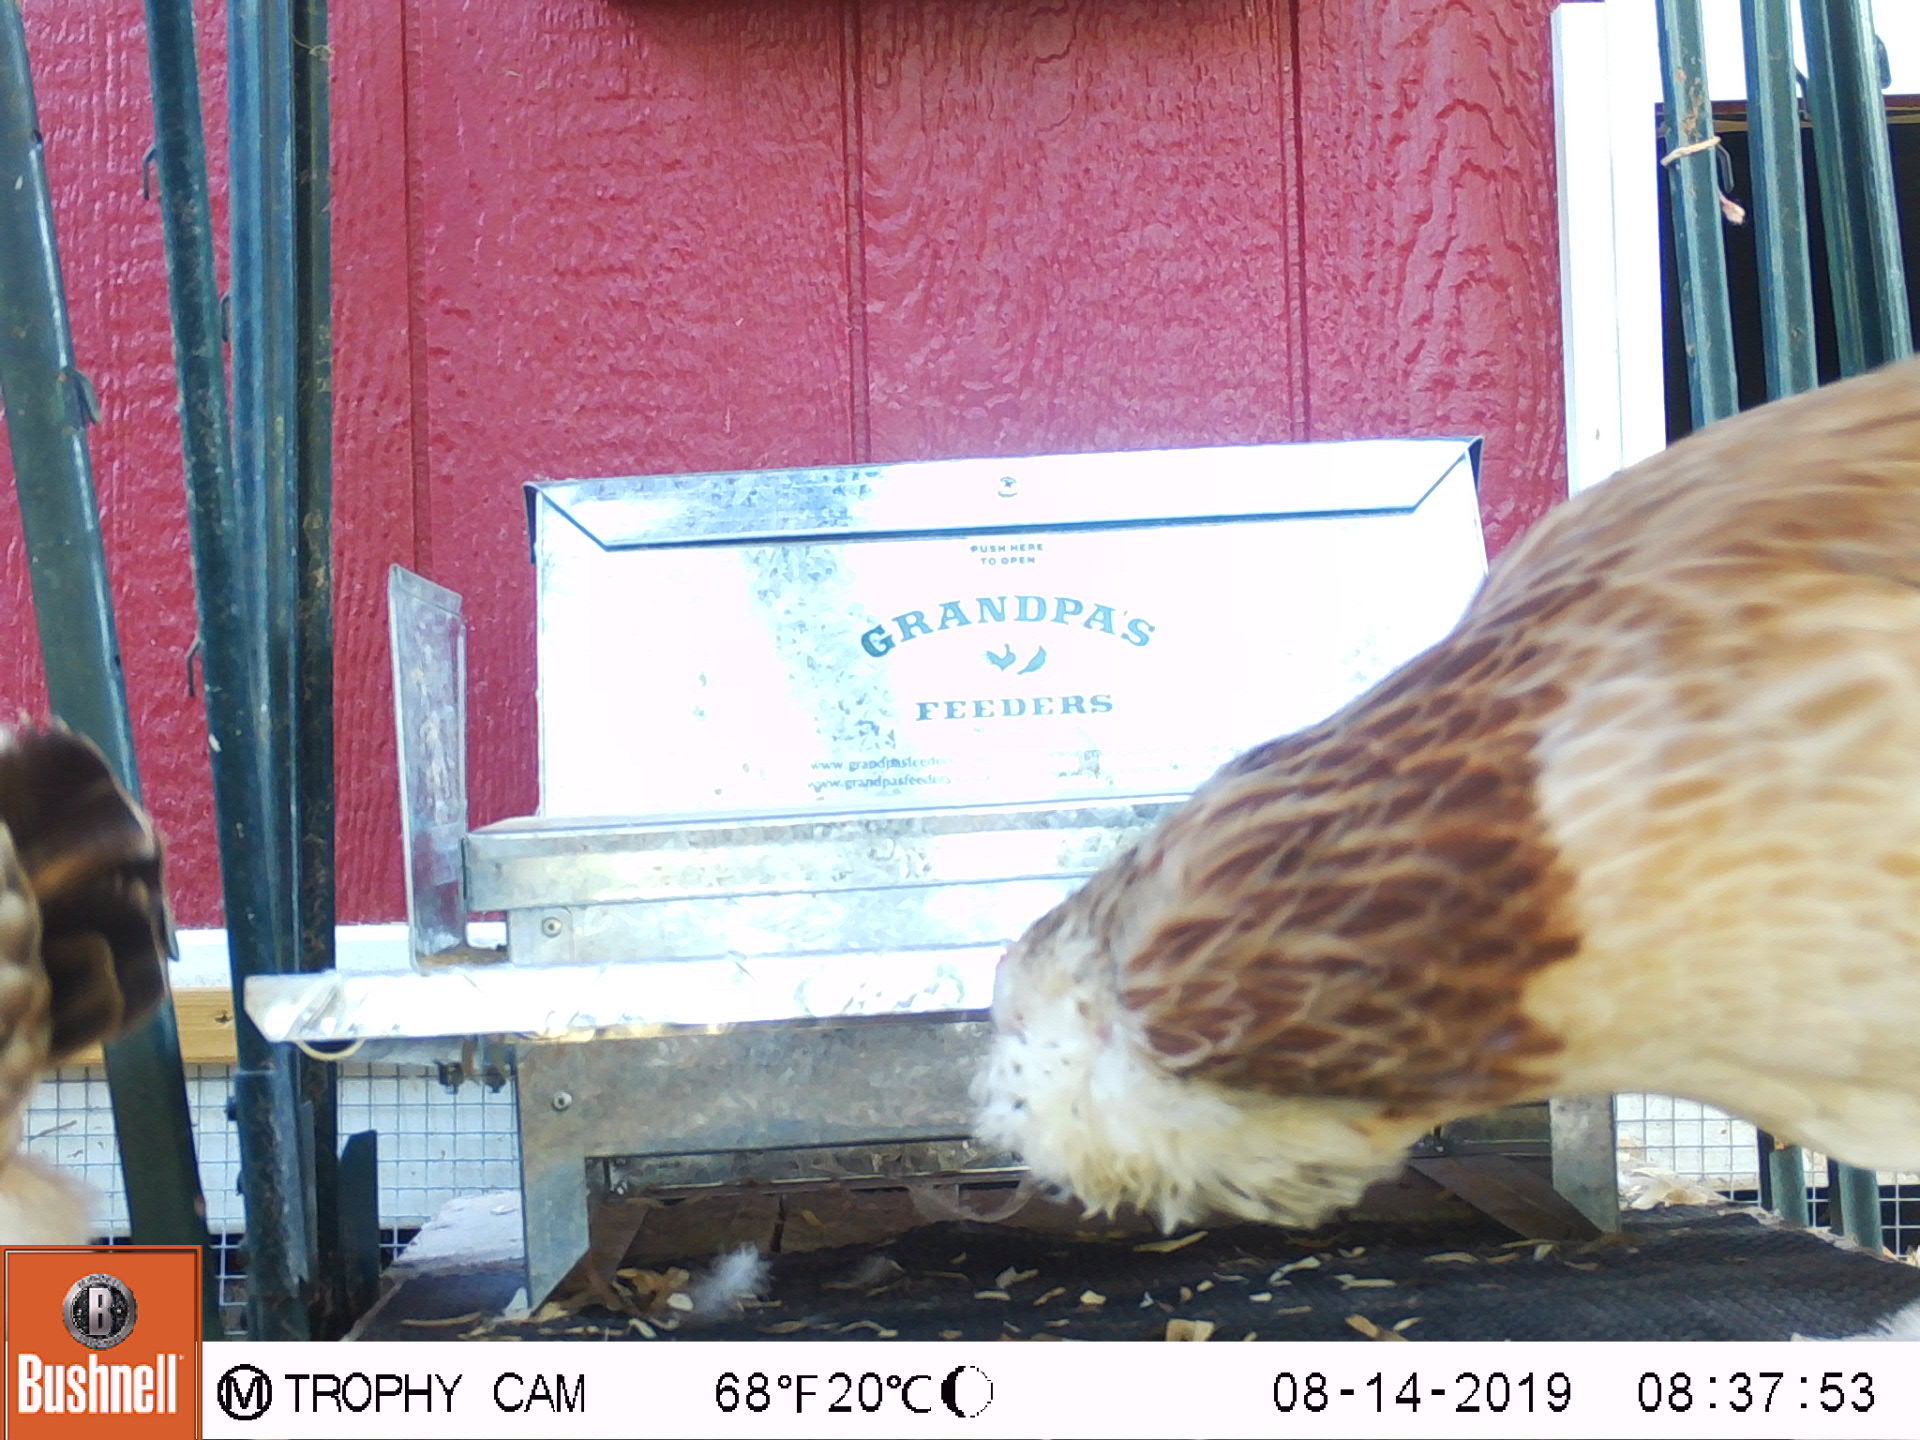
On the chicken side, the weather is cooling down. It is still hot, with highs still in the 90s, but the chickens spent all day outside today. How do I know? The foot bath inside the coop was clean, and the one outside was filthy.