SMO

If you start following treadle sewing machine groups, you’ll see frequent use of the acronym SMO, which stands for Sewing Machine Oil. This lubricant is vital, especially for older machines. Of course Singer recommends using Singer SMO, but I find the applicator to be clunky, so I took the advice of several treadle machine bloggers and purchased squeeze bottles with a stainless steel tube to facilitate precise oil placement.

Photo description: 2 ounce plastic squeeze bottle with 1.5” stainless applicator, filled with Singer Machine Oil

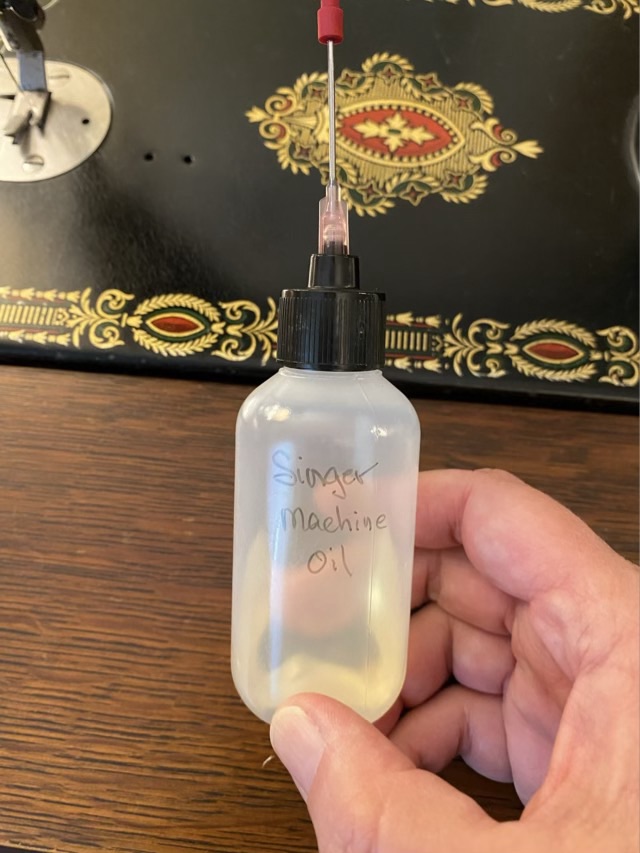
I purchased my bottles on Amazon, and it was a little tricky because the name is awkward: plastic squeeze bottle with stainless applicator. Accurate, but hard to search without all the words. Any how, I found them, filled one with SMO, and love how much easier it is to apply the oil without overshooting. I did worry about light getting through the bottle and degrading my oil, but after researching, it is better to be able to see the oil to check for changes (darker, cloudy). I might still keep the bottle in the dark, because some things are deeply ingrained.

Throwback Thursday: thread cutter

I had a long period of time in which Sculpey clay was my go-to medium. I found this photo from March 2007 of a thread cutter made from layered oven bake clay surrounding a wheel cutter blade with a brass wire loop. I formed each side of the cutter using a mold that I made, baked it, sanded it, then assembled it, probably with glue (tsk). The loop was properly made with a mechanical connection: prongs that went into holes in the clay.

Photo description: striped red thread cutter with indents to allow access to the blade inside, but protect from accidental cutting

I made several of these at one point. If I were to attempt to make them again, I would make sure there was a mechanical connection holding the blade between the sides. I’m sure the glue didn’t hold up to time or dropping.

Thread zapper

I have a new favorite tool! I have been sealing the ends and of my cords (that are not natural fiber) with the flame of a candle, which is not very precise. So I went looking for something heated and controlled, like my pyrography pen, but without getting goo on my wood burning tools. I found a thread zapper.

Photo description: Bead Smith Thread Zap II device with a neon rainbow hued lucet cord bracelet

This AA battery powered, hand held device has a thin wire loop, and when you press the button, the loop glows red hot. I can apply that heat to the end to the cut end of a cord and melt the fibers together. I can even melt the end a little to the side of an adjacent cord to lock the knot in place.

Photo description: Button knot with the cut end melted and tacked with a thread zapper

To make the bracelet I first made a Lucet cord from neon rainbow satin cord.

Photo description: Antler Lucet Fork with an in-process cord

To finish the bracelet I took a separate piece of rainbow cord and made macrame square knots over the doubled ends of the Lucet cord. I then made celtic button knots at each end to keep them from sliding all the way out of the knot.

Photo description: Zoom in on the bracelet closure with square knot macrame slide

Without the thread zapper, securing all the ends of the bracelet with a candle flame was an exercise in frustration. With the tool, the ends came out neat and secure. I really like the ability to have a little sculpting power over the melting as well.

This is not a paid advertisement, by the way. I just really like the tool.

Different

Photo description: three eggs held in my hand outside the coop, with egg weights digitally added: 45g, 54g, 31g

I found a small egg in the nest boxes. Although it is a different color than the other two eggs collected that day, it is in the normal coloration of my hen’s eggs, just small. I broke it open and there was a yolk (which surprised me), but very little white.

On the tech side of things, I just discovered that my photo app can add actual text now. I’ve been scribbling with markup, or porting to a different app for text adds for years. I’m not sure when that feature slipped in there, but it does help streamline my workflow. Yay!

Garlic

This garlic press came with my youngest’s latest Raddish Kids crate, and I’m quite impressed. It is a simple design, easy to use and easy to clean. The white silicone tube in the back of the picture came with a garlic plate I ordered years ago. It is my favorite way to crack garlic: put a clove of garlic in the sleeve, roll the sleeve under the palm of your hand, presto deskinned garlic.

Photo description: green rocker style garlic press on a green cutting board with a white silicone tube in the background.