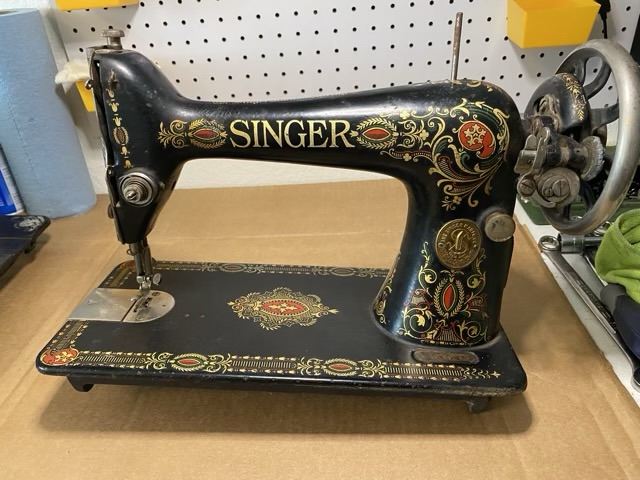
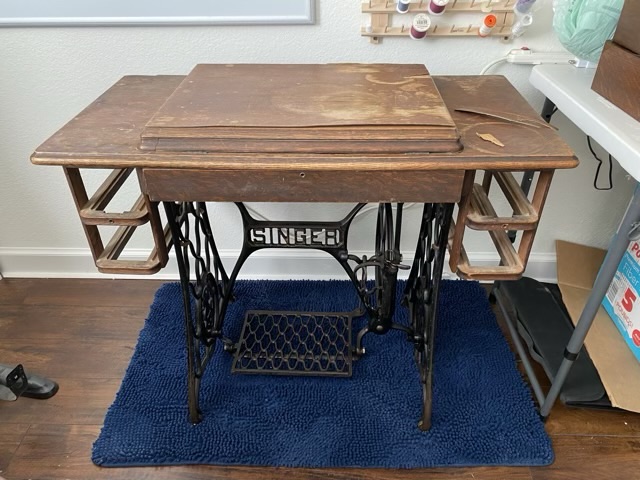
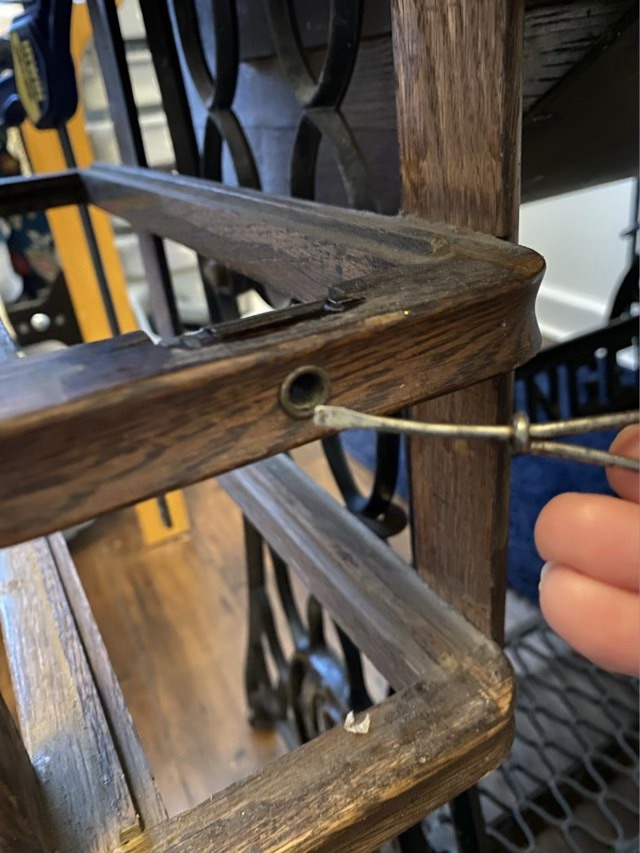
The Singer treadle cabinet that came with the Model 66 sewing machine has lockable drawers! And no key. Luckily it was not locked when it came to me, and a little peeking through the keyhole and some perusing the internet suggested that a small screwdriver would work. I happened to have an original Singer wire screwdriver that came with my Model 27. It worked!

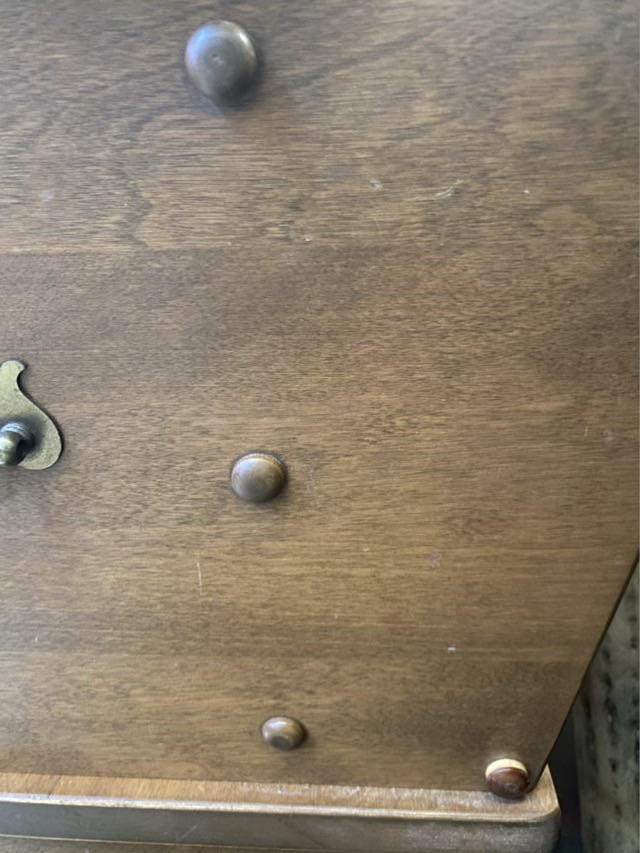
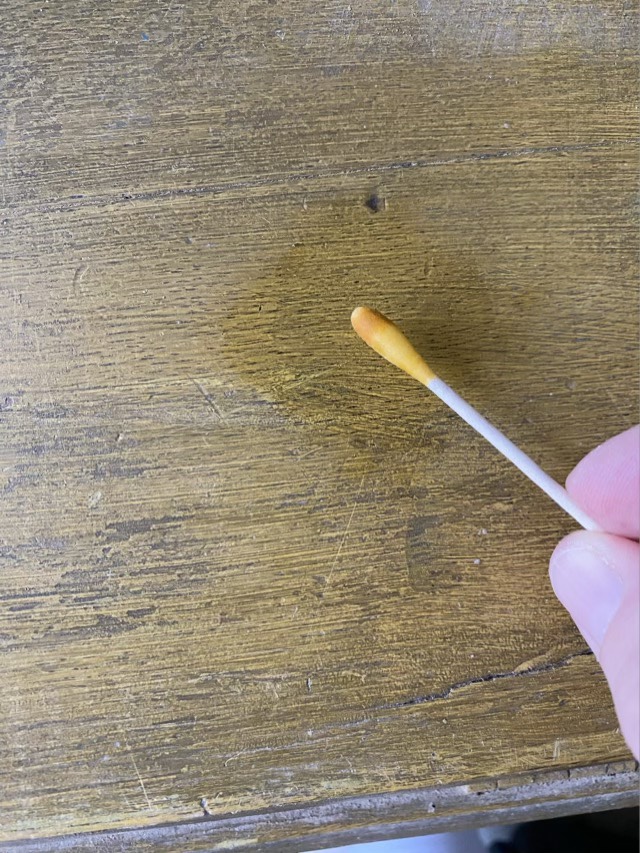
Each drawer has corresponding grooves, so when the key is turned the lock engages both drawers. Each drawer has grooves on both the top and bottom edges, so they aren’t position specific (I love good planning). I did put some sewing machine oil on each latch to help them get moving. Though I probably won’t lock the drawers either.