Each summer I put up a sunscreen in the coop runs to keep the afternoon sun off the feeder and the side of the coop. Each winter I take it down so the sun can warm the coop. Both operations are a pain, wrestling with the large triangle of fabric. Until this year, when one of those slow ideas finally bubbled to the surface and I thought to just roll up the sunscreen. It took a few moments to secure the roll, but should only take a few moments again in the summer to deploy the screen.
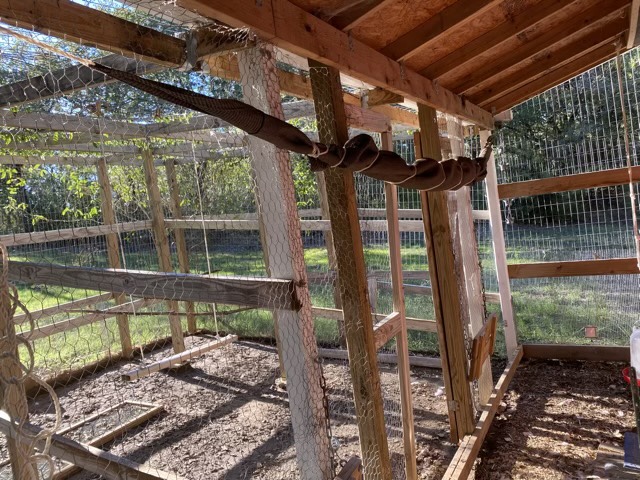
I do believe that there are many ways to accomplish any task, and find it interesting how often the thought “why didn’t I think of that earlier” happens.