My chorus had a couple old signs in storage that had old versions of logos and were in need of some TLC. The flexible vinyl sign had been stored folded and had some tape residue.

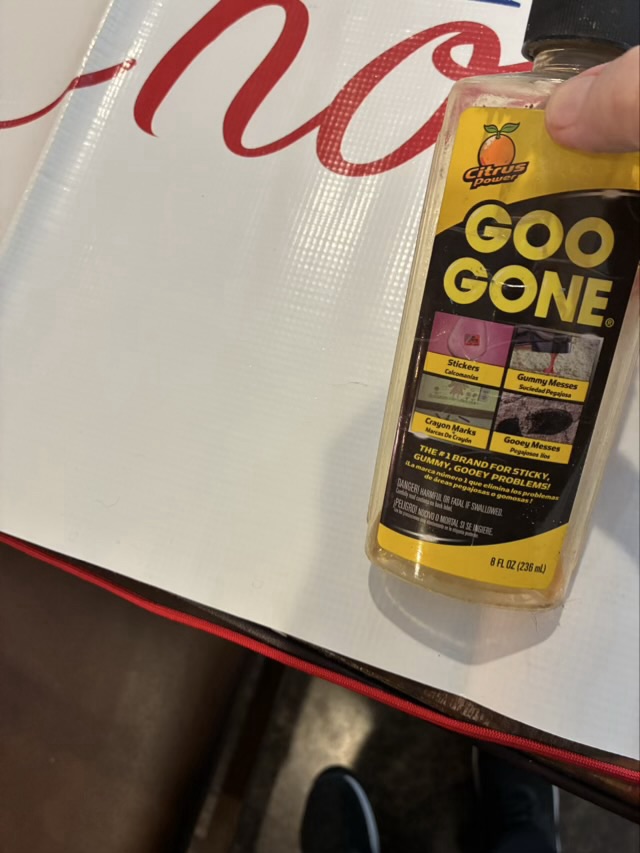
Goo gone removed the glue spots and some time with a hot hair dryer smoothed out some of the creases. We are now going to store it rolled up, rather than folded.

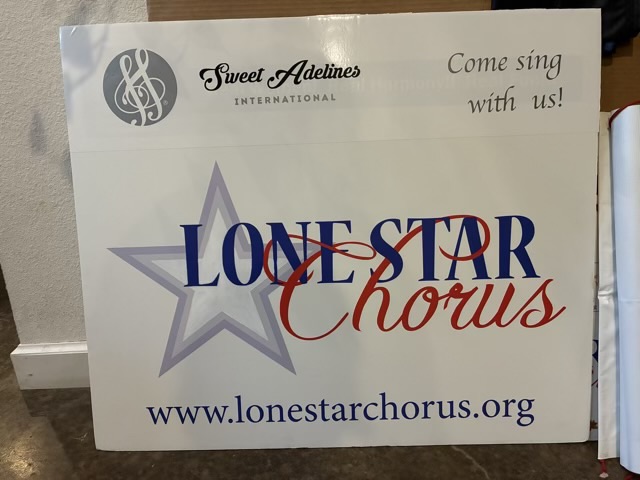
We updated our main logo recently to add a white star inside the two gray stars, which gives it a nice pop. My Cricut cutter can’t cut quite big enough to make a white sticker star, so I masked off the star and painted it with four layers of white acrylic paint. My cutter could do the new Sweet Adelines International logo and our website address.

We also had a rigid plastic sign that had an old SAI logo and slogan. I used white adhesive vinyl to go over the whole top of the sign, and used my Cricut cutter to cut out the new version of the logo.