My husband loves his Italian made leather belt, but the metal fatigued and broke the other day. Luckily I had a buckle in my stash, and the belt is so well designed, I could fix it.
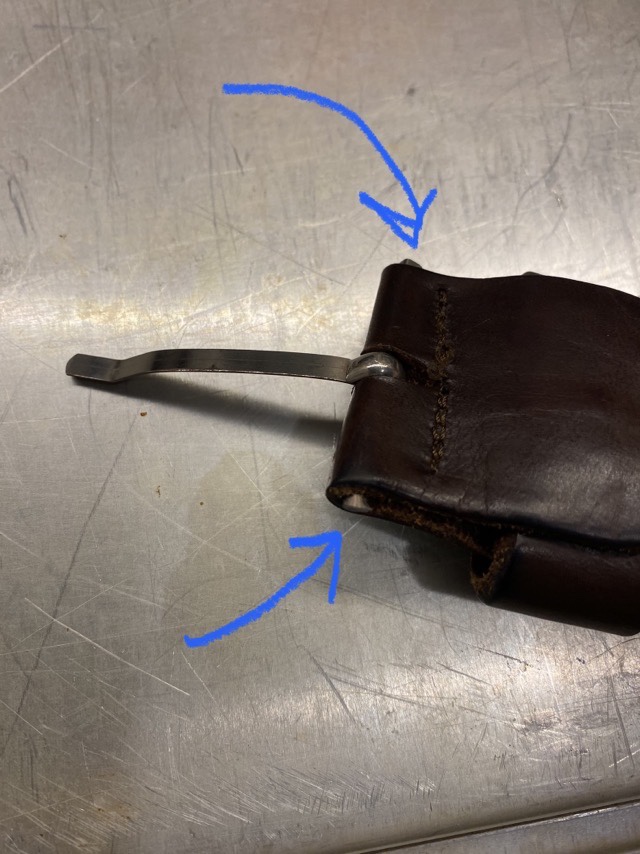
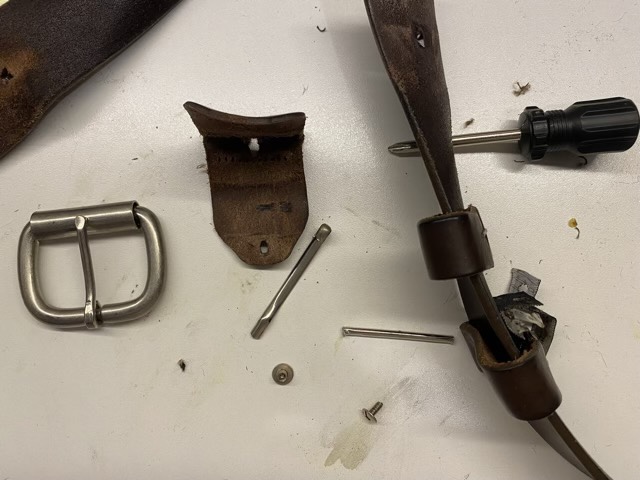
First I took out the broken metal, which was held on with a screw rivet (love these) and some stitches.
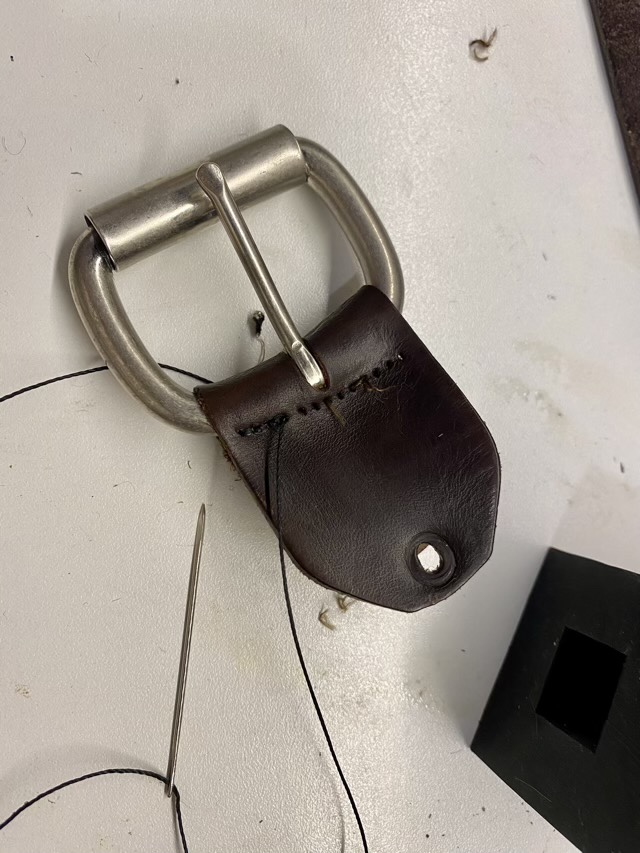
I used waxed linen cord and the saddle stitch to sew the new buckle into the leather. I made the final knot between the layers of leather so it would be hidden.
Then I reassembled the belt reusing the screw rivet, being careful to catch the leather loop and stay in the right places, and making sure the buckle faced the right direction. Did I mention I love screw rivets? If you assemble incorrectly, it is easy to remove the rivet and try again.