Did you know that microwaves and wifi use a similar radio frequency? I do now. The way our house is set up, the microwave faces the point of entry for our internet connection, which is where the router lives. Not always, but enough to be irritating, when we run the microwave, the wifi glitches. Moving either is not an option. The router has a dual channel at 5Ghz, and we still experience interference (this is in response to articles like this one that suggesting moving or upgrading.) I have been experimenting with options for awhile. A cookie sheet put in front of the microwave isn’t very effective, by the way. We had the idea of using a fireplace curtain as a kind of Faraday cage, or really a wall. It is an awkward space, so a trip to the hardware store was in order to source parts for a rod, since a traditional rod for fireplaces wouldn’t work. I found pretty copper bell pipe clamps!
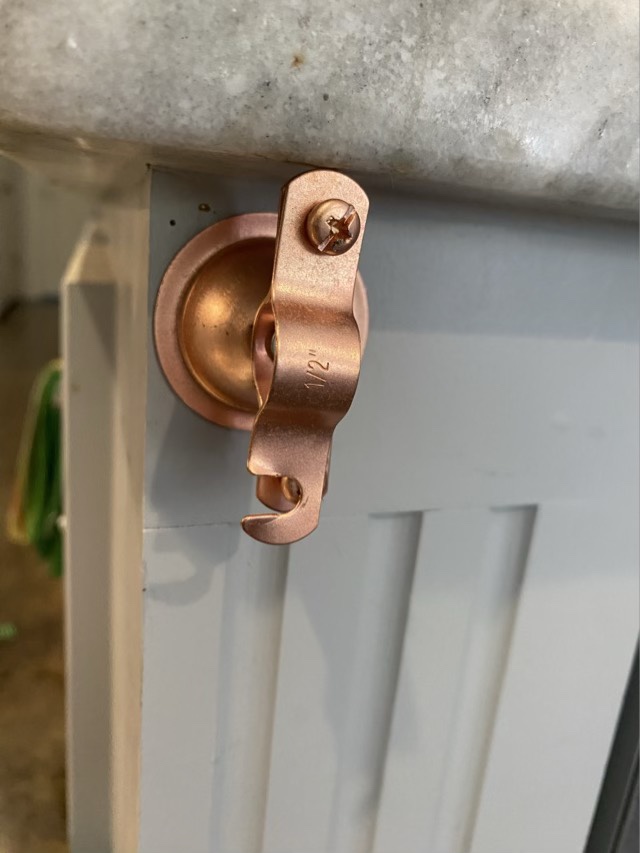
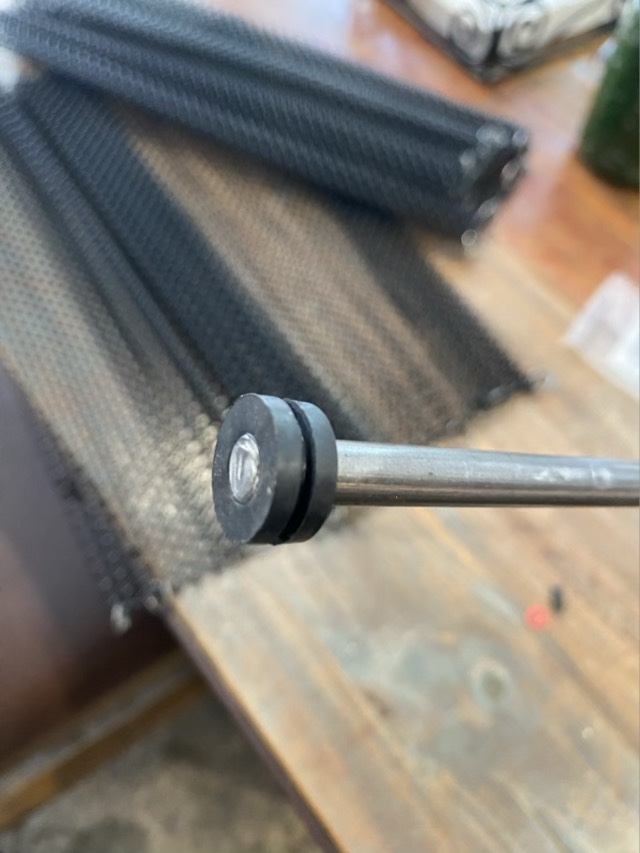
I also found steel rod. Unfortunately the smallest pipe clamp was 1/2” and the rod is 5/16”. Rubber spacers to the rescue.
I started with just one curtain, since it would fit nicely to the side of the microwave when not in use. I tested, but at home alone in the morning, I couldn’t replicate the conditions (TV worked fine, even live streaming).
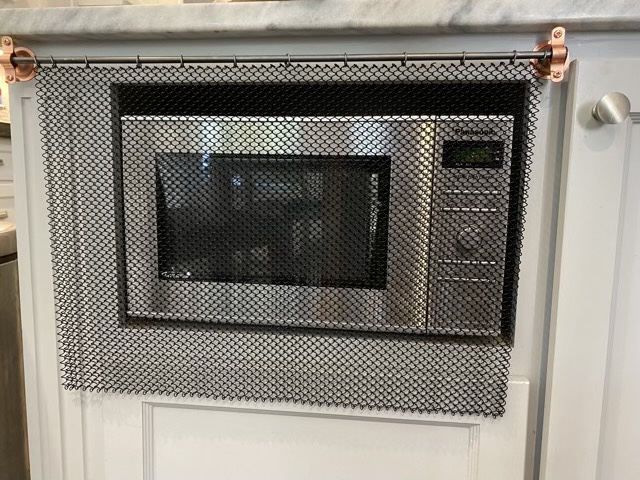
When it was evening, and everyone was drawing bandwidth and the football game was on the main screen, I did another test. Bingo. No loss of signal for the game. However, my youngest still reported her iPad and hearing aids, which connect with Bluetooth, glitched. I installed the second curtain, which makes the setup more bulky, but effectively makes the mesh holes smaller since they aren’t fully open. That did the trick.