Fabric treat bags

Last year’s Easter baskets are being used for storage. I needed something to put the candy and eggs in that wasn’t going to be then thrown away or contribute to the general clutter. Fabric baskets to the rescue. I used fabric and stabilizer from my stash, and sewed on the Singer model 66 treadle machine.

Photo description: finished bag with the top folded down to make a basket, sitting on the table of the treadle sewing machine.
Step 1: 14×20 fabric with iron on interfacing on the bottom 2/3, sewn on the short end, right sides together, then the seam moved to the center.
Step 2: 2.25” squares cut from the lower corners of the fabric tube
Step 3: bottom edge sewn together
Step 4: box corners flattened out and sewn
Step 5: Steps 1-4 repeated for the lining, then the two bags put right sides together and the top sewn, leaving a gap to turn the bag right side out, then the gap sewn closed by making a seam along the top edge
Photo description: another bag with fabric with a definitive direction. To get the fold to work, the inside fabric is upside down, so the crows on the fabric stay upright when folded.
Photo description: unfolded bag, showing the full height

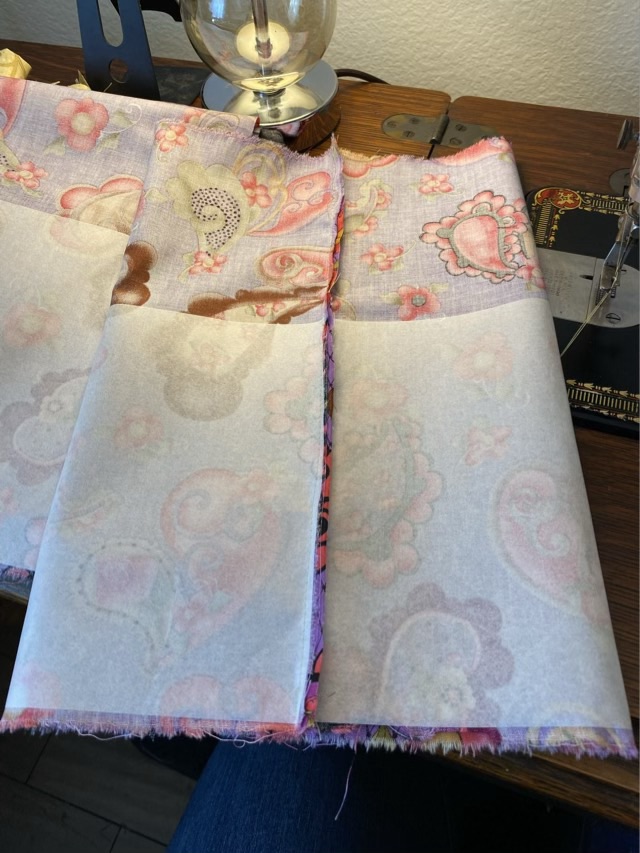
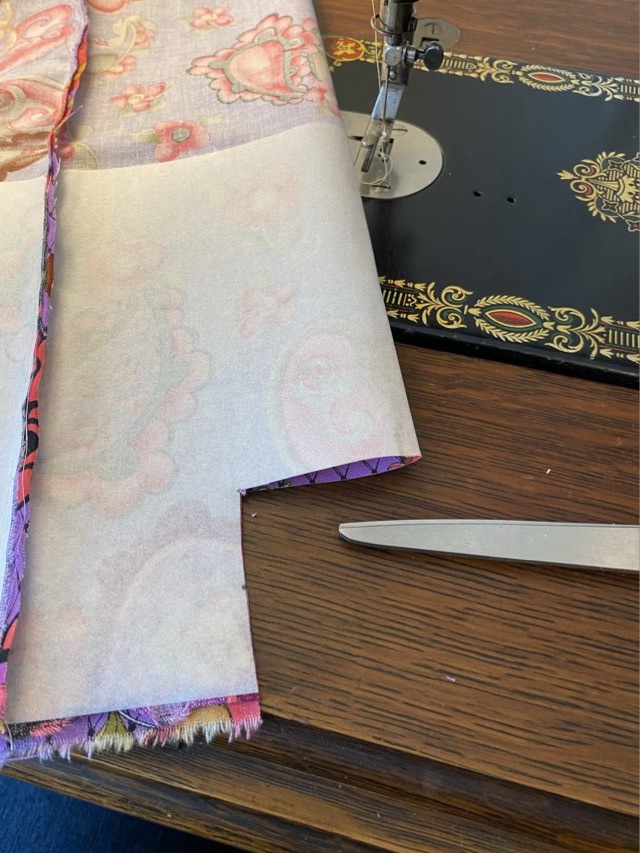
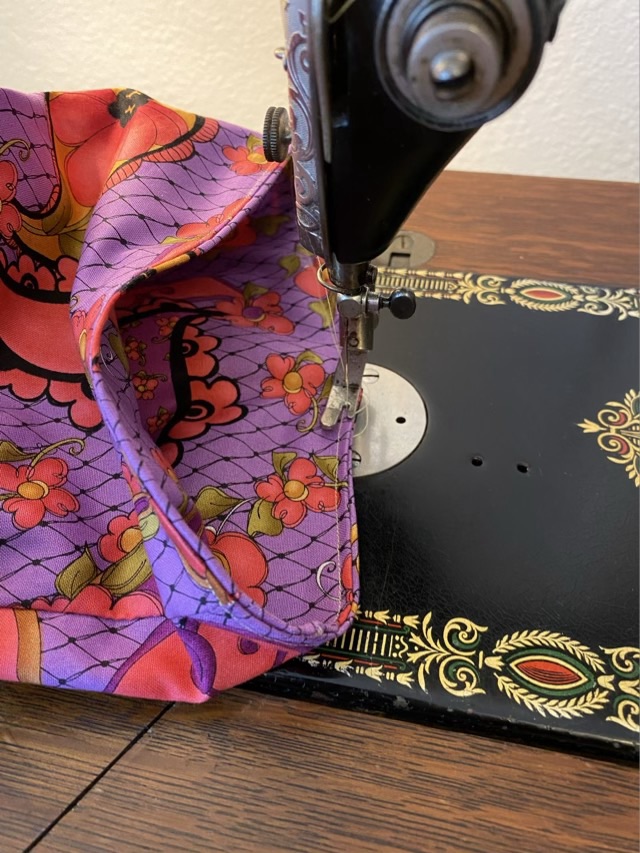
These bags came out quite tall, but since I didn’t put interfacing on the top third, they fold down easily. The interfacing I used did not stay fused to the fabric, and was quite papery, which would be great for a cat basket, but is slightly unwieldy for a treat bag. I recorded my steps here, but would not repeat these exact parameters. Future projects will involve experimenting with dimensions, and trying a softer interfacing, or maybe even batting and quilting. Hmm.

Throwback Thursday: cabinet update

When we first moved to our house, there was a large wood workbench on the back porch, salvaged from an old workshop. Since it had been left out in the elements, many of the parts were warped and cracked. I disassembled the bench and reused the parts for projects around the house. One of those projects was a cat food cabinet made from two drawers and part of the workbench top. I turned the drawers sideways to make the sides of the cabinet, put on a top with back splash, and made a door with hinges. The wood I used for the door had a large split, which I reinforced with braces on the back and an old leather belt nailed to the front.

Photo description: Thor the gray tabby standing on the top of the recycled cat food cabinet.
Photo description: the inside of the cat food cabinet showing how the original drawers were repurposed.

The problem with the wood top is that it was not smooth, so was hard to clean. To fix this, I added laminate adhesive tiles to the top, then gave the rest of the wood a boost with a rub down with Howard’s Feed-n-Wax.

Photo description: laminate tile added to the top of the recycled cat food cabinet, also showing the melamine shelf above the cabinet with Izzy the cat eating crunchies, and on the floor, Missy the dog looking for fall out.

It took a bit of time for the cats to figure out that the new surface was stable, and Thor would rather his wet food bowl be put elsewhere, but the surface is so much easier to clean now.

Can’t help myself

I can’t go up to my craft room without sitting down and sewing on the Singer model 66 sewing machine. Regular use keeps it in working order, moving the oil around the parts and keeping things from seizing up. I just have to plan an extra ten minutes (minimum) when I wander up there to sew a few more scraps together.

Photo description: sewing fabric scraps together on a Singer model 66 from 1916.

I also need to plan extra time to extradite Izzy the cat, who knows as soon as the craft room door is open and makes a beeline for the bed.

Photo description: Pleased calico cat sitting on the day bed.

Turkish drop spindle

My wrapping on a Turkish drop spindle is getting better. This is two plied soy fiber on a flexible filament 3D printed Turkish spindle that I bought at a fiber festival.

Photo description: geometric patterns created by the over two, under one, wrapping pattern on the yarn “turtle” around the arms of the Turkish spindle.

Stitch markers from satin cord

Making Celtic button knots is one of my favorite things to do. I use them for decorative ends, jewelry clasps, and now I have a way of making stitch markers for knitting! It is a great DIY for the stitch marker exchange at your favorite fiber meetup.

Photo description: ten rainbow hued stitch markers made from satin cord, with a decorative knot and a loop.

Here is my DIY video. It is a single take and you can hear my dogs pacing around me in the video, but all the data is there. For those that prefer pictures and words, I’ve provided steps below.

Step 1: With the satin cord, make a counterclockwise loop, pinch with thumb. Make a second loop about the same size, also counterclockwise, laying on top but slightly to the right of the first loop.
Step 2: From right to left weave the end over, under, over, under the sides of the two overlapped loops.
Step 3: Take the end counterclockwise over the right most loop side, under two strands, and up through the middle. Pull the knot gently but leave the center hole open.
Step 4: Put the end through the center hole, but leave a loop. Hold onto the end and pull the knot tight using the cords next to the knot.
Step 5: There will be loops in the knot after tightening, gently pull these taught by tracing the cord around the knot. This is the longest part of the process.
Step 6: When the knot is tight and neat around the loop, cut off the ends leaving a very short tail. Melt the ends using a candle flame so the ends fuse together. If you are using leather or cotton, glue the ends so they don’t pull out.