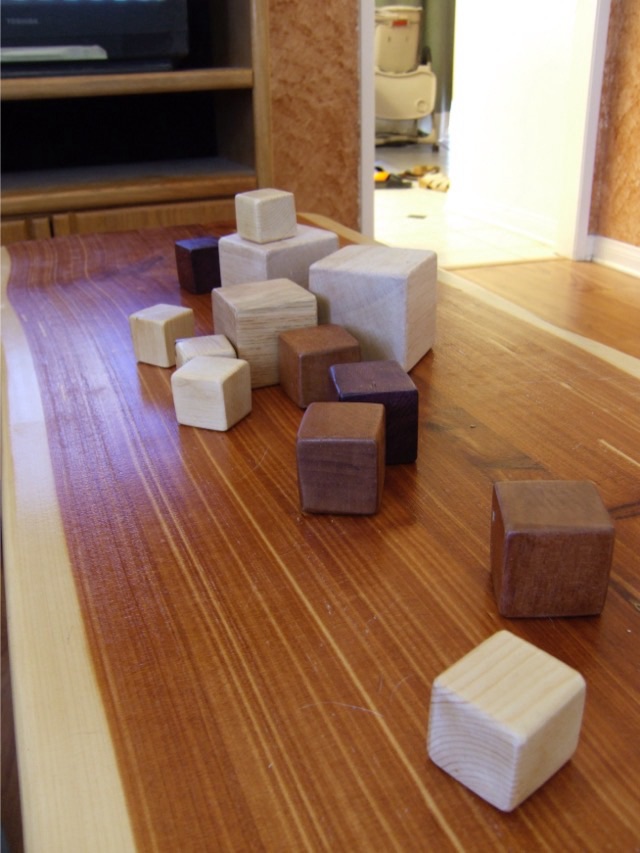
When my eldest discovered she had hands and the beginning ability to control those wiggly digits, I made her a set of blocks from my wood pile. I made them from different woods, and in different sizes, because it gave them different weights and feel. I was all about the “different texture experiences” practice of parenthood. I rounded the edges and finished with a matte clear coat, to help with grip.
Photo description: wooden cubes of various sizes and shapes arranged randomly on a wood slab coffee table
I have to admit, I rather liked arranging them on the table as a center piece.
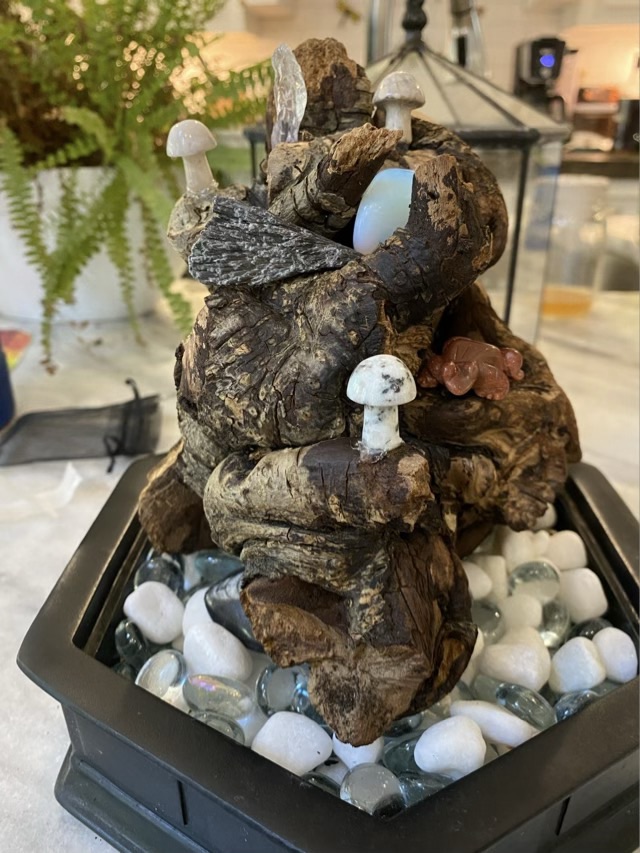
After boiling and baking my gnarled wood that I wanted to use in my terrarium, and washing the base and all the stones, I tried setting it up again. I visited a local vintage store and picked up some interesting stones, including tiny crystal mushrooms. Mushrooms!
Photo description: wood hardscape in a terrarium base with pebbles underneath and festooned with stone mushroom and frog carvings, tumbled stone, and crystal shards.
I kept the moisture to a minimum, setting the base with dry decorative rocks and glass pebbles, and using glue dots to adhere the carvings and stones. The only moisture came from the sphagnum moss that I tucked into the two hollows in the wood where I wanted to keep plants. I even braved the shipping and ordered a jewel orchid (I used points, so am not counting the cost of that towards the project). I let the moss sit for a few days to test for mold growth. My orchid arrived earlier than expected, and when I went to mount it, I discovered mold in the hollows. Dang it.
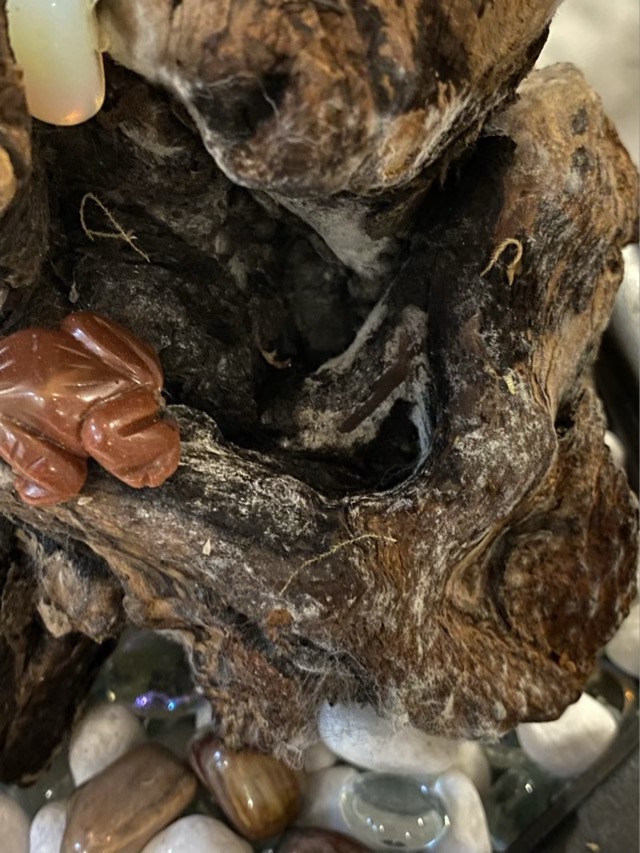
Photo description: close up of a hollow in the wood line with white mold.
I disassembled the terrarium, again, and set the wood out to dry. It is a neat chunk of wood, but clearly not suitable for terrarium life. (I’ve read that a dilute solution of bleach could sanitize wood, but I don’t keep bleach in the house because of our aerobic treatment system.) I washed everything, again, and set it out to dry.
I can’t give up on the terrarium idea, I now have a tiny baby plant that needs nurturing. Ah, but don’t worry, I have another idea. We’ll see if the third time works.
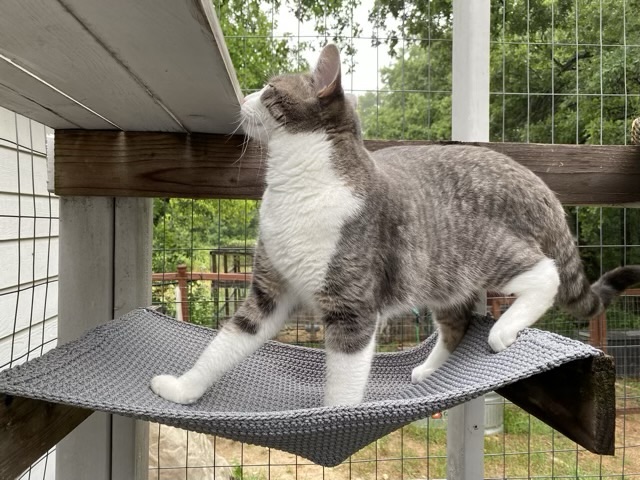
Cat hammocks in a catio have different requirements than an indoor cat hammock. They should be UV resistant, especially if the catio has an open roof. They should also let water pass through, which outdoor fabric doesn’t do. They should be comfy… OK, that one goes for inside beds too. I have cycled through an indoor/outdoor sewn fabric hammock with grommets for a rain drain, and a cotton pillow case, which really absorbs rain water and flies off in the slightest breeze. The newest attempt shows promise: a crocheted polyester mat.
Photo description: crocheted gray polyester mat done with a single crochet center and chain one single crochet edges. Photo bomb by Missy the dog who is obsessed with balls.Photo description: crocheted mat installed with screws to two wooden supports. Thor the cat earing me in the background.Photo description: 15 pound cat standing on the installed cat hammock. His idea.
I used polyester craft cord, which is a knitted or braided cord used for macrame or crocheting bags. Polyester is more UV resistent, and the crochet work should allow water to pass through. I recommended swatching, then using the gauge obtained to calculate the stitches and rows needed to fit the space. I found that single crochet worked best for sturdiness and not catching toe-beans. The center is worked in rows of single crochet, and because I did not swatch (the horror) I added a border to extend the length.
I have ideas for more crocheted outdoor hammocks, but am showing unusual restraint, waiting to see if this one gets actually used first. I’ll keep you posted.
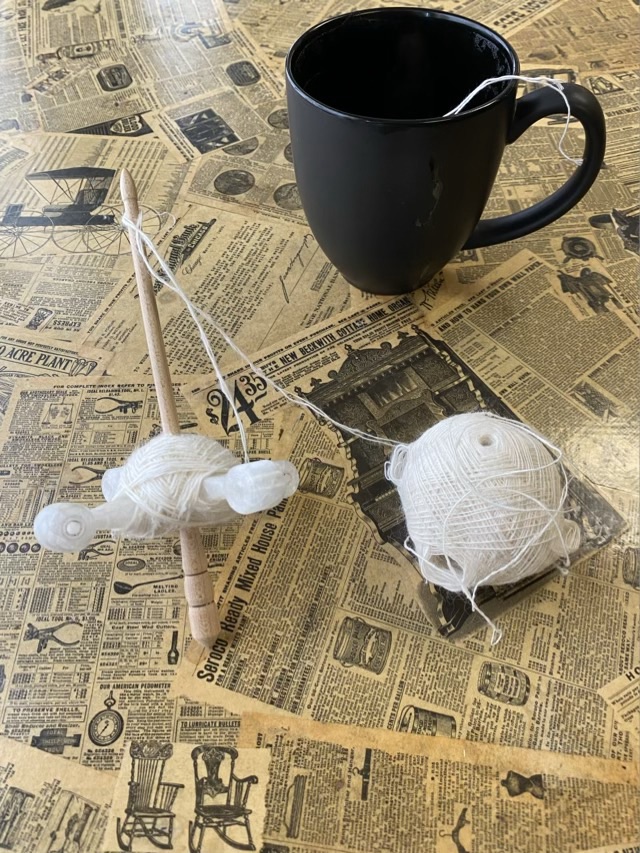
I finished spinning my pineapple fiber sample singles with a 3D printed Turkish spindle. I attempted to use the turtle of yarn to make a two ply yarn.
Photo description: Turkish style drop spindle with two ply yarn coming from both ends of a single ply turtle of yarn sitting on a table decorated with old newspapers and sitting next to a cup of chai at my favorite coffee place.
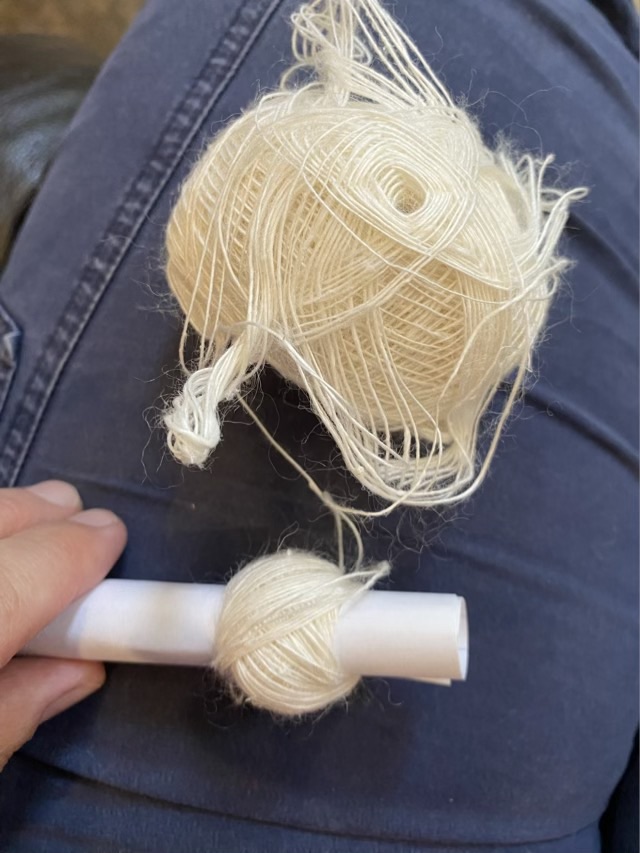
I had an unpleasant revelation. As the yarn comes off the top of the turtle a whole layer of wraps pops off, making a tangled mess. So I stopped trying to go directly from the yarn turtle, and instead made a nostepinne style winding ball with two strands.
Photo description: yarn turtle unraveled from the top showing how a layer lifts off. The yarn is being wound onto a card stock tube into a center pull ball.
After my yarn was neatly arranged, I was able to ply it without dealing with heavy tangles. There are spinners who consistently make plying balls, and I can now see the appeal.
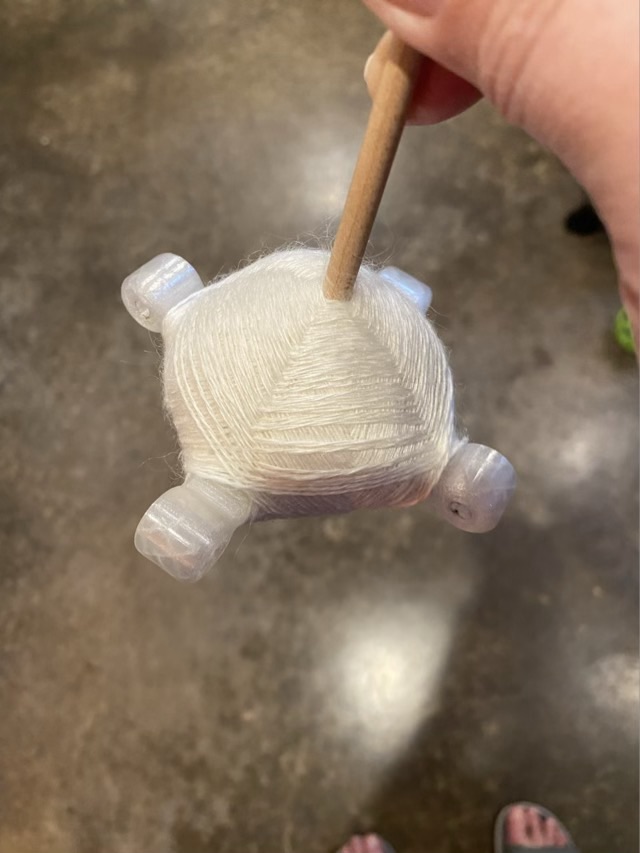
I finished plying and my Turkish spindle wrapping technique is improving. Since I’m going to work directly from the center of the yarn turtle for the next step, I don’t need to rewind. The Turkish spindle turtle does very well as a center pull ball.
Photo description: top of the yarn turtle on a Turkish style drop spindle showing fairly neat wraps.Photo description: bottom of the yarn turtle showing overlapping layers. Dog and ball in the background because she thinks I should be kicking her ball all the time.
Now we are getting into the children years for Throwback Thursday, at least digitally. Maybe someday I will flip through my pre-digital era, but for now now, we’ll just move forward. In January of 2006 my first child had started to crawl, so I attempted a large play mat with animals, tracks, and habitats.
Photo description: large cotton sheet with drawings of a bear, beaver, deer, duck, rabbit, and squirrel on the left, and corresponding tracks leading to drawings and f habitats on the right
I took some unbleached cotton fabric and made iron-on images with my printer. The idea was cute, but the thin cotton didn’t hold up well to a new crawler, and all of the images washed out when I laundered it. I still have the fabric, it became a drop cloth for art projects.
As an interesting note, my eldest is now in college with a major in wildlife. Hm.