So there are Turks head knots, and long Turks head knots. Yes, this is what I have been looking for. I found a video tutorial, dug some hemp string from my stash, a pencil from my side table, and dug into weaving. The learning curve on this knot was made easier since I’ve been working on Turks head knots. The most time consuming part is tightening the knot because it is made from a single strand that winds around and around (and around), and the loose loop needs to be traced all through the knot. These are not quick projects, but they are so rewarding.
Photo description: tripled long Turks head knot on a #2 pencil made from natural colored hemp string, sleeping calico cat as the background
I tripled the knot, meaning I wove three strands parallel to the first grid. (My nautical and knot tying terminology is rubbish.) The knot isn’t perfect, but is stable enough to remove and replace, so it can live on, even if the pencil is sharpened down. Pencils of the house, beware!
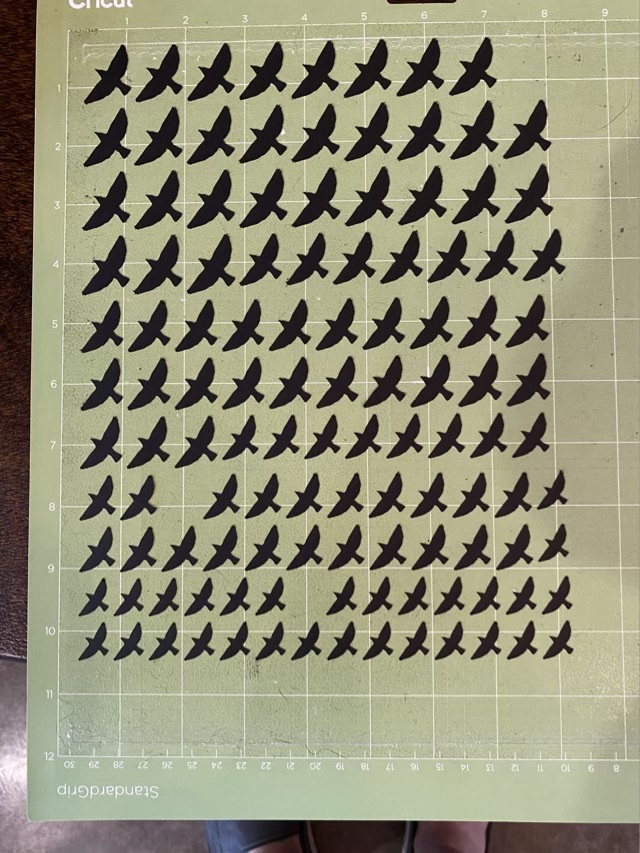
I love my little mossarium, and keep looking for tiny things to add: little plants from the yard, lichen, birds. Birds! I cut out flying bird silhouettes on my Cricut from black cardstock, and hung them from monofilament attached to a wire mobile.
Photo description: more card stock black bird cutouts than I needed in four sizes on a green Cricut mat
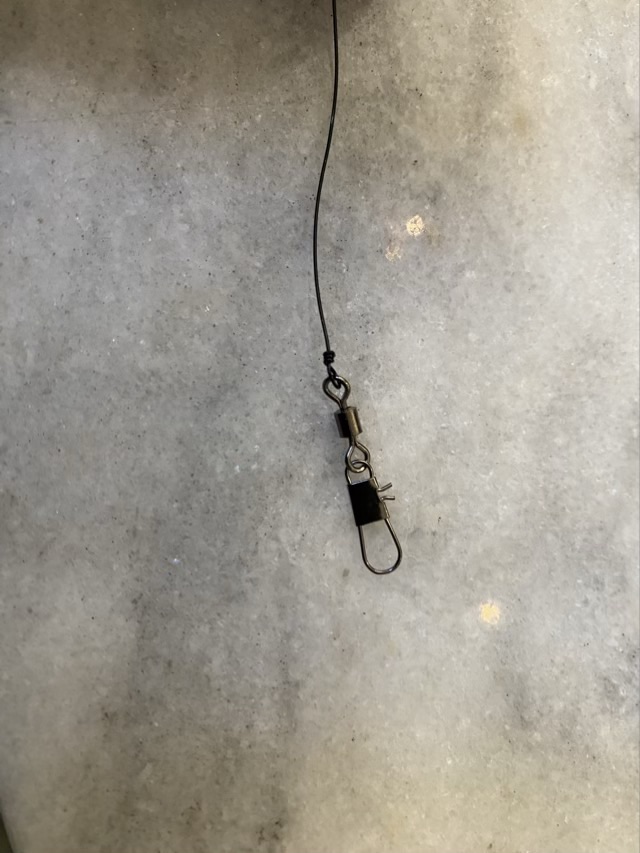
I used 22 gauge black coated copper wire to hang a fishing swivel on the inside of the terrarium.
Photo description: small fishing swivel connected to black wire with a closed loop
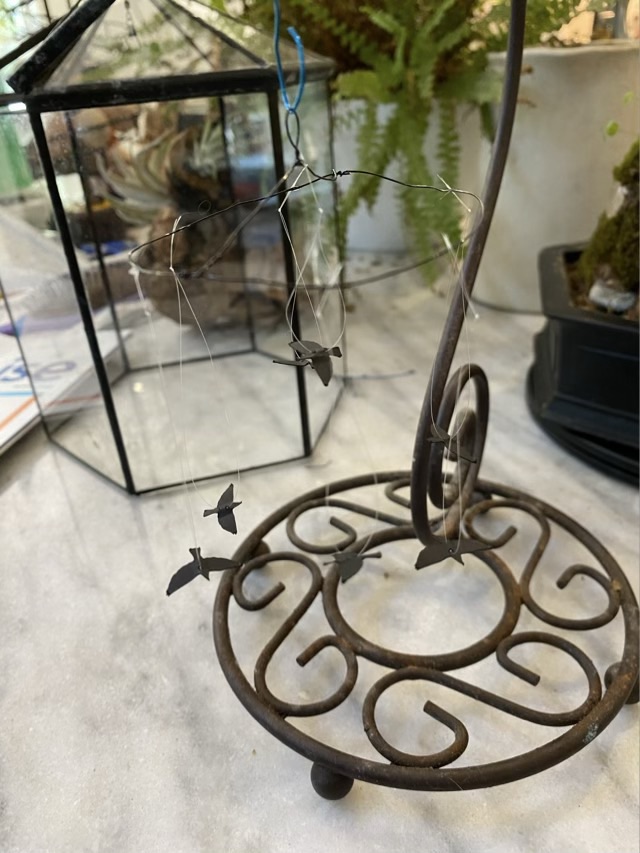
I made a circle of wire with a cross bar and loop, and hung it from a banana stand so I could balance it as I added the birds, which had monofilament strung through the body area. I only needed seven of the smallest birds I cut, the rest will be saved for other projects. I used super glue to tack the line onto the wire because I didn’t want the line to slide along the wire, and I didn’t want to add weight by making wire loops.
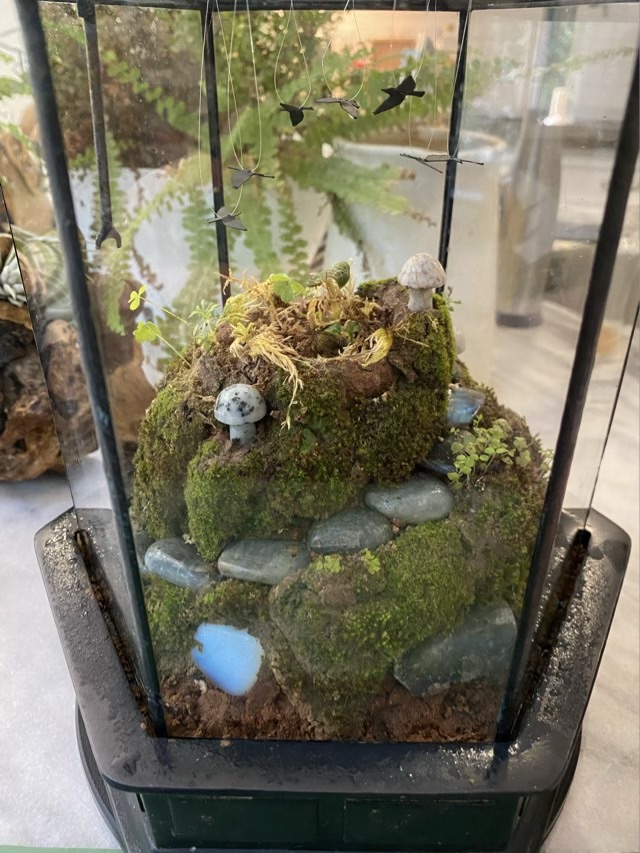
Photo description: tiny bird mobile hanging from a banana stand, terrarium lid in the background Photo description: mobile in place in the terrarium lid, showing the wire circle hanging from the fishing swivel attached to the peak of the lid and the birds hanging downPhoto description: terrarium lid in place over the moss covered mini landscape
Here is a 5 second video of the birds “flying”. I put the terrarium on a small lazy susan, so when I turn it, the birds turn at a different rate, and will continue to spin briefly when the turntable stops. The swivel doesn’t spin as freely as I would like, but this is a happy start.
I cleaned and washed the terrarium a third time. When rebuilding this round, the chunk of wood that kept sprouting mold was not included in the build. Instead I turned to our backyard, which is mostly clay and marvelous to sculpt. I put a layer of glass pebbles down in the base, added some activated charcoal, then put down a compacted layer of dried sphagnum moss. I used the top part of a champagne flute (the bottom broke off rather jagged, but it went down into the moss, so no danger of cuts) as a form, basically a glass tube in the middle that would be a “pot” for my jewel orchid to ensure it had room to grow and didn’t get soaked, as I tend to overwater.
Photo description: Bags of rocks and stones on the left, the base of the terrarium showing the glass pebble and charcoal base layer covered with sphagnum moss, and the top of a champagne flute on the right, all on a outdoor cast aluminum table
I gathered clay soil from different areas in the backyard, where wild moss was already growing, and built it up around the glass tube. I found my stash of labradorite pebbles, some of which I tumbled, some were raw, and added the smooth stones as steps, and the rough rocks as “boulders” in the sculpture. I then used a spatula to gather small sheets of moss from different areas in the backyard, trying to find different looks, and laid them over the clay base.
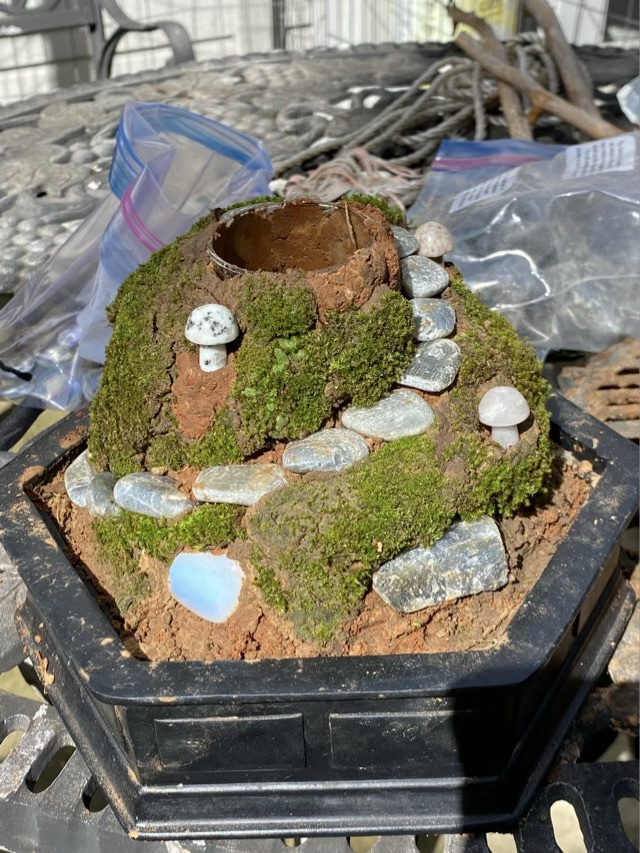
Photo description: moss sculpture in progress outside on the patio table with labradorite, moonstone, and stone mushrooms on a moss covered clay form with a hole in the center held open by the glass tube formerly known as a champagne flute
I really enjoyed this build. The clay soil was easy to work with because we have had a very wet spring, and the moss molded well against the clay. I made a spiral staircase because I like spirals. I filled the center tube with sphagnum moss and put the jewel orchid at the top. I found small plants in the yard in the shade that I tucked between sheets of moss as well.
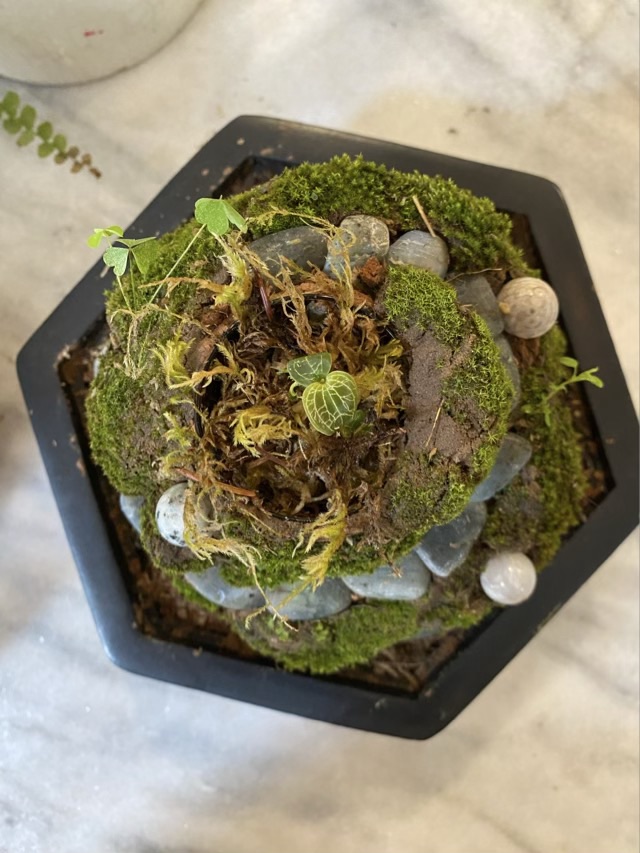
Photo description: moved the build inside, out of the sunlight, this shows the opposite side with a labradorite “boulder” sticking out of the mossy hillPhoto description: another side of the mossarium hill showing one of the labradorite stepping stones showing a blue schiller effectPhoto description: my favorite view, straight down from above the mossarium build showing the sculpted spiral Photo description: not a great photo of the complete mossarium with lid, I need to get out my polarizing filter and good camera to combat the glass glare with the terrarium lid in place, mister to the right, which is an old eye glass cleaning bottle, and left over bags of stone on the left
I’m hoping that the third time is the charm on this mossarium. It was a fun build.
I started following a rope tying group and my bucket of things to learn overflowed. Number one on my list is learning to make a Turks head knot. This marvelous bit of knotting looks like weaving in the round and is created with a single strand, rather than a warp and a weft for flat weaving. I found a YouTube video from the Paracord guild and pulled some paracord out of my stash. I couldn’t find a suitable length of PVC pipe, so I rolled up some card stock for my form. I was able to figure out the first increase, but ran out of cord for the second increase, so mine is not as wide as in the tutorial.
Photo description: Turks head knot with rainbow colored paracord, and a Thread Zap II
I used a Thread Zap to seal off the ends and actually connect the beginning and end inside the knot. I still need to learn how to tighten the weave, sorry, knot, but I think that will come with practice. The lexicon for rope tying and weaving are definitely warring in my head.
Photo description: same Turks head knot slid onto a pencil sharpener
I did happily discover that the knot would fit over a pencil sharpener, so that is where it is currently living. I have a feeling that random tools around the house are going to sprout rope work.
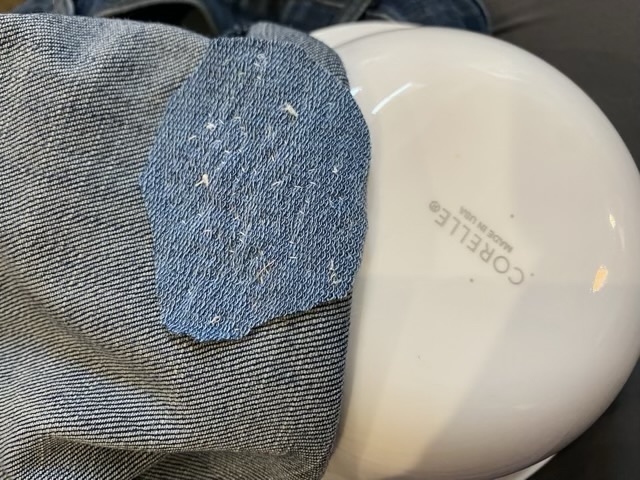
I’ve been collecting visible mending pins on Pinterest, so when my eldest tore her jeans, I sent her to my Pinterest board to pick a pin.
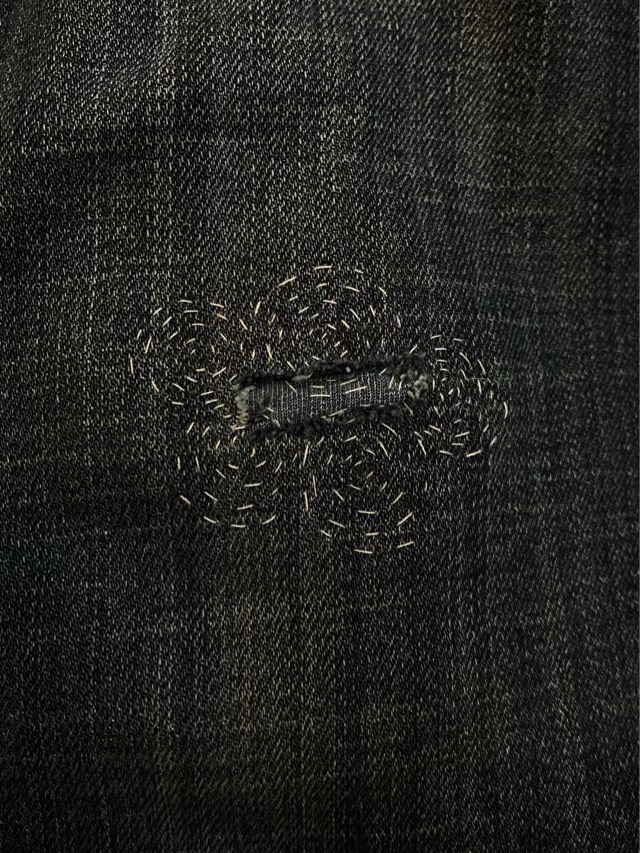
Photo description: preparing to mend the hole in the knee of a pair of jeans with a scrape of knit denim colored fabric, white thread, needle, and scissorsPhoto description: back side of the sewn patch after trimming shown next to a white cereal bowl that I used as a sewing supportPhoto description: front side of the jeans with five stitched spirals holding the patch
I quite like visible mending, it is a chance to add a little flair and do good.