Roving!

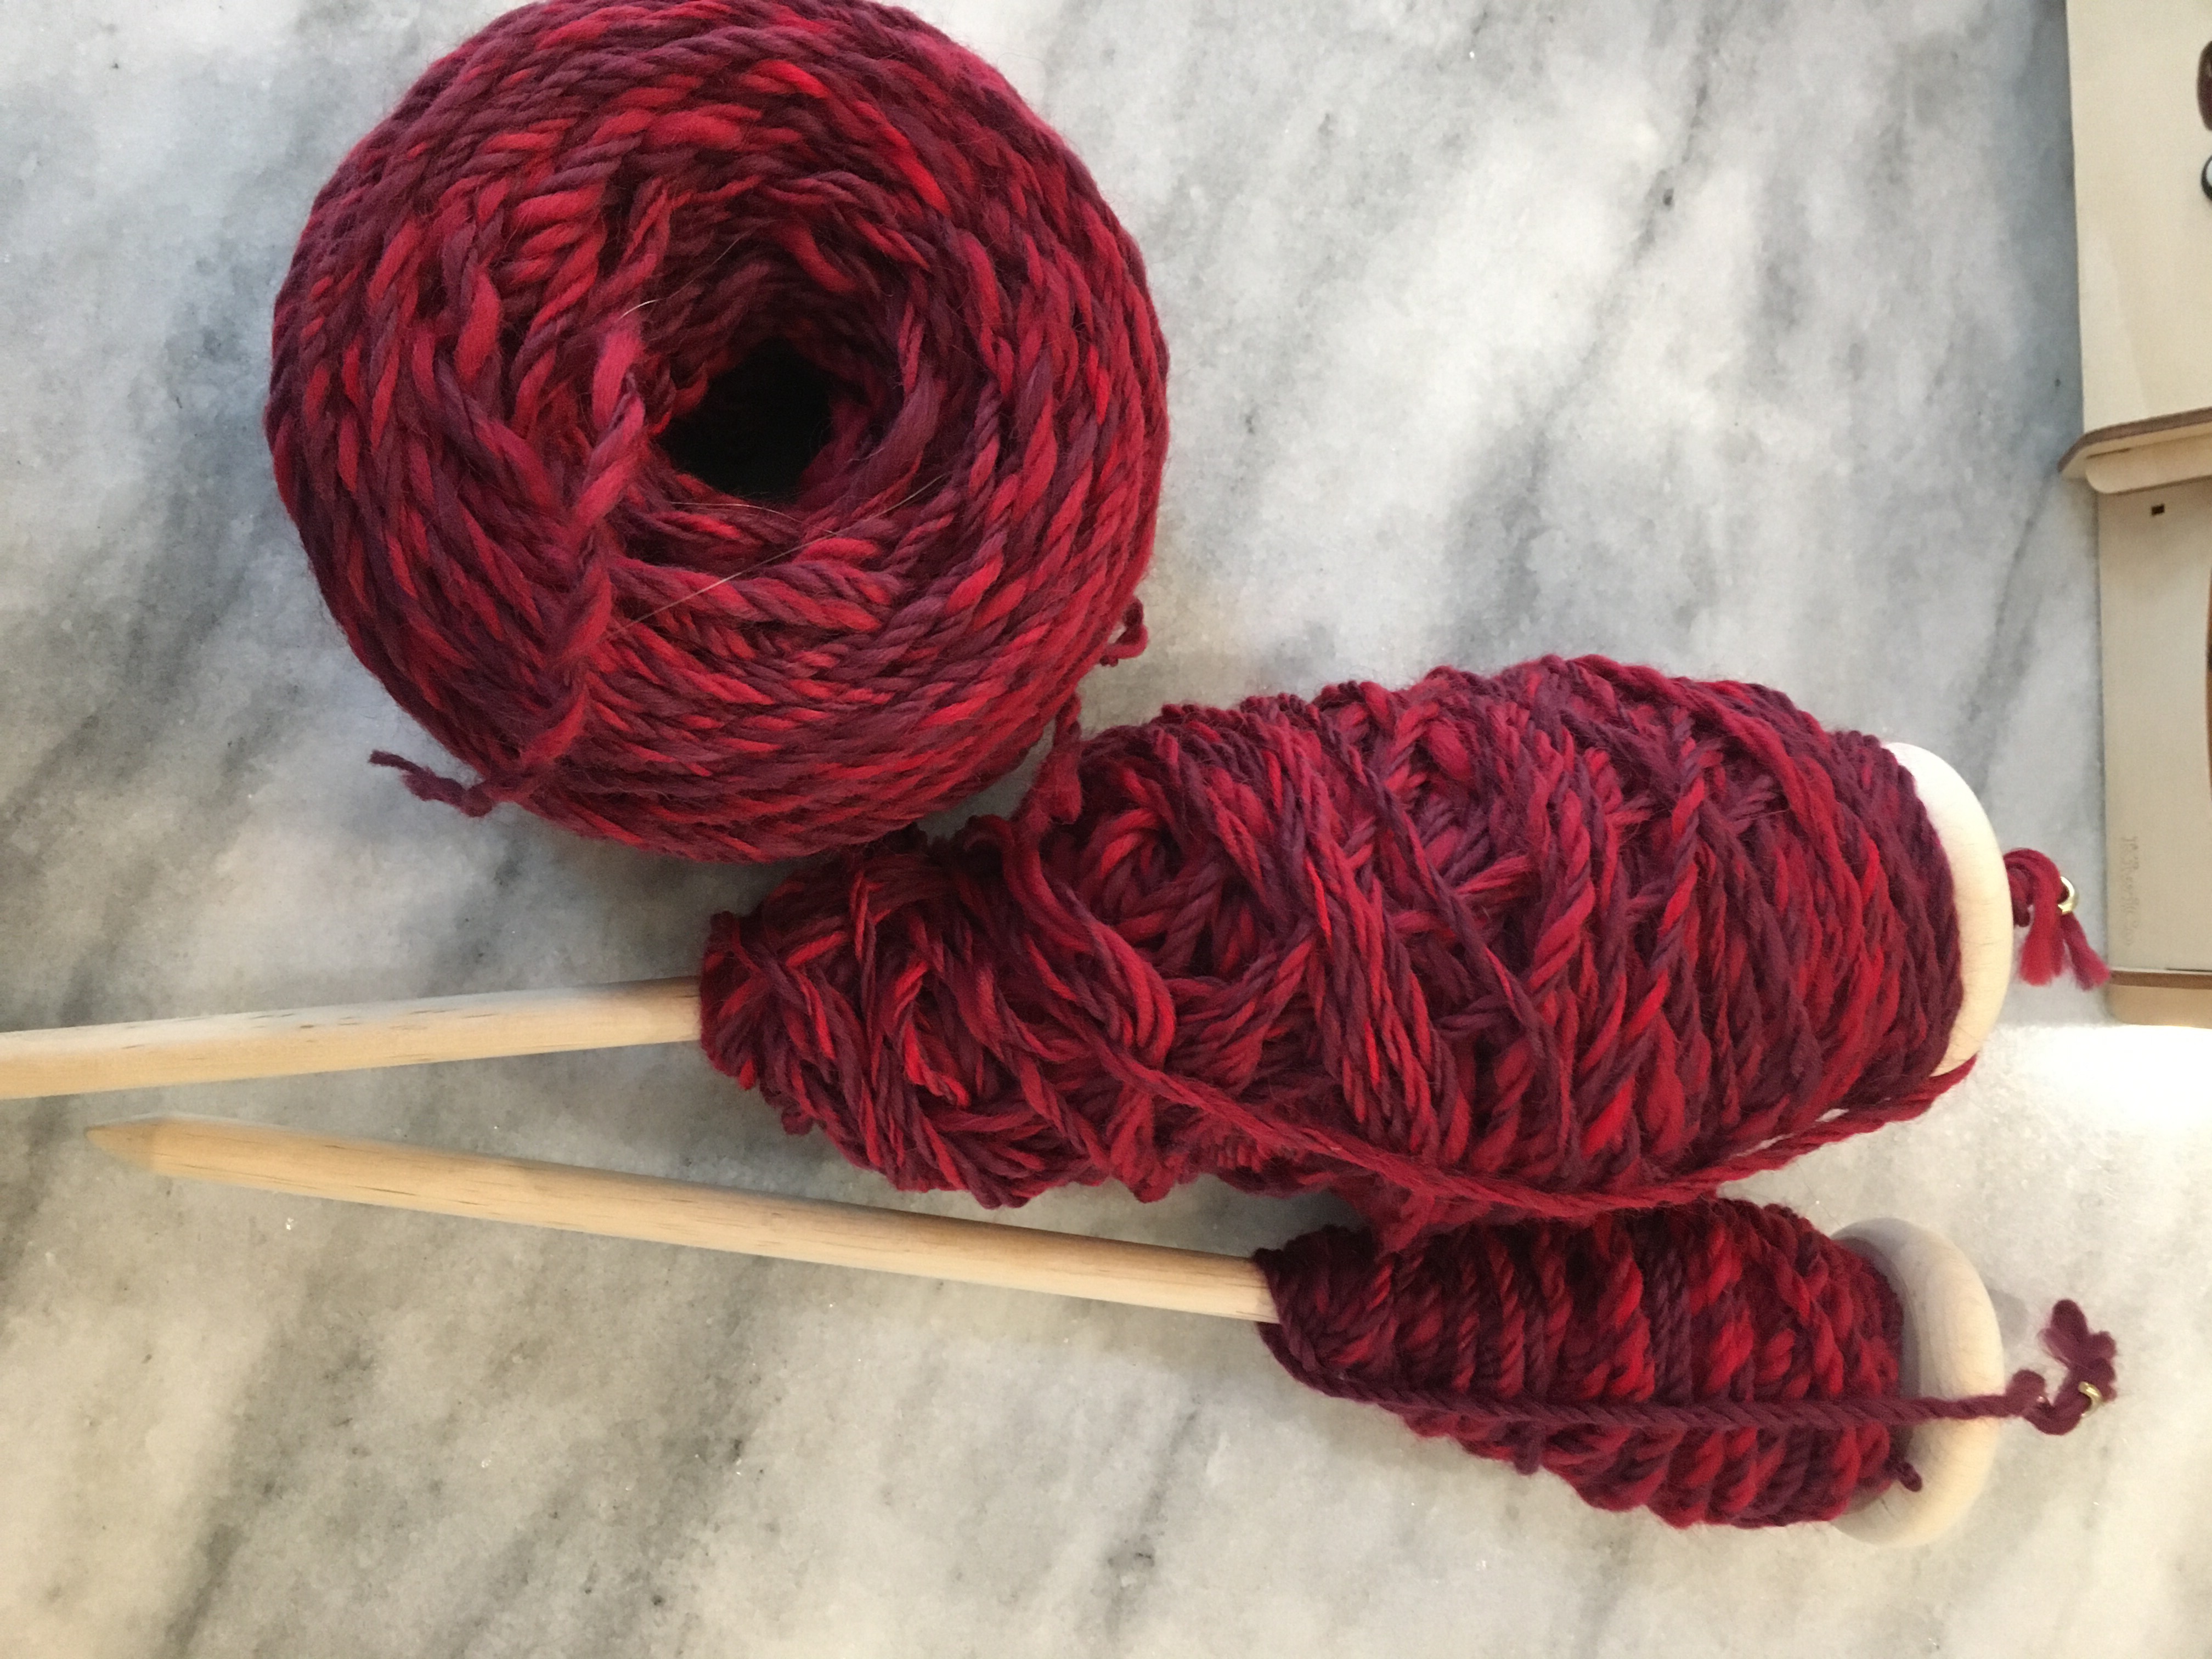
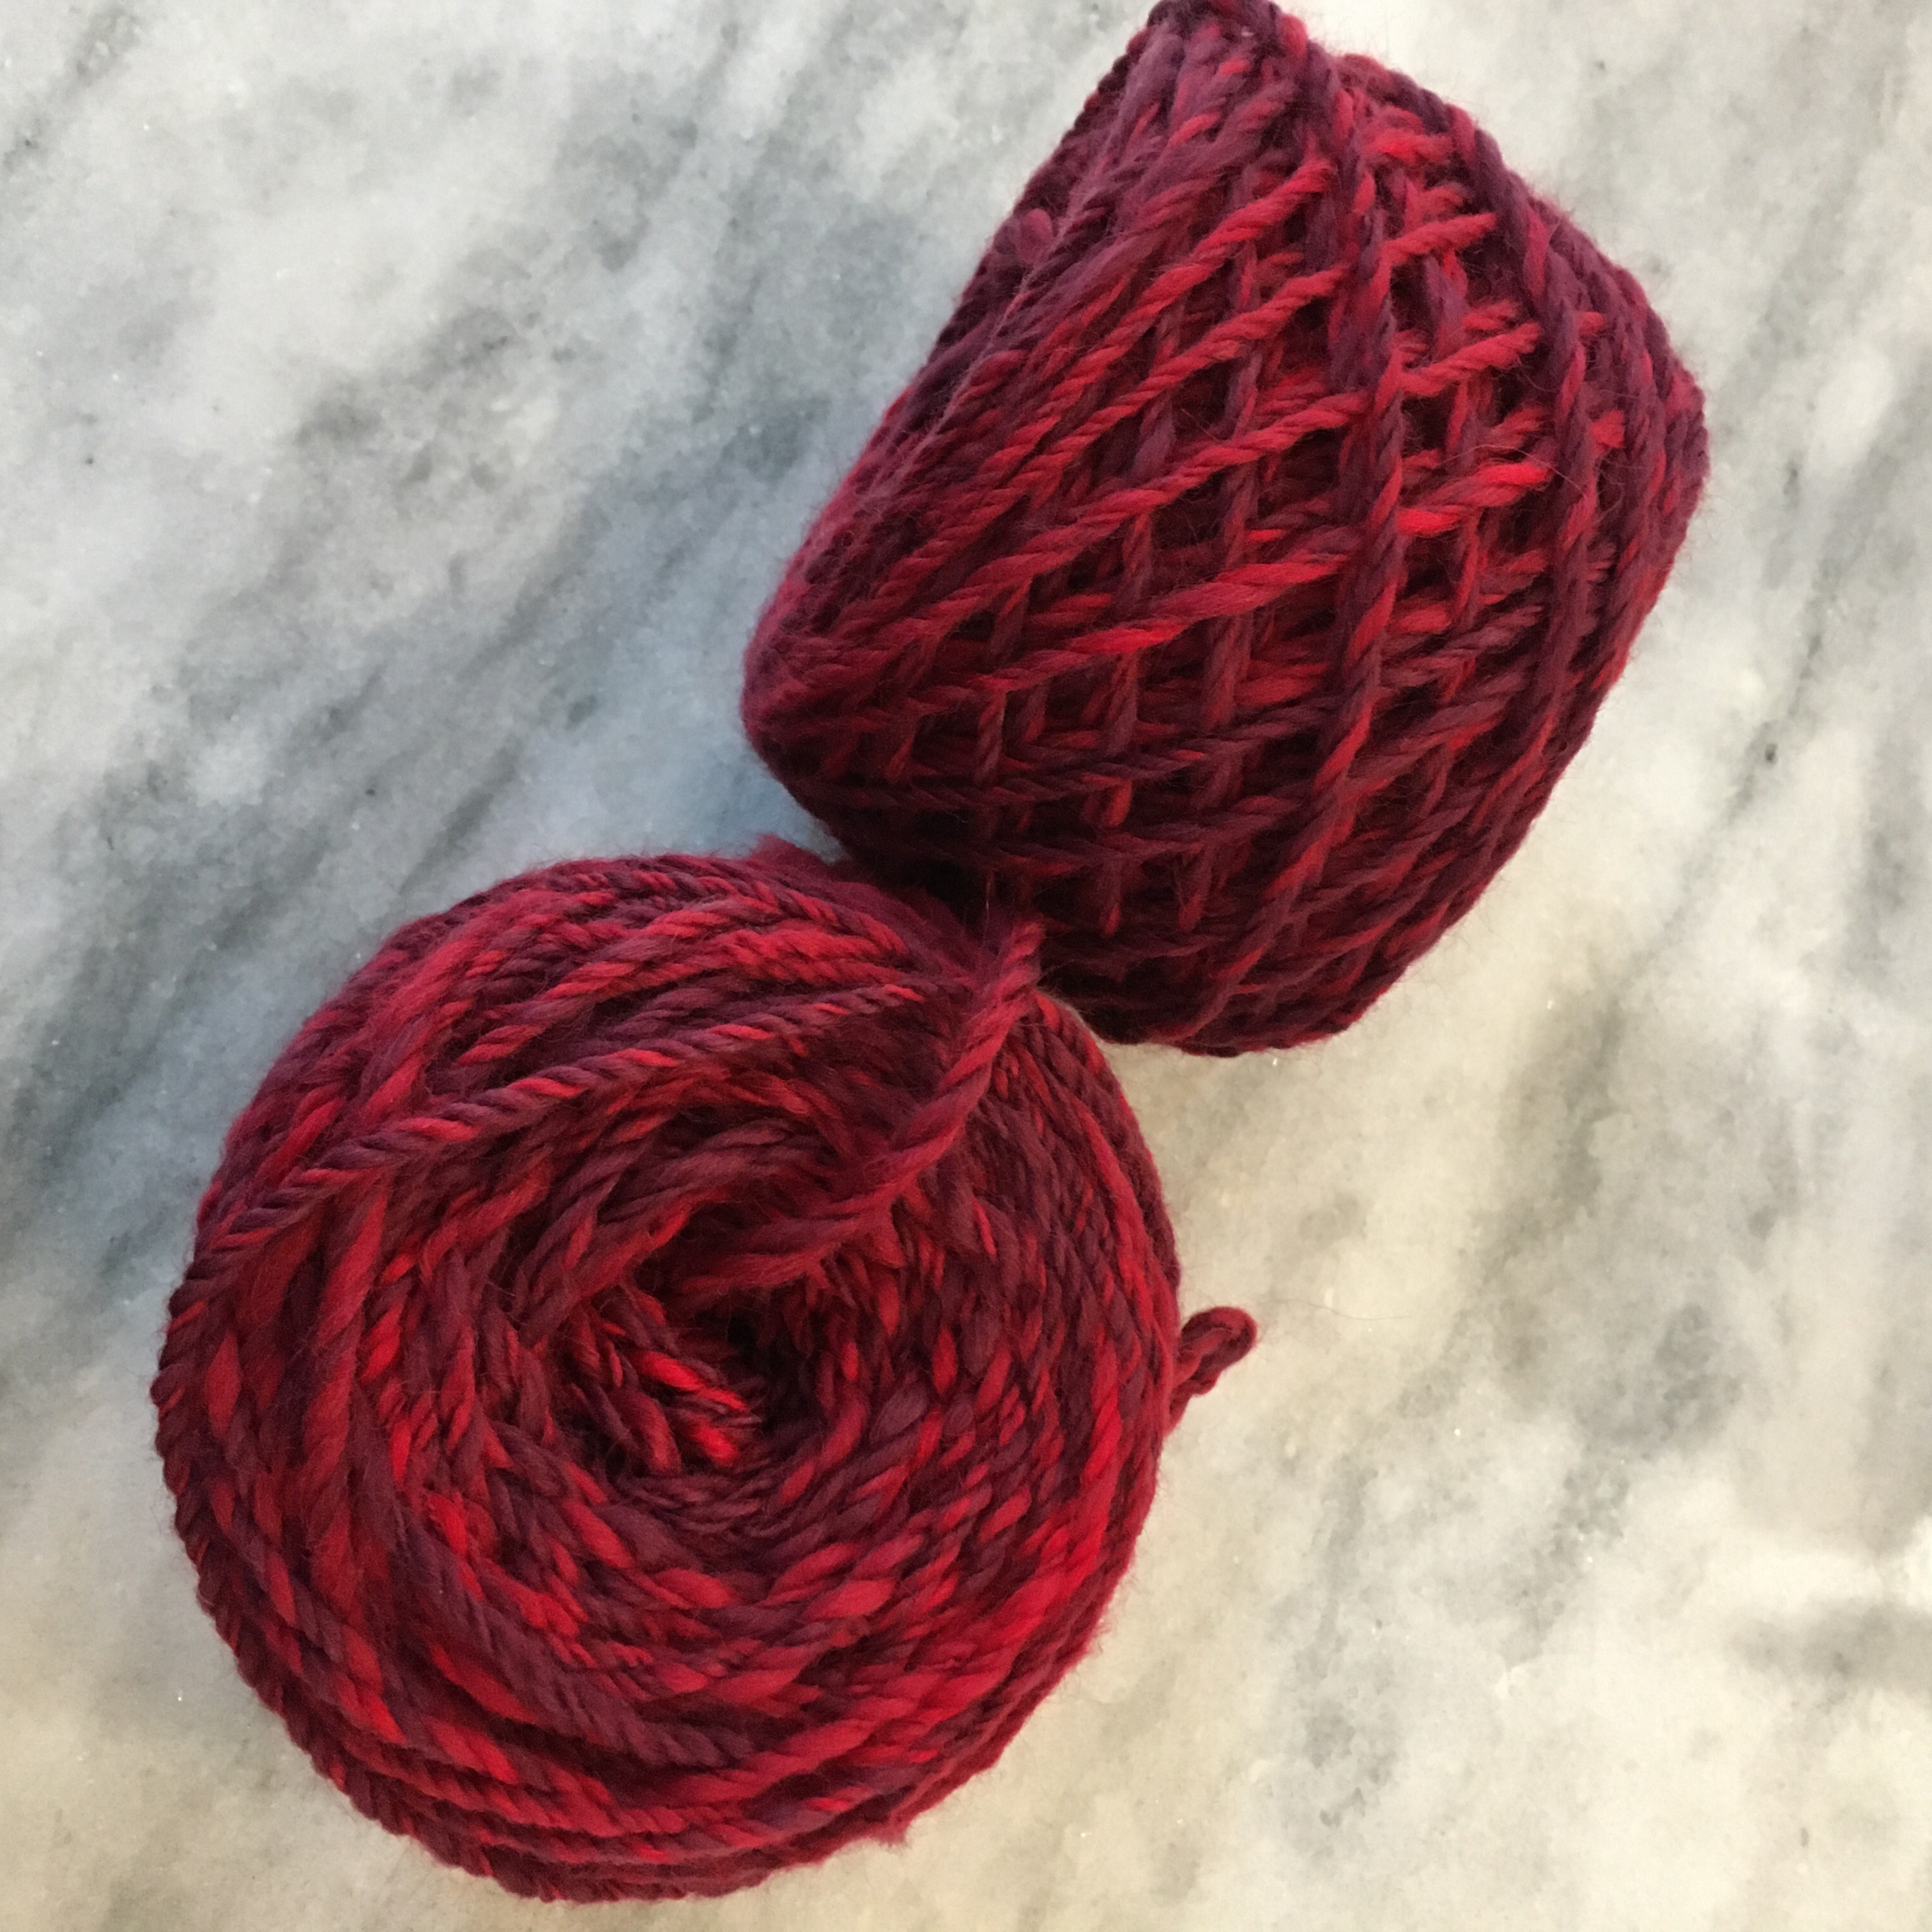
My Mom sent me a box of merino wool roving and her drop spindle (thank you Mom!) It was interesting to spin with a store bought spindle rather than my cobbled together bits.

Single ply spun on top whorl store-bought spindle

I don’t like spinning directly from the roving, however. I was having trouble with fiber management and drafting. I know some wrap the roving around their forearm, and others use a variety of distaffs, but I still let too much twist into my fiber and often need to untwist a bit so I can thin out the draft. So I made some rolag type things. The videos I’ve seen on making rolags for spinning take fiber that has been carded. I don’t have large carders (yet), so I spread a section of roving out (like Halloween spiderwebs), and layered two colors together (to double the amount of finished yarn, honestly), then rolled it up perpendicular to the fibers. I think these rolags are easier to manage as I am still learning.

Roving spread out and layered with two colors
Rolags?

Chicken wire ghosts

The idea started as a simple desire to put up a scarecrow for fall. I even picked up a hat, shirt, and pants last year, but never got around to assembling it all. Apparently the idea had not fully ripened. This year I realized that I could flesh out my scarecrow with chicken wire. And if I did that, did I really need straw? Or a pumpkin head? Wouldn’t it look creepier if the hat “floated”? The chicken wire is more sculptable than straw. I could give the scarecrow motion. He could be running. Oh! What if he was running from another ghost deeper in the woods? That is amusing and make it creepier. I had plenty of chicken wire and even an extra white sheet. The idea was ripe.

Filling clothes with rolls of chicken wire

I cut lengths of chicken wire to be just shorter than the legs and arms, folded in the sharp ends, rolled them up individually, and slid each roll into a pant leg or sleeve. I used a larger piece for the torso, forming the neck and head by squeezing the mesh together. To connect everything I bent the cut ends around adjacent mesh, and used some aluminum wire. I roughly formed the scarecrow into a running shape, then set a tall fence stake in the meadow. I did have to make a hole in the pants to slide the sculpture onto the stake (good thing it is cloth and wire, ouch). I refined the shape and attached the hat with wire.

Composition at dusk

For the ghost I set another fence stake back farther in the woods. I shaped a head and shoulders from chicken wire and draped the sheet over the top. I secured the sheet at the crown of the head and the tops of the shoulders.

Best angle for the running effect
Our cat trying to ascertain the threat level
Spooked?

Mohair hat

100% mohair, natural color (no dye), hand spun, 3 ply, nålbound with York stitch, cloche style hat.

York stitch hat

I love how the Z twist of the plied yarn goes perfectly with the York stitch so it looks like the twist goes from the crown to the brim. The mohair also has a lovely shine and an epic halo.

My youngest modeling the hat

My youngest wanted to be my hat model this time. The hat is a bit on the big side for her, but it is easier to see the mohair halo when the hat is being worn!

Plying

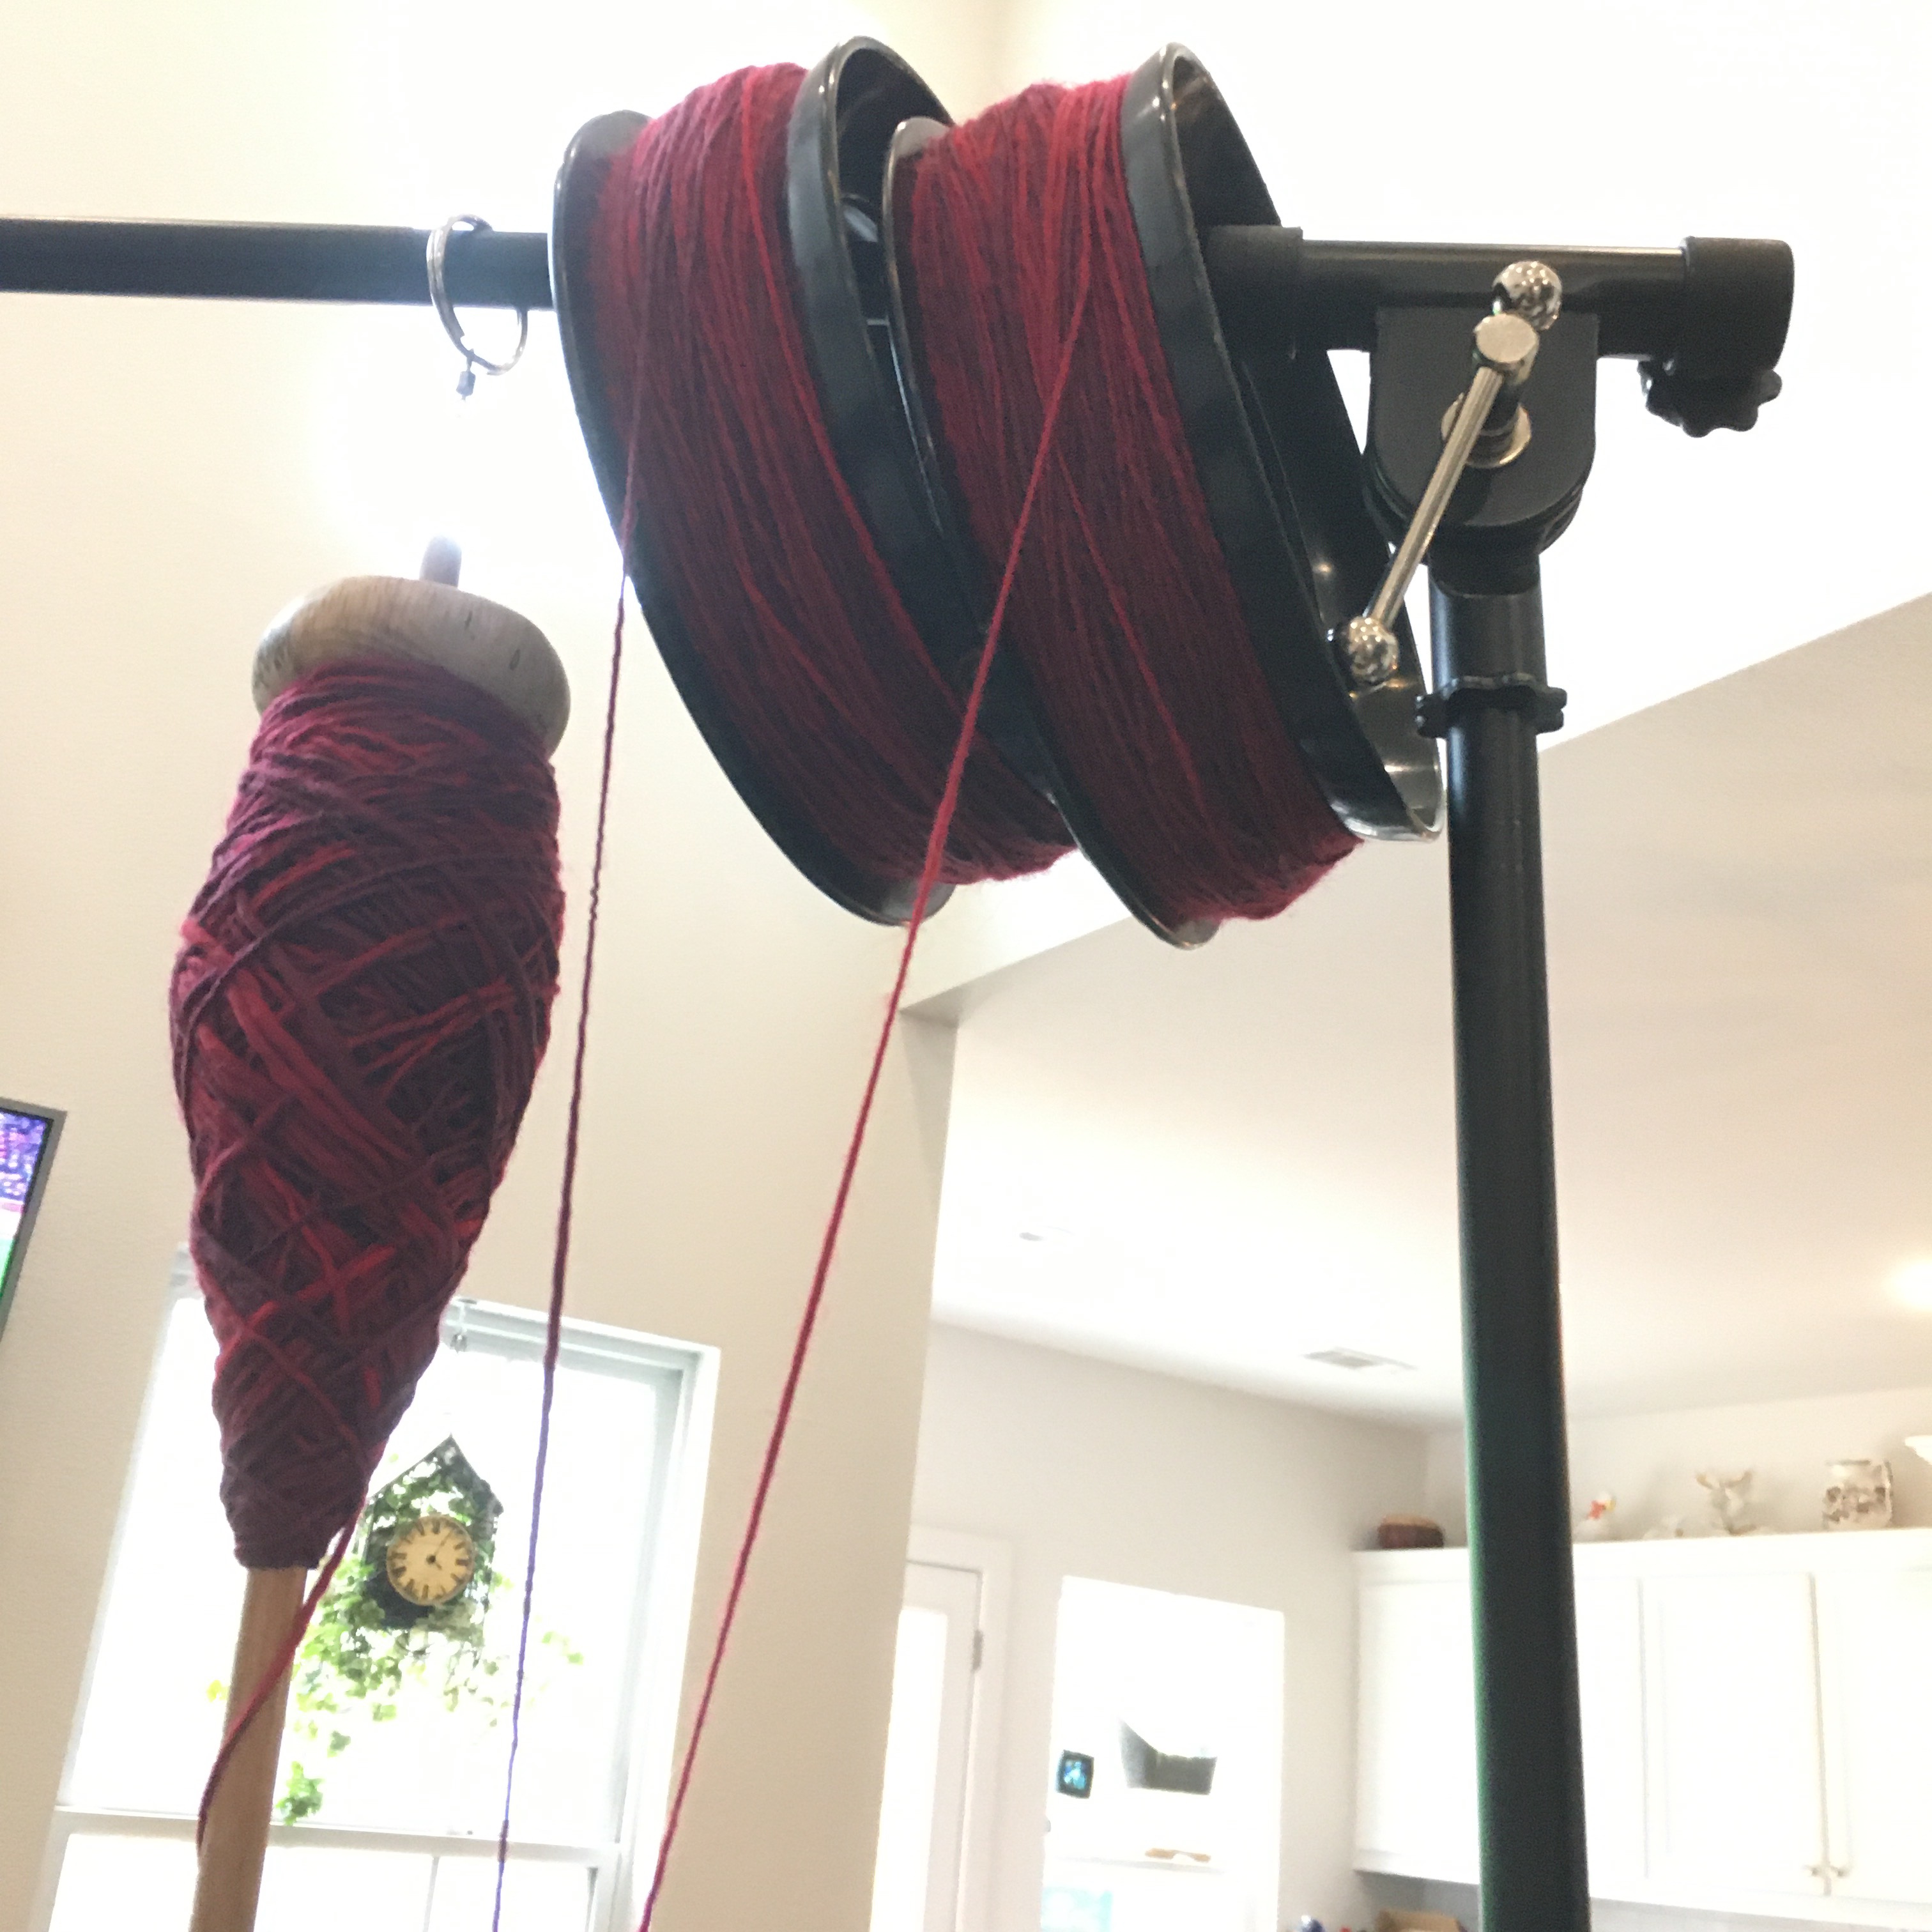
I have six bundles of Rutabaga’s fleece, so I decided to wash three, spin them separately, then make a three ply yarn. I don’t have (and haven’t yet made) a lazy Kate to hold the spools and spindles while I ply, so I hung them up to keep things from tangling. It worked pretty well.

Spools and spindle hanging from a microphone boom stand

I used my Turkish spindle to ply because I left the last third of the single ply on my top whorl spindle. Plying involves twisting two or more strands of single ply yarn together, using the opposite twist. My single ply has an S (counterclockwise) twist, so I plied using a Z (clockwise) twist. Plying is much easier than spinning because there is no drafting! Although I did have to watch for tangles. Having the yarn under tension because the spools were suspended helped. Here is a short video.

Three ply mohair yarn

My single ply yarn wasn’t perfectly proportioned, so I ran out of one strand first. Rather than waste the ends of the other two, I chained plied the remaining yarn. Chain plying is like making a chain in crochet; by drawing a loop through another loop. It results in a three ply strand, but you only need one source of single ply rather than three. I had read that mohair was not a good candidate for chain ply, but I honestly can’t tell the difference in the finished yarn.

Chain plied mohair

Spinning more mohair

I washed some of Rutabaga’s fleece! I bought the goats’ first clip from the grower Merrytale Farm, and the owner also sent me a picture of Dottie (mom), Rutabaga, and Sasparilla (Rutabaga’s twin) to use in this blog. I absolutely love that I know the name of the animal that provided me fiber!

Angora goats, picture by Merrytale Farm
Washed and carded colored mohair (left), same amount of skirted fleece (right)

I washed this fleece the same way I did Dottie’s, and it came out well. Where I just flicked open the ends of the locks of the adult mohair, Rutabaga’s first cut locks were smaller, so I used two wire dog brushes to card small portions. I then spun a handful of fluff at a time. I am still at the park and draft method of spinning, but I posted a video to show what I’m doing.

Using a top whorl drop spindle to spin single ply
Transferring single ply yarn from the spindle to a spool (yes, I figured out a way to spin with the cat on my lap)

I like my Frankenstein’d top whorl drop spindle with the long shank because I can spin it by rolling it along the arm of my chair and spin with the cat on my lap. She appreciates that too.