I made a small cushion as a step to help the puppy get up on the seats in our mini van. She thought she needed to try it out and inspect my stitching.
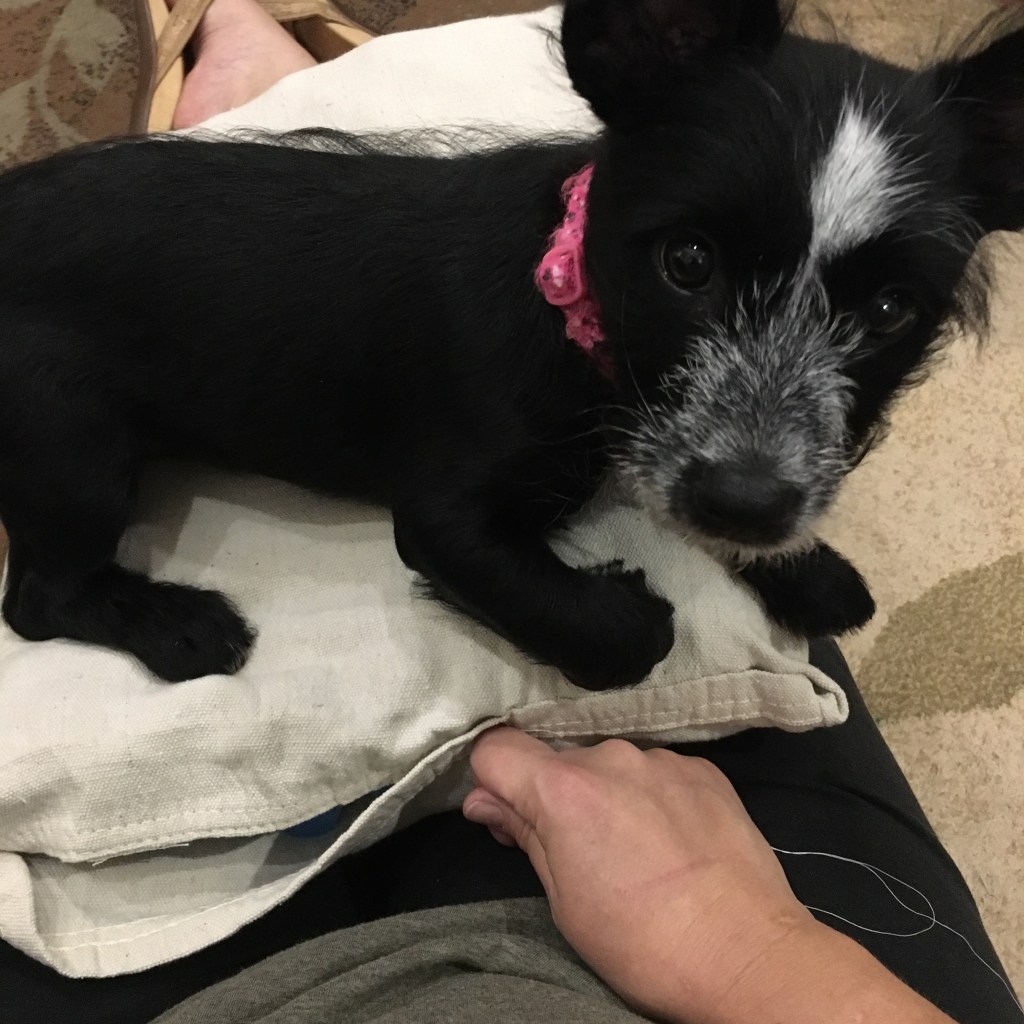
I made the cushion from scrap cotton drop cloth and two layers of foam egg crate.

I made a small cushion as a step to help the puppy get up on the seats in our mini van. She thought she needed to try it out and inspect my stitching.
I made the cushion from scrap cotton drop cloth and two layers of foam egg crate.
I did finally receive some manufactured mask frames! The hot glue frame I made was a little large for my youngest, but these kid sized frames fit fine, and actually help keep the mask on her face better (she has a little nose). To get the frames to work with the mask I sewed them in. I did try to sew a patch of quilter’s cotton over the frame, but the inelasticity was irritating to her, so I made a double layer of swimsuit material instead.


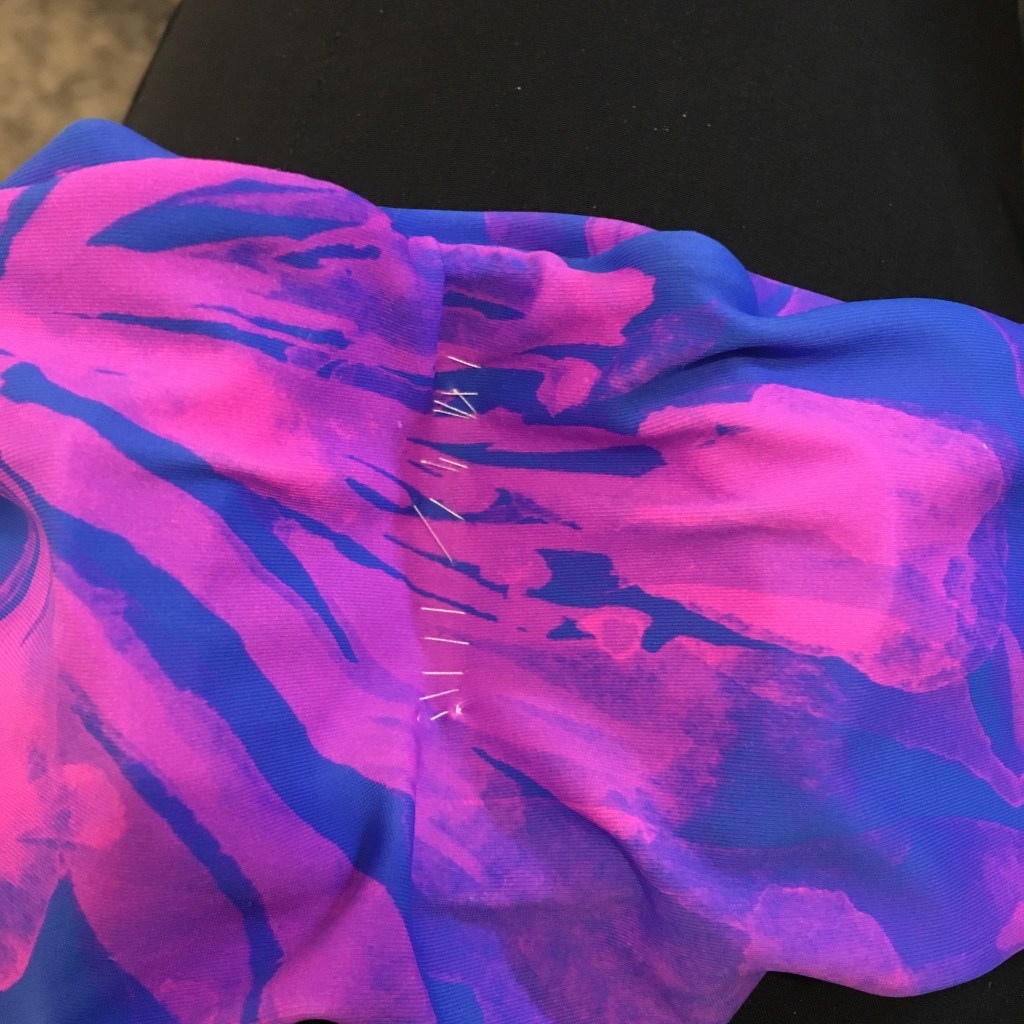

My youngest does like these better. With the frame, her glasses don’t fog up and the neck gaiter style doesn’t interfere with her hearing aids. She can get it on and off herself and it has pink, so we’re all good. The only down side is that I am hand washing these, as the frame tends to fold in half when it goes through the washer and the dryer. The material dries quick, though.
Good ol’ hot glue. The corner stone of the insta-crafter. After failing at attempts with other materials to make a mask frame, I turned back to this tried and true basic crafting staple. It works. If you didn’t see my previous post, I’m making mask frames to give a pocket of air inside a homemade mask with the idea that it will be easier to breathe without the fabric pressed against the nose and mouth.
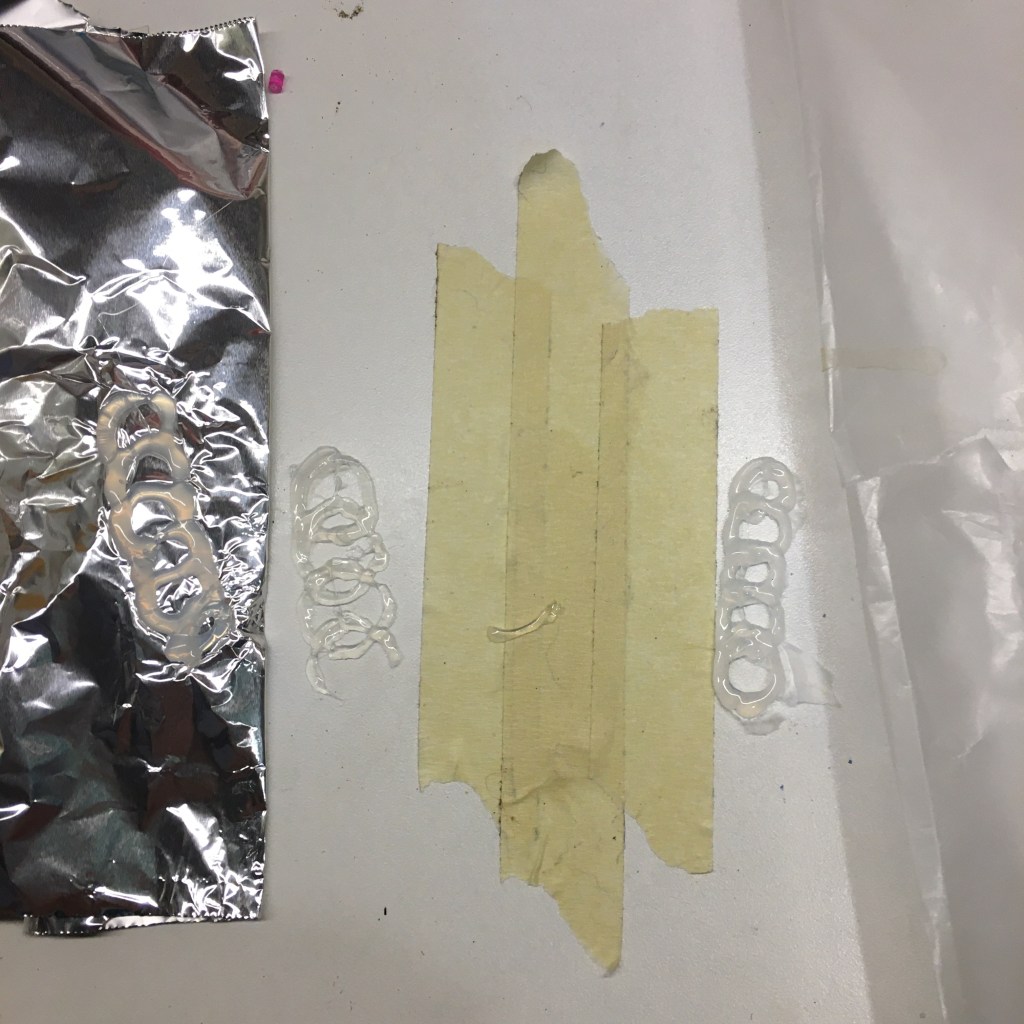
First I tested the adherence qualities of my all temperature hot glue by applying it to aluminum foil, masking tape, and wax paper. Once cool, the hot glue would not come off the aluminum foil, tore off strips of wax paper, but removed cleanly from the masking tape.
To make a mold, I fit a chenille stick around my daughter’s nose and mouth, then sculpted aluminum foil around the chenille stick to form a dome. I then covered it with three layers of masking tape. With the hot glue I made small connected circles over the entire mold. I used all temperature hot glue with a low temp glue gun.
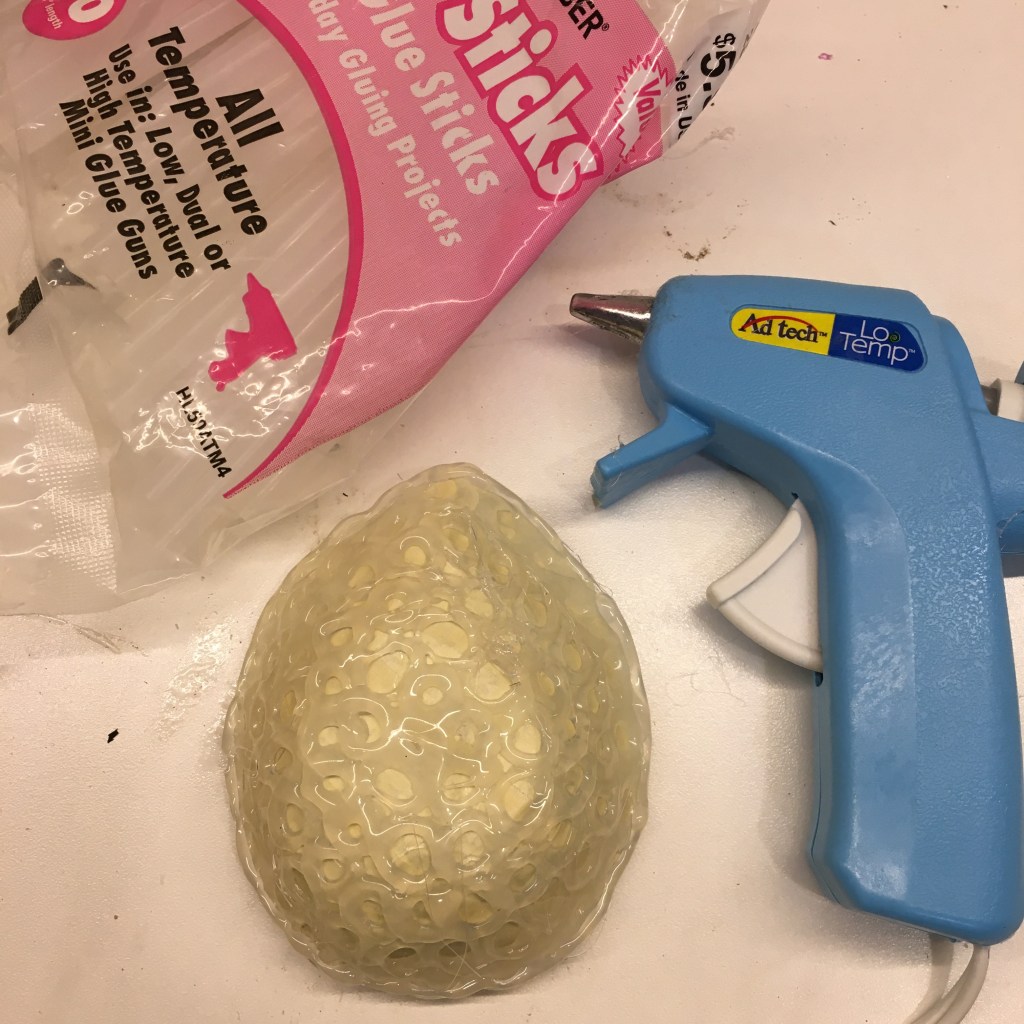
I put the finished frame in the refrigerator for a few hours (it probably doesn’t take this long, I just got distracted and forgot about it). While it was still cool, I was able to cleanly pull the frame from the mold!

The frame is flexible, but sturdy enough to hold its shape. When smashed or inverted, it returns to shape. It will be stable at room temperature and should be OK up to 120 degrees F (50 degrees C), although I will still wash it in cold water. It could be used now by sliding it into the pocket of a mask, but I want to investigate sewing it into a neck gaiter type mask. That post to come later!
Sometimes things don’t turn out the way you hope. I had a grand idea of making mask frames (to hold the fabric away from the nose and mouth to make breathing a little easier) with a 3D printing pen. I thought this might help my youngest keep her mask on for longer time periods. I was super enthused and ordered all three types of material to test: PLA plastic, ABS, and flexy.
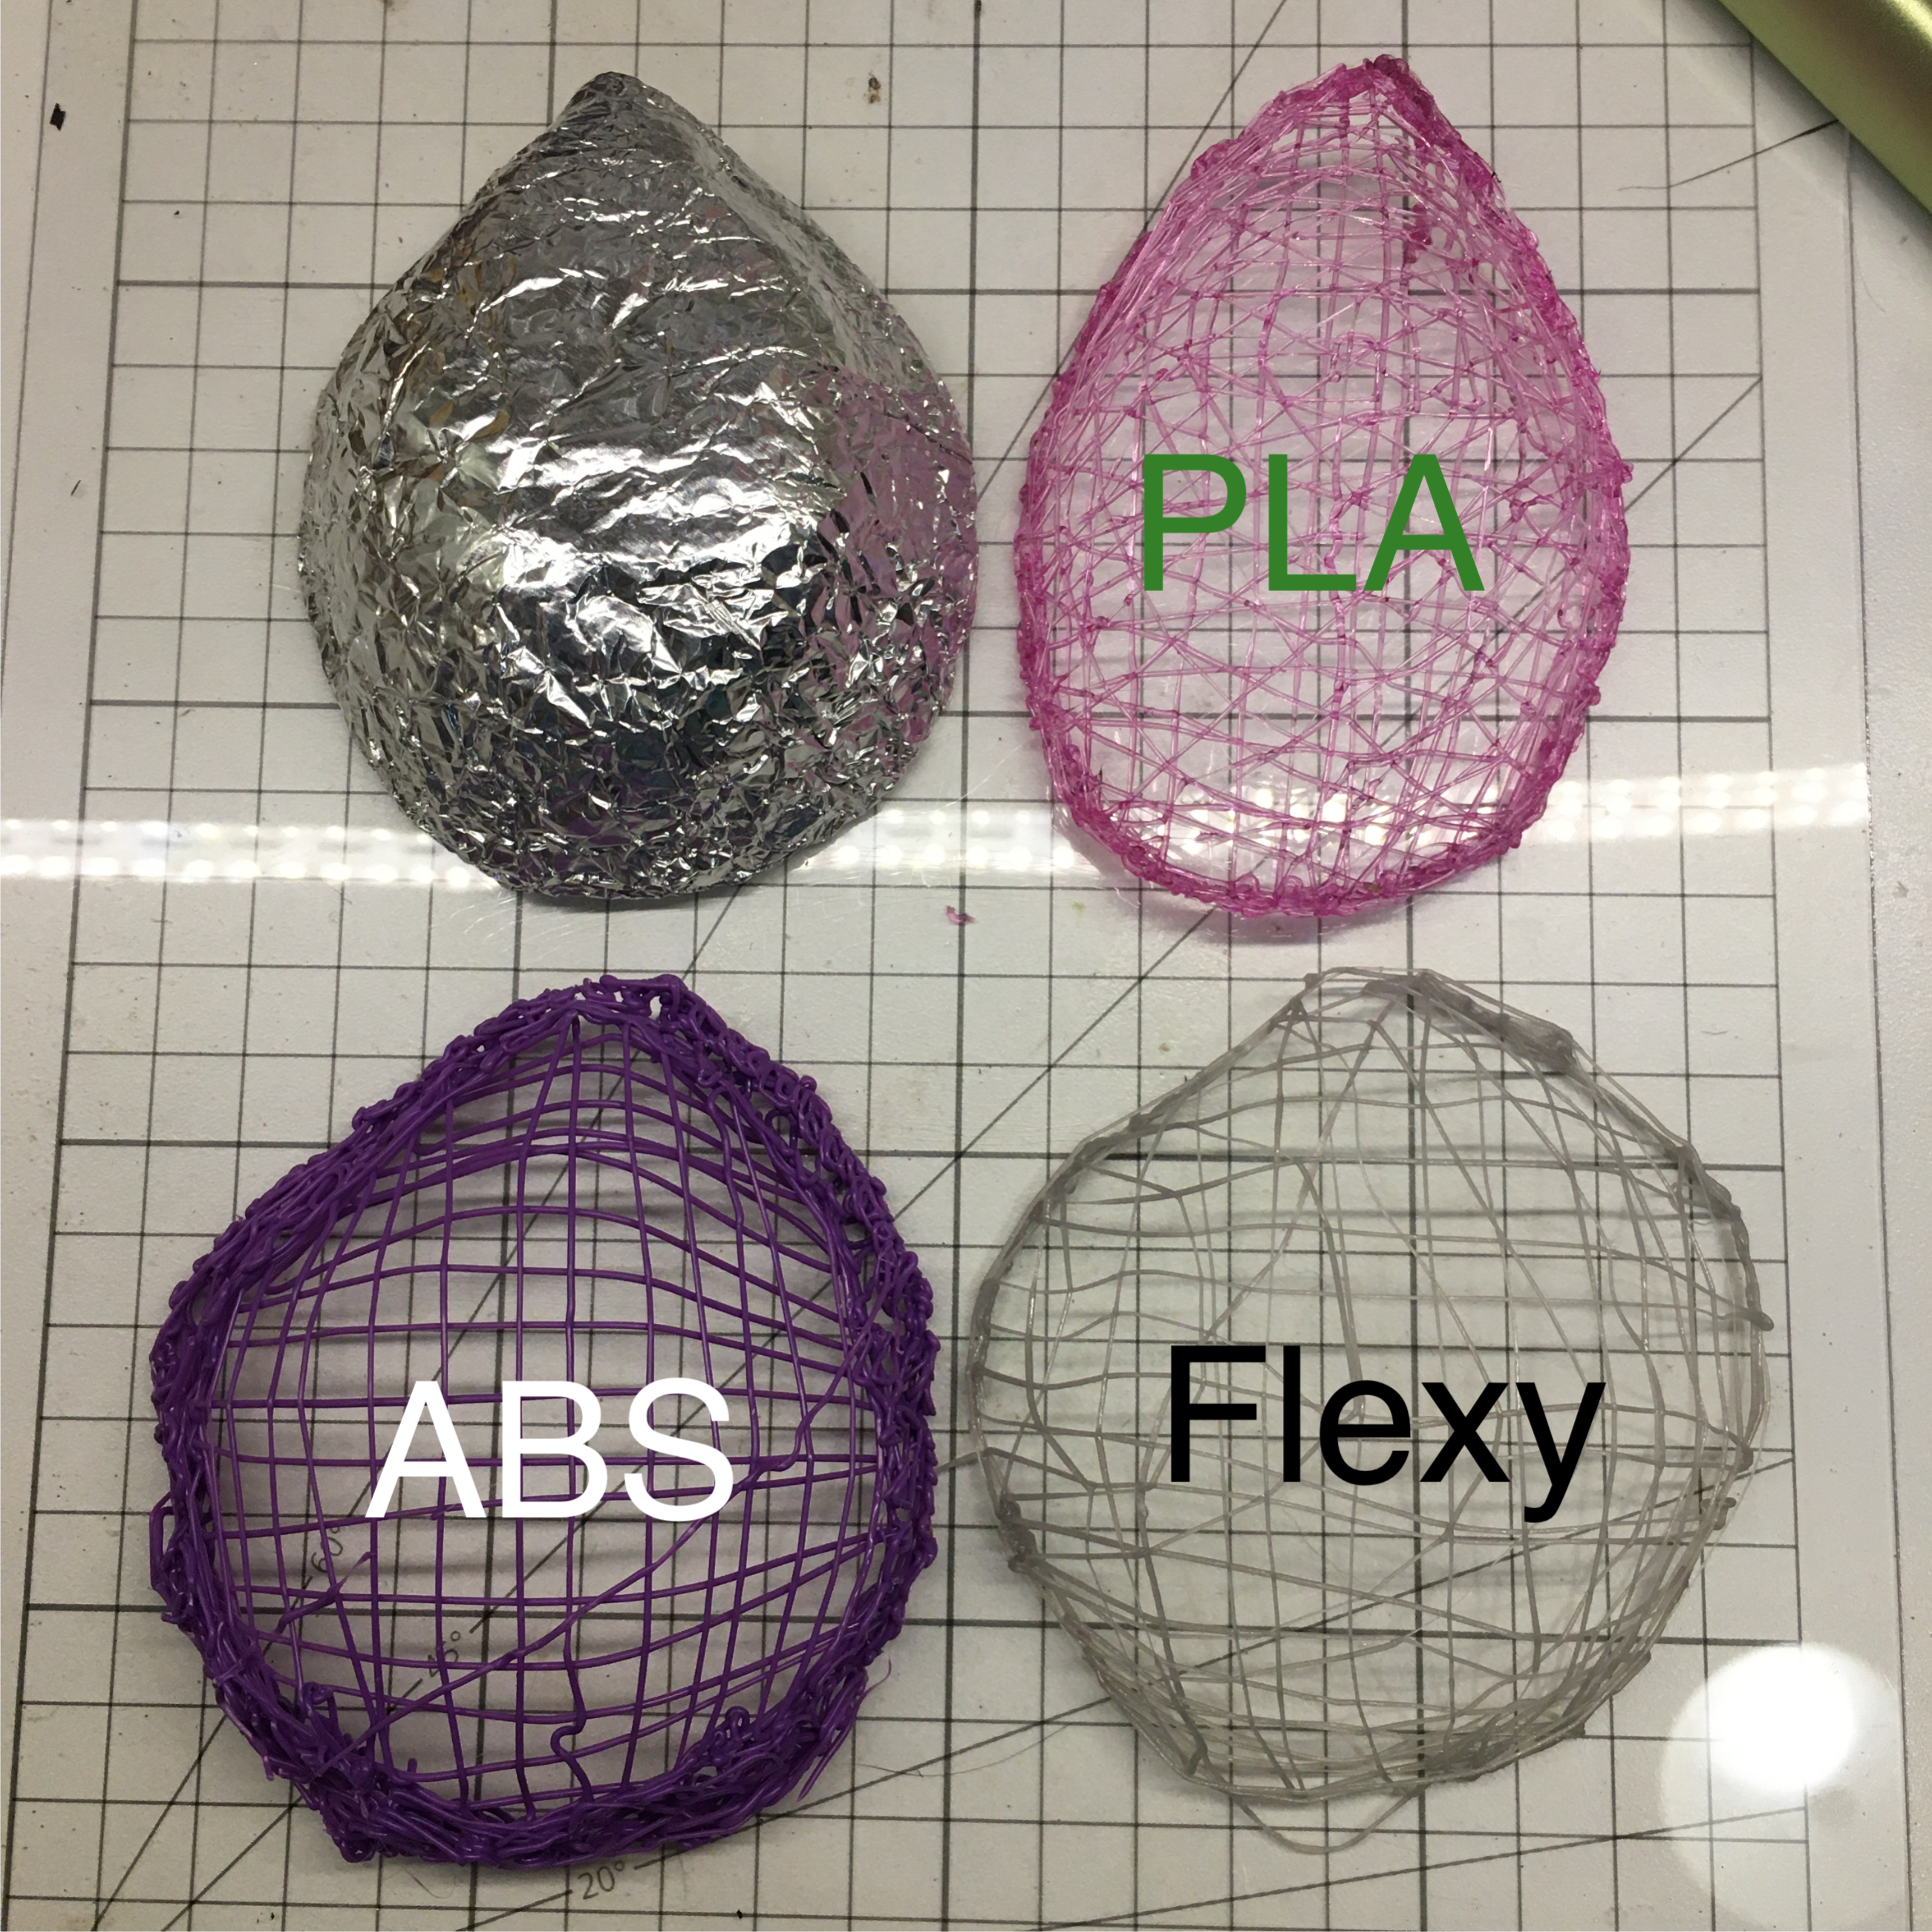
I used a chenille stick and aluminum foil to make a form for the mask. The plastic (PLA) stuck just enough to temporarily adhere to the form, which made forming the plastic easier. The ABS was harder to work with, but I found making small overlapping circles worked better than making long straight strings. The flexy was interesting to work with as the resulting mesh is very flexible, but it didn’t have enough strength to be a frame. I also did some destructive testing, because I would rather know how it breaks before I sew it into a mask. PLA and ABS do break when pressed flat, but not as much in the areas made of overlapped circles. I settled on using PLA and tiny circles, and managed to make and destructively test one frame before the pen broke. Ugh. I decided to just order some from Amazon. Then the first order was lost. Still waiting on the reorder.


Since little miss snuffle-for-snacks likes to, well, snuffle, I decided to make her a snuffle mat. I looked at some online tutorials, consulted my sister who has made one, and purchased two yards of fleece fabric and an anti-fatigue mat.
One of the things I didn’t see in the tutorials I read was that the direction the fleece strips are cut matters. If you cut strips in the direction of the greatest stretch, the strip will curl up when you pull on it. If you cut it perpendicular to the direction of the greatest stretch, the strips will not curl. I chose the no curl method.
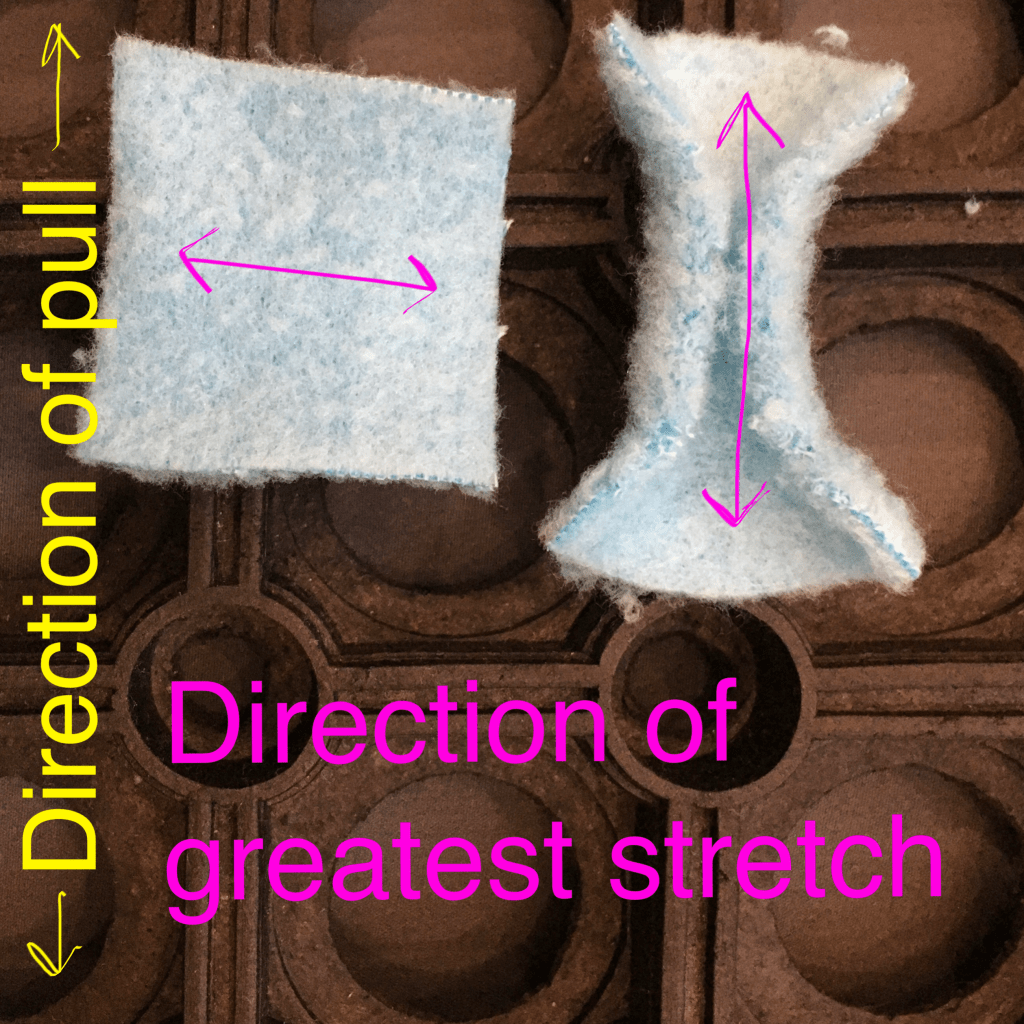
I used unconventional measurements for the fleece strips; the length of my thumb to the first joint (about 1.25”) for the width, and the width of my outstretched hand (about 7.75”) for the length, mainly because I couldn’t find a ruler (I know I have at least 15 in the house, where do they all go?). I read articles recommending double knotting the strips in the mat, and some saying a single knot is enough. I tend toward the double knotted club, but Missy “helped” me test the single knot on the first strip, and it held just fine.
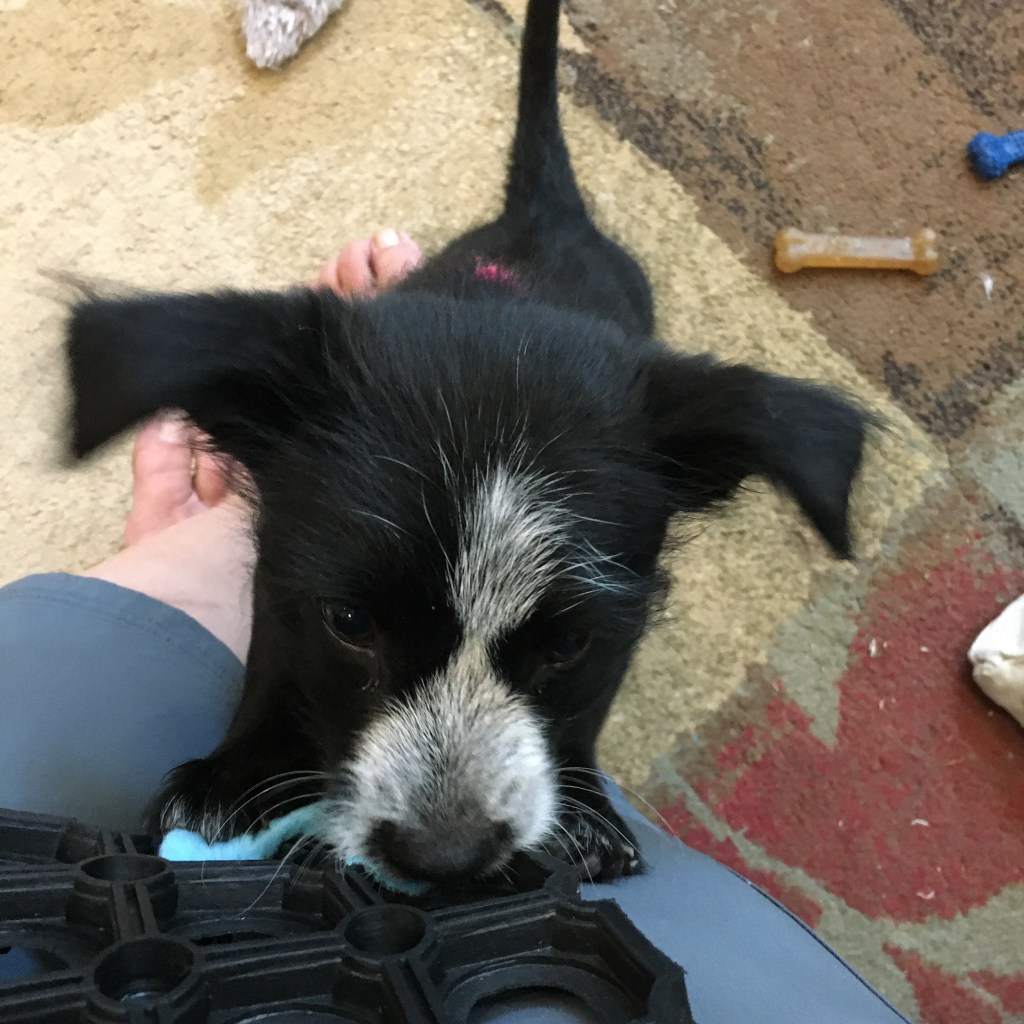
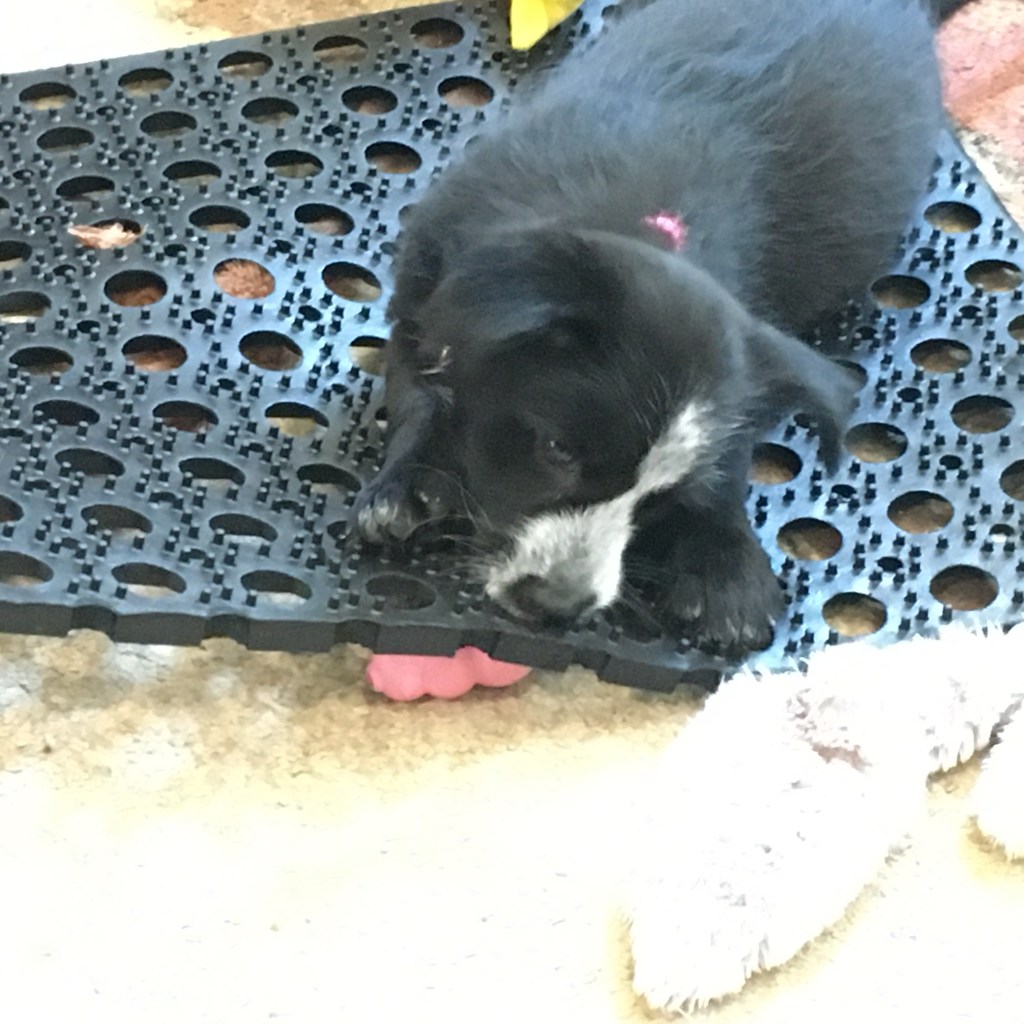
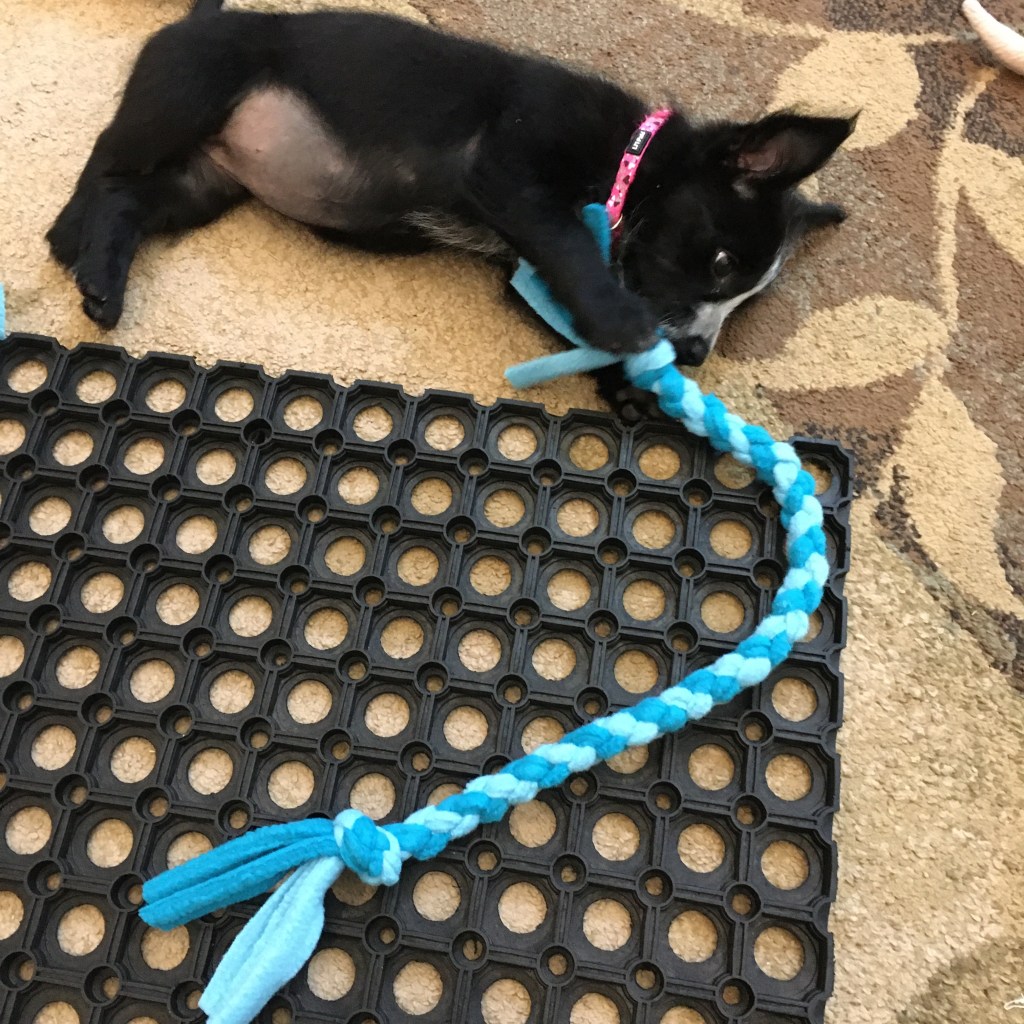
I was able to start knotting the strips while Missy slept, but each time she woke, I had to take a break because she was obsessed with the mat! Since I couldn’t knot, I took the four selvedges I cut off and made a four strand round braid with knotted ends: she likes it.
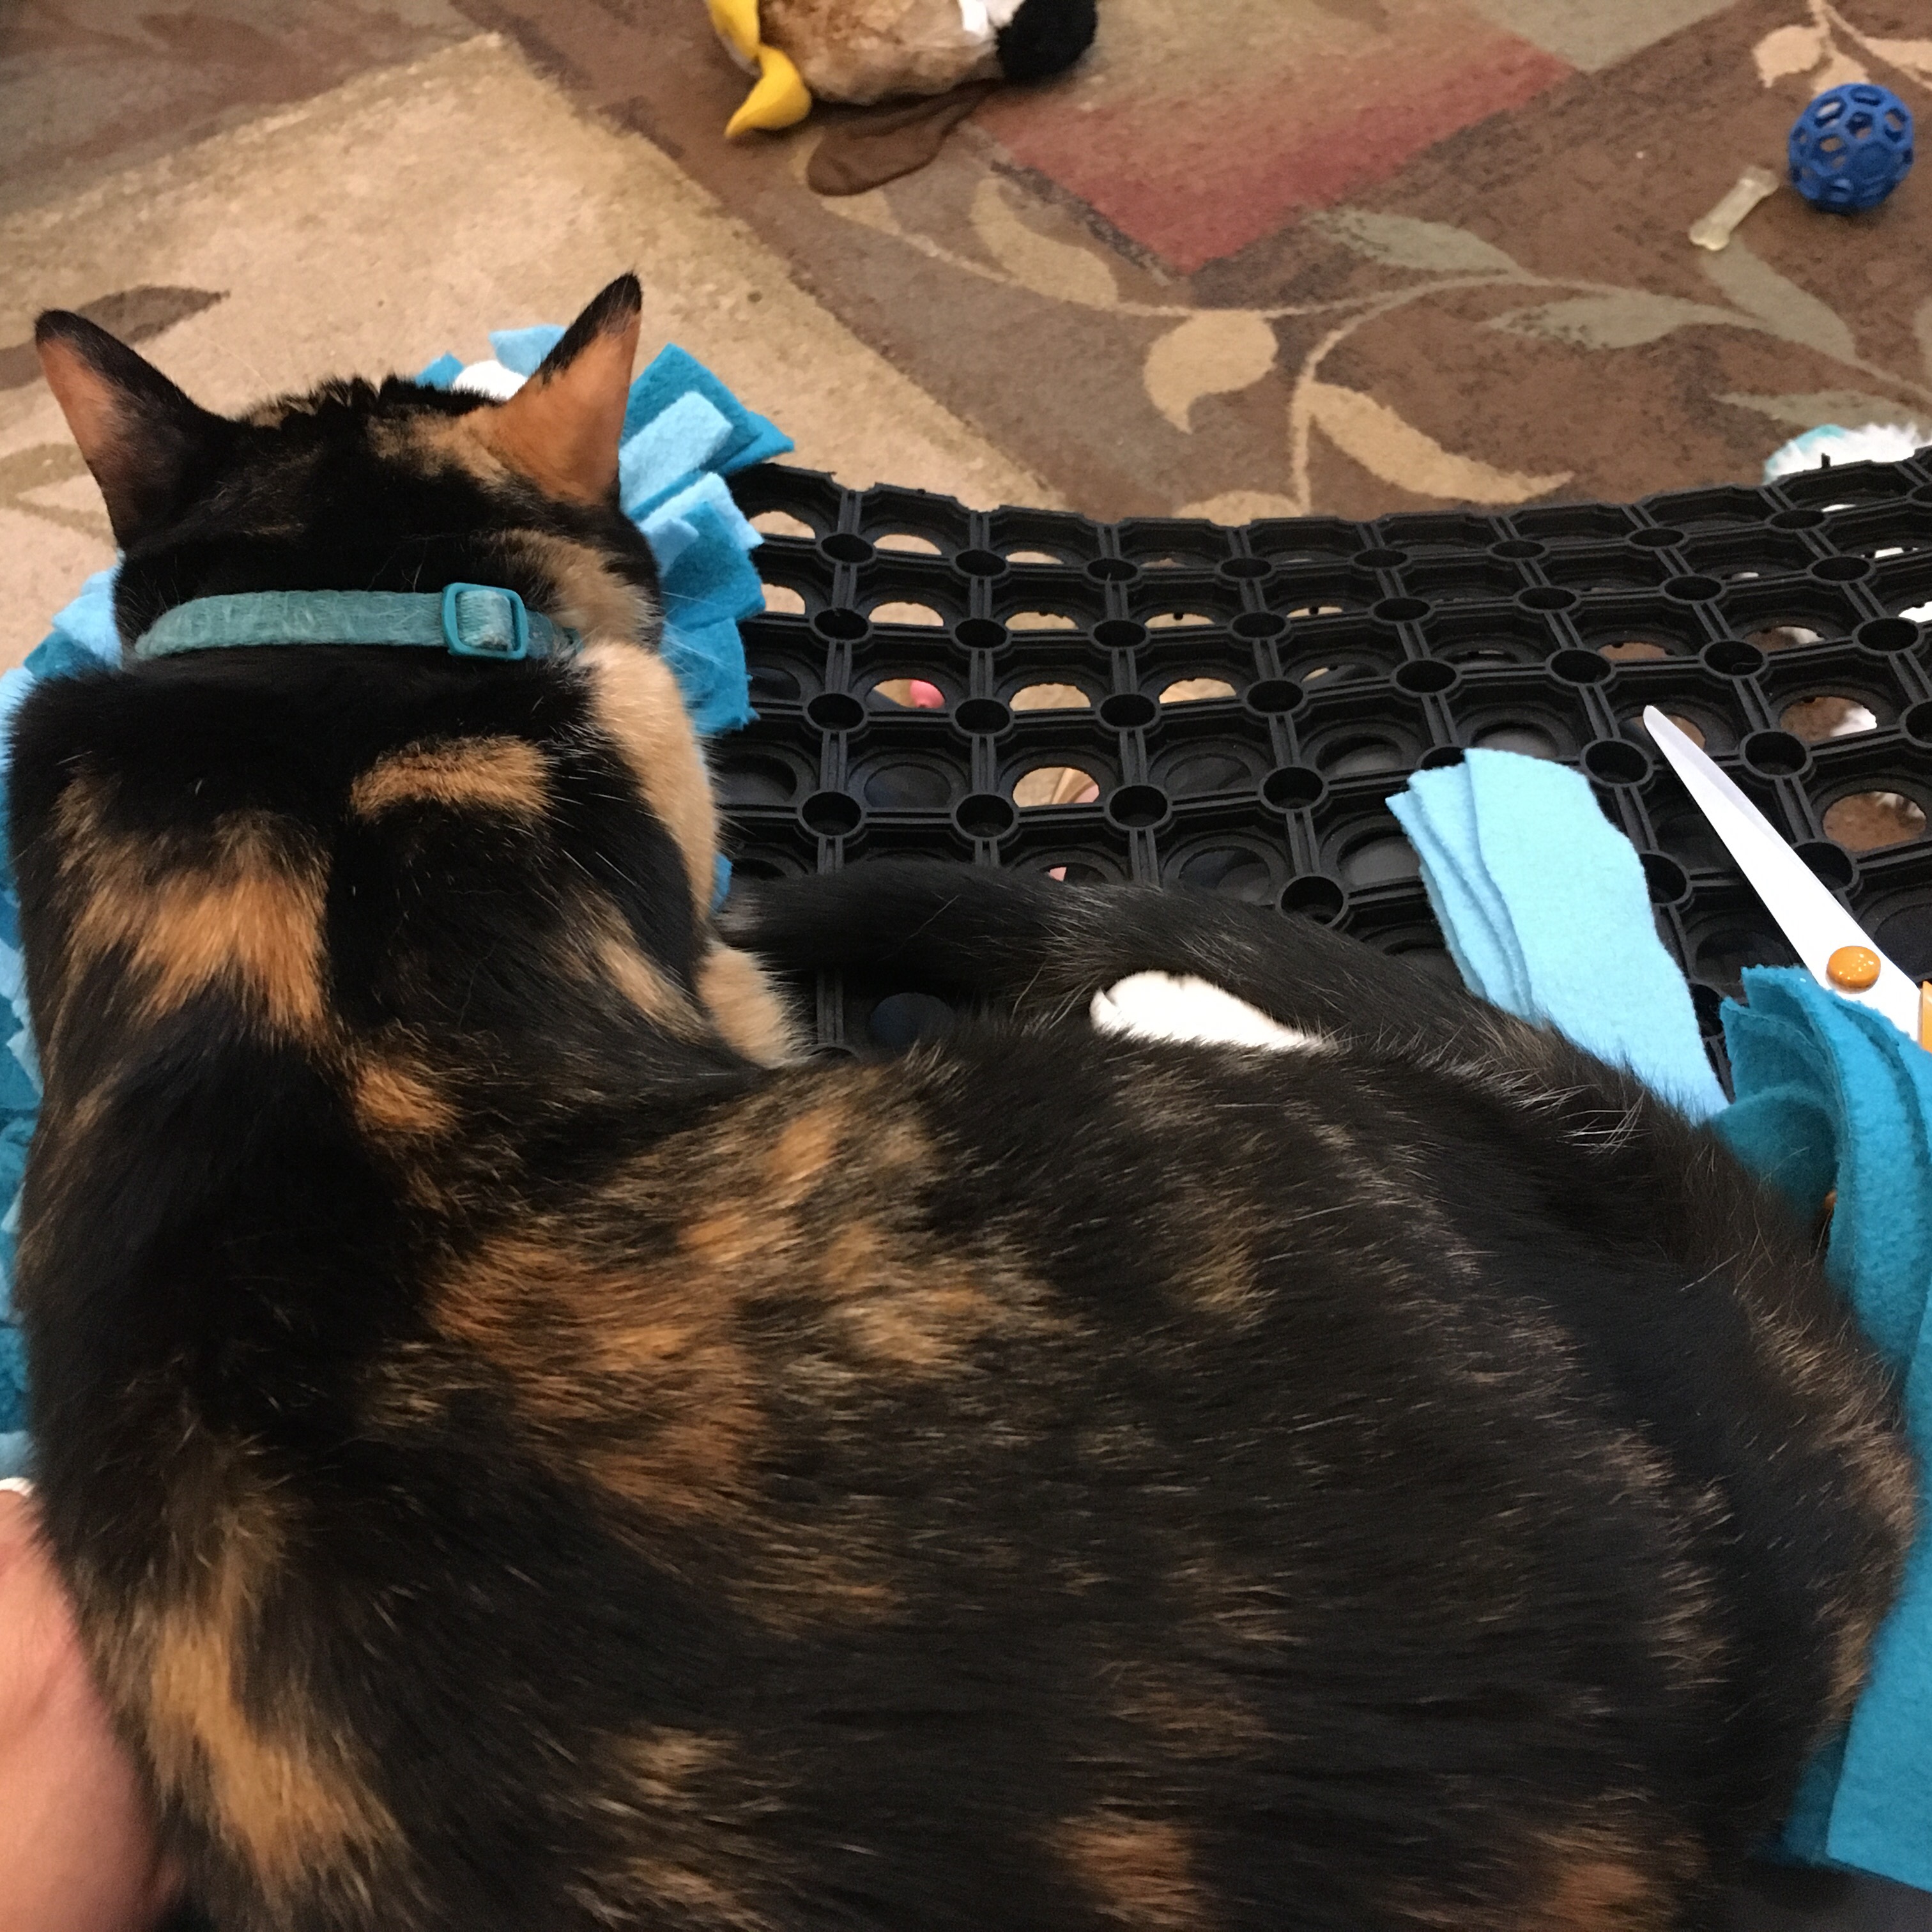
My cat Izzy also delayed knotting by deciding it was time for a nap on my lap. On the mat.
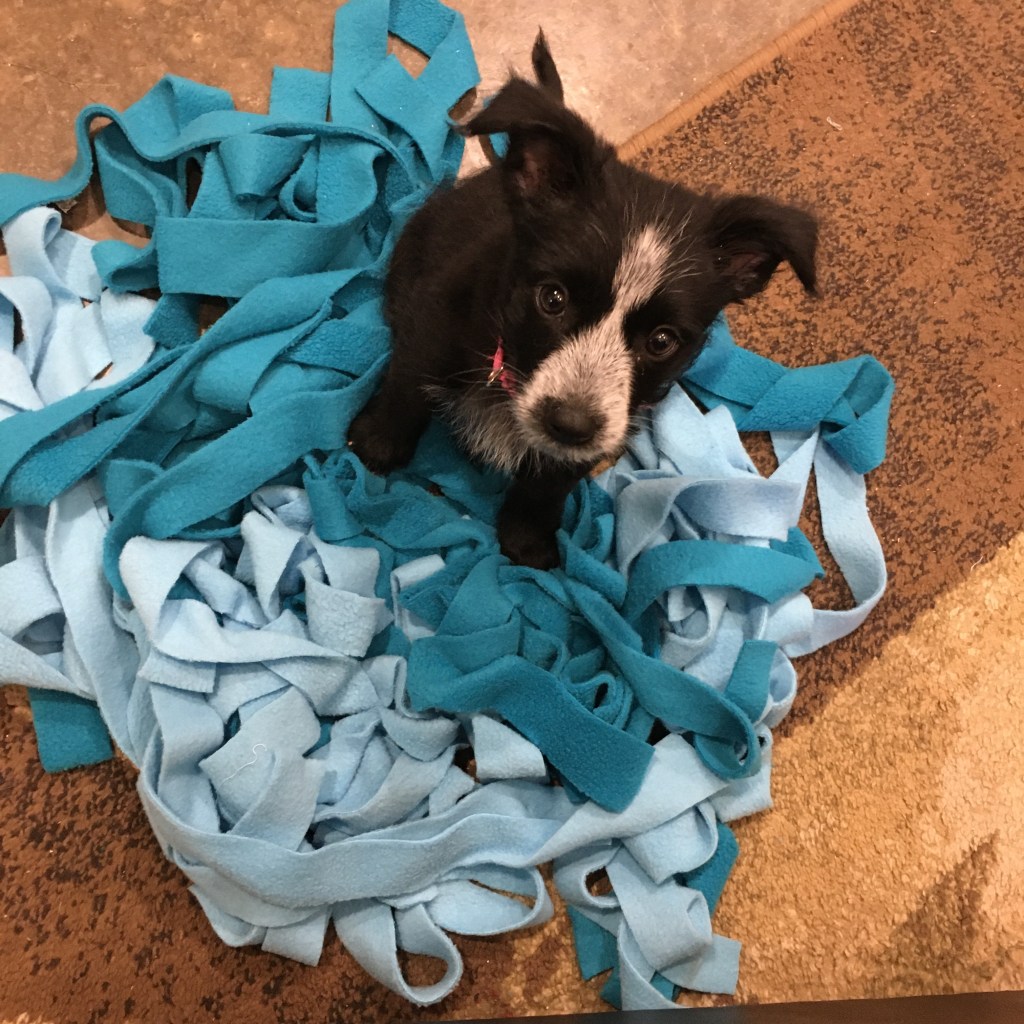
Because I wasn’t sure how much fabric I would need, I cut the long strips, but didn’t cut short strips until I was ready to tie. I figured that if I had left over fabric, I could make more pull toys. Missy thought the fabric strip pile by my chair was exciting too.
After a couple of days tying in fits and starts, I hear my eldest yell “She just peed on the rug!” Yup. On the unfinished hand-tied snuffle mat. I had left it beside my chair, and while potty training is progressing, she is obviously not at 100%. It was time to wash the rug!
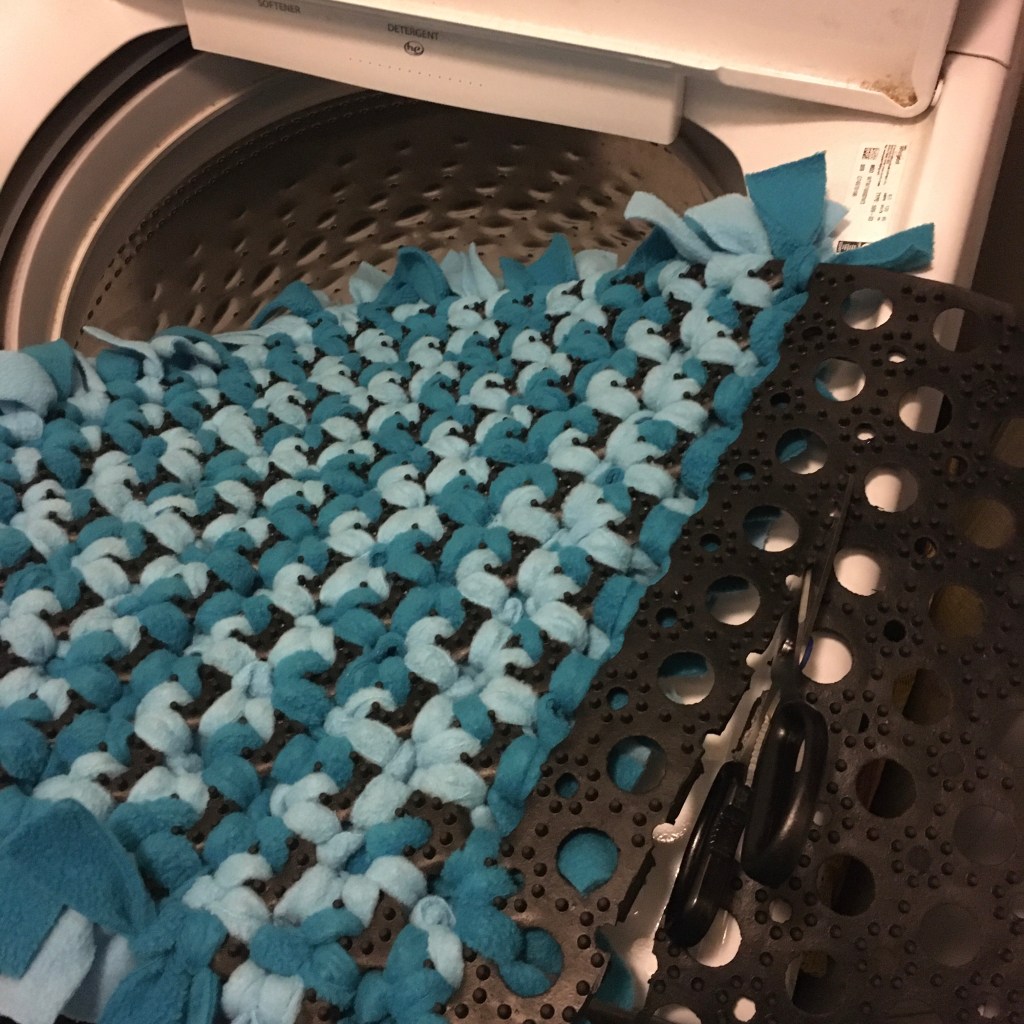
This actually worked out OK. I realized that if I made it much bigger it wouldn’t fit in the washer. I cut off the rubber mat so that finished (and unfinished) mat would fit in the washer. I washed it in deep water with a vinegar presoak (I put the vinegar in the bleach dispenser) and an extra rinse. I dried it on low, which worked well.

After the mat dried, I tied on the remaining strips. I started with four per large hole, but felt it was thin, so added a couple to each small hole. Because my mat has small holes and large holes, I could have done more, but I didn’t have enough fleece! As it was, I used up all two yards on a 16 inch by 16 inch mat. Missy likes it! But it only goes on the floor strictly supervised.

Yup. I couldn’t get pictures without the puppy. She makes the pictures cuter anyway.

