So excited! I met with someone who has been spinning for years! We sat and had coffee and talked and spun. It is so wonderful to watch and learn! She also brought me samples of wool from her stash (as had been done for her when she started spinning), all carefully labeled. Squee!
Samples of wool
I’m going to take the time to explore each fluff separately and carefully, and then spin it. Hm. I think I should start a spinning journal to record my observations. That is also an exciting prospect!
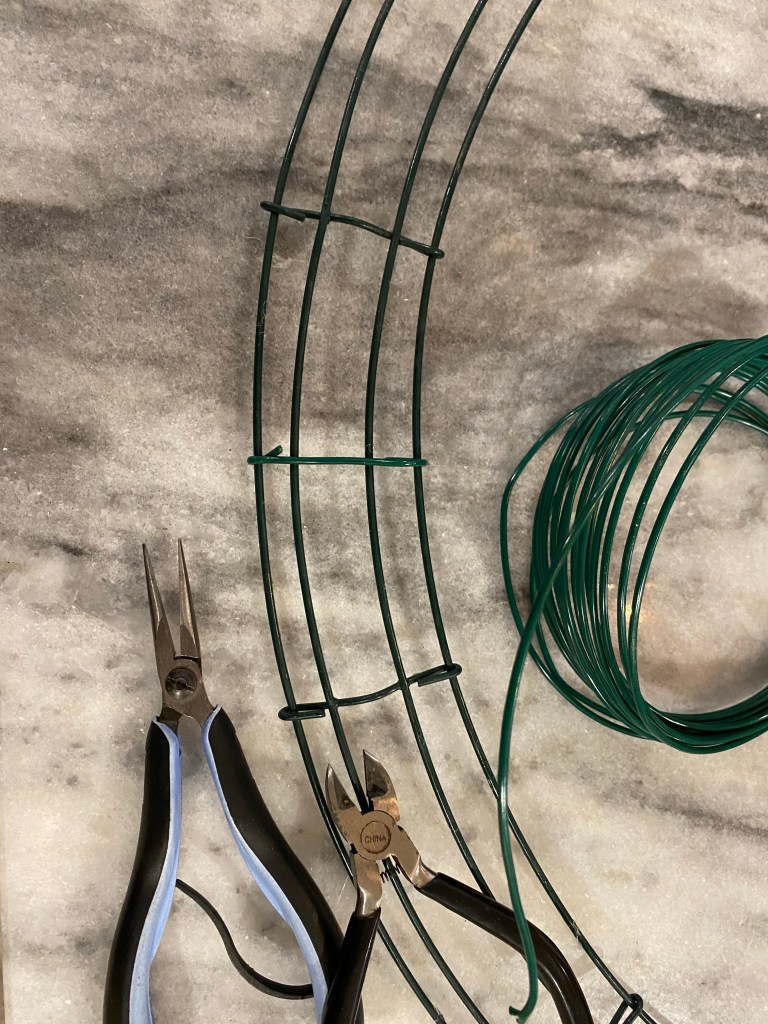
When I was cleaning my craft room I found a wire wreath form tucked away under my shelving. I did not get it out, but the image of it under there was with me when I had to go to the craft store for an entirely different purpose. I found what I was looking for quickly, and had a couple minutes to spare, which was not enough time to process all the ribbon choices. Yikes, talk about overwhelmed. I did grab a couple of rolls that pleased me and headed for check out. At home I pulled out the wreath form, and put some additional cross bars in using plastic coated floral wire.
Adding dividers to a wire wreath form
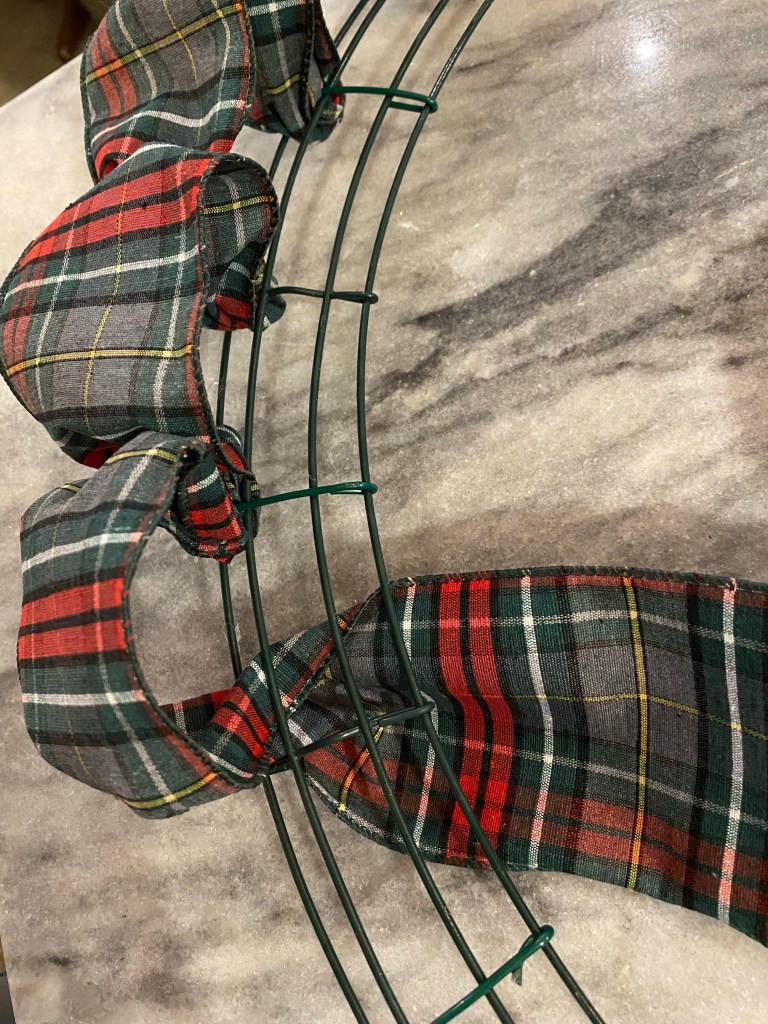
I then took my ribbon and pushed one loop up through each slot in the form.
Wire edged ribbon pushed up through the spaces
I added the second ribbon in the middle, then another row of the plaid ribbon on the inside.
Adding a row of pine cone ribbon
And ran out of ribbon. I had to go back to the craft store. (Cue ominous music.) This time I walked out with three rolls, one plaid roll that I needed to finish the row of loops, a burlap ribbon with gold edges (that was what I was looking for in the very beginning), and my eldest found a striking gold lace. I would like to say it was all on sale. It was not. But I had an unfinished project on the kitchen counter. Sigh.
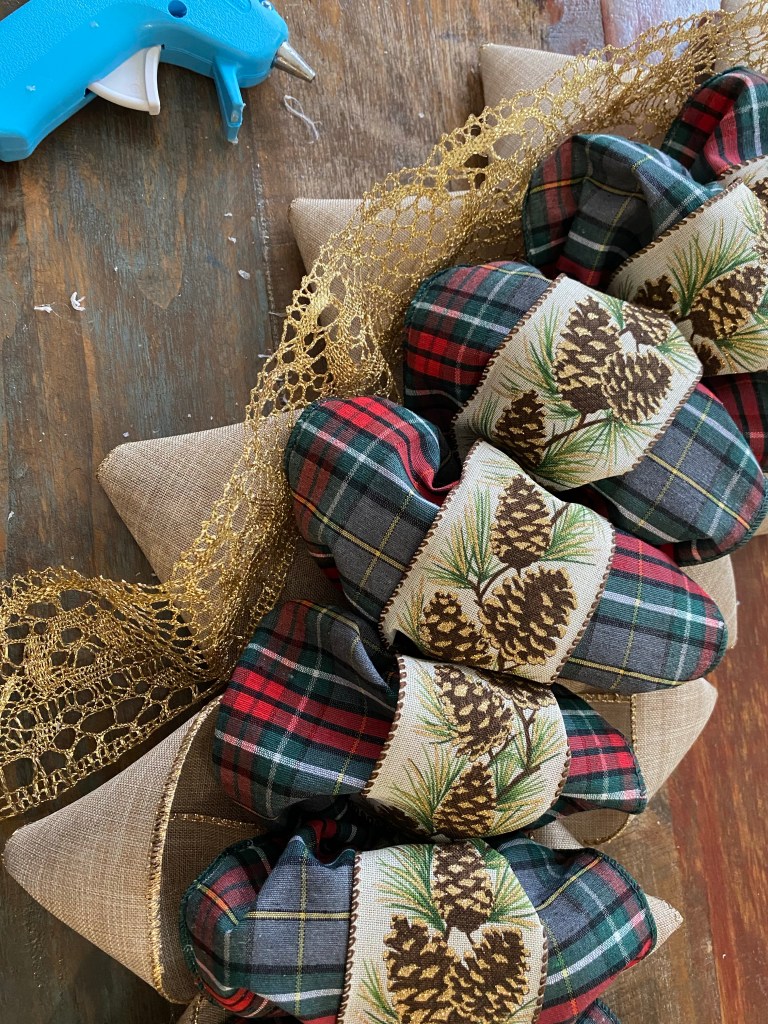
To this point I was able to get the ribbon set with no glue, but to attach the additional elements, I needed to break out the hot glue gun. I used the burlap ribbon to make pointed loops, then lined the space between with gold lace (I had just enough lace, phew!)
Adding more ribbon with hot glue
A simple bow to finish it off and I now have a massive (but light) new wreath.
Ribbon wreath that fills the whole front door.
I am pleased with this wreath. I usually don’t like the way my wreaths come out (and as such, don’t make many), but this one is OK. I definitely won’t make a habit of it; the folks that sell wreaths can barely be making a profit. I think next time I see a wreath that I like I will just buy it.
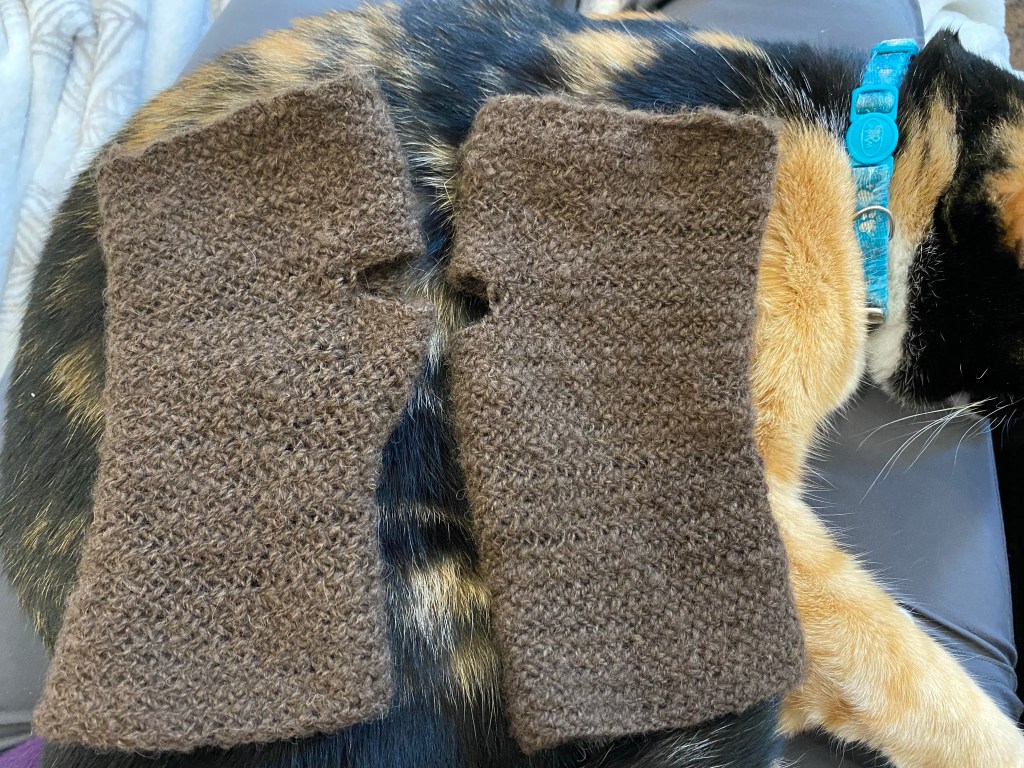
I finished my wrist warmers! I spun the yarn from prepared buffalo down from The Buffalo Wool Company using a tahkli spindle. I spun one cake sZ and the other zS to see if there was a difference when I nålbound them. As expected, there is. The fabric wants to roll in opposite directions, which is not a big deal on snug fitting items. I used the Dalarna stitch as described on this site. I like this stitch because the texture on one side looks almost woven, and doesn’t have the bold stripes of some other stitches (the inside is very ridged, though, which is interesting). I did some shaping under the thumb slit. The first warmer was a little loose, the second a little snug. They will still work well in the Texas cold (for northern climates I would use a thicker yarn and a thicker stitch!)
Buffalo down wrist warmers worked in Dalarna stitch
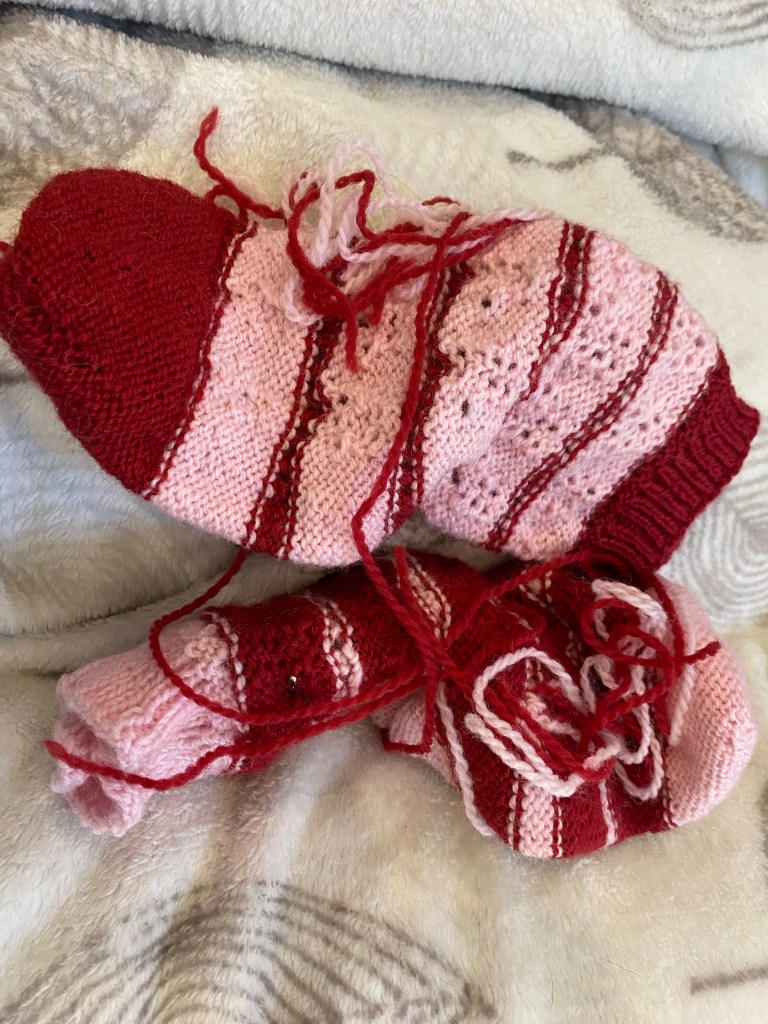
I was looking through my yarn stash for a bit of something and came across a UFO (or UnFinished Project as crafters like to call them). I was truly shocked, as I don’t have many UFOs (although I have many that I call done that never get used, so there you go). Turns out I blogged about them. Two years ago. Hm. I left them with only the ends to be woven in, a process that took about a half-hour to complete. I think I know why I abandoned the project, the heels are very strange and twisted. Laying there, the socks look uncomfortable.
Unfinished socks, just needing the ends woven in
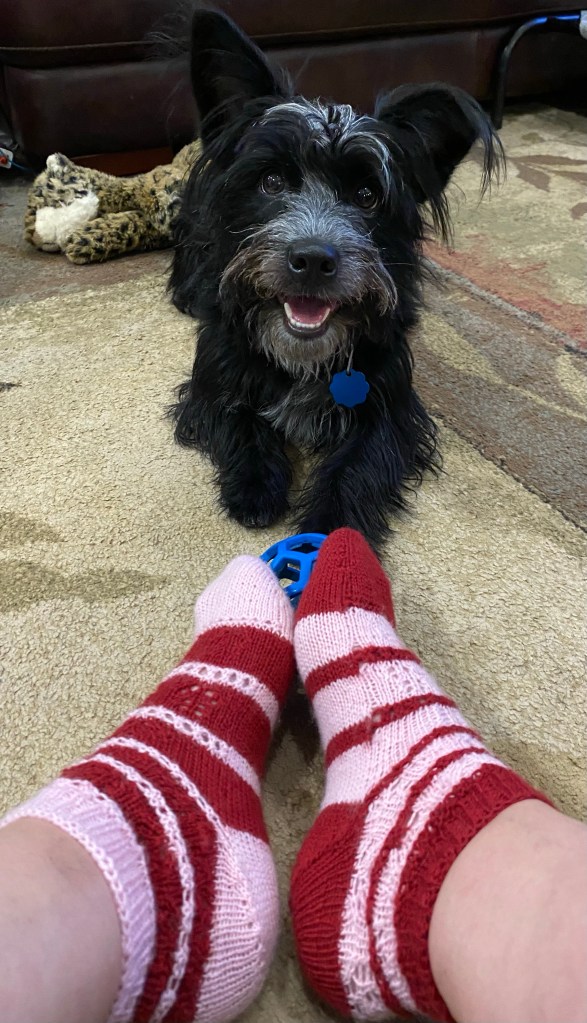
I wove in the ends anyway and tried them on. The wonky heels didn’t make any difference in the fit. Huh. Well cool, now I have a pair of wool socks.
Missy helping me photo my newly finished socks
Hm. These socks are really comfy. I may have to attempt another pair. In a different pattern.
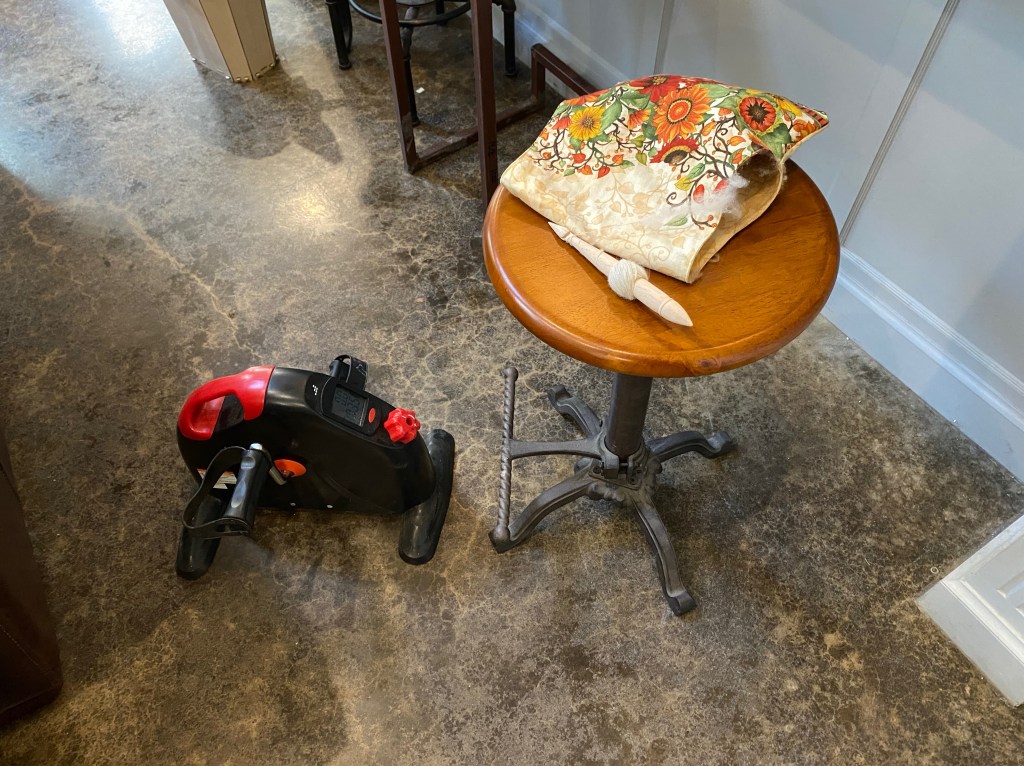
My podiatrist said that bicycling or using an elliptical would be acceptable for exercise while my tendon is healing. We have an old mini bike that I set up in front of a stool and I can pedal while leaving my hands free to spin yarn! Not as nice as walking outside, but a good podcast makes it a little better. I do switch sides where my drop spindle hangs to balance out, since I can’t hang it straight down. If left to my own devices I will craft and not exercise, so this gets me to actually get some workout in.
My mini bike set up with a stool on which I sit and spin