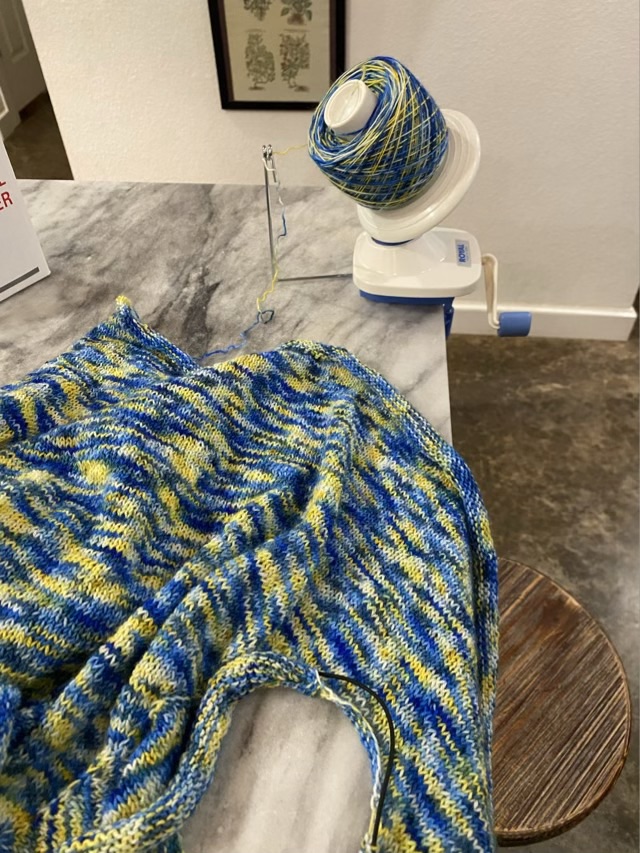
So usually I am not a proponent of ripping out yarn work. If an item passes the 10 second rule (someone who is not an expert can’t find the mistake in under 10 seconds) it’s fine. I’ve put dozens of hours into knitting a fingering weight cardigan, finally getting it to the point it could be tried on. The intended target doesn’t like it. Honestly, I don’t either. The colors look fabulous in the skein, but I really dislike color pooling in knitting, and this one is particularly jarring.
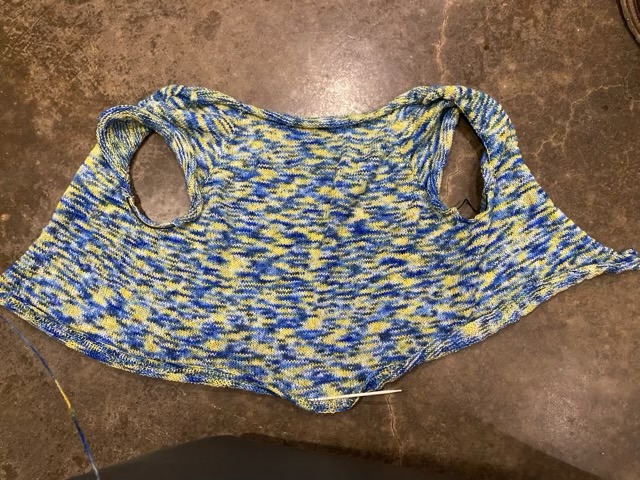
So I had a choice: put a couple more dozen hours into an ugly item no one will ever wear, or rip it out and make socks that everyone will wear. Frog it time. (Rip it, rip it, rip it.)
I say “frog it” flippantly, but it is a heavy duty to destroy your own work, even when the intension is to make anew. To cushion the heartache, I shot some video of the deconstruction and posted YouTube shorts. It did provide some catharsis.
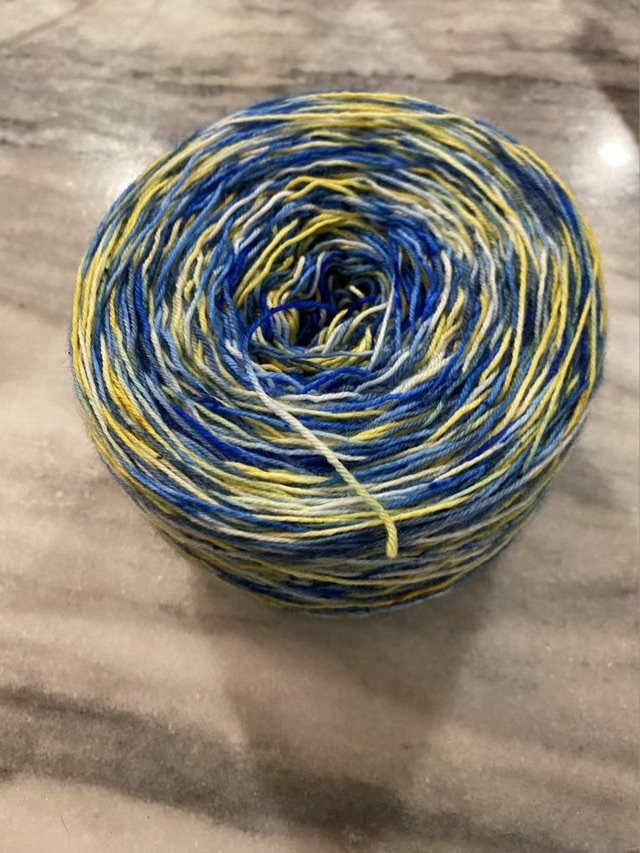
Winding it back into a cake will help the kinks from knitting straighten out too.