Eureka!

Turkish spindle yarn wrapping finally clicked with me. I’ve been following the “over two, under one” guidance for wrapping the turtle of yarn around the arms of the spindle, and I finally saw the pattern begin to emerge and was then able to follow along.

Photo description: 3D printed Turkish style spindle with a geometrically wrapped turtle of yarn, with a center-pull turtle in the palm of my hand as I walk the neighborhood.

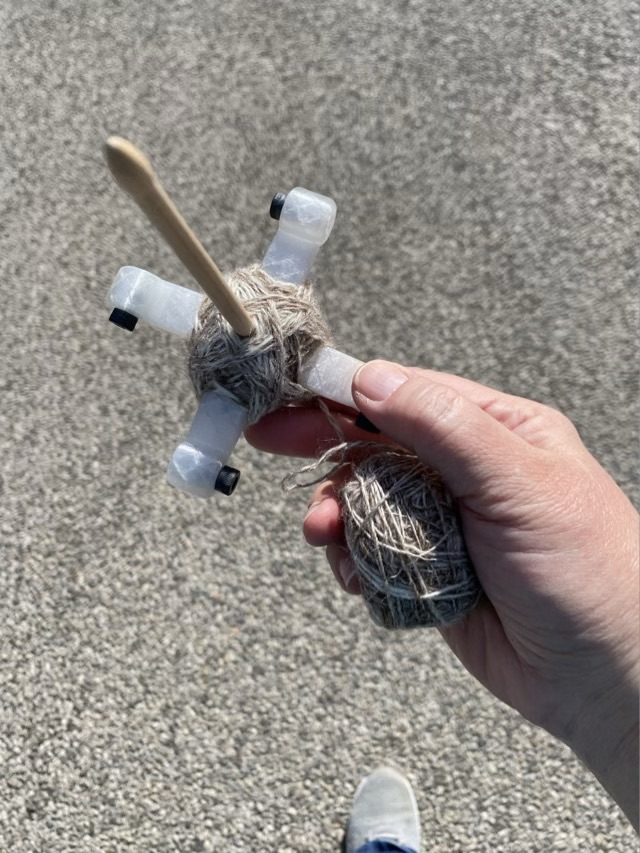
The key, for me, was on which side of the previous wrap of yarn to put the new wrap of yarn. To start a new layer, the “two over” strand goes right next to the shaft, and the “one under” goes on the outside of the yarn under the spindle arm. As I wrap, the yarn goes outside the wraps next to the shaft, but inside the wrap under the arm. Ah ha. This method is slow, but satisfying; a good meditative practice.

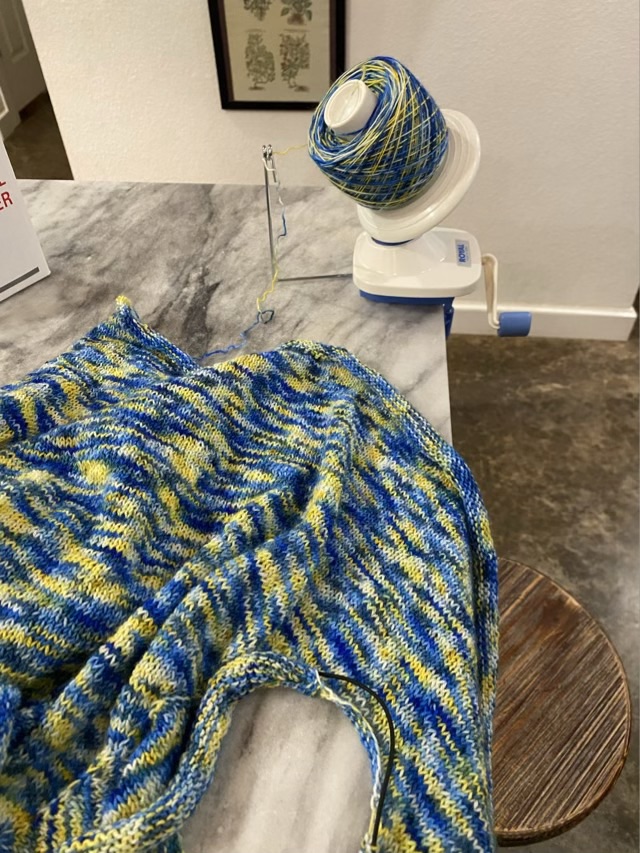
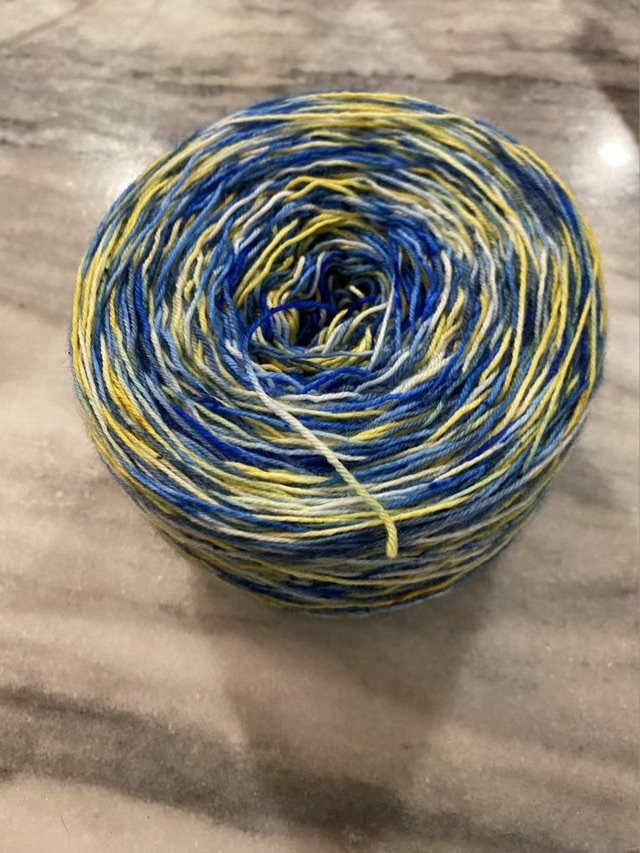
Even though my previous attempts at a geometrically balanced turtle were not successful, they still worked beautifully as center-pull balls of yarn. In the picture above I was making a two-ply yarn from the center and outside strand of one turtle. So whether or not the ball of yarn is messy, it still does its job.

Spin, spun

I have finished single spinning the bonus box of blended fiber from Anniewhere. I put the box somewhere safe, forgot where that was, but found it before I made anything from the rest of the fiber; I’ll take that kind of luck.

Photo description: two haphazard turtle-style cops of single spun yarn next to a disassembled 3D printed Turkish spindle.

I really like this Turkish spindle. The arms were 3D printed with flexible filament, and I dropped it several times on my walk with no ill effects. It is not my design, but one I purchased at a fiber festival.

I’m still quite envious of the perfectly wrapped Turkish spindles I’ve seen on spinners’ posts. Mine look like birds nests. The advice I keep reading is to wrap the yarn over two arms, and under one. I did that. I’ll keep trying, though, maybe it will click.

Still sewing

Now I’m sewing strips of scrap fabric together with the Singer model 66 treadle sewing machine. I’ll figure out something to make with the pieced together fabric later (probably bags, I like bags), but for now it is an easy way to exercise the machine. My treadling is getting better as well; in those long straightaways I can really get the speed up!

Photo description: Singer model 66 treadle sewing machine from 1916 with strips of red and cream fabric sewn together lying on the work surface.

With an electric sewing machine there isn’t quite the thrill going top speed as there is with a treadled machine, knowing you are providing the power boost.

Ok, I ripped

So usually I am not a proponent of ripping out yarn work. If an item passes the 10 second rule (someone who is not an expert can’t find the mistake in under 10 seconds) it’s fine. I’ve put dozens of hours into knitting a fingering weight cardigan, finally getting it to the point it could be tried on. The intended target doesn’t like it. Honestly, I don’t either. The colors look fabulous in the skein, but I really dislike color pooling in knitting, and this one is particularly jarring.

Photo description: partially knit cardigan with arm holes, back, and sides in a variegated yellow and blue yarn with a small repeat, very visually busy.

So I had a choice: put a couple more dozen hours into an ugly item no one will ever wear, or rip it out and make socks that everyone will wear. Frog it time. (Rip it, rip it, rip it.)

Photo description: partial cardigan laying on the counter with the yarn attached to a wool winder.

I say “frog it” flippantly, but it is a heavy duty to destroy your own work, even when the intension is to make anew. To cushion the heartache, I shot some video of the deconstruction and posted YouTube shorts. It did provide some catharsis.

Photo description: yarn cake of fingering weight yellow, white, and blue superwash merino and nylon yarn.

Winding it back into a cake will help the kinks from knitting straighten out too.

Cat post rewrap

The jute rope wrapped around one of the scratching posts was really getting worn. I ordered some new 1/4” rope, then cut off the top of the old rope. The bottom portion was still in decent shape, so I stapled the old end to the back of the post (which is actually two 2×4 boards.) I then stapled the new rope on and wrapped it tightly around the wood. I cut off some of the carpet so I could take the rope higher, because I have a couple long cats. I used a heavy duty stapler designed for furniture, with 1/2” staples.

Photo description: carpet and rope cat scratcher post with new rope on the upper half of the post. Gray tabby looking like he is about to start something standing behind the post.