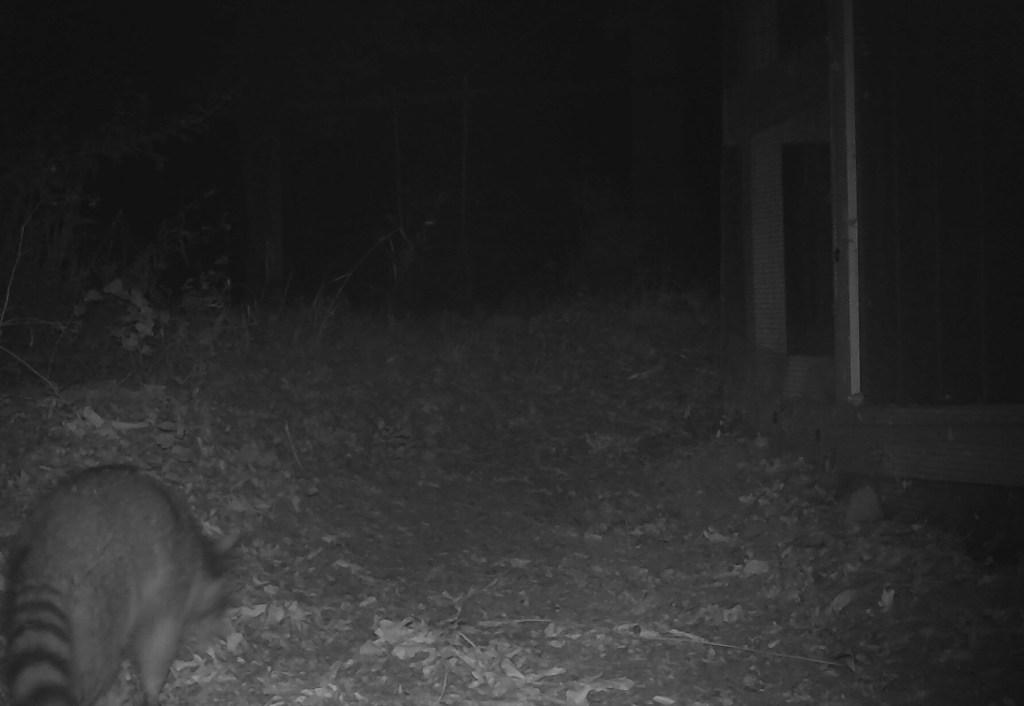
I had contemplated keeping the back door of the coop open at night to really let the cool air flow through the coop. There is a “screen” door with chicken wire instead of screen, but chicken wire won’t hold up to the attentions of a raccoon, and after the trail cam took a picture of a raccoon right behind the coop, leaving the door open is a definite no. In fact, I need to line the inner door with hardware cloth and put a heavy two step latch on it just in case a raccoon gets bold before I close the back door! (The solid door has three latches on it and a pad lock.) I had originally intended the inner door to only be utilized when I was out in the coop, but I found that keeping it as a breezeway after dinner makes a 10 degree difference in the inside of the coop. When the temperature in the coop goes from 95 to 85, it is worth airing out.
Armadillo behind the coop
The trail cam also took a decent picture of an armadillo behind the coop. There is hardware cloth buried all around the coop and runs to keep the diggers out.
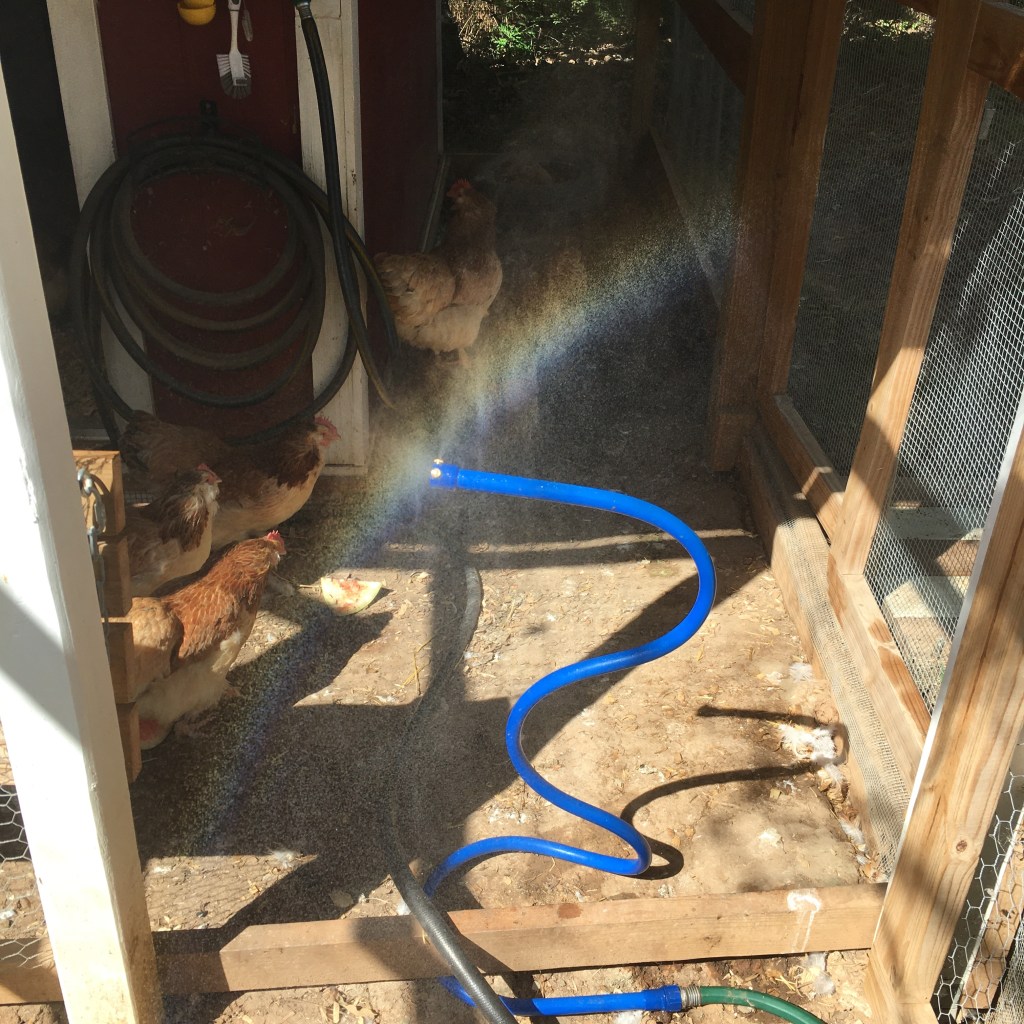
It is 102 in the shade here in the afternoon. I have iced foot baths, lots of shade, an oscillating fan, cool treats, I water down the ground, but I haven’t tried a mister. I had a mister that I bought for humans, but the humans were not that impressed (the youngest human likes to be soaked, not misted), so out to the chickens it goes! Not entirely sure what the chickens think of it either, but at least they didn’t freak out when I set it up (no broken wings). Picking a spot was problematic. I didn’t want it to spray on them, or the food, or into the coop. I settled on the corner of the run where wind blows the mist either way.
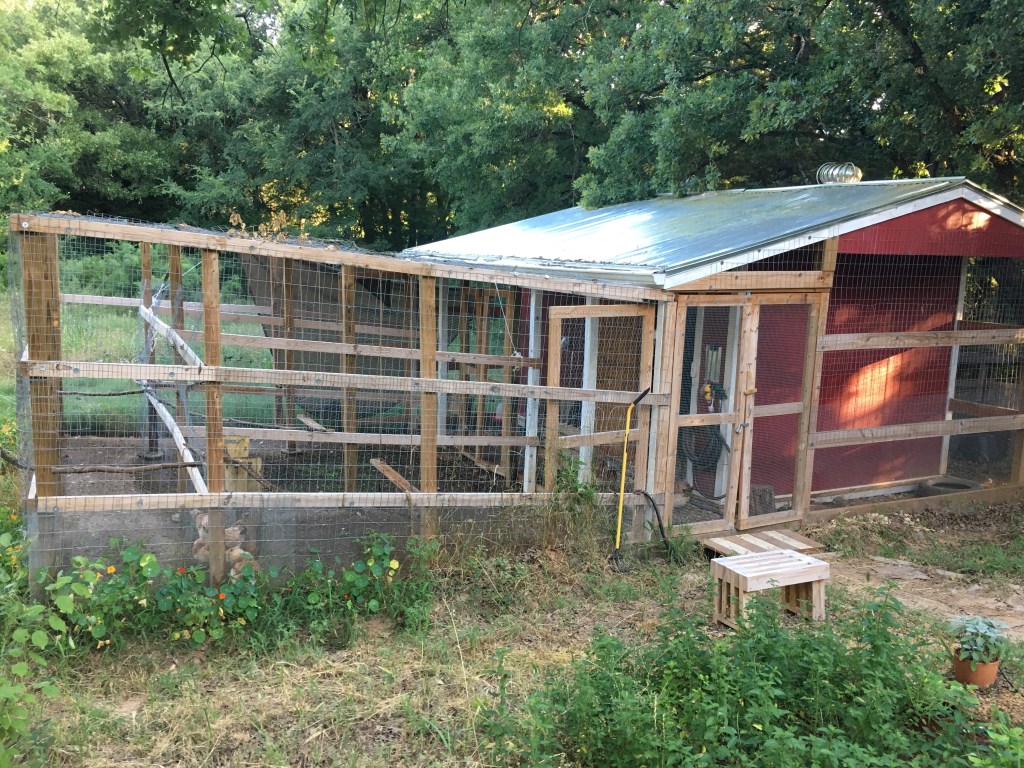
Coop: My husband built the coop and I love having a shed sized building to house the chickens. We can walk in which makes cleaning out easier and catching chickens easier. There is also plenty of room for storage. I originally planned to section the coop in half so that I could house a mother hen and the chicks in one side separate from the adult flock. I don’t think that is going to happen, but having the option is nice. I do hang a waterer inside, but all the food and the rest of the waterers are outside the coop. (I have 5 water stations for 11 chickens. Texas summers are hot.)
Runs: My husband also built four runs off the front and side of the coop. The main run, which is open all the time, runs along the side and across the front. This is where their food, water, and dust baths reside. I have three other runs with latched doors. The original idea was the center run would be a garden, but with the surrounding trees it doesn’t get enough light. The next idea was to rotate the chickens through the three runs so they would have fresh grass. After carefully tending grass growth for a week, it takes the chickens one day to take it all down to bare earth. Ugh. I am currently leaving the farthest run open all the time (this run is the chicken’s favorite because it has the most perches and overlooks the meadow) and alternating growing forage seed in the other two runs. The runs are enclosed with hardware cloth that is also buried about a foot down all around the coop. Inside the runs we used less expensive poultry wire. There are swings in two of the runs, and the chickens do jump on them occasionally. What they really love are the natural branches lashed to the framework.
And I wondered why the other branch broke
Situating the coop and runs in the low point of the meadow has given us some drainage issues, but some creative ditch digging solves most of the unwanted flooding, except in really heavy rains.
Using a wooden dowel on an outside latch – fail
Something that definitely failed from heavy rains was the rotating latch on the outside run door. The tolerances were a little tight, and when the wooden dowel swelled from moisture it would get stuck in the pass through hole. Eventually the dowel tore in two from being twisted when wet. Oops.
So I think that is it for now! I’ll probably think of other things to share later, but a 5 part post will have to do for this week. Tomorrow I’ll go back to my regularly scheduled program of random rotating subjects.
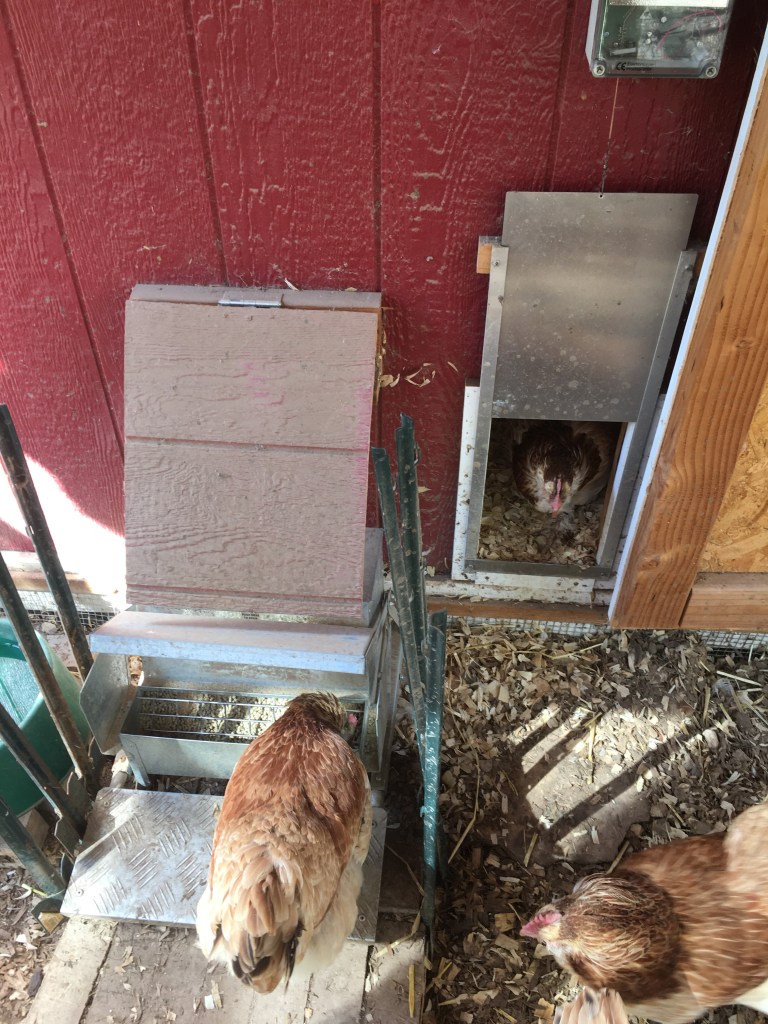
Grandpa’s Feeder (left) and Cheeper Keeper (right)
Grandpa’s Feeder: This was a good investment. Yes it was a little pricey, but I have near zero feed waste, which will be more significant after a few years. The chickens access the gravity fed feed by standing on a treadle that opens the lid. Training the chickens to use it went well. At the beginning there were only two or three chickens that could open it after the introductory period (Grandpa’s Feeders provides excellent instructions), and the rest would wait until it was open to eat. After a year, I think they can all open it on their own (although I haven’t done a thorough study on that). It sits just outside the coop pop door on a bed of bricks. I do dust the bricks with diatomaceous earth. I fill it about once a week. Since it is under the overhang on the coop, it stays dry even in the worst weather. I did put in stakes as side guards to keep chickens from reaching in to eat without standing on the treadle, and a hinged “roof” to keep chickens off the top also to keep them from eating without using the treadle.
Cheeper Keeper: This automatic door is awesome. It opens at dawn and shuts at dusk. I don’t have to remember to open the coop in the morning! Because the chickens can go out in their own into the runs, I don’t usually to go out and check on them until mid-morning. This works really well for hectic school mornings. This was also worth the investment. At night, the chickens all put themselves to bed on the roost, well before the door closes. In the summer I do open the people door to help the temperature in the coop drop after sunset (I have a temperature activated oscillating fan inside, but the extra air flow helps), so I go out to close that door at night.
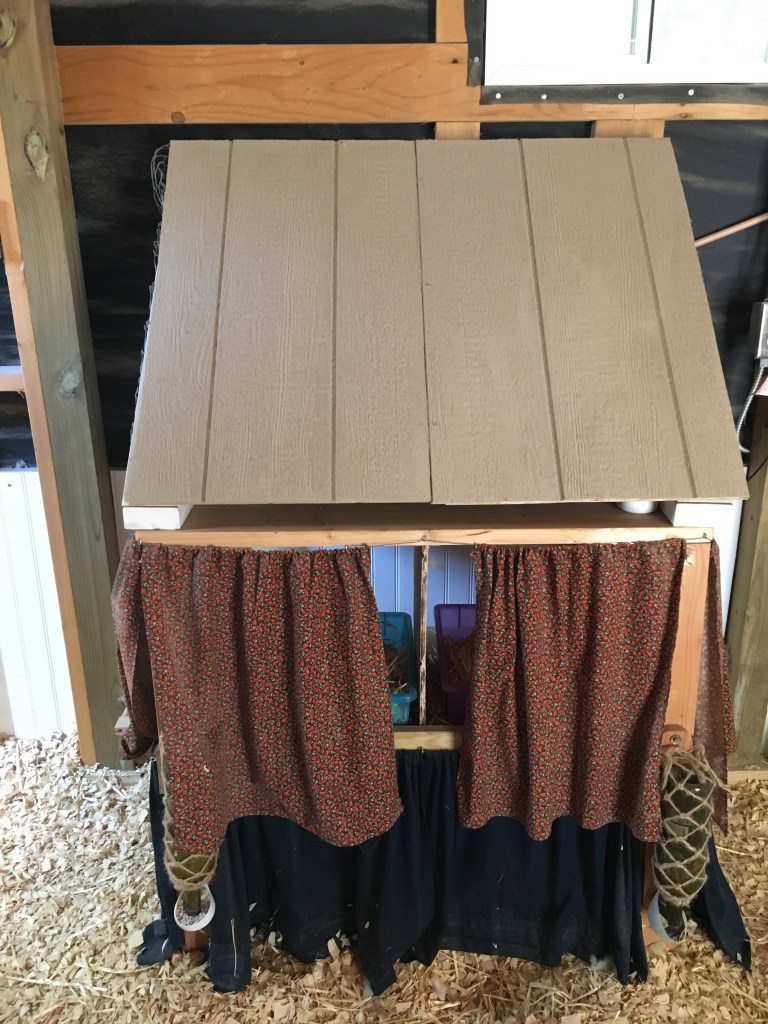
Work bench: Having a counter height work area inside the coop makes chicken health checks and treating bumble foot so much easier. I put a slanted lid over the work bench to keep the chickens from roosting on top, and they love the plastic bins on the shelves underneath (behind the curtains) for nesting. There are four nests under the bench, and all of them have been used. Because there is a lid on top, I can store my most used supplies and scale inside. I can even prop open the lid with one chicken under my arm.
Reused metal nest boxes
Reused nest boxes: I was worried about reusing nest boxes that I bought on a corner out of a truck. Not my most brilliant purchasing decision, but it worked out OK. I cleaned the heck out of it, gave it a new coat of paint (that worked with the galvanized steel), added a roost bar, and installed curtains. I was also worried about the small size, but a few of my chickens do squeeze themselves in there to lay occasionally.