One step at a time. Baby steps. It’s a big step. Stepping stones.
But in this case, it is steps for the back door of the coop! Dad and I made a step and a small porch out of treated lumber, with a rail to keep the door from going open too far (my husband’s good idea). They came out well! And when it started to sprinkle (darn it weather!), we put away the electric tools, got out the hand tools, and kept working under the front overhang. Yay!
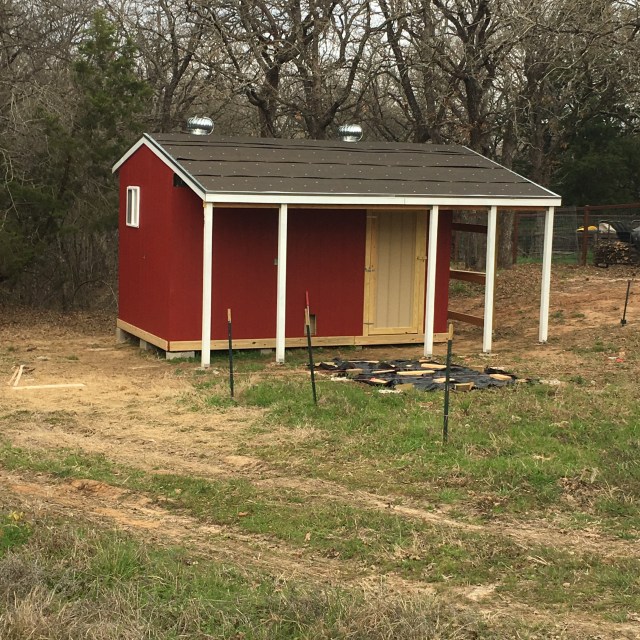
My folks are in town visiting and while the kids have been at school, my Dad and I have been working on the chicken coop. We now have doors! The weather will have to stay nice longer to get the doors and trim painted, but I’m so very exited that we are dried in!
Our weather continues to vacillate between winter and spring. This week I was able to use one of the warmer days to start making the people sized doors for the coop.
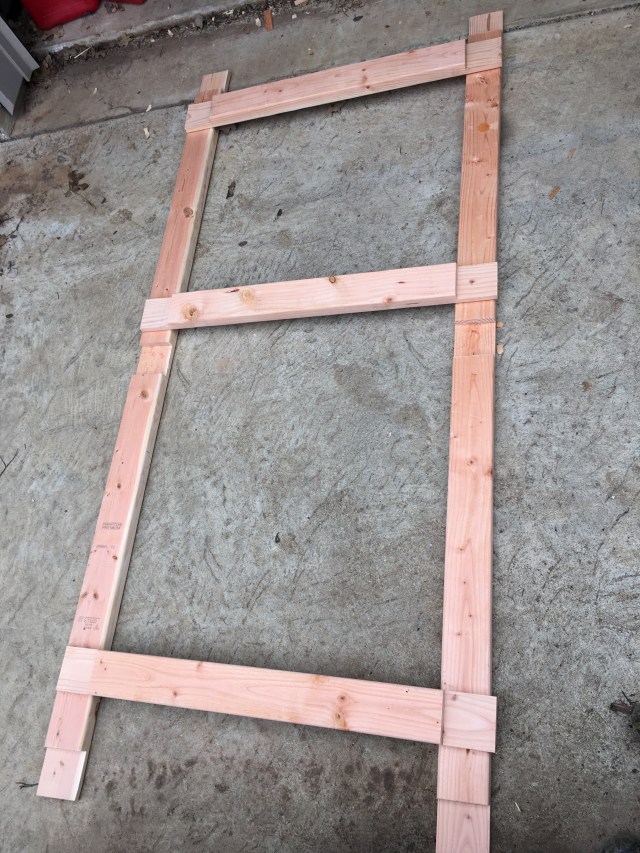
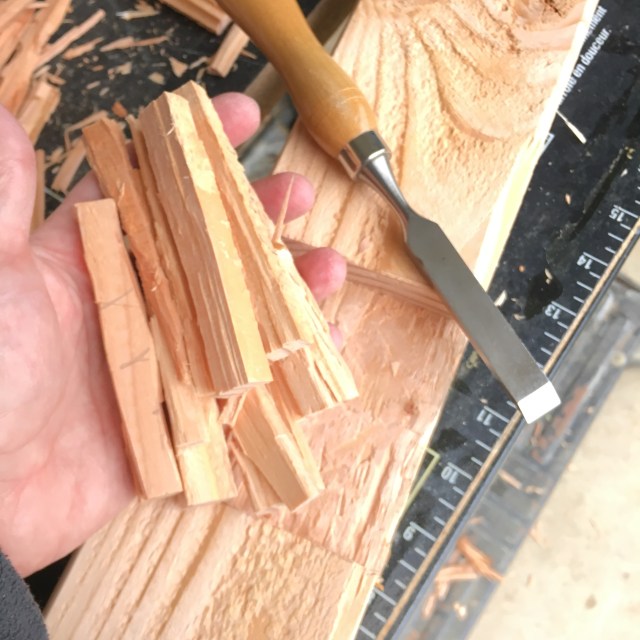
Rabbet joints cut for door
I measured the size of the door frame and subtracted 1/4″ on the width (to allow 1/8″ on each side), and subtracted 1 3/8″ from the height (our threshhold will be 1 1/8″ high plus the 1/8″ easement). I used standard 2×4 lumber and made double rabbet connections at the corners and for the cross brace. My bandsaw worked well to cut the rabbets on the ends of the boards, but for the rabbets in the middle of the board I used a handsaw and chiseled out the material.
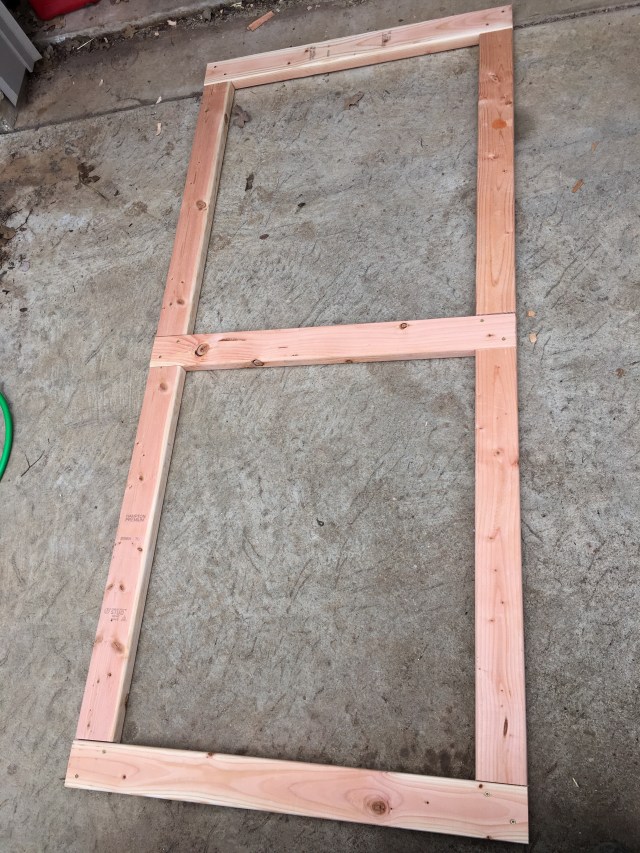
Door joints secured with glue and screws
I then glued the joints and used 1 1/4″ screws to secure the frame, making sure that the corners were square.
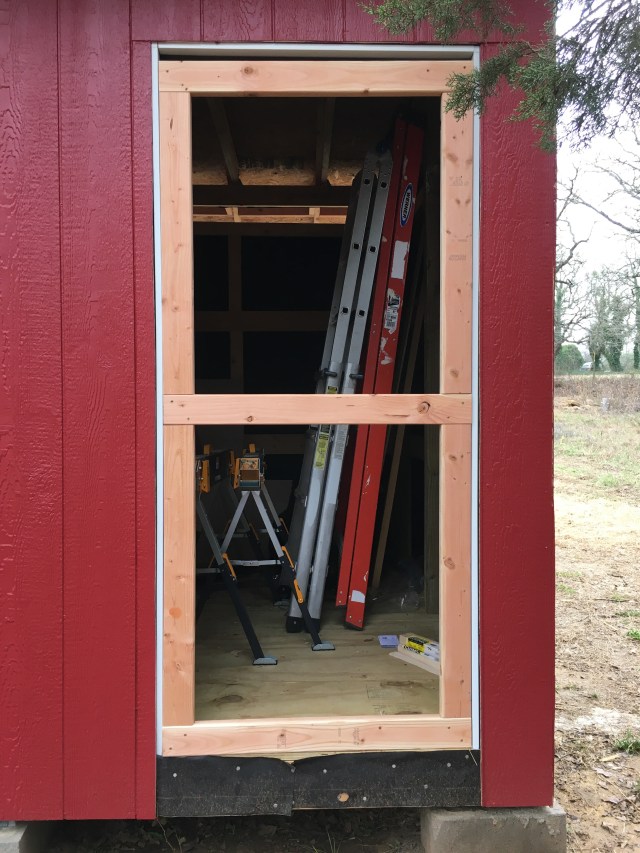
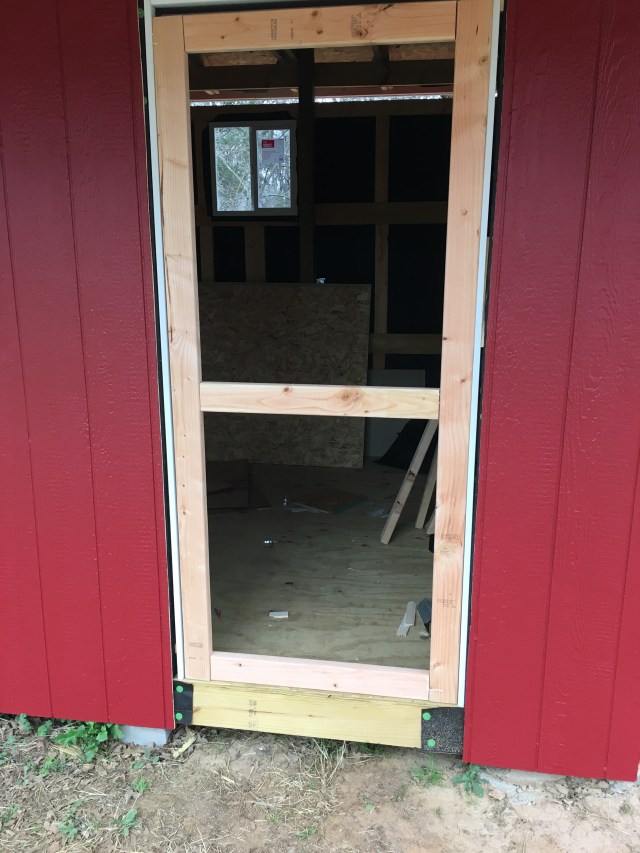
Dry fit for back door of the coop
The door fits well! (The gap on the top will eventually be a gap on the bottom for the threshold.)
And here is the front door:
Front door of the coop
This one was a little more temperamental, but it might be because it was about 33 degrees out when I finished it. I kept the garage door closed as long as possible, but to get enough light to chisel, I needed to open it! Cold! So I probably worked with a little more haste. Still, it is fun when the grain lines up with the dado and a few chisel strikes excise a nice chunk of wood.
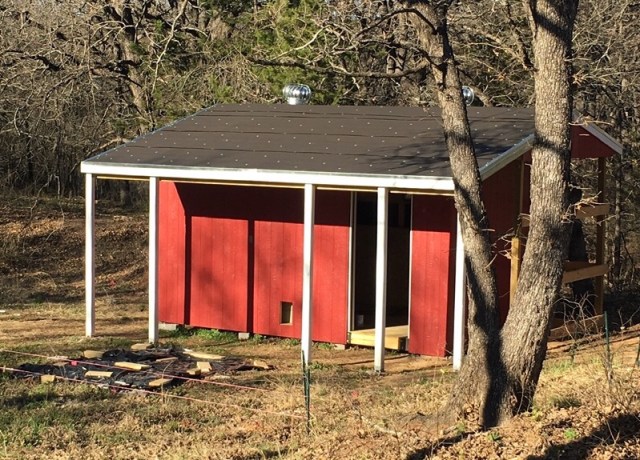
The coop now has trim around the roof and door frames. We are getting closer to having it dried in. Still need the doors and roof. Exciting!
If all goes well, we are a little over a month until the arrival of the chicks. I’ve been collecting bits an bobs here and there. Once the coop is dried in, I can start setting up inside.
I’ve been reading up on how to feed and water chicks, and all the many different methods available! I’ve read that keeping the feeder at the chick back height is important, and one of my favorite suggestions was to use hanging feeders so the chicks can’t knock them over. Most hanging feeders are designed for wild birds and can get quite expensive (especially if you need 4!) So I came up with my own design for hanging regular, inexpensive chick feeders and waterers using the bases designed to screw onto quart Mason jars. I’m planning on using an old wire dog crate as my brooder, so hanging things from the top of the crate will be quite easy.
I was not able to find the exact instructions I wanted, so I combined a few different techniques. I used a steel ring so the jar could not slip through, made a wrap for the steel ring to protect the jar from bumps, a net around the jar, and “ladder” straps so I could easily adjust the height at which the feeder would hang.
I have written up instructions below, and have also done a “speedy” video for the curious with short attention spans. (My eldest said the video should be 30 seconds. I couldn’t quite get it that short, but I managed to get it down to 5 minutes. It goes fast, but is kind of neat to watch at super speed.)
Here is the materials list: Metal Chick Feeder Base (usually available at the local feed store) Quart Mason Jar (also available at the feed store, or at the grocery store) 4 inch Steel ring (you can pick these up in the macrame section of the craft store) 40 feet of craft rope (the kind used for macrame, also available at the craft store, usually for about $5 for 100 yards) S-hook or carabiner to use to hang the feeder
Instructions: Cut 20 feet of craft rope and seal the ends by melting them (I use a lighted match, but lighters work as well). Cut four 5 foot sections of rope and seal the ends.
Covering the ring: Wrap the 20′ section of rope into a center pull bundle by leaving about 12″ hanging and wrapping the rest around three fingers until there is 12″ left. Use the tail to wrap the bundle and tuck the end through the wraps. Use an overhand knot to tie the rope onto the ring, leaving about 4″ of tail. Then use half-hitches to cover the ring; remember to go over the tail as well to keep it in place.
Making the net: Using cow hitch knots (also called larks head), make 7 even loops around the ring. Use an odd number of loops to make it easy to go to the next row. When you have completed the base row, continue to make cow hitch knots in each loop, making sure to keep the loop lengths even and pulling the knots tight. When you have reached the bottom of the jar, use a few half hitches to secure the end of the rope.
Making the adjustable straps: (This is similar to making a rope ladder.) Choose two opposite pairs of loops on the bottom of the net, and attach one 5 foot section of rope to each loop by folding the rope in half and using the larks head knot. Take two ropes (four strands) and tie them together with an over hand knot. Take one of the left strands under two strands to the right, over two to the left, under the third on the left, and back across the top of the other three strands to the right. Then take one of the right strings and wrap it around the outside of the rung you just made. Open the loop on the left and tuck the end of the rope through, and pull everything tight. On the next rung, use the two strands that did not get used on the previous rung. This will keep the rungs from being able to scrunch together. When you have done 10-11 rungs, about 1″ apart, tie the four strands together with an overhand knot. Do the same procedure on the ropes on the other side of the net. Cut and seal the excess rope. Use the rungs on the ladder to hang your feeder!