Grit and calcium dispensers

Calcium and Grit wine bottle dispensers

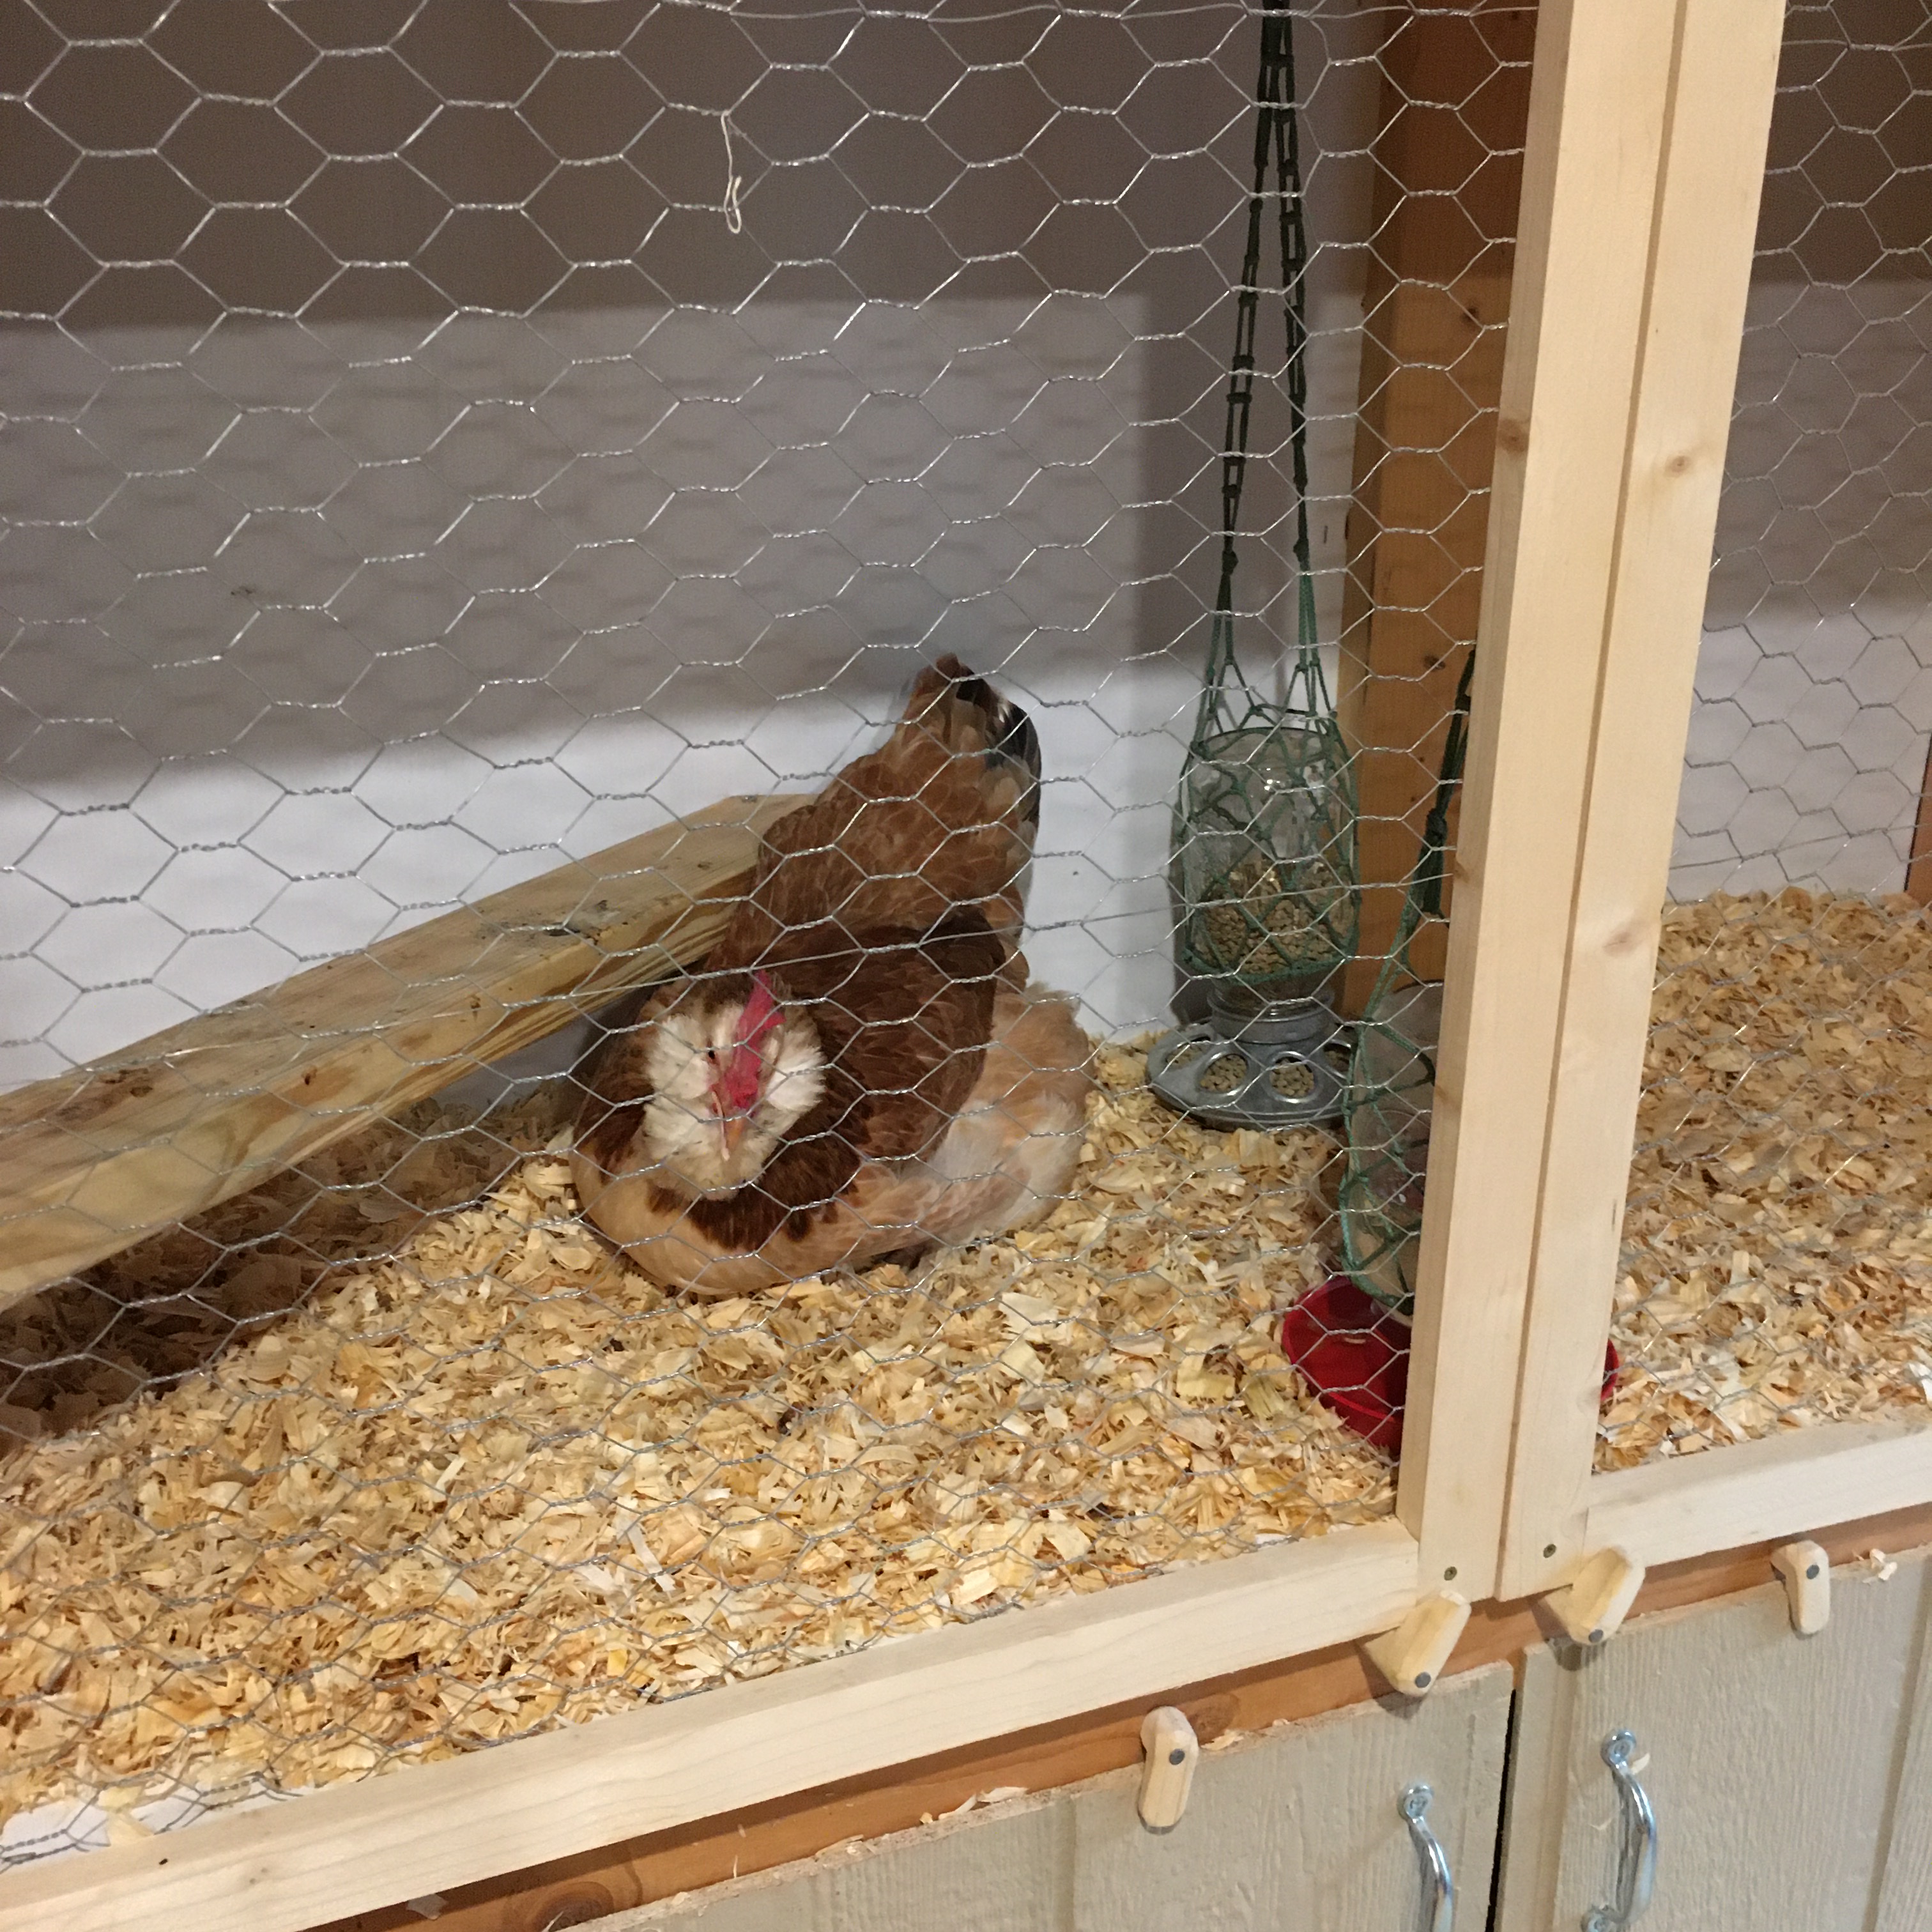
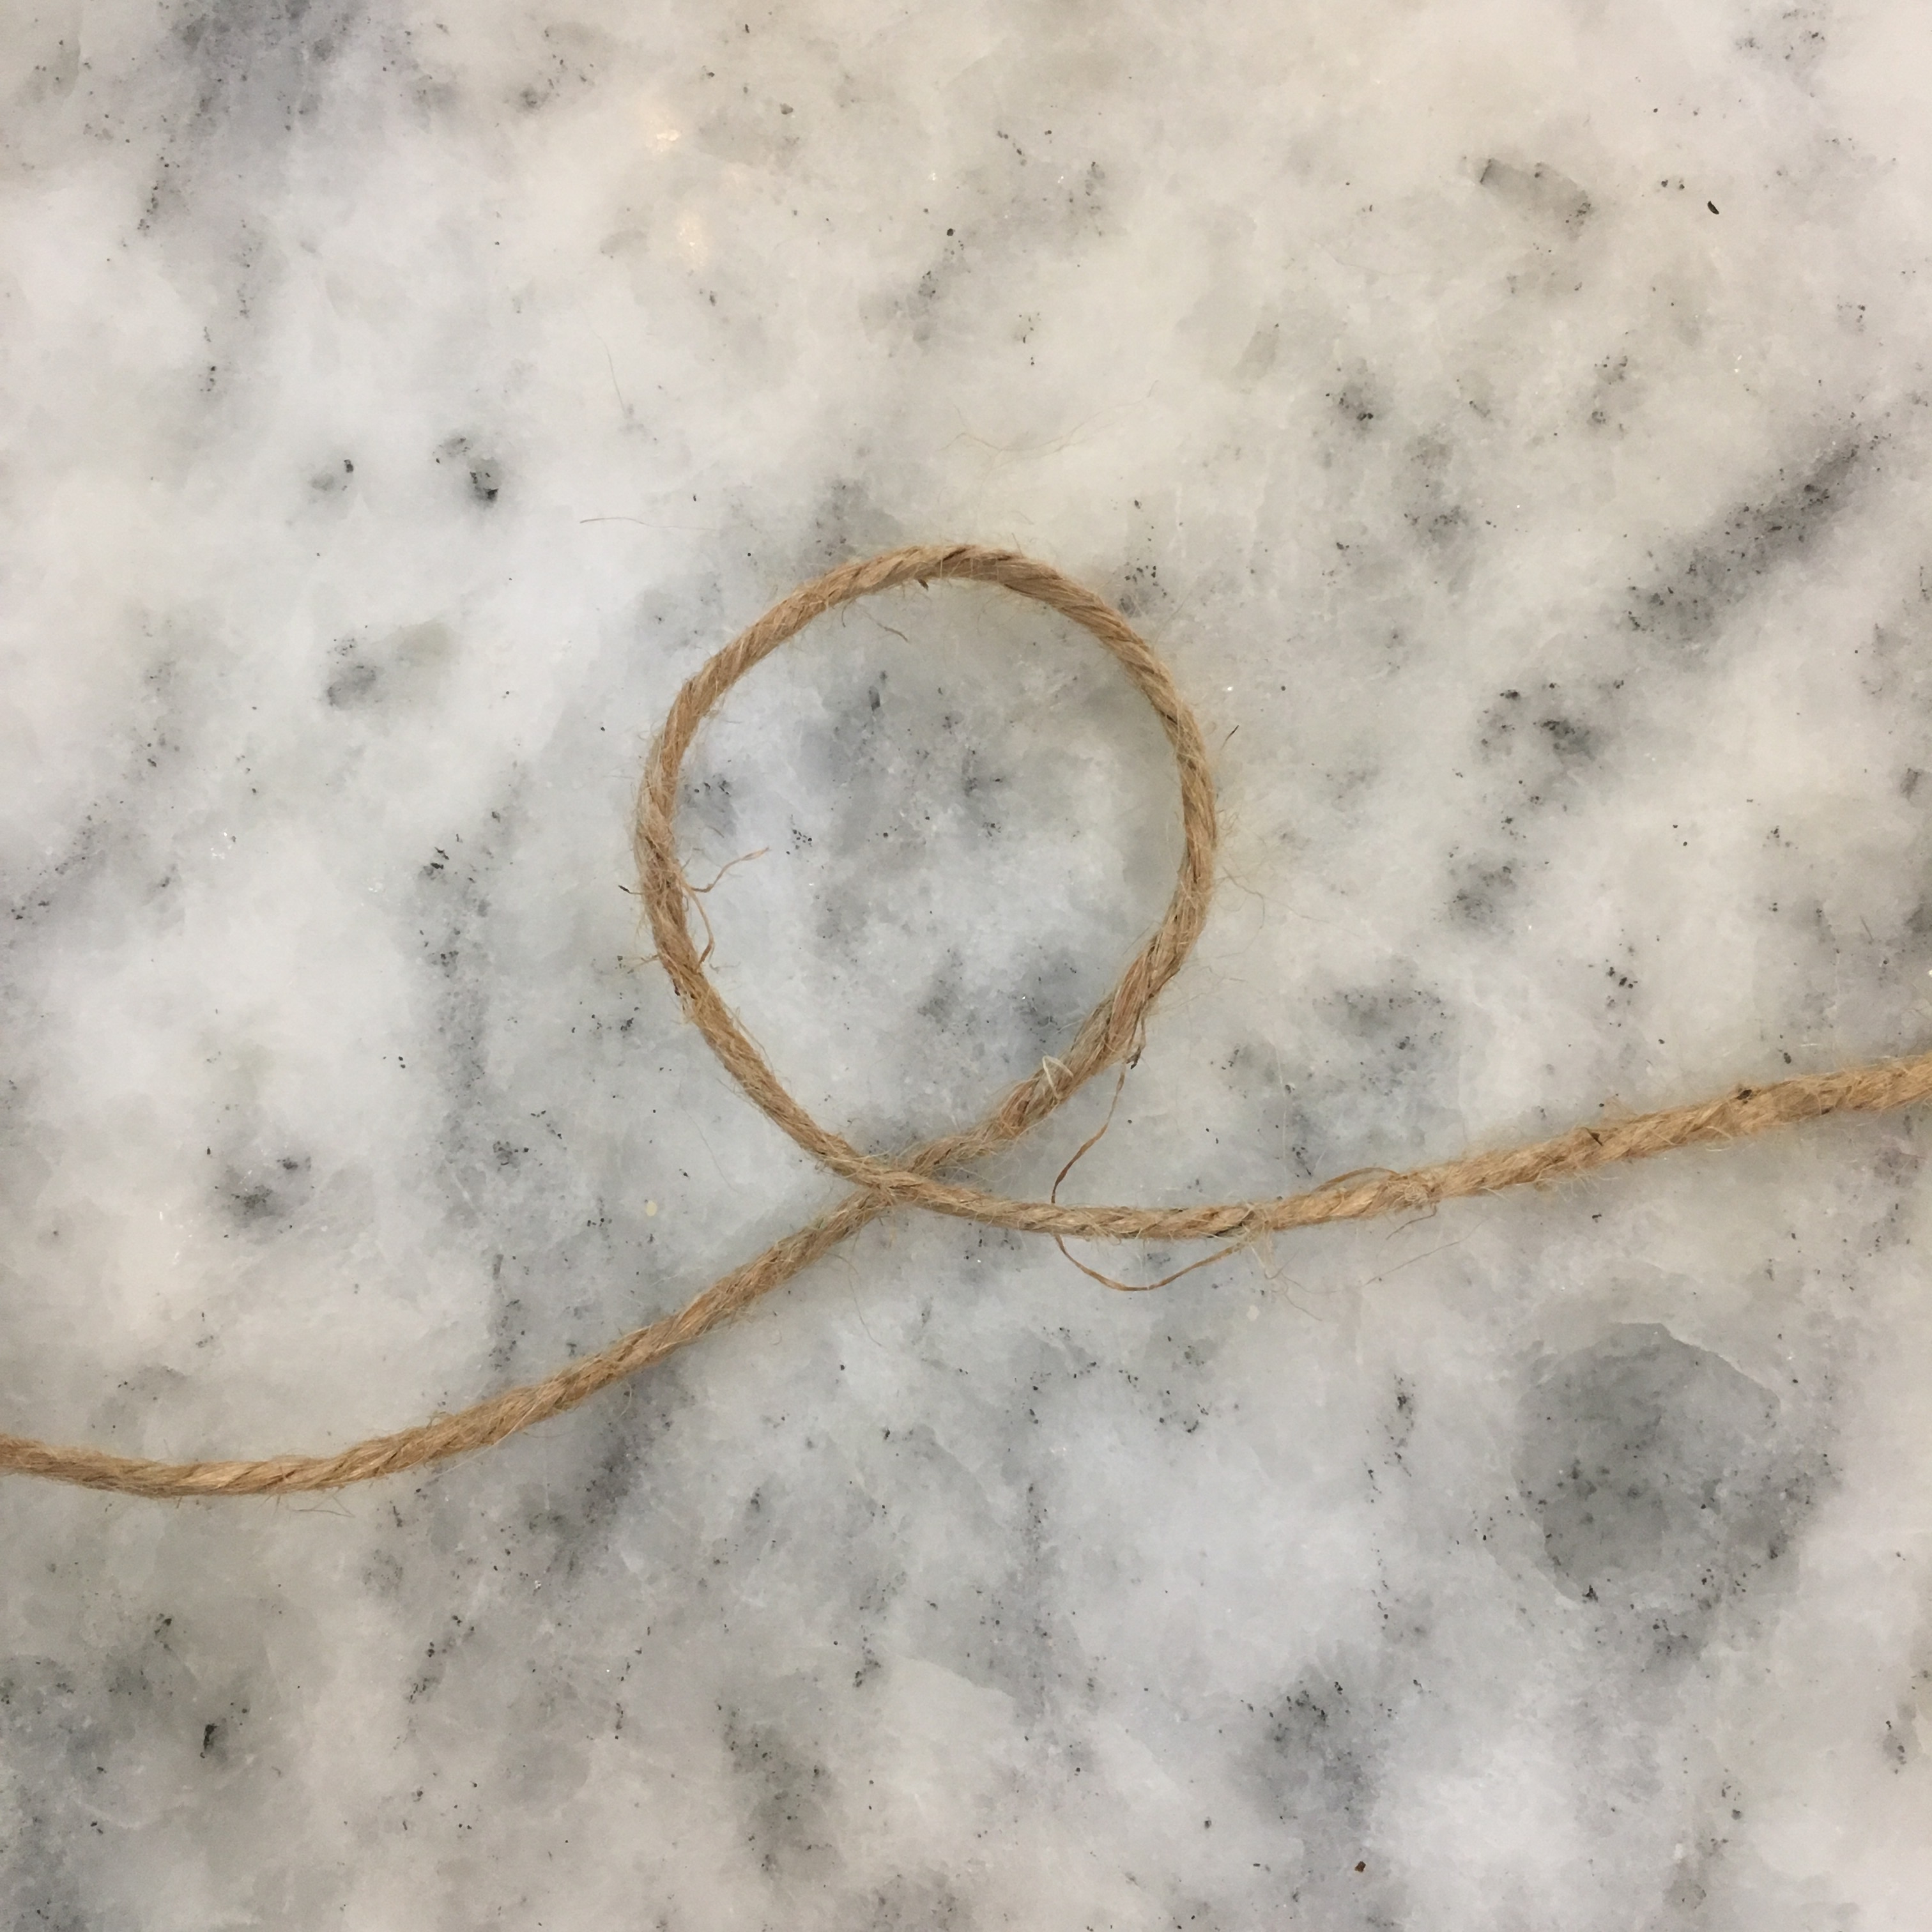
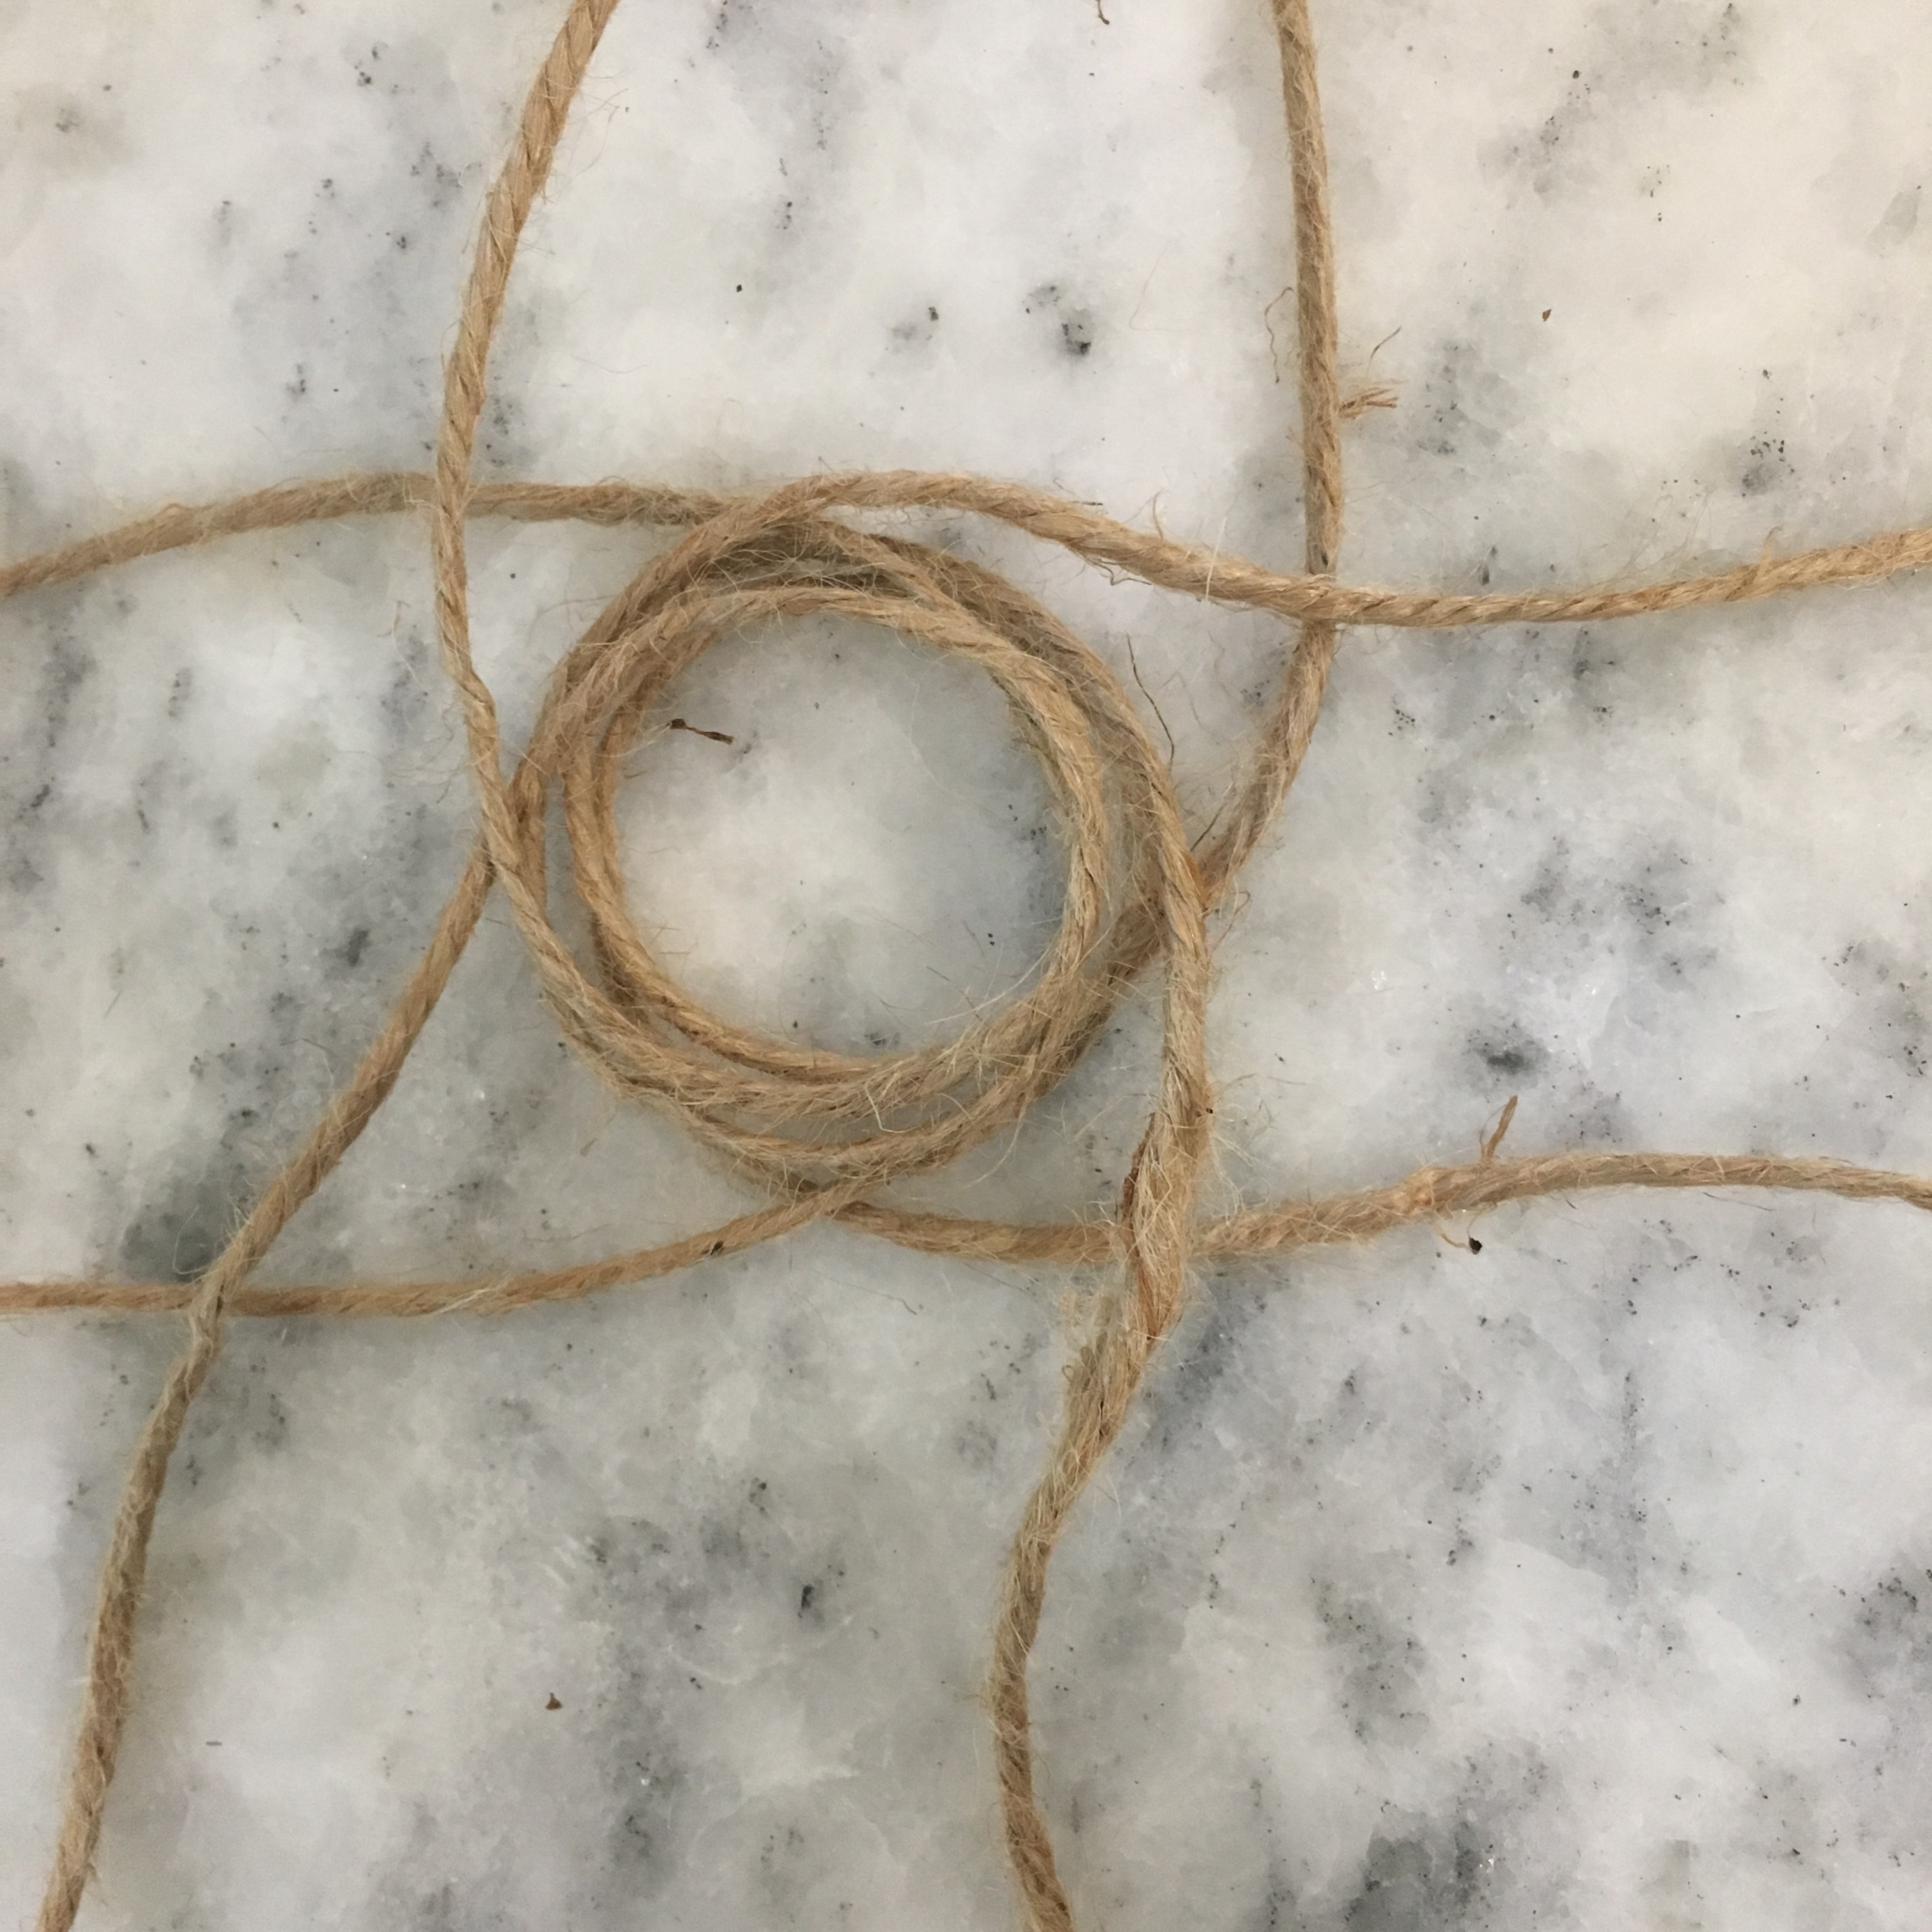
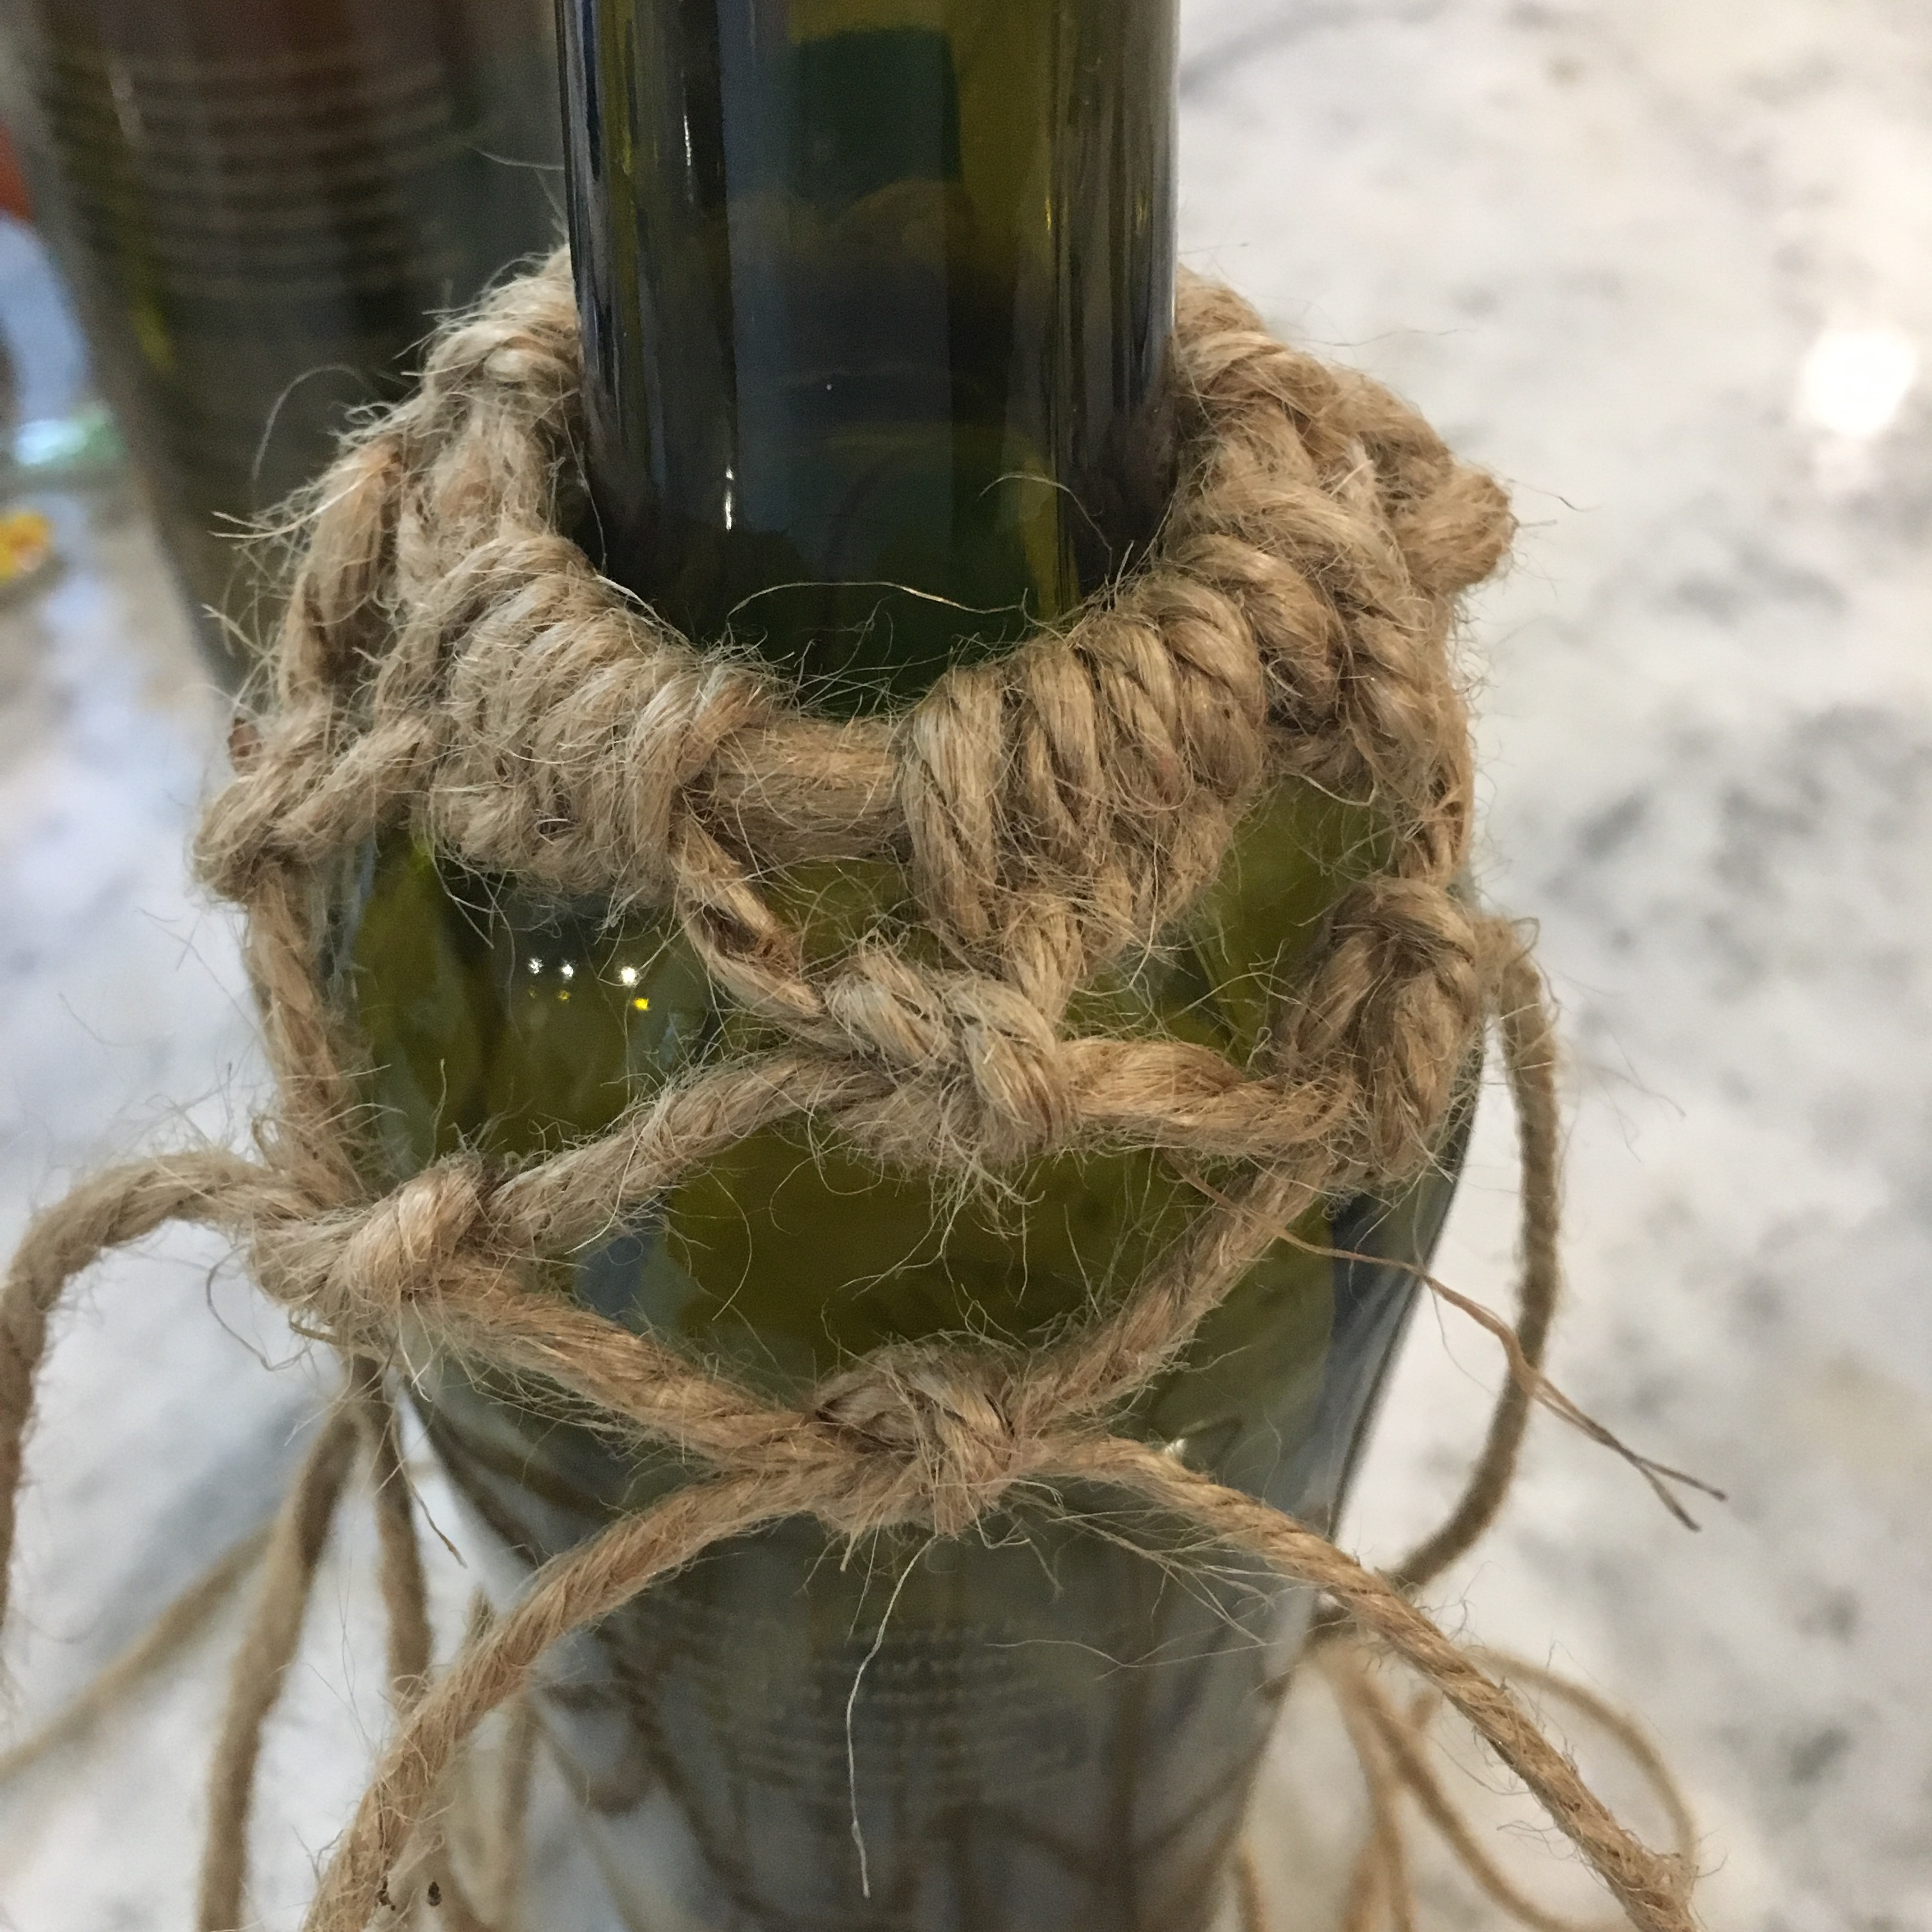
I modified this idea from Lisa of Fresh Eggs Daily. I used the cut-off bottom of an old water bottle for the cup (because I didn’t have tuna cans), and I made a twine net to hold the wine bottle. I cut four long pieces of twine (about 8 feet each), and made a loop in the middle. I stacked four loops together, then used half-hitches to secure the circle (this is where the neck of the bottle will go).

Loop of twine
Four loops of twine
Half-hitch secured circle

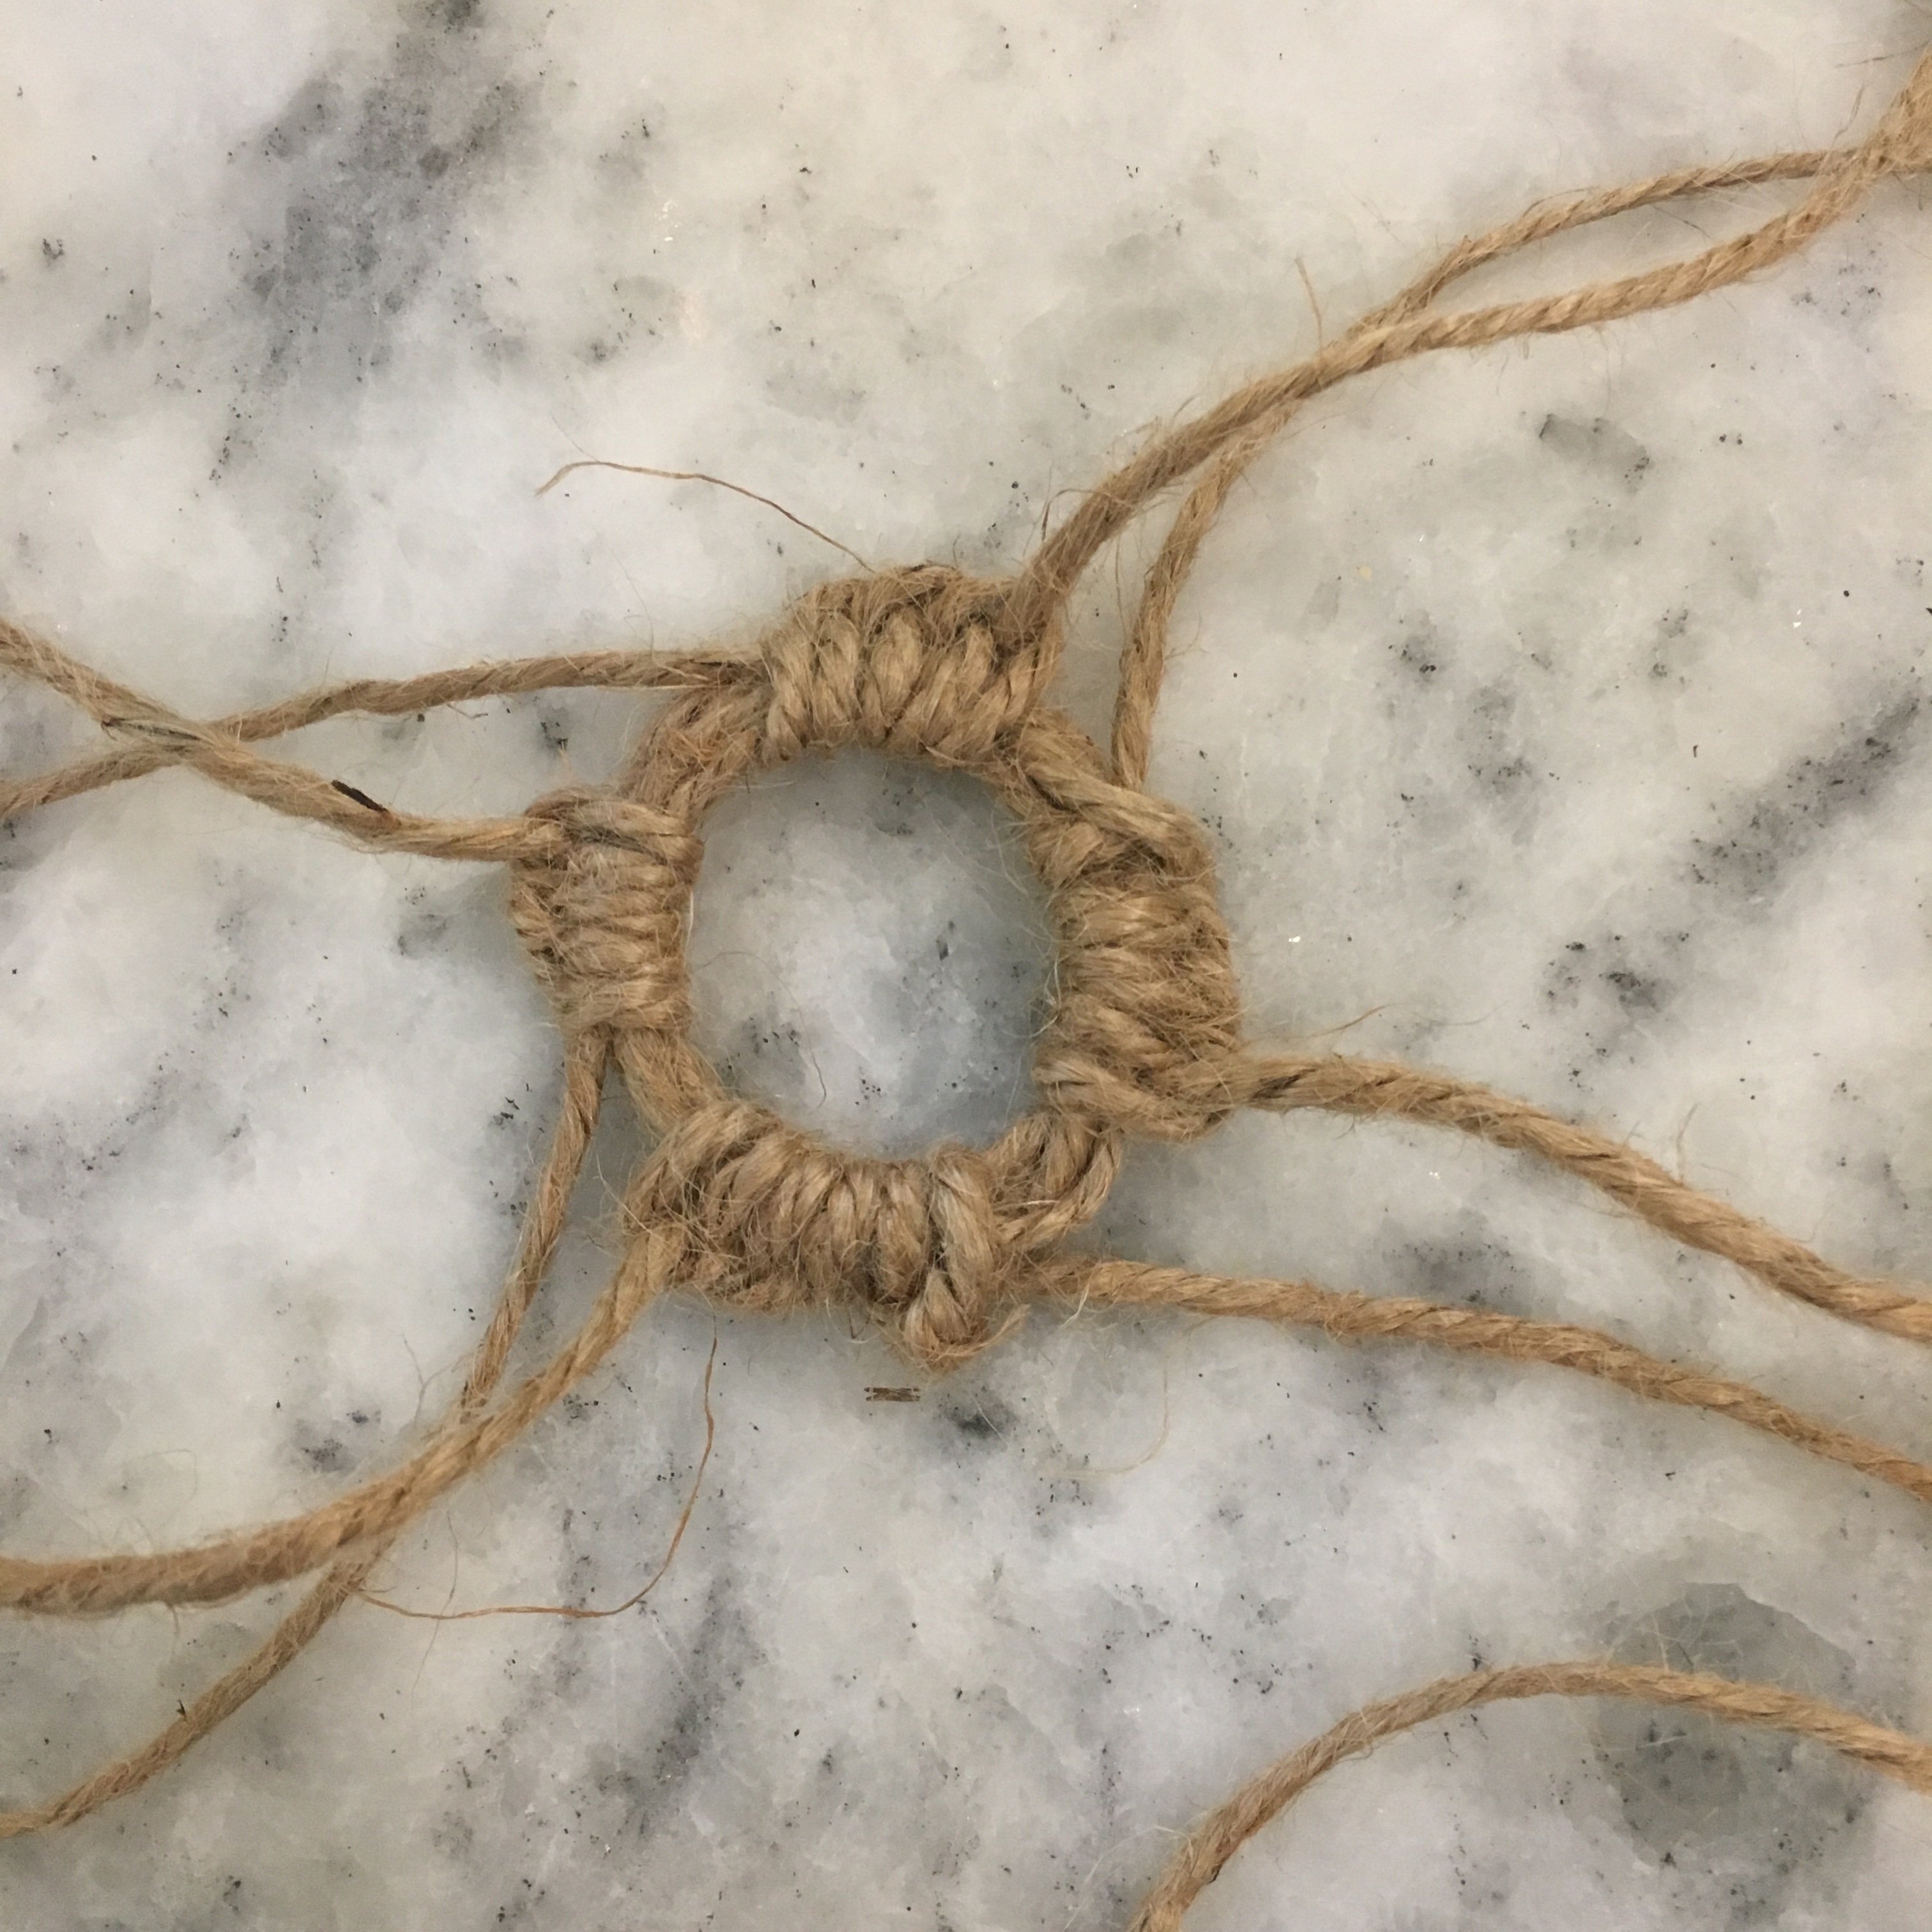
I put the twine circle on the bottle and made square knots using pairs of twine, then alternated the pairs to make the next row of knots. There are four knots in each row.

Square knot netting

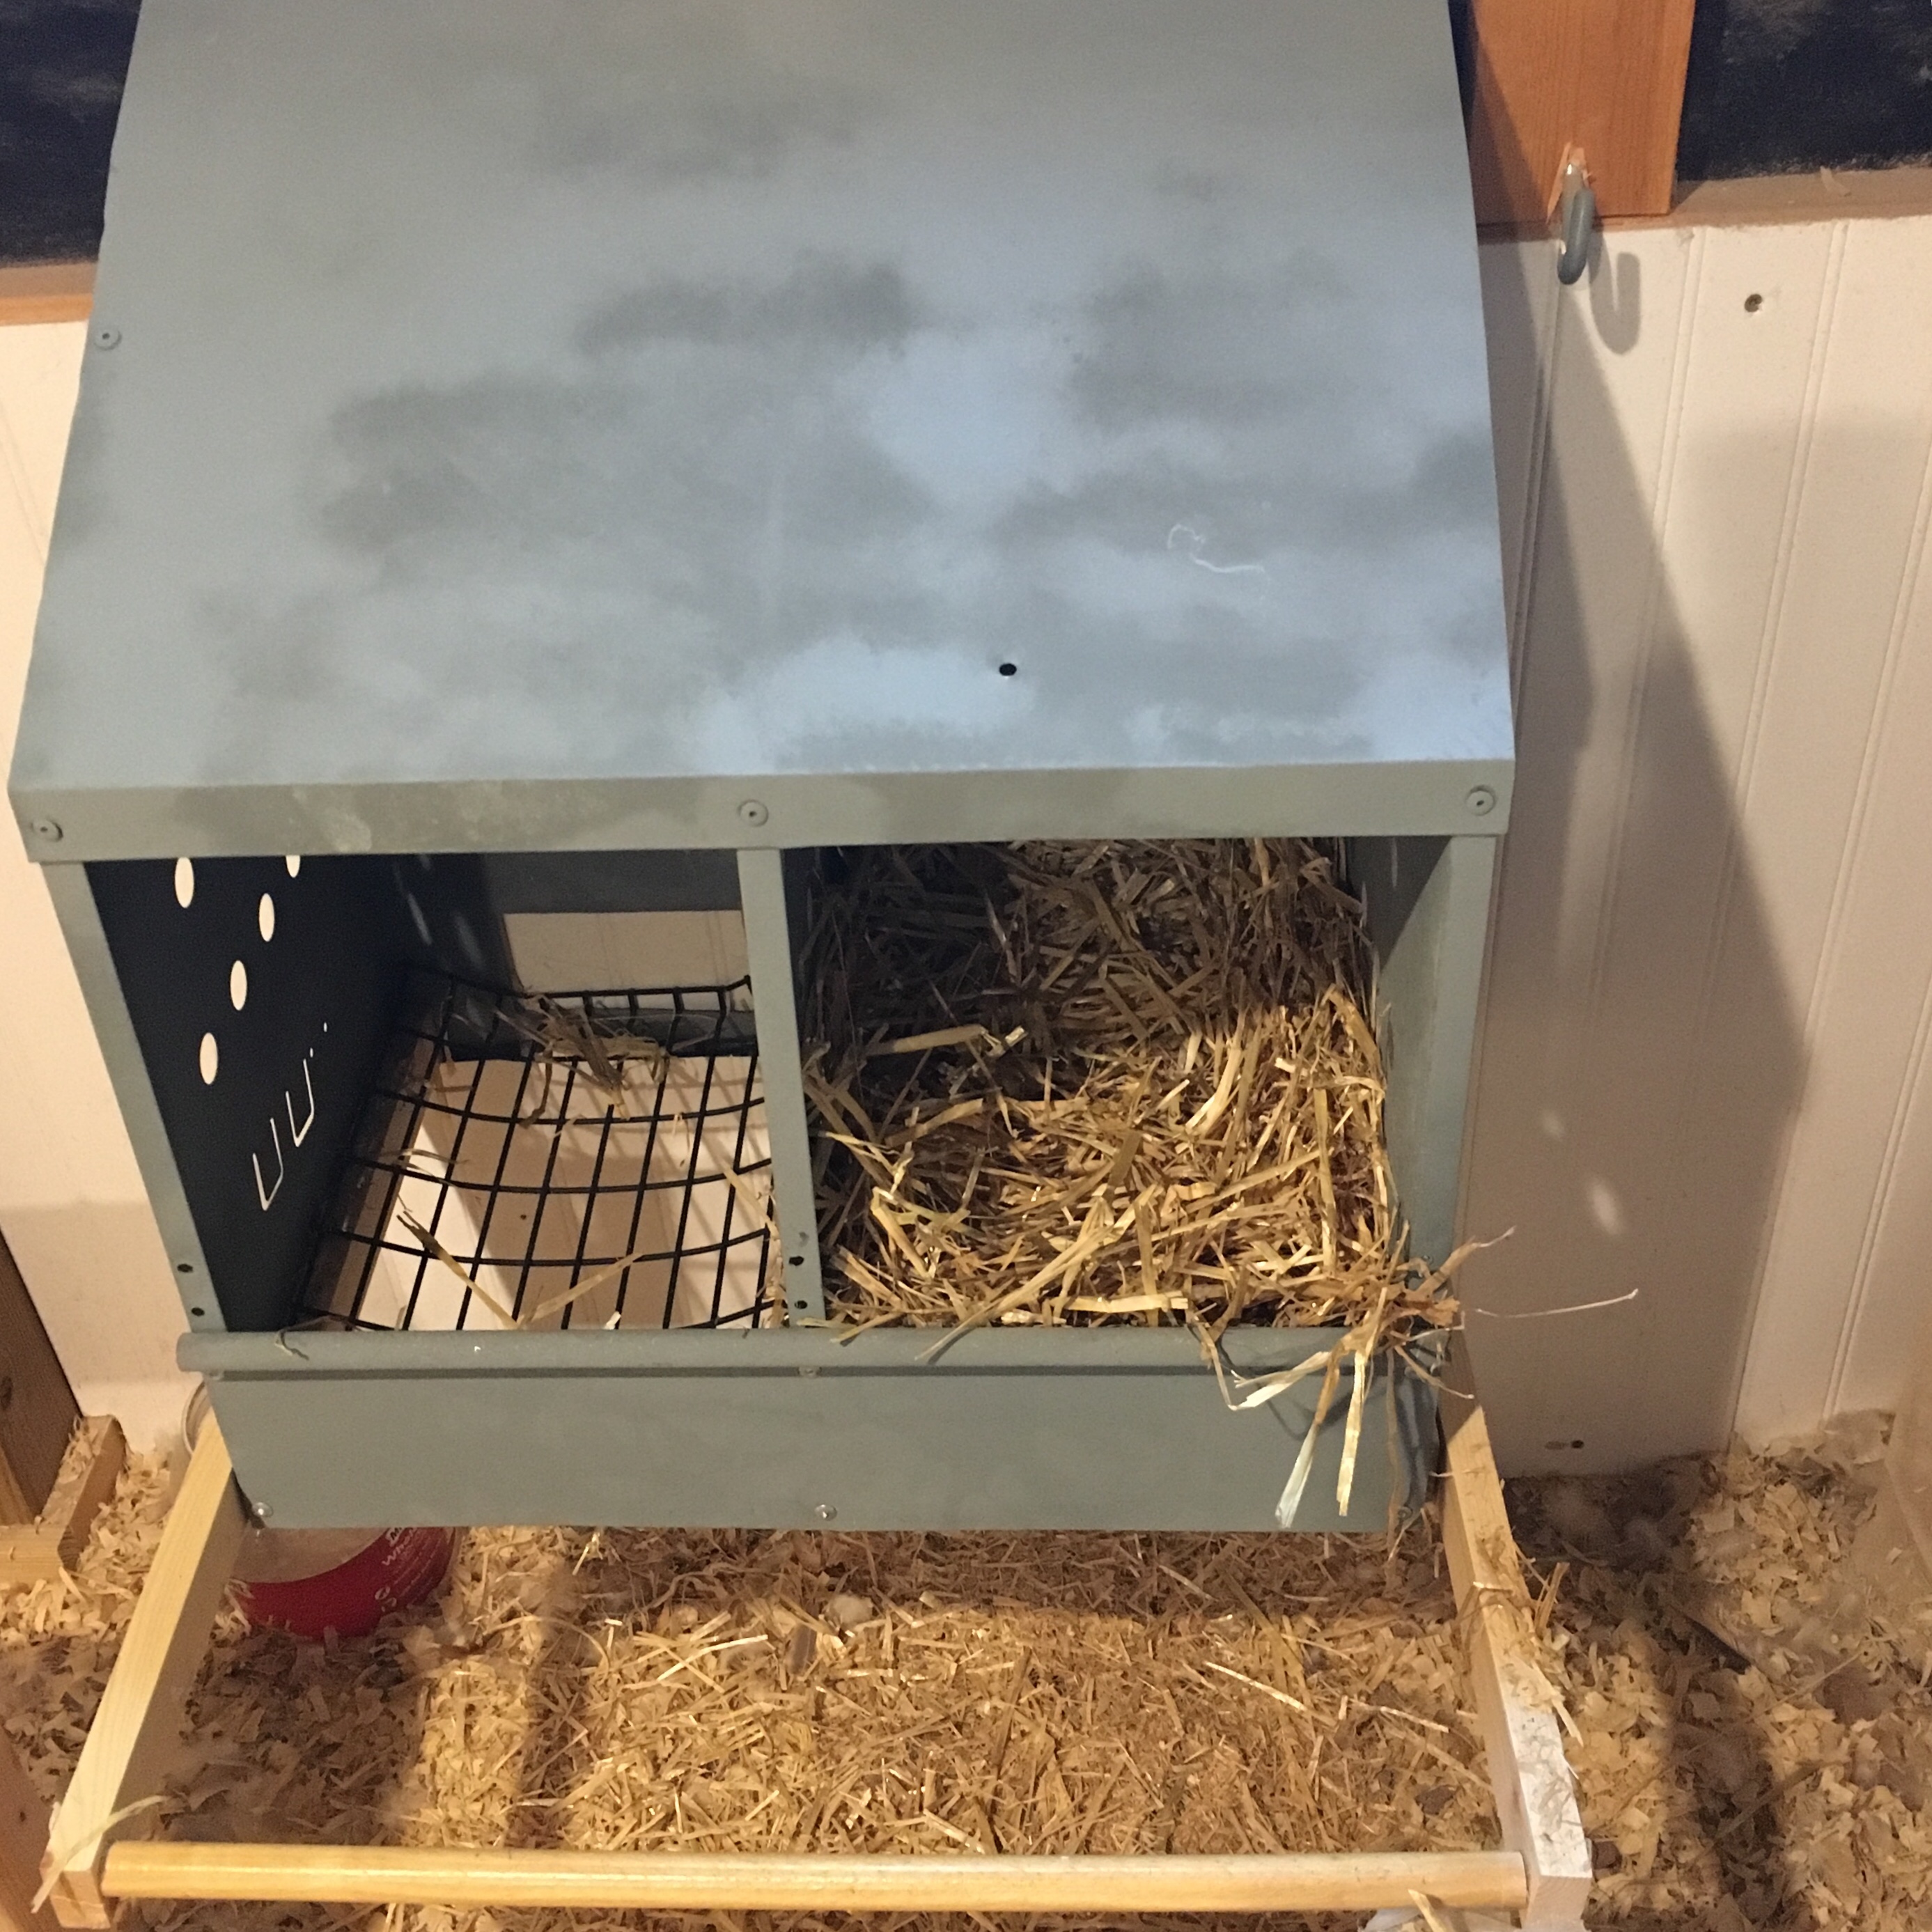
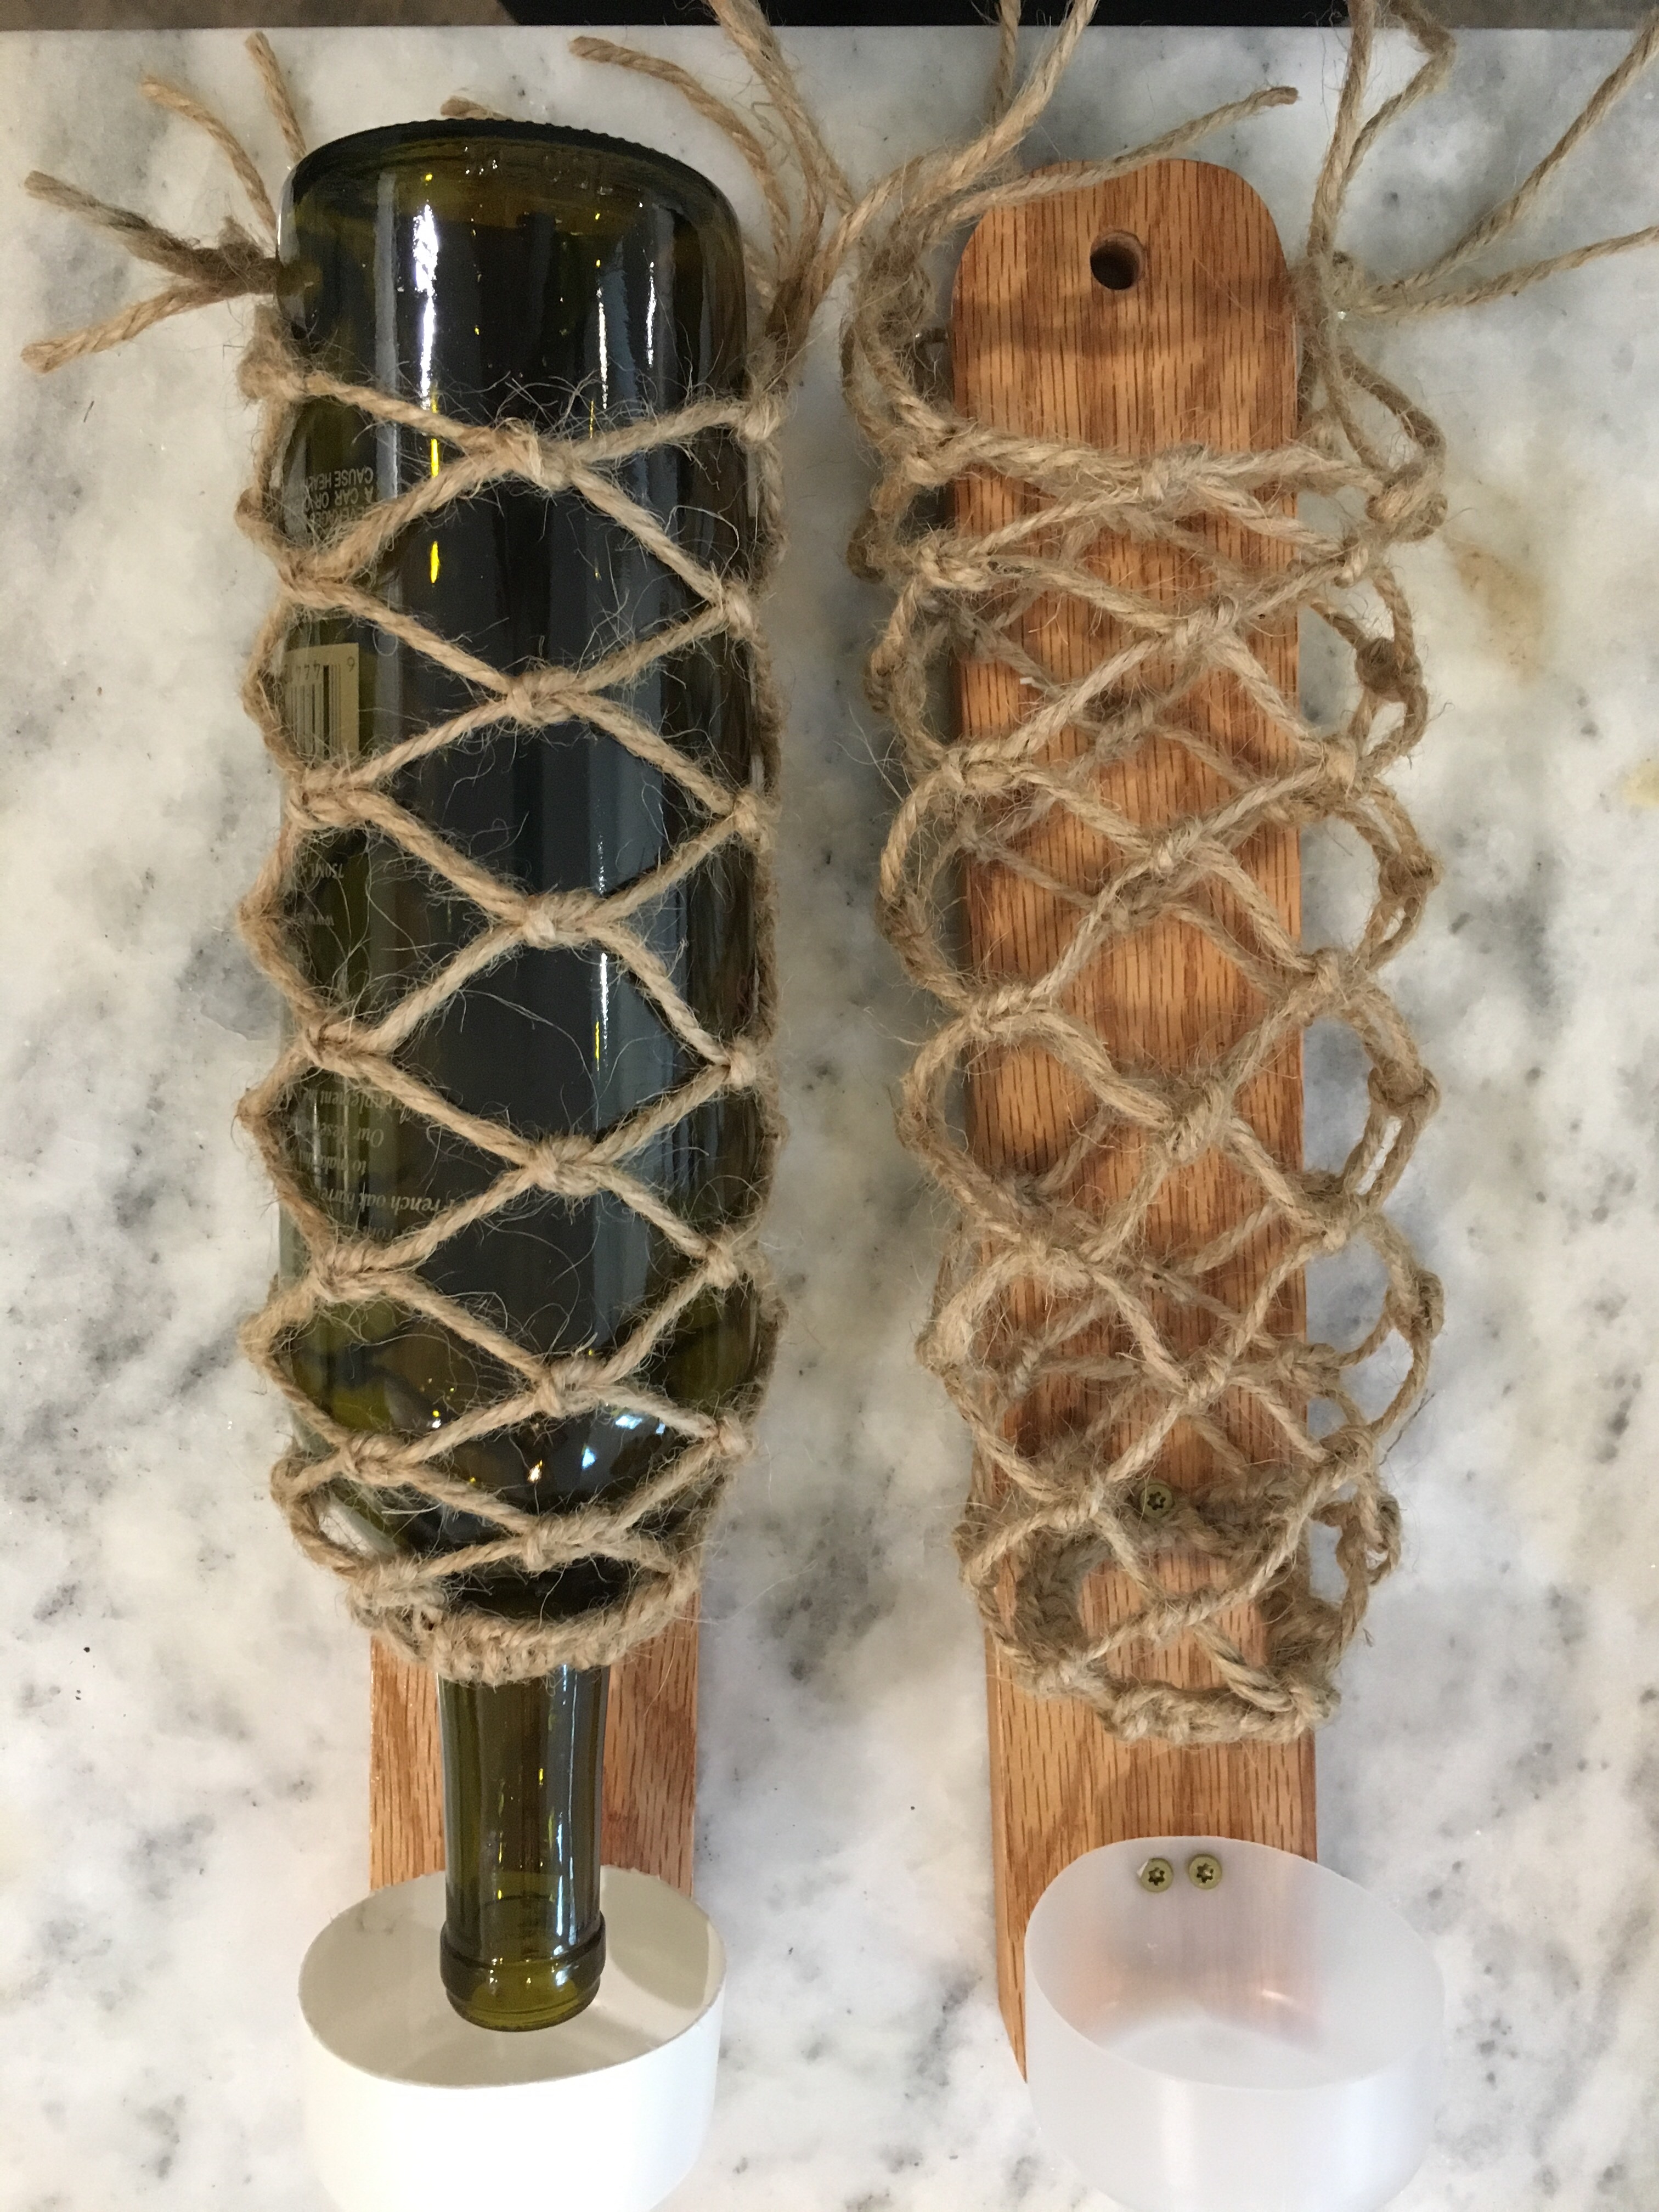
I knotted 13 rounds, which nearly covered the bottle (the netting will stretch, so I didn’t want it too long). I attached the netting and cups to pieces of oak board, attached screw eyes to secure the top of the nets, and anchored the bottom of the net with a screw.

Finished netting attached to oak boards with plastic cups

I secured the oak boards to the legs of the work table with screws at the top and bottom.

I filled the bottles using a funnel
I put a cork in the bottle before inserting the bottle into the net

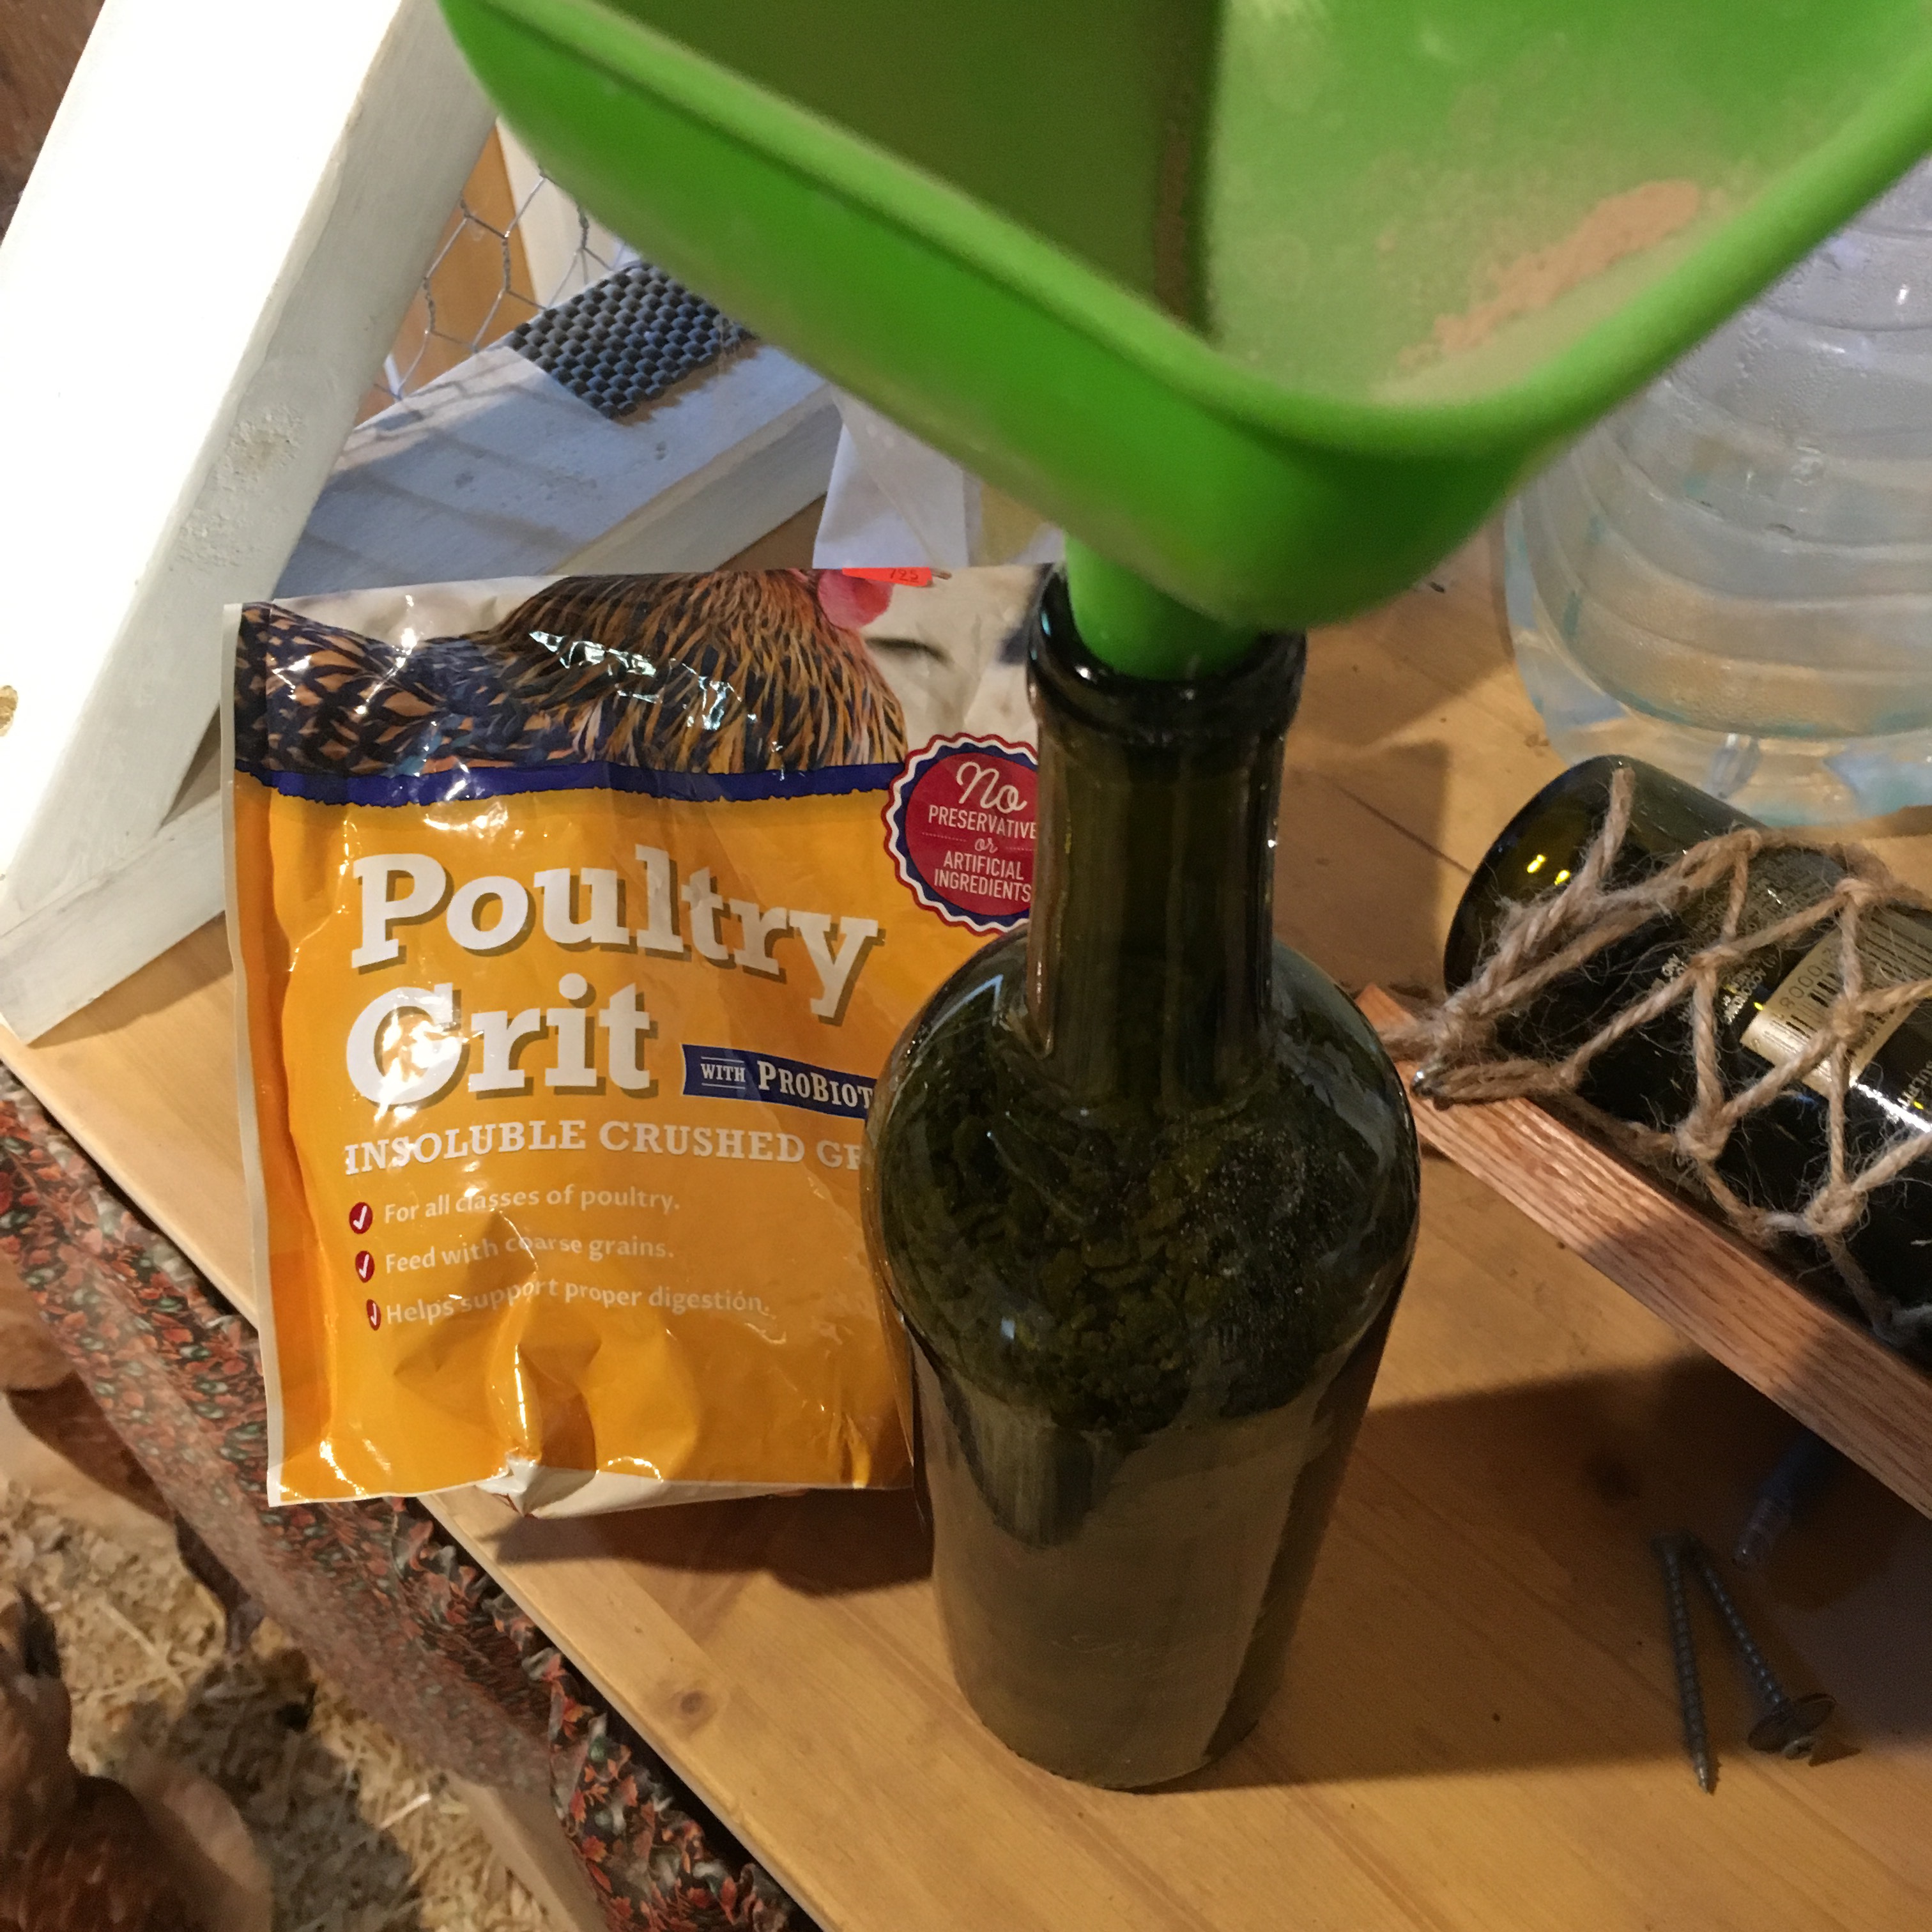
Putting a bottle full of grit upside down is a recipe for disaster, so I put a cork in until I had the bottle in place, then took out the cork so the grit could pour into the cup. Then, yay! The dispensing stopped when the cup was full. Phew!

Completed grit dispenser
Completed calcium dispenser

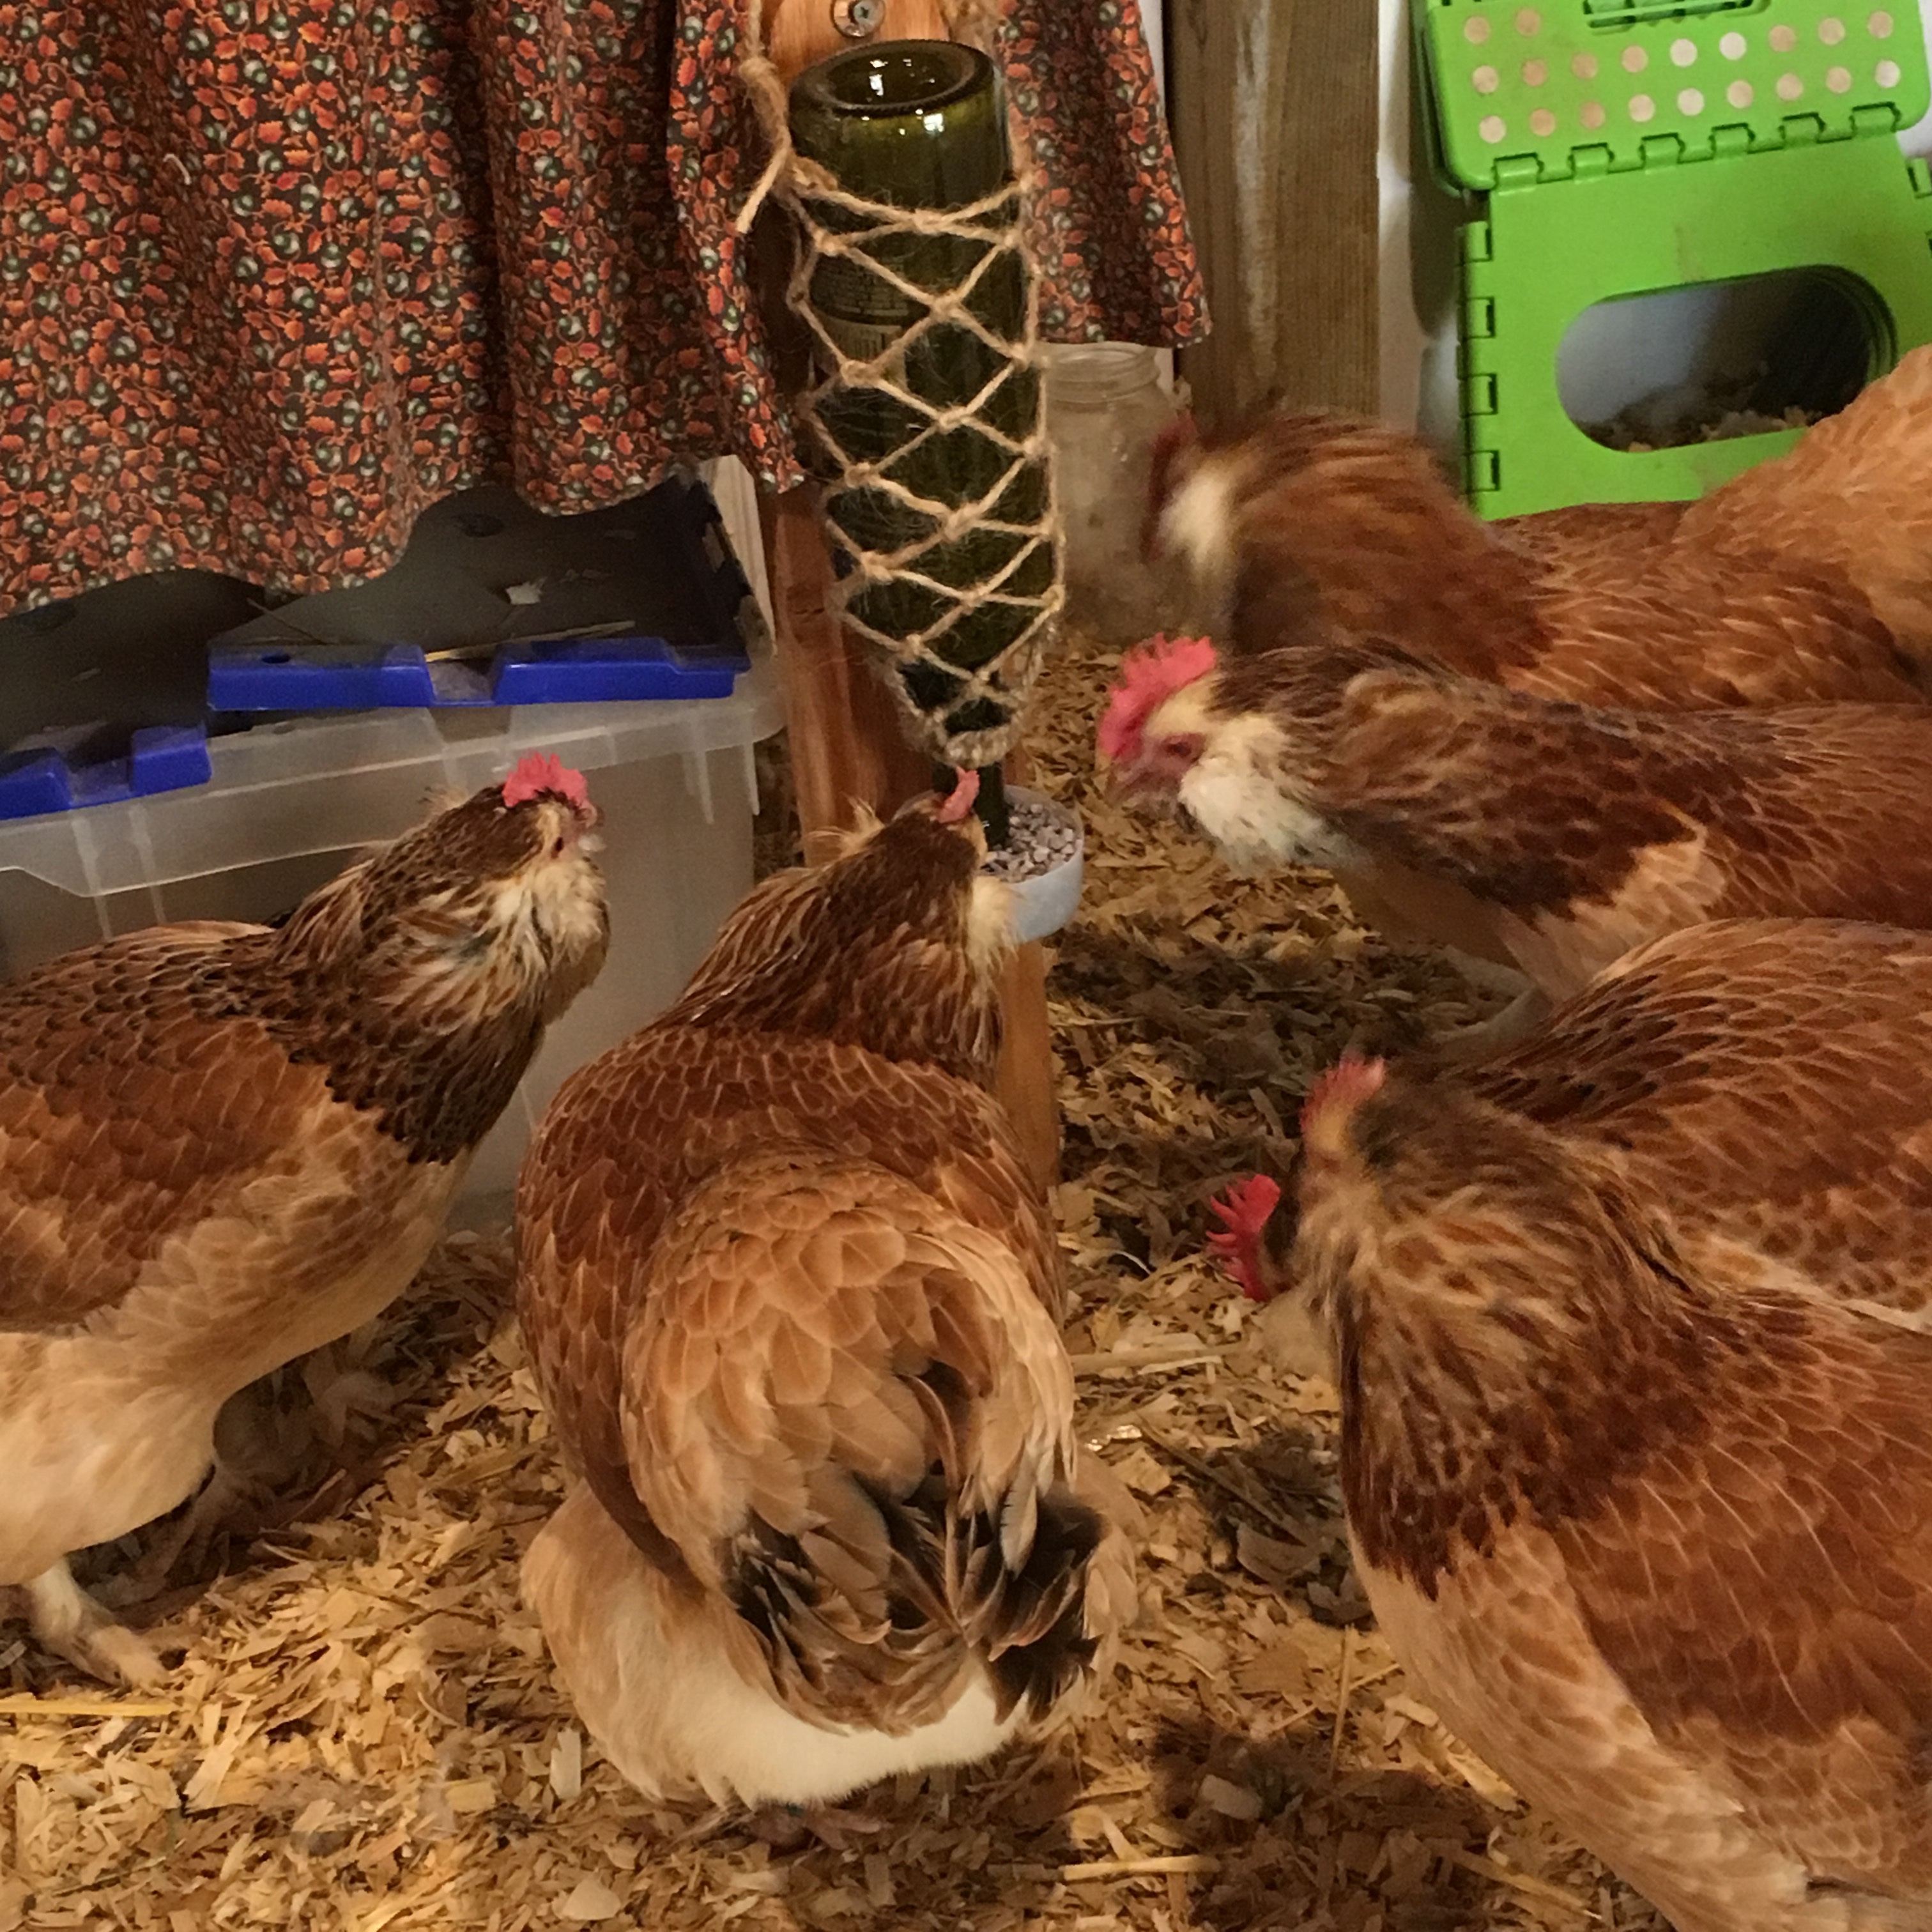
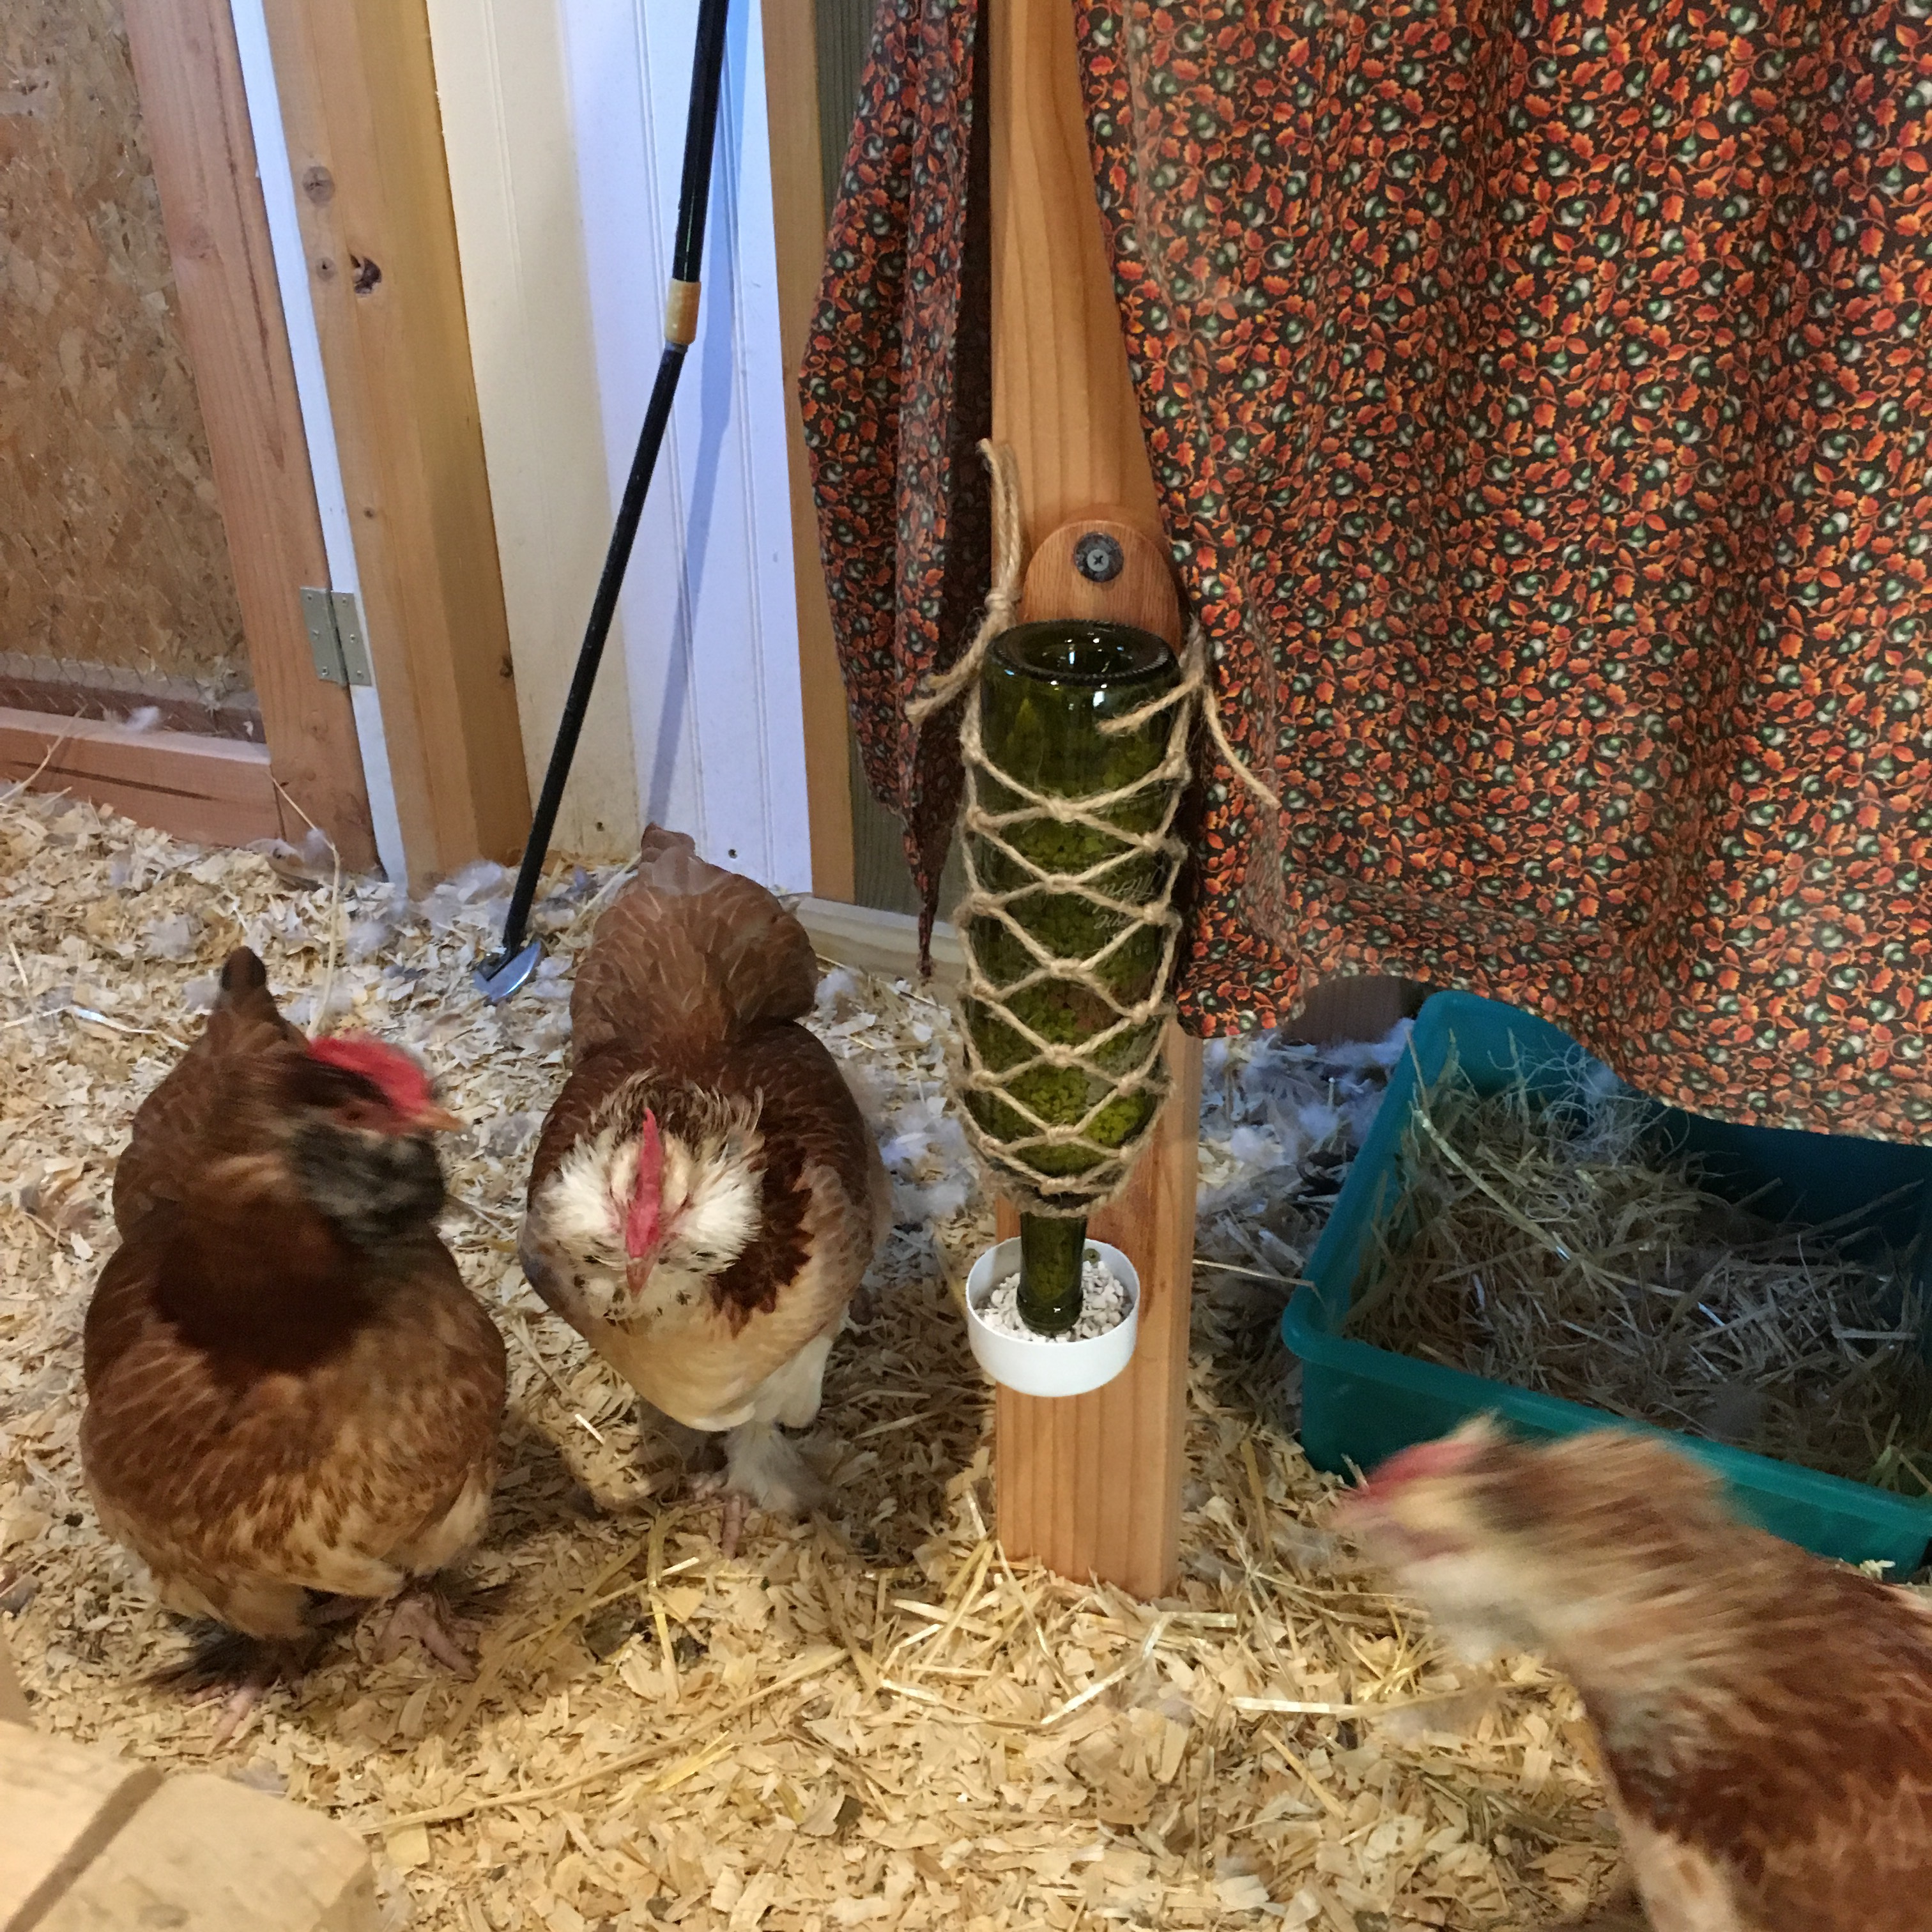
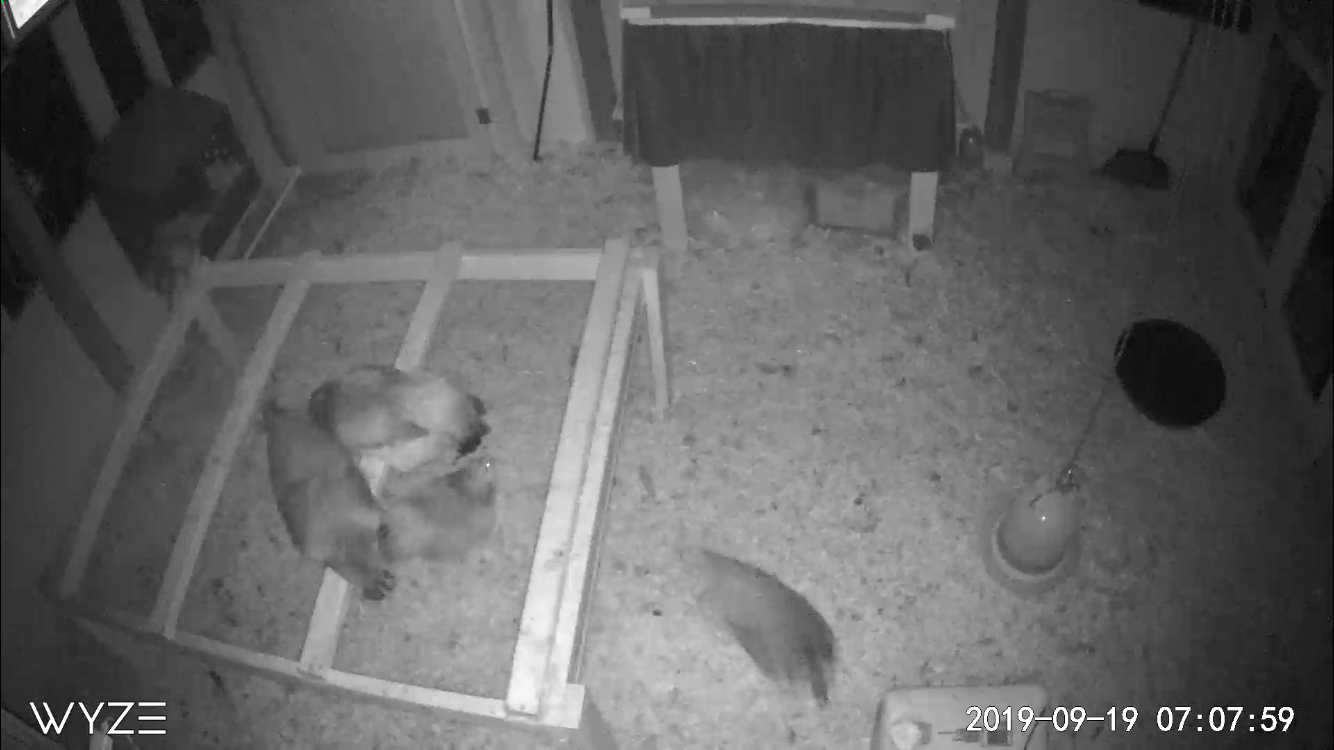
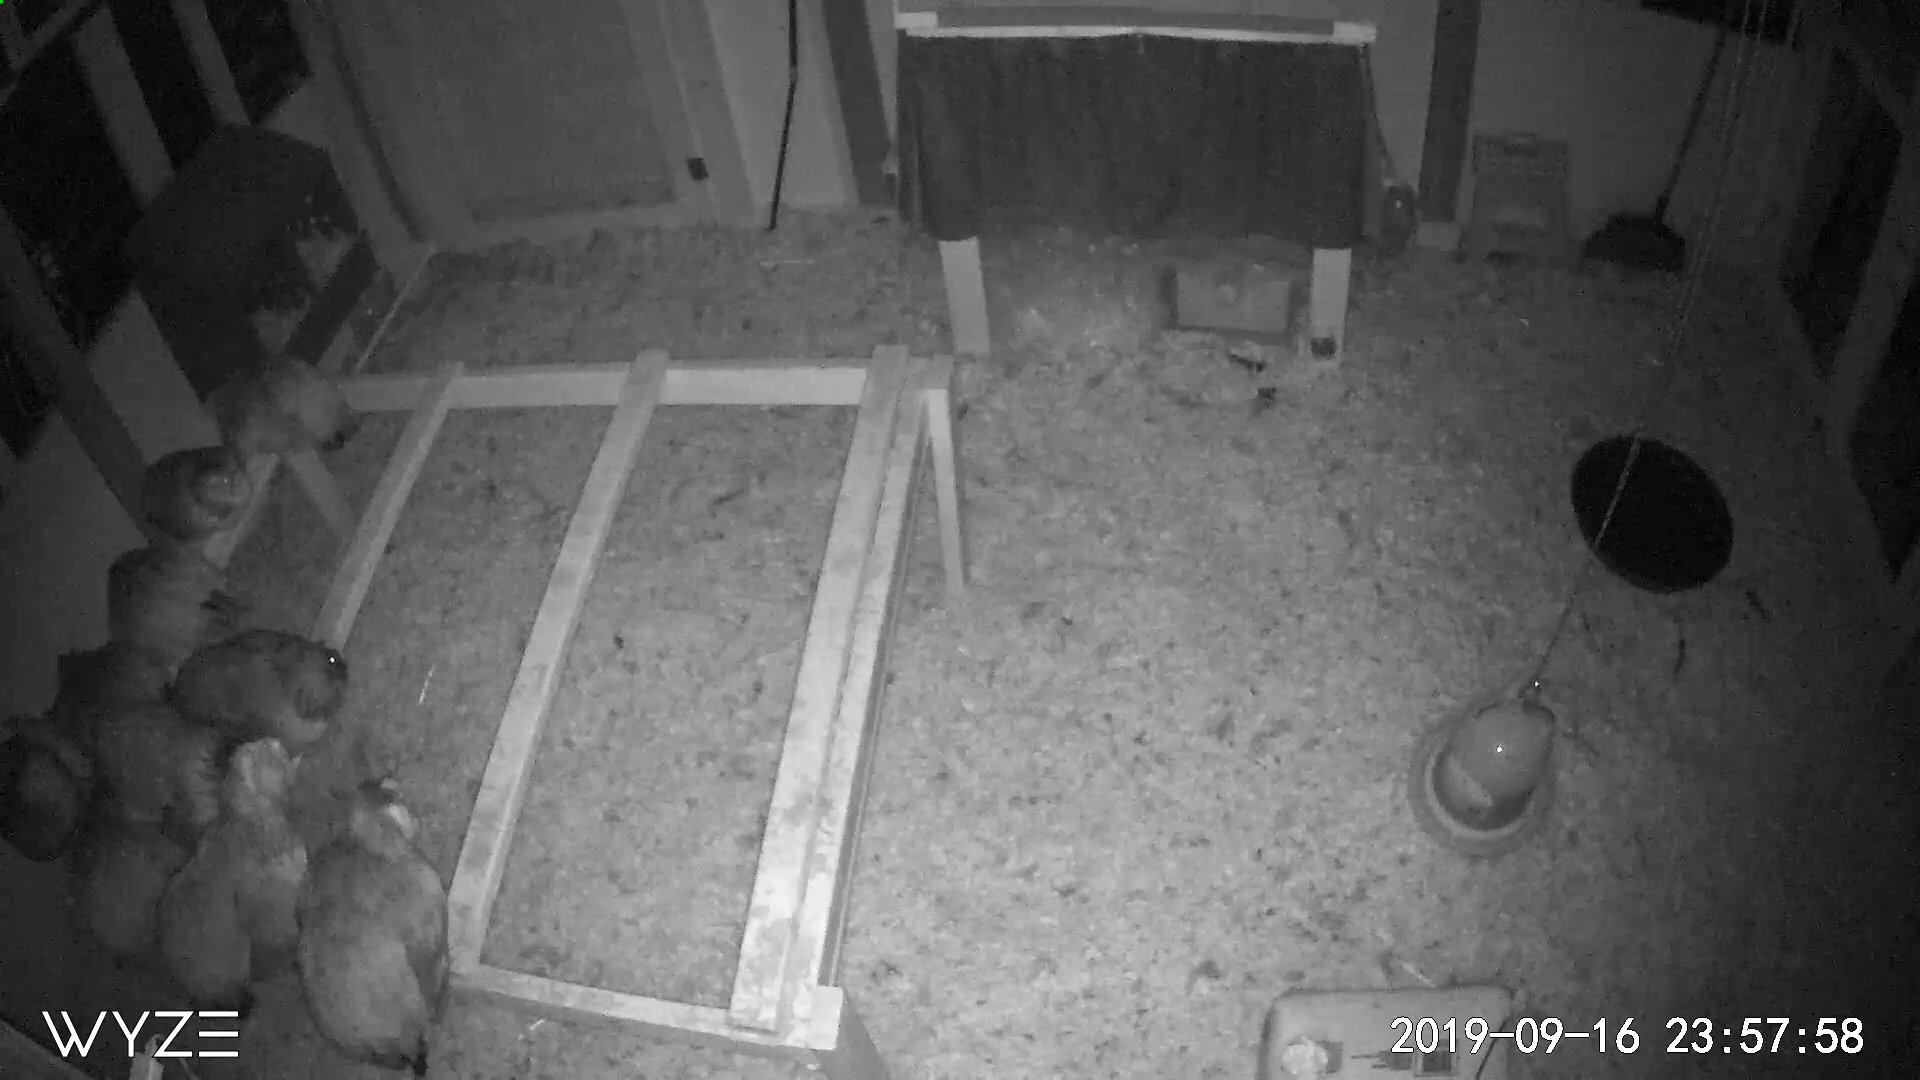
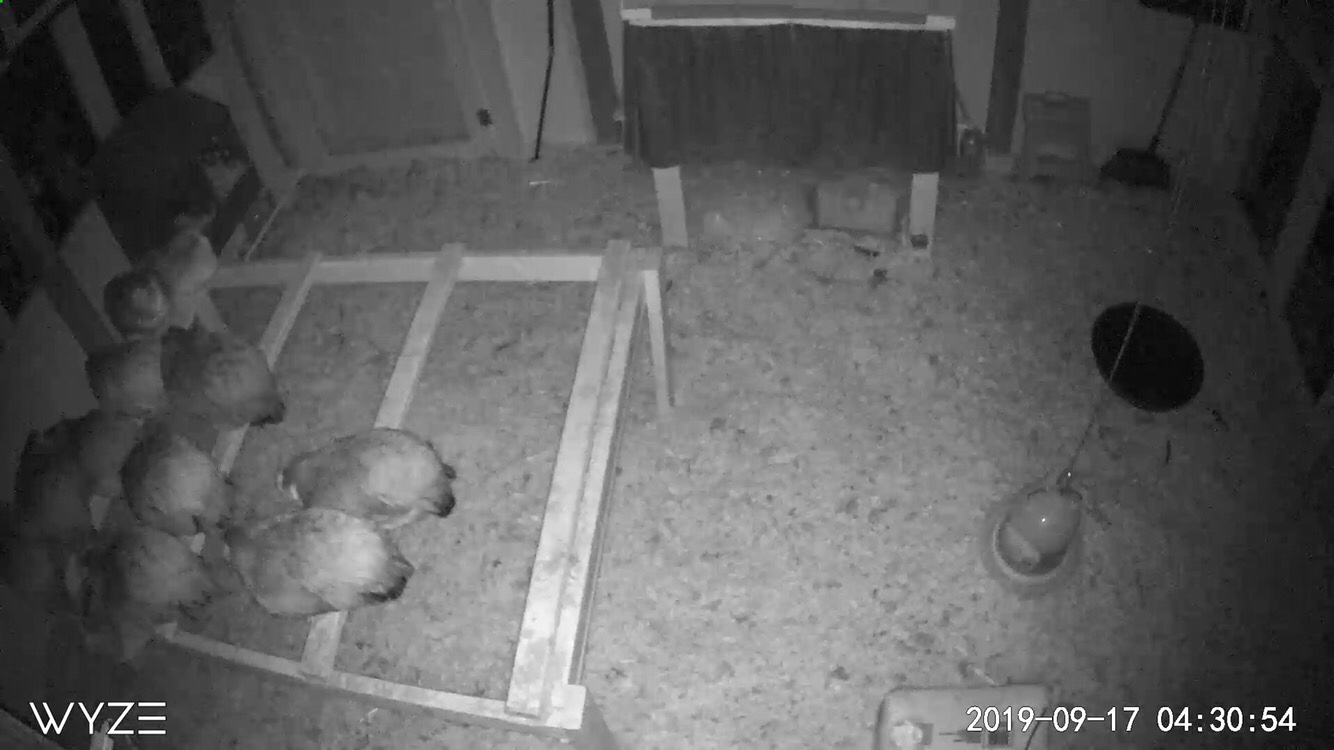
It is nice to have a DIY project appreciated by the recipients.

Coop clean out

We decided to clean out the coop because we haven’t since the chickens took over the whole space.

Carrying of pine shavings by the bucketful

At first the chickens were wary, but as we progressed, carrying more and more things out of the coop, they freaked.

Freaked out chickens

Tigger did something to hurt her feet, probably when she was flying wildly about, so we locked them all in the run so they couldn’t cause themselves more damage. Next time, we will start with them locked in a run! Live and learn.

Confined chickens
All swept up

We swept up all the pine shavings and dust and feathers, put some down as mulch where I am trying to suppress weeds, and the rest went into the compost pile. We then had to do a little rearranging. The metal nest boxes needed to be moved so the back door opened properly (my math missed the perch, sigh). Then we moved the washed and sanitized roost back in. Everything got a good dust of diatomaceous earth, then we put down four bags of pine shavings. Yikes. The chickens eventually calmed down. My youngest made an egg foray into the coop, only to find no eggs. Darn it.

Tigger was struggling still, and just sitting in the back of the coop, so we tried wrapping her right leg. She did not like that at all, but can’t get to the bandage, so we’ll leave it on a bit to see if it helps. We could not identify any obviously broken bones, so we hope rest will help. I put her in the cleaned out isolation ward with the food and water lowered so she could drink and eat while laying down.

Isolated Tigger

In happy news, Navi has gained weight, but her crop is large and squishy again. Sigh.

Teaser apology

Here is the video of the chickens actually leaving the coop. At least I hope it is. I’ve trimmed and uploaded it five times, messed with it with four different apps, and finally went back to the original and only used the YouTube trim option. Interesting that a video trimmed in iMovie, then trimmed again in YouTube gives a completely different 40 second clip. Did I say interesting? I think I meant frustrating. So sorry for that little teaser in my previous post!

Chicken cam

Yes, we installed a chicken camera. No one reading this is probably surprised we did, but I do feel a bit of chagrin at installing the tech in a coop. But, you see, my youngest’s favorite YouTuber has a camera in their coop and they could see when the chickens were in the nesting boxes (still no eggs here). My youngest doesn’t go out to the coop at all right now, so it is a way for her to see the chickens, and maybe get more comfortable with the idea. And I had points.

Still peering around (from the glint of their eyes) near midnight

Now I can finally see the chickens sleeping. Is that weird? I’ve never really seen them sleep. As chicks they would always get active whenever I went into the coop, and it hasn’t changed as they get older. But they don’t seem to really sleep until the wee hours of the morning. At midnight they are still peering into the darkness. Huh. The secret life of chickens revealed. Sort of.

Finally asleep

Upgrading old nesting boxes

After seeing nesting boxes for sale on the corner on and off for months (we are in the country), I finally broke down, stopped, and bought a two seater from the nice gentleman selling. It is a vintage nest box, bordering on antique, but I was having trouble formulating my own plans and I had a moment of weakness. The man assured me that even large breed birds would be able to fit in the boxes, but when I got it home and measured it I was unsure. The recommended size for large breeds is 12x14x12. These boxes were 9x13x10. Um.

Scrubbing down vintage nest boxes with bleach

I figured out that I could make more room by dropping down the front panel a couple inches. I drilled out the rivets and scrubbed the box with bleach soft scrub (who knows how many chickens used this before!!) The boxes were designed to have an egg portal in the back for collecting. In my coop this isn’t practical, but the wire bottoms are extremely sturdy, so I scrubbed them too.

More scrubbing

Taking apart the box revealed that there was more rust. After the box dried, I used cold galvanizing spray to give the whole thing a coat of protectant. Most paint will not stick to galvanized metal, but this seems to have done the trick. I also gave the wire bottoms a coat of black rust stopping paint.

Sprayed with cold galvanizing, which results in a coat of zinc over the metal

Even though the front edge is rolled to provide purchase for chicken feet, I still felt I needed a landing spot about 8” out from the box. I put 1” x 3/4” strips on the inside and outside of each of the three sides. The outer strips were longer to hold a dowel. These strips also helped stabilize the bottom of the box, and serve as support for the wire bottom in its new position.

Wood stabilization and roost rack

Riveting the front panel back on was simple, but I did need my husband’s help on the final squeeze to break off the rivet wire. The riveter is definitely made for larger, stronger hands.

Upside down garden tool rack

In the coop, I found that the nesting boxes could hang well on an upside down garden tool rack attached to the stud. I put in a couple more screws just for security.

Installed nest box

The perch to get onto the boxes is below the level of the roost, I put straw in each box and a little DE and dried lavender, and the opening is a little larger than it was before. So we’ll see if they use the boxes… in three months or so.