My youngest’s favorite stretchy jeans developed a couple holes that needed mending. I asked her if she wanted a colorful woven patch, or flowers. She said striped clouds. Um. Ok. Hm. That isn’t in my bank of mending pins on Pinterest, but I’ll give it a go.
Photo description: pin sized hole in knit jeggings, backed by a jar of cream I used as a darning tool
I tried outlining a cloud, then filling it with stripes of chain stitch. The outlining was meh, but the chain stitch was surprisingly well suited to the stretchy material, and it grabbed the edges of the hole and pulled it closed.
Photo description: white thread used to make a striped cloud with outlining
For the second hole, I didn’t bother with the outline.
Photo description: cloud stitched with white thread using a chain stitchPhoto description: picture showing both visible mends on the leg of the pants
The stitches do look better from a distance, more cloud like. I would use a chain stitch again for visible mending on stretchy material. Spirals might be nice.
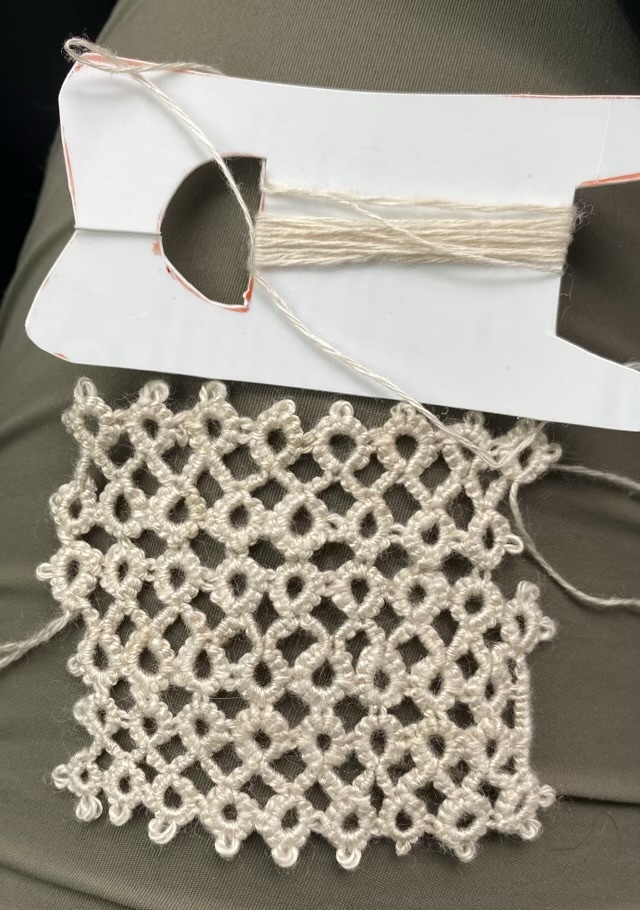
I decided to make a tatted swatch with my hand spun mint infused yarn. This is definitely the longest time I’ve ever spent on a swatch, all those little knots. I can attribute some of the unevenness of the knotting to variations in spin thickness, but my plan of attack also needs some adjustments. I tried making the first turn from row 1 to row 2, which turned out wonky. For row 3, I ended row 2, and started row 3 separately then joined it to row 2, which worked better, but still isn’t balanced.
Photo description: tatted square with uneven sides
I understand now why tatted doilies are worked in closed rounds (I don’t like cutting my ends, so have been resistant), and why running lace is popular. My next tatting example for my swatch book will be a length of lace rather than trying another square.
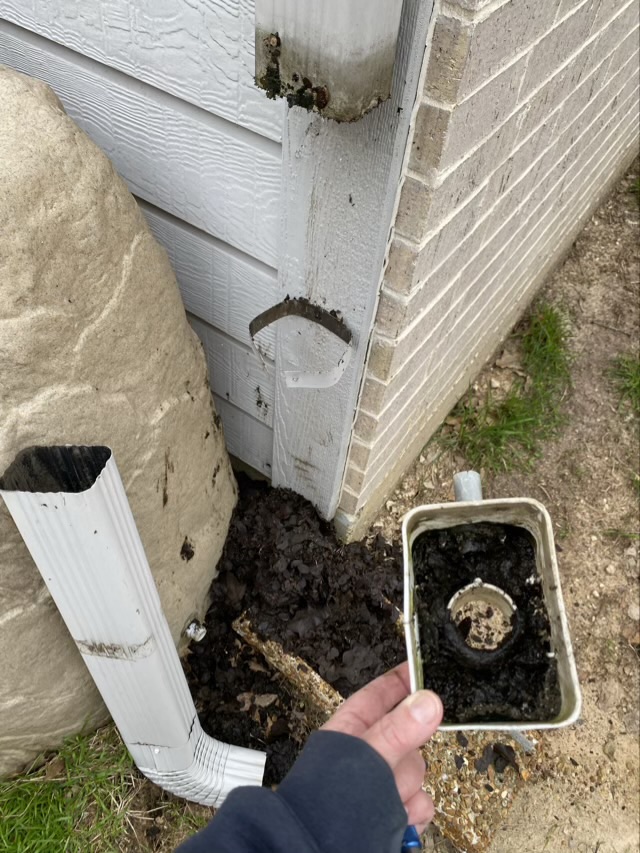
I’ve known for a while that the downspout diverter for my rain barrel wasn’t working. My rain barrel wasn’t filling, and even when it did the algae growth was so vigorous that the barrel wouldn’t drain. The design of the “barrel” mimics a giant rock, but there is no way to get in and give it a good clean, so the system sat until I could formulate a plan. Then I noticed that the soil was washing away from around the barrel. Hm. When it rained, no water was going down the spout. I took out the diverter and found an entire tube full of dirt made from decayed leaves and roof tile grit.
Photo description: failed plastic diverter (bottom right, rock rain barrel (left side), unassembled downspout (middle), and about 10 gallons of dark dirt (bottom middle)
I reassembled the downspout without the diverter and spread the new dirt where the rain had washed away the soil. I found it interesting that there was enough to fill the space.
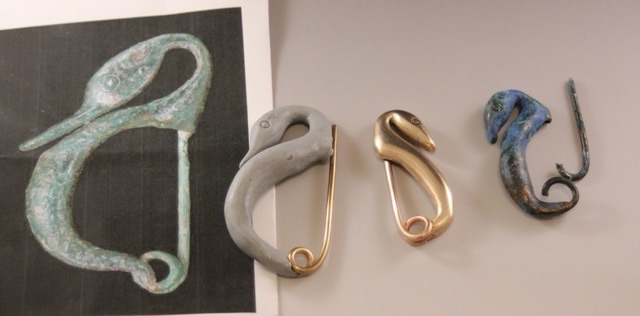
Here is an example of a picture without a thousand words from January 2013. As I was going through my album looking for Throwback posts, this almost didn’t make the cut because I didn’t leave myself enough information.
Photo description: printed image of an ancient bronze fibulae, clay model with wire spring, polished bronze clay fibulae (new), mystery fibulae (made by me)
At the time of the photo I was still experimenting with metal clay. My sister is an ancient historian and I suspected this was a project for her, so I pinged her for confirmation. She provided the name “fibulae” and an interesting article about their findings and use.
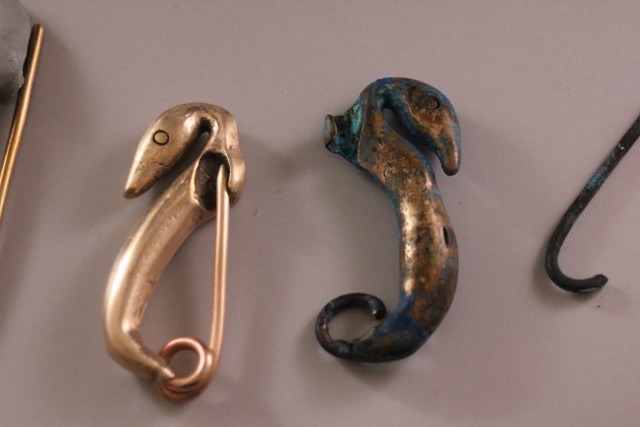
I can tell from my photo that I had a museum photo as reference, and I made a model with less expensive polymer clay, that looks more swan-like than my reference photo. The middle polished bronze clay fibulae I obviously spent more time on, but I’m not sure if I fired the clay with the wire in place or epoxied it in later (I’m already not using ancient foraging techniques, since I’m working with modern metal clay.) The last fibulae on the right is what raises the most questions. Did I not polish it? It is the same shape and style as the bright bronze, so I’m sure it is my work (my replication skills are not finely honed, especially then.) Did I try to antique it by adding patina, or is this how it came out of the kiln? Did I make this before or after the bright bronze fibulae? I have a feeling that I fired it with the wire in place and either the firing or the antiquing weakened the metal, causing the breakage. Did I do it on purpose? So many questions.
Here is a picture of the back, which answers the question of how the pin fastens.
Photo description: back of modern-made bronze-clay fibulae showing the pin pocket
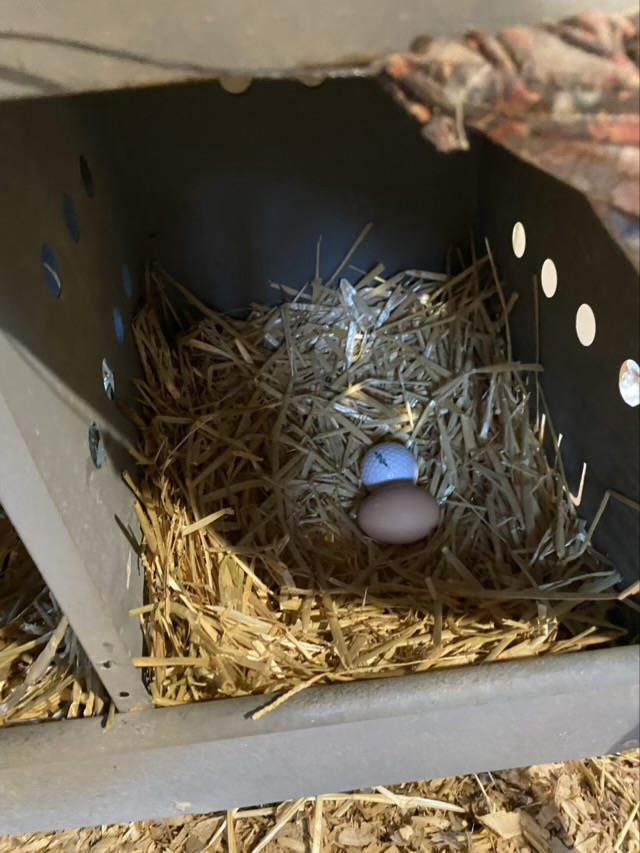
Wing ding the Black Star hen has started laying again.
Photo description: metal nest box lined with straw with a golf ball and egg
This is a really good demonstration of the difference between a good layer and fair layers. My Faverolles stopped laying in September and I’m not entirely sure they will ever lay again. They are coming up on their sixth year and their winter egg break keeps getting longer and longer. Even when they are laying, it isn’t every day, but closer to every other day. Wing Ding lays nearly every day. So if you are going for egg production, get a good layer. If you want sweet docile chickens and aren’t as concerned about egg production, then get Faverolles. Know that Faverolles will also be at the bottom of the pecking order if you have a mixed flock. Our flock has everything worked out so that no one’s feathers are being picked to extreme, but they have plenty of space and food and places to hide.
I’m mostly excited the Wing Ding is now laying eggs in the nest boxes in the big coop. The temporary outside coop we set up when the flock was separated gets terribly hot in the summer.