No Cucumbers

I have learned something new. This in itself is not new; I enjoy learning new things and strive to do so often. What I learned about cucumbers surprised me, and made me realize how little I know about horticulture (this is also not new, the things I don’t know about are a vast expanse). I have learned that there are male and female flowers on a single cucumber plant. And, I learned how to tell them apart.

Male and female cucumber flowers

I have learned about this because I have three mounds of nice healthy cucumber plants, and no cucumbers. Nada. Zip. I thought a cucumber was developing, but then it withered away. It turns out that what I saw was the unfertilized stem of a female flower. The female flower has what looks like a tiny cucumber behind the bloom, the male flower does not. My plants have many, many blooms, but the usual pollinators are not visiting, maybe because they were all in the meadow with the wildflowers and these are closer to the house. Yes, we do have an exterminator come and treat the outside of the house, but not the yard or woods. I have seen bees in the meadow and in the front yard, but mostly just dragonflies and ground wasps around the cucumbers. So now I have a soft artist’s paint brush tucked in my egg apron so that I can pretend to be a bee and transfer pollen from flower to flower. Maybe we’ll see cucumbers before the vines die.
Grape vine Nal

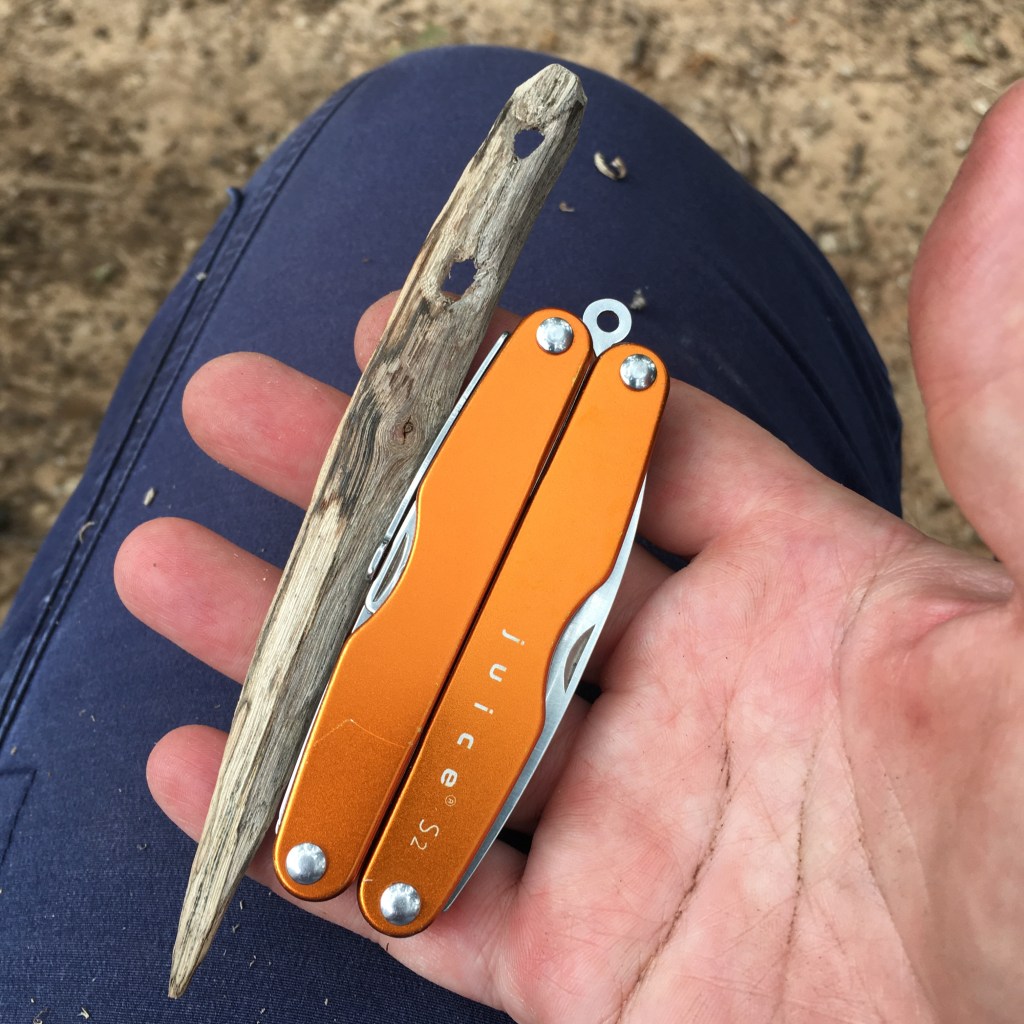
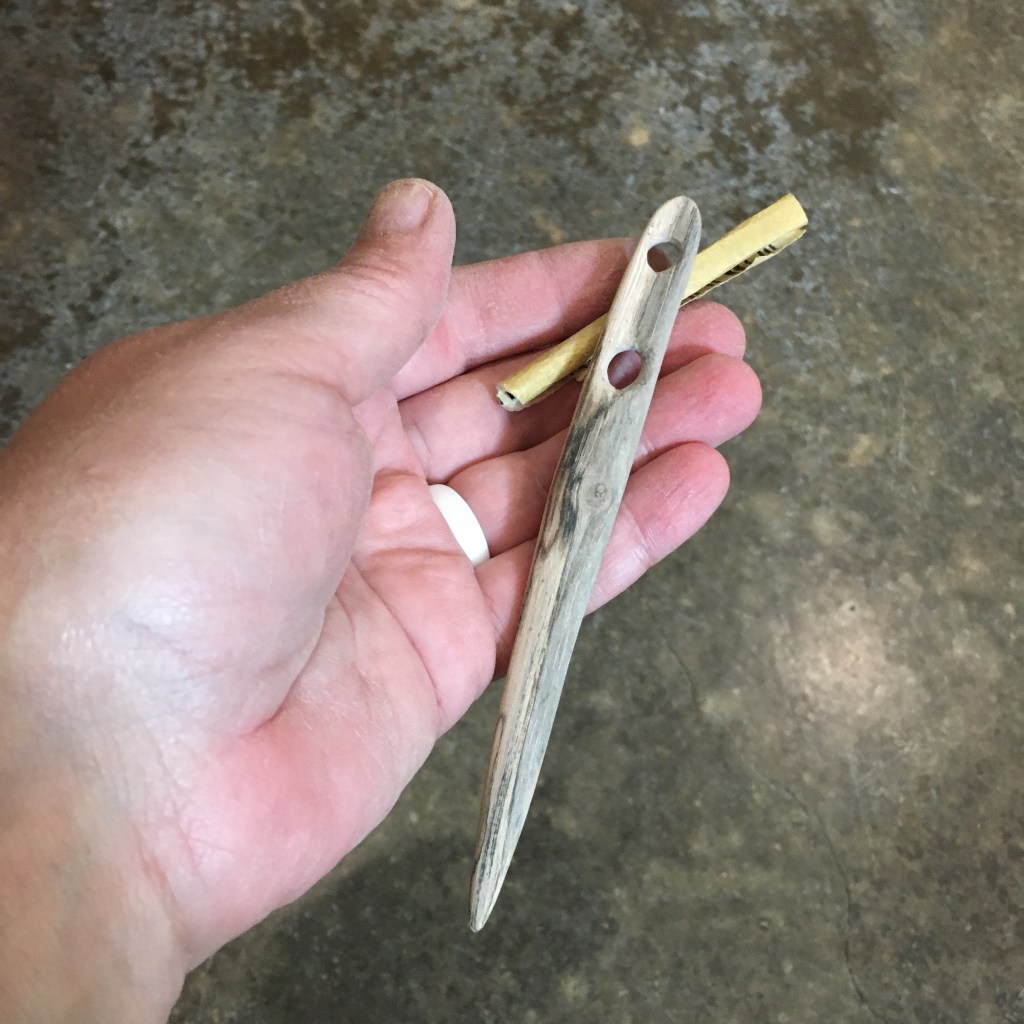
As we sat and watched the fire around the artist’s charcoal (see yesterday’s blog entry for more on that), I had extra lengths of grape vine stick, which happened to be a good length for a nålbinding nal. I had my pocket knife and decided to give carving a nal entirely by hand a try. Previously, I used a drill press for the holes, and a band sander for shaping. It was quite easy to carve the grape vine, and although it does have some flex, it is sturdy. I was able to carve out the eyes of the nal, which was the trickiest bit. I also added a channel along the eyes, which helps the loops of yarn pass through easily with the needle.

Grape vine nal, initial carving

After roughing out the shape with my knife, I took 120 grit sandpaper and refined the shape and the eyes. Then I used 220, 320, and finally 400 grit to smooth the wood. Rolling the sandpaper into a tight tube helped sand out the holes.

Nal sanded smooth

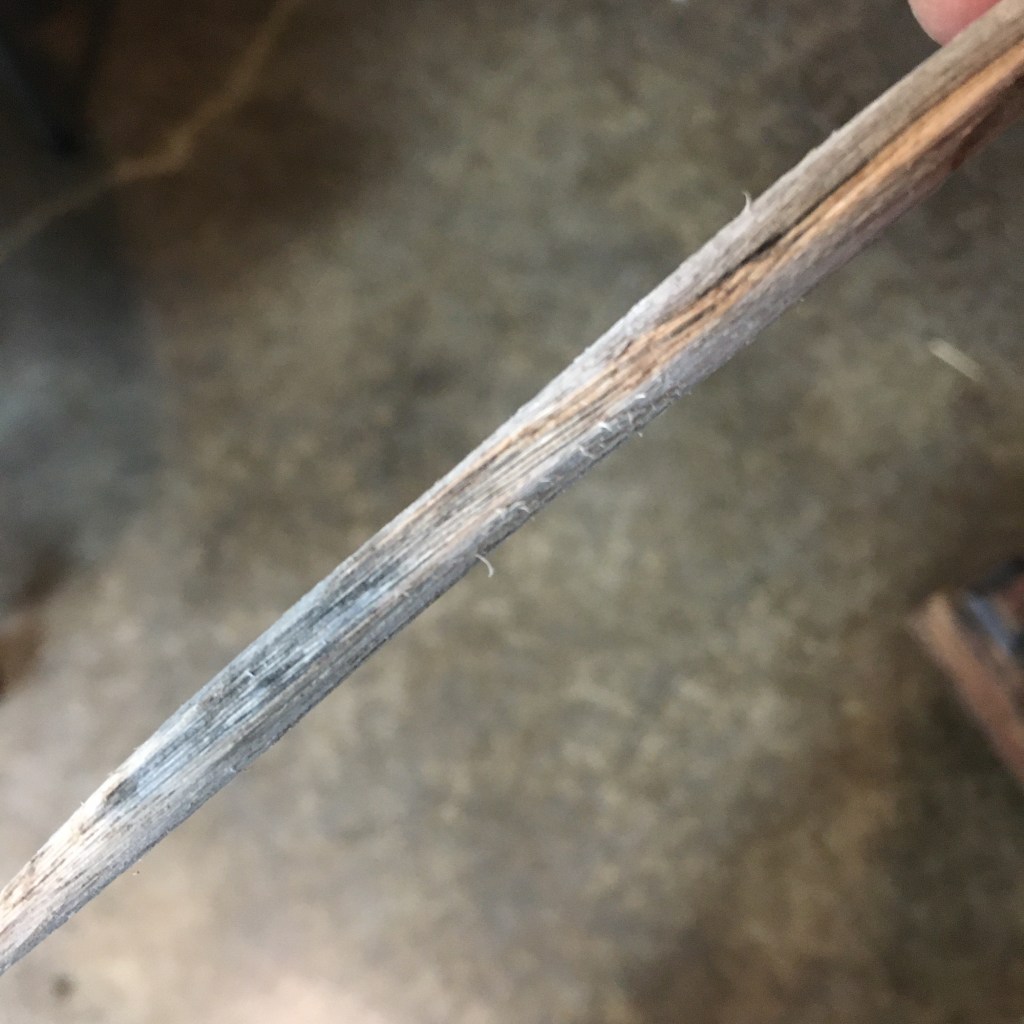
At this point I tested the nal with some scrap yarn and found that it had an unpleasant bump in the middle. I went back with the 120 grit and sanded out the lump, then smoothed it out again. To be sure I had all the wood fibers smooth, I ran the nal under water. This raises the fibers that want to raise, and is an important step in wood finishing, especially for hand tools. If this step is skipped, those fibers still raise, but do so when the sealant is applied. It is much easier to use water first. When the nal dried, I sanded again with 400 grit. It needed it! I repeated the water treatment, then I had a nice smooth nal.

Raised wood fibers after rinsing with water

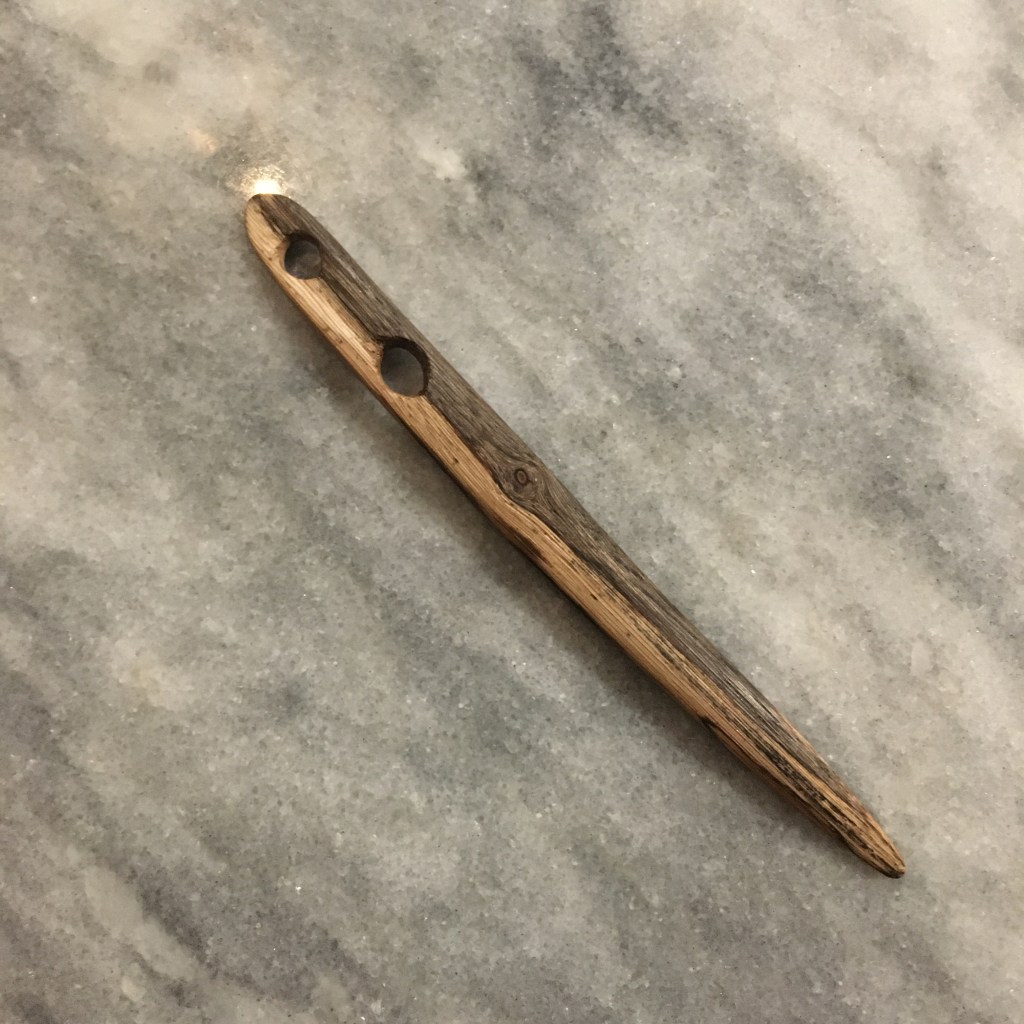
I usually leave my nals uncoated, letting the natural oils of the yarn and my hands condition the wood. Since the grape vine had so much raised fiber after the water treatment, I decided to apply a couple coats of teak oil to seal the nal.

Finished nal

The love the light and dark color of the wood and the slight curve!

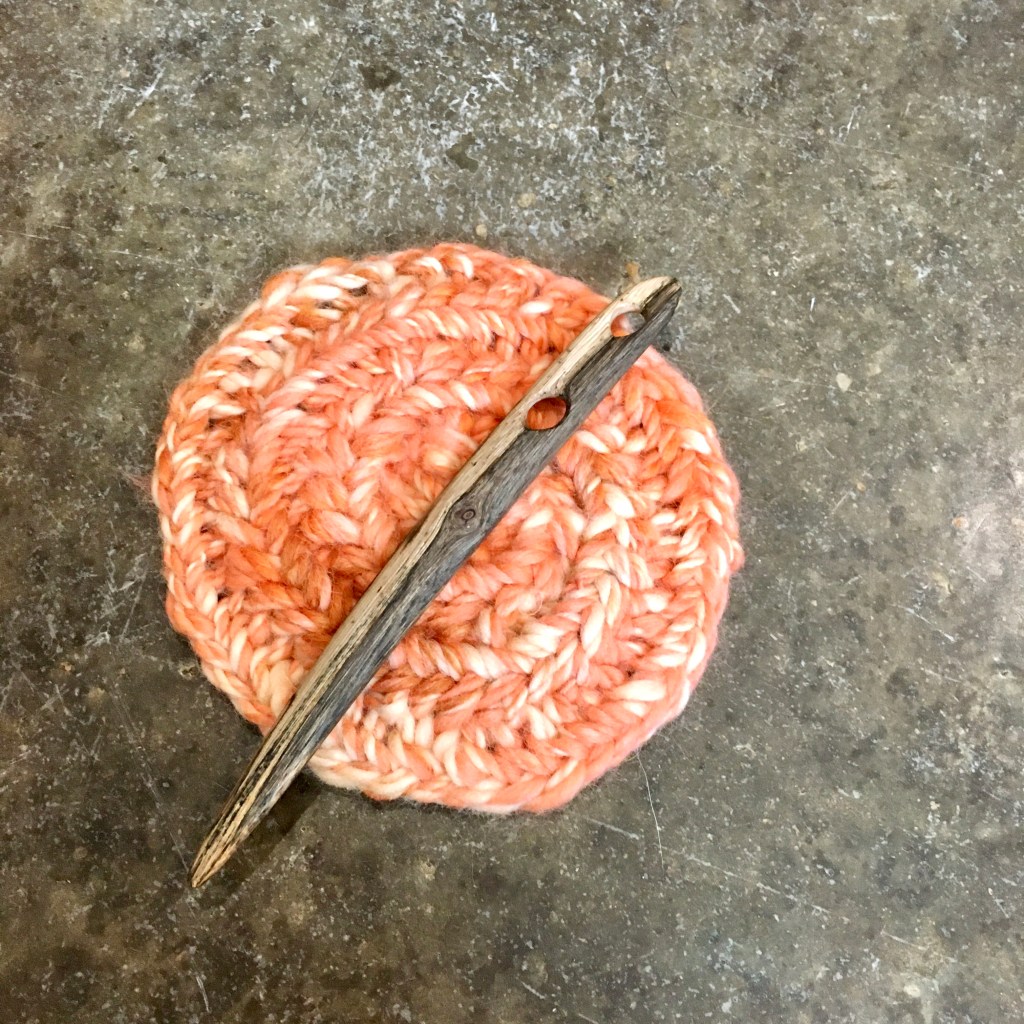
Test round with hand spun merino wool and grape vine nal, Mammen stitch

Artist’s charcoal

I have found a wonderful book: The Organic Artist: Make Your Own Paint, Paper, Pigments, Prints, and More from Nature by Nick Neddo. This is right up my alley! I haven’t read it all yet, but we had the opportunity to try making our own charcoal for drawing when I needed to make some wood ash for the dust bath for the chickens.

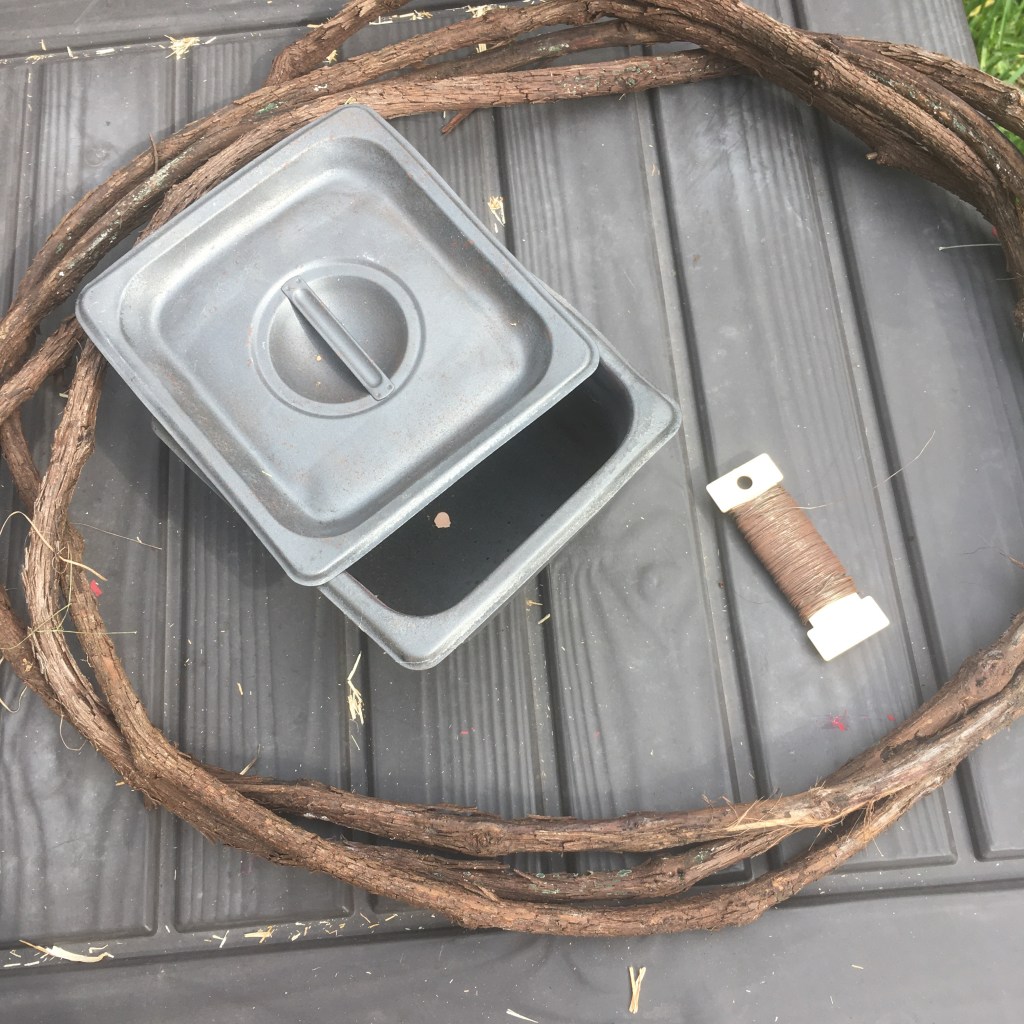
Grapevine, metal container, and steel wire

I had a grape vine wreath that I made over a year ago. It has been aging in the woods for awhile but was readily available for a new purpose. I also had a steel container that I used with my kiln that was a great shape for making charcoal (and it was already seasoned!) My eldest and I used pocket knifes to scrape the bark off sections of grapevine, and then we packed the container with the sticks and closed it securely with twists of wire.

Pocket knife and debarked grape vine

We used the bark shavings as tinder, and built the fire around the steel box. I love it when I can light a fire with one match (it helped that I also used a bacon grease soaked paper towel with the bark shavings). We let the fire burn down, then cool before we checked the box. The charcoal sticks were perfect! Solid black all the way through and a nice texture for drawing.

Grape vine charcoal (unprocessed sticks shown below)

I just had to try drawing with it, so I did a quick sketch of some grapes on the concrete (Nick Neddo makes drawings of the source of his art materials, so it seemed appropriate).

Grapes drawn with grape vine charcoal

Golf balls in the nest

A couple of months ago, I took all the golf balls out of my hens’ nests because we were seeing a series of broody hens. A few hens were sitting on only a golf ball and getting sassy about it! The golf balls have been in the nest since the chickens were pullets to show them where they should lay their eggs. Hens will look for the safest place to lay, and if another hen has laid an egg there, it must be a safe place. I took all the golf balls out to see if it would change their behavior.

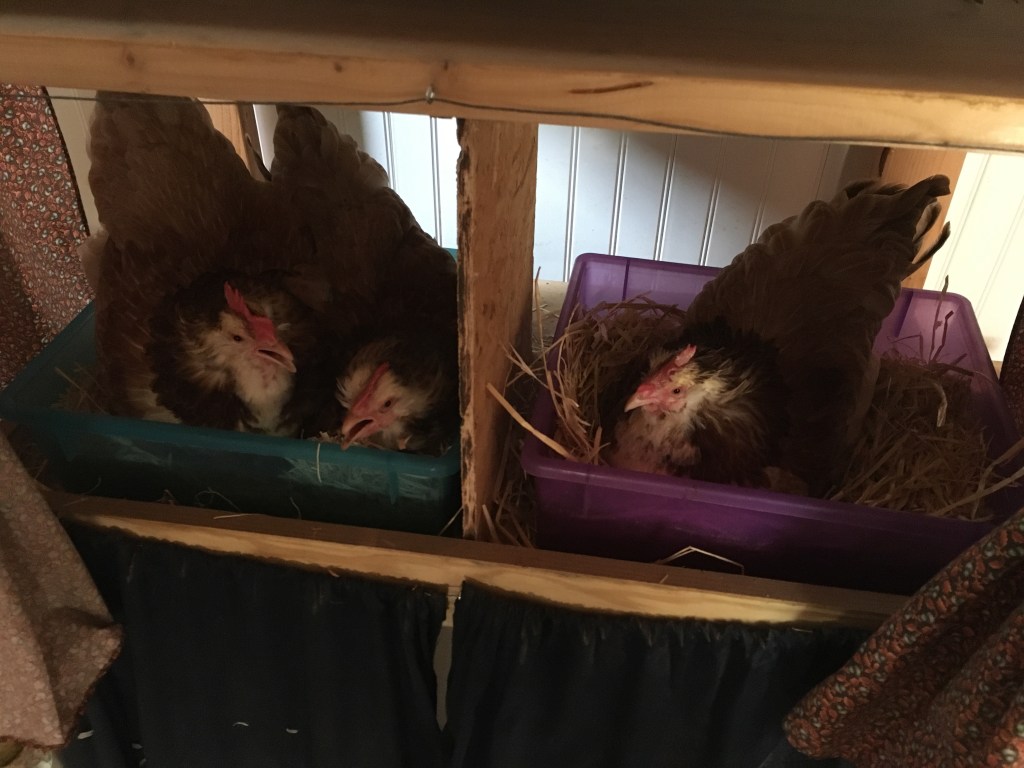
Two hens in one nest. Um no, girls.

I did see a dramatic drop in broodiness (where the hen insists on sitting on eggs), which could be because there were no fake eggs, or because it is summer and just too darn hot. However, several times I also caught a hen not waiting her turn for a nest, but just climbing in with her sister. Ugh. I’ve read that this is one way eggs get broken in the nest – overcrowding. The two nests pictured above are the two favorites. The other four nests have been completely abandoned. So I put golf balls back in the shunned nests to see if that will cure the doubling up, but not encourage brooding in a favorite nest. Time will tell.

Muddy Armadillo

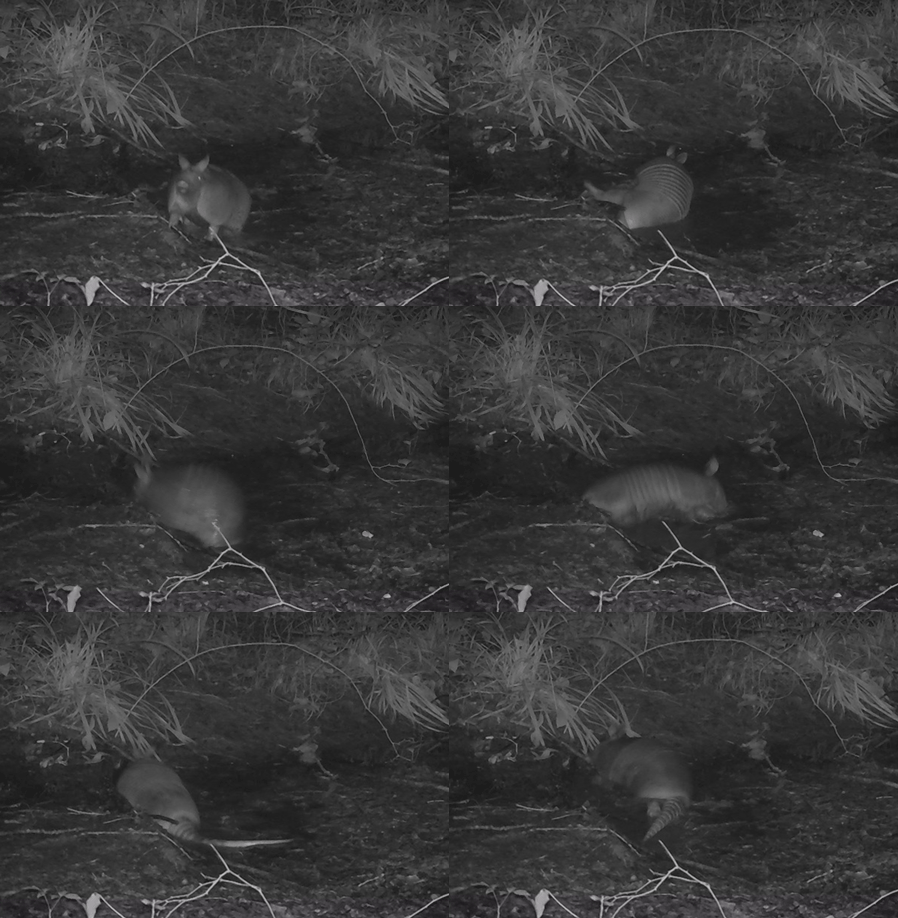
Did you know that armadillos like to roll in the mud? We found out when going through the trail cam photos after a long dry spell. Our little creek is now a streak of mud, and the armadillo loves it! I put together some of the stills into an animated gif so you can get the gist of the joy.

Armadillo rolling in the mud (animated gif)