Tapestry weaving bobbins

I have been weaving with my yarn tied into butterflies (not onto butterflies, which would be cruel and flappy, but the practice of looping yarn over two fingers and tying in the middle resembles a butterfly). They are easy to tie and require no additional equipment. For the most part the yarn management is easy, until near the end when you either have to retie the butterfly or deal with a long end. After looking through my book and magazine, I decided to make some tapestry weaving bobbins.

I chose mesquite because I had some scrap laying on my bench. I used the band saw to cut square dowels about 6 inches long and about 1/2 inch in diameter. The scrap from this looked useful, so I also made some small yarn shuttles.
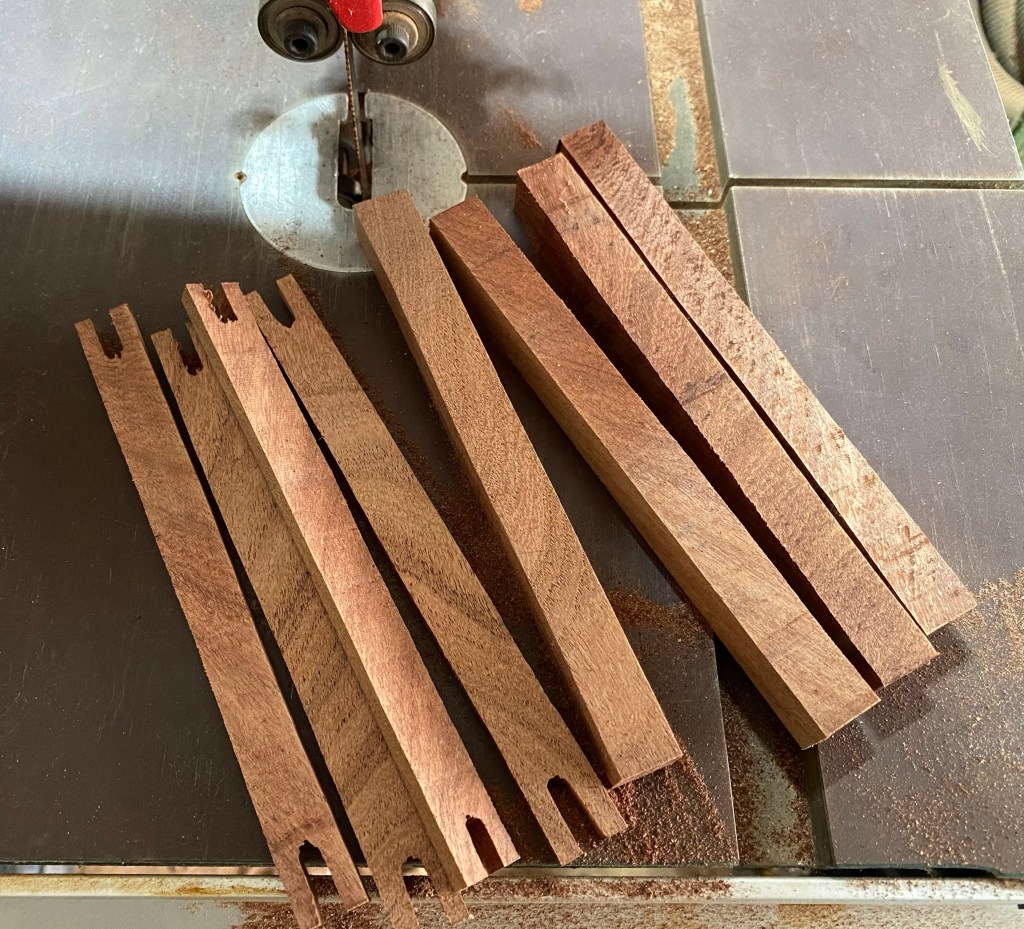
Mesquite cut into blanks on a band saw

Then I moved on to my band sander to shape the bobbins, and smooth the shuttles.
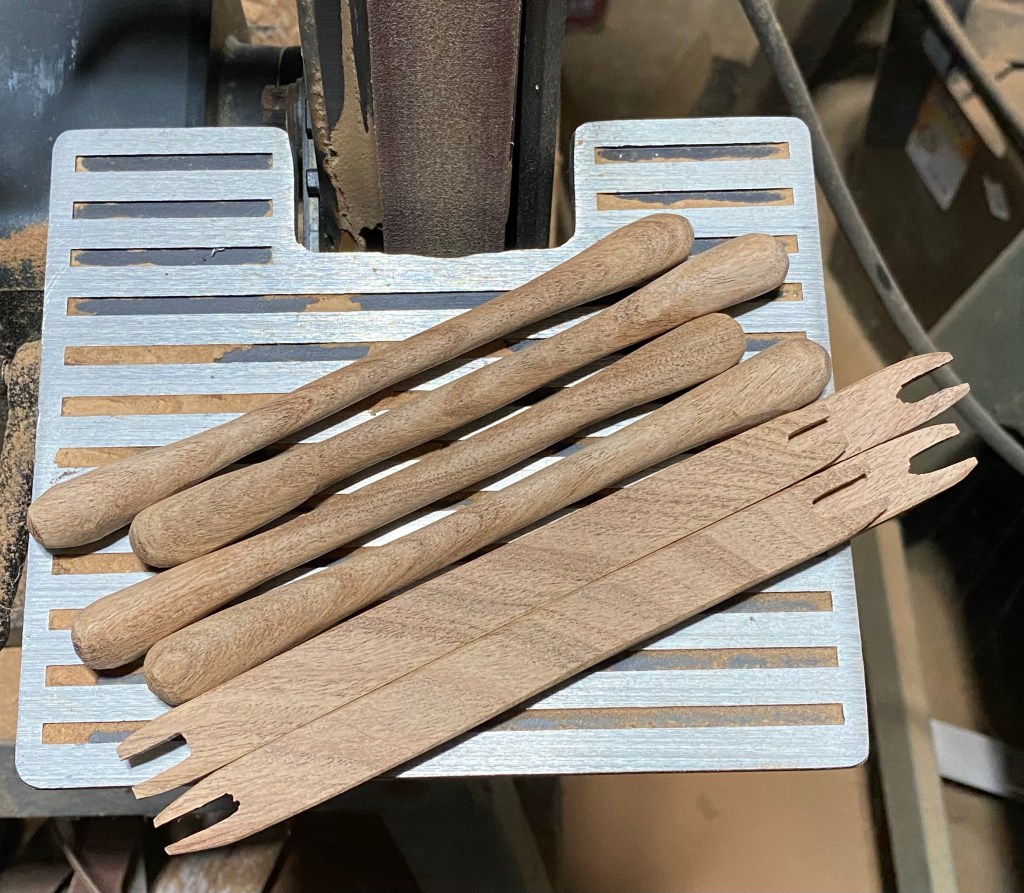
Bobbins and shuttles shaped with a band sander

After roughing in the shape, I hand sanded all the pieces down to 400 grit. I have not finished them yet, as I am not sure they are at their final size (and I really wanted to start using them, and not wait for tung oil to dry!)
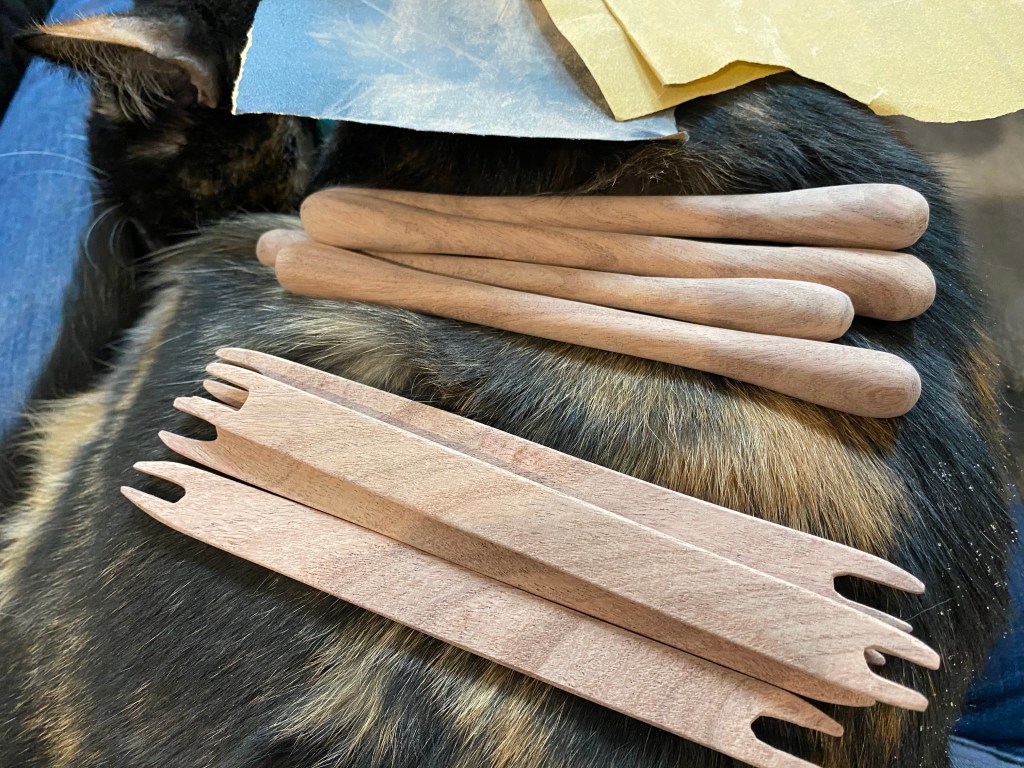
Hand sanded bobbins and shuttles and a cat who insisted in lap time even though I was sanding

I am pleased with the shape and feel of my bobbins. They could have been more regular if I turned them on a lathe, but I still haven’t secured my lathe in the rearranged garage, so this will do. Hand shaping has given them an organic feel, which is nice as well.

Interesting to note, I will have to be more careful when working with mesquite in the future. Like wearing a mask when I’m sanding, even if I only think it will take a few minutes (wear your dust mask kids!) After sanding I felt light headed, and the next day I had a headache. This is not my first wood sensitivity; I’m outright allergic to walnut and can’t work the wood at all. I did find a nifty chart with wood allergies and toxicity here (https://www.wood-database.com/wood-articles/wood-allergies-and-toxicity/), which lists Mesquite as sensitizing. So there you go.

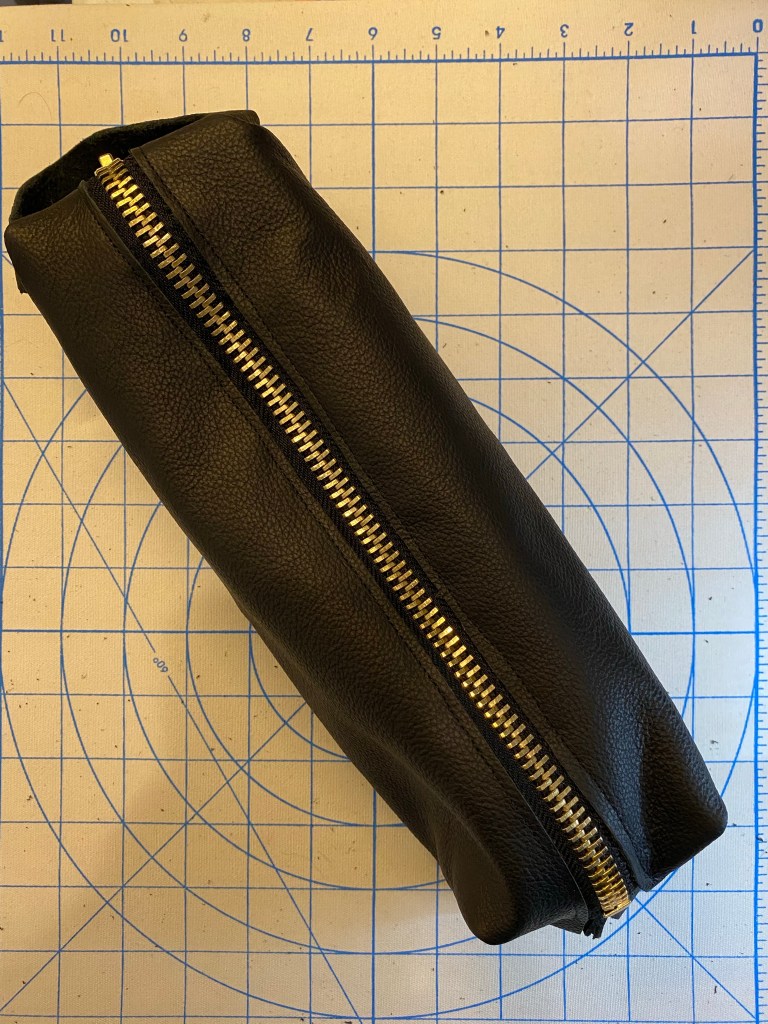
Leather dopp kit

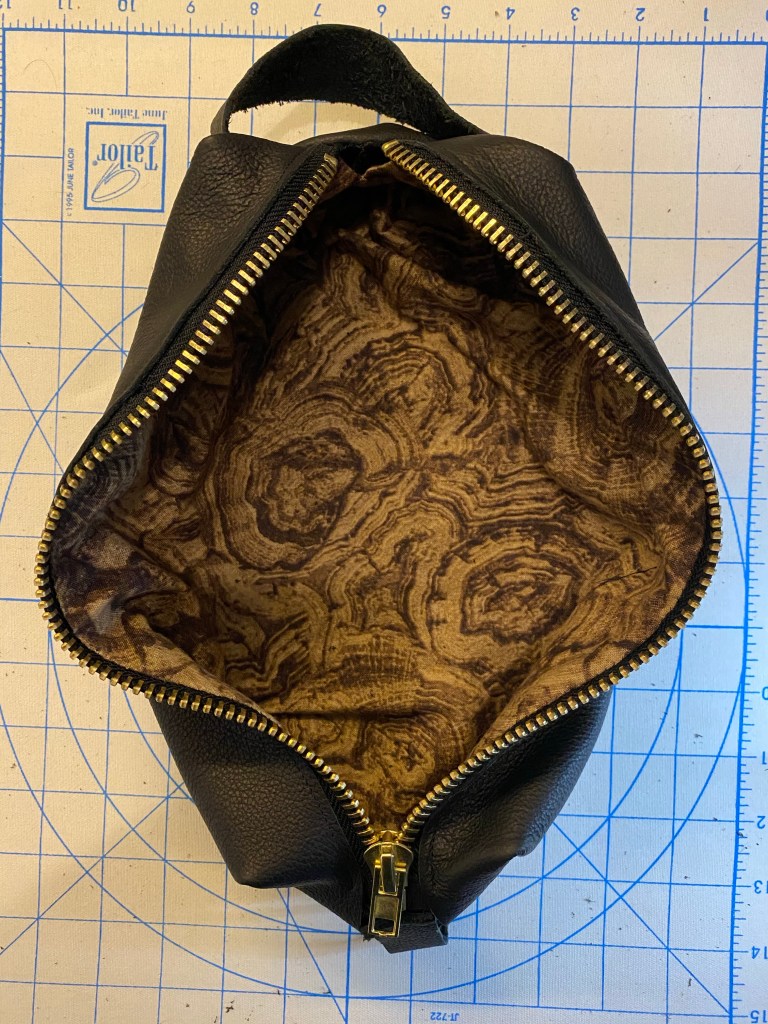
My husband has had the same dopp kit bag since before Iraq, and it has been falling apart since (and even has desert dust still in it). So I made him a leather dopp kit. I used finished leather because I had time restraints, a heavy duty brass zipper, and cotton lining. The leather was soft enough that my sewing machine could go through, so I was able to machine sew the zipper and seams (with an occasional boost using the band crank). I hand sewed the lining to the inside of the zipper.

Leather dopp kit
Inside of dopp kit with cotton lining

I’ve been meaning to make this for awhile. It is ironic that I made the time to make it, but there is still no travel for the foreseeable future. I may try my hand at another one, but this time in stiffer leather, which will have to be all hand sewn and finished. I rather like hand sewing, so it won’t be a hardship. Especially now that I know how they go together.

Seriously?

When you are 1/8th feline you hang with the cats. (Ok, the DNA test was undetermined for that eighth, but I have a growing body of evidence for cat genes.)

She laid on the back of the couch because she can.

Color play

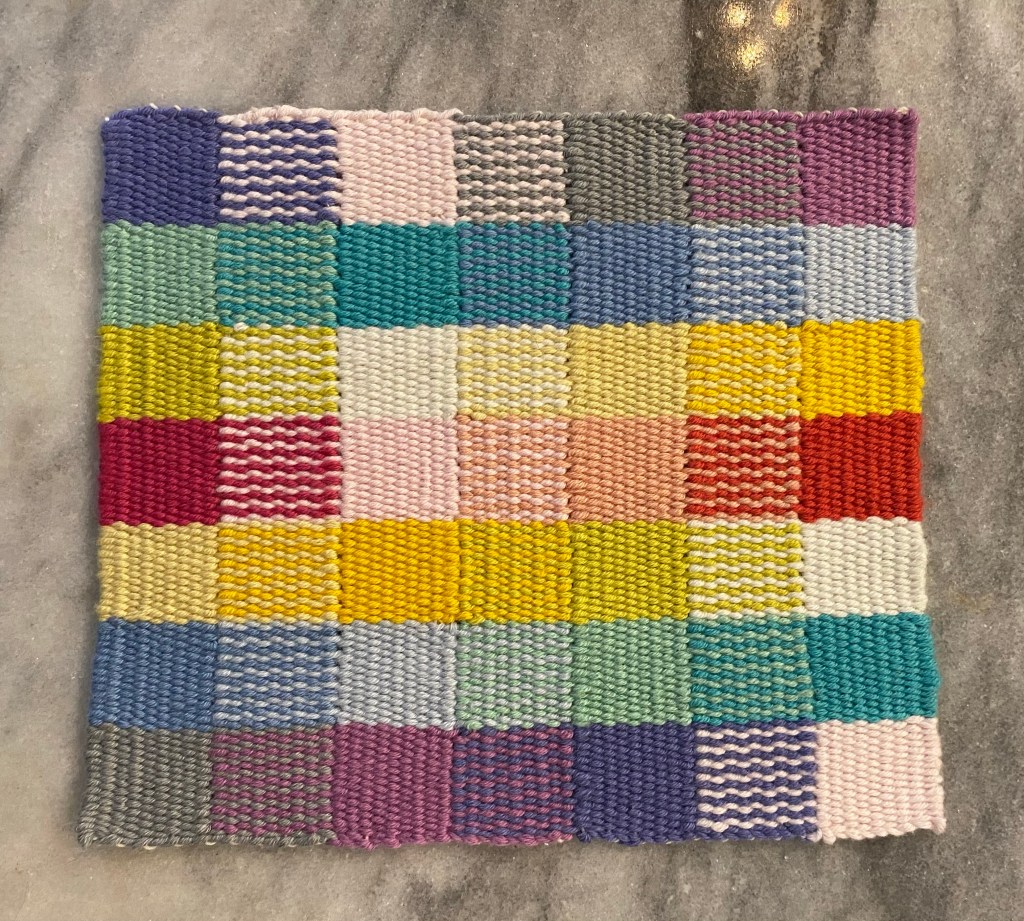
I tried another hatching weaving with smaller squares and lots more colors.

Front of weaving
Back of weaving before weaving in ends
Back of weaving with ends split and woven in

Things I like: The color play and overall look of the piece. Still a big fan of splitting the ends before weaving in, I had trouble telling the front from the back.

Things I learned: Keeping long lines straight needs work! When twining the bottom and top with multiple colors, I need to connect the strands.

Details: approximately 8”x8”, 100% cotton weft, warp suspected cotton (from stash), woven on an 8 sett frame loom. First and last pass twined. Warp drawn through piece to finish.