Flower nails

I promised my kids we could make buttercream flowers. I knew I could make the frosting, but I went to look for tips and nails and didn’t have any! Where did they go? (It is entirely possible they were lost in the fire six years ago, I still look for things I used to have, even though we’ve moved.) I was able to obtain some frosting tips with a quick trip local, but no nails. Nails are helpful because they allow 360 degree access to the construction of the flower. If you watch someone making a frosting rose, most likely they are using a flower nail.

Hot glue to the rescue. I cut 1.5” circles from a cardboard box, cut down bamboo skewers, and hot glued the stick to the circle, with an extra circle of glue around the bamboo for good measure.
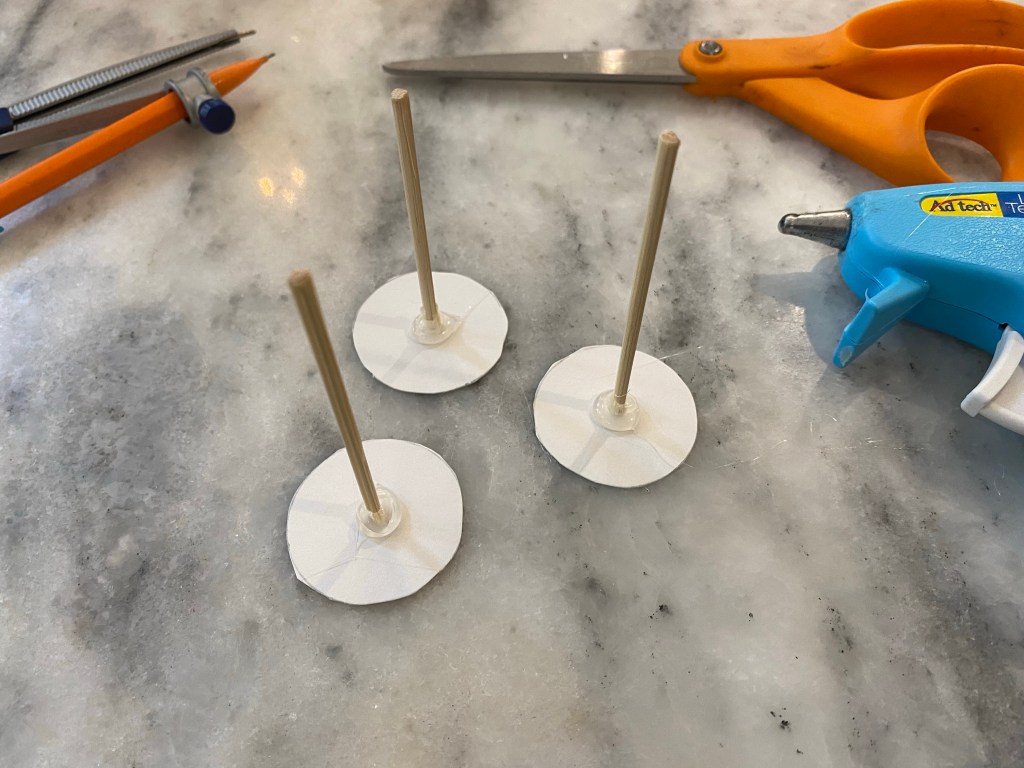
Flower nails made of cardboard, bamboo, and hot glue

To use them, we put a dot of frosting on the head of the nail, then applied a square of parchment paper. (Paper cutters are great for making lots of small squares.) The flowers were constructed on the paper so they could be easily slid off and popped in the freezer.
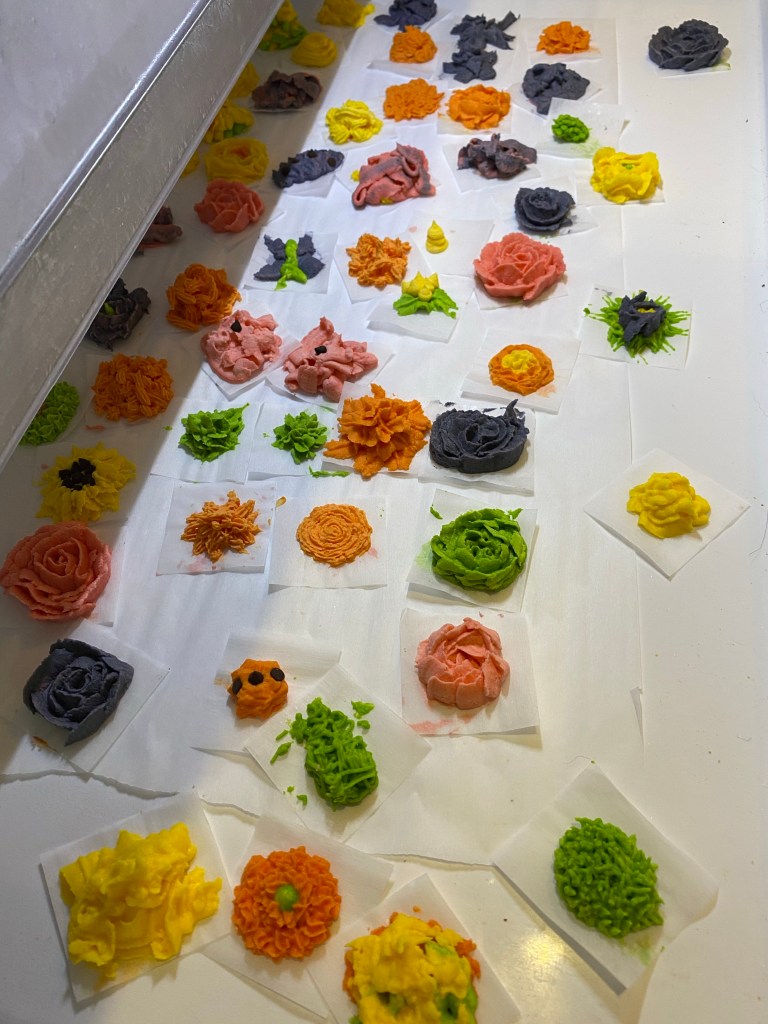
Frosting flower experiments in the freezer drawer

Oh my goodness did the kids have fun making these. We filled up the whole freezer drawer! I did order some washable metal flowers nails, since this is very much a repeatable activity, which we repeated the following week.
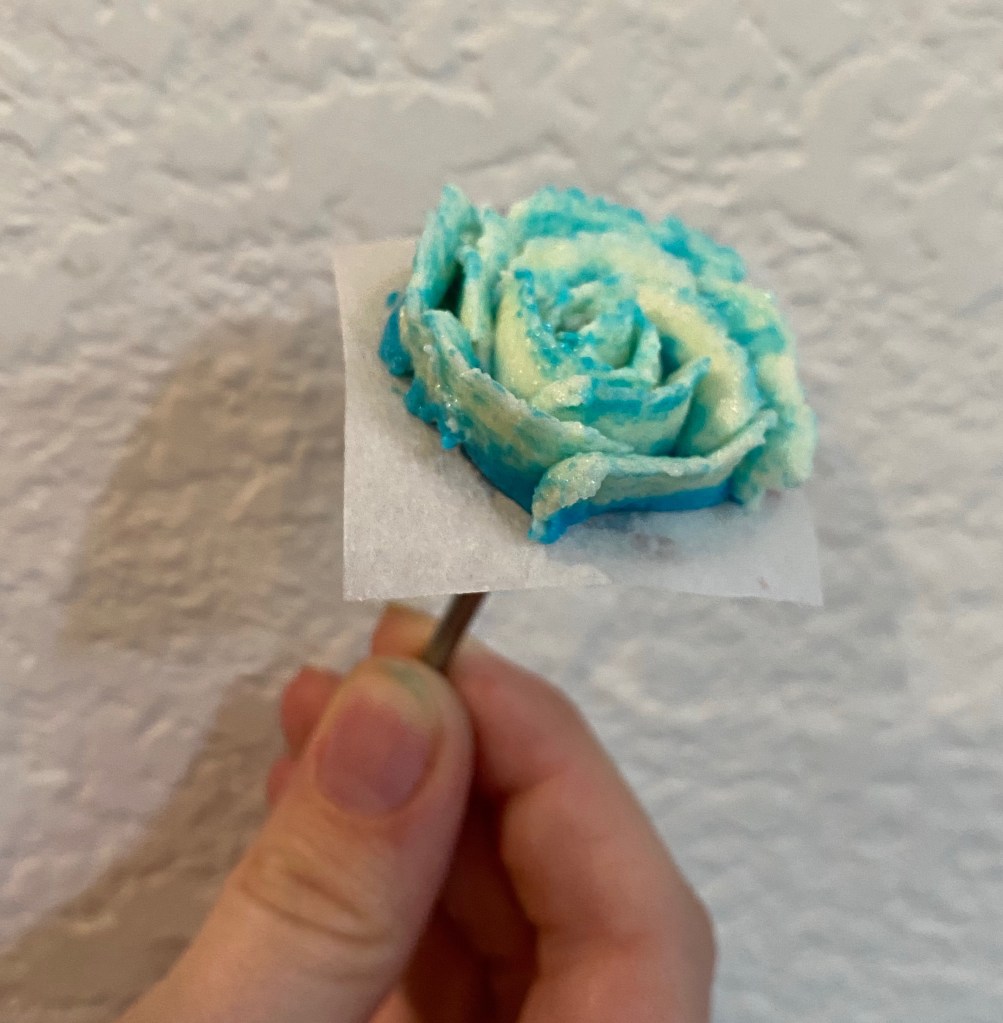
Two color rose on a flower nail (purchased)

The second time around we experimented with color. We split the buttercream into four parts, and colored some red, blue, and yellow, and left the fourth portion uncolored. Each frosting bag we loaded with multiple colors. The favorite bag had all three primary colors dolloped on the sides, with white down the middle. This makes great unicorn poop (above the blue star in the picture below). As we reached the ends of the bags, the blue and yellow had combined to green, and the pink and yellow had combined to orange, but these two made adorable little blooming cacti (far right middle in the photo below). Happy discovery!
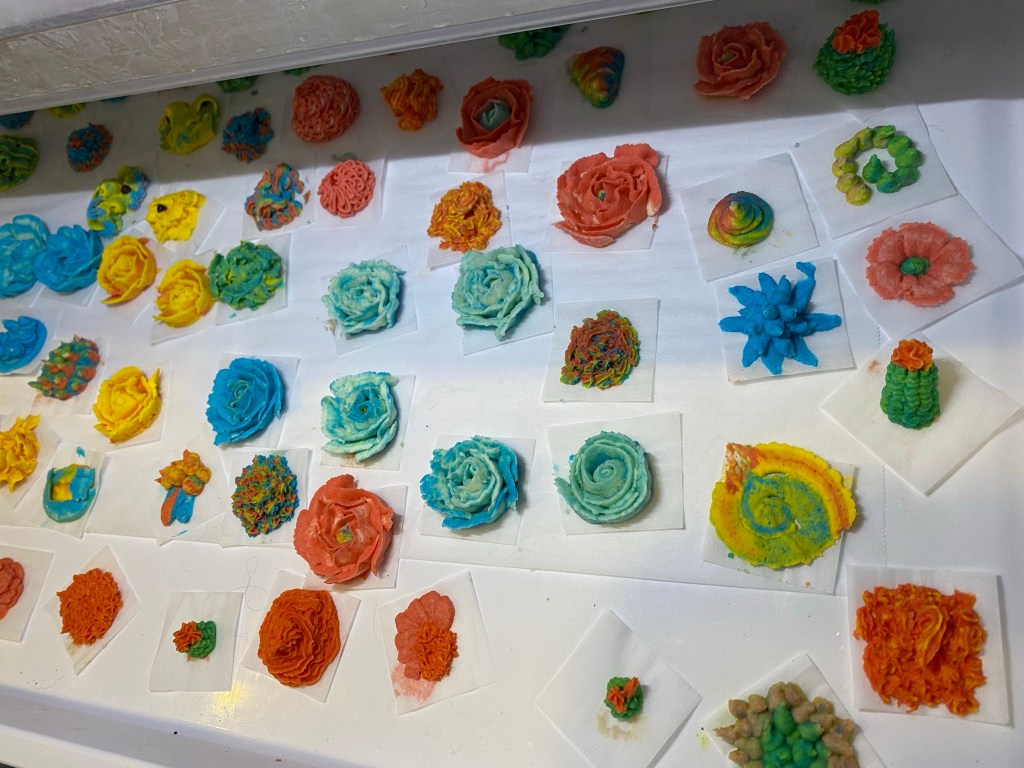
Another drawer full of frosting creations

Grasshopper

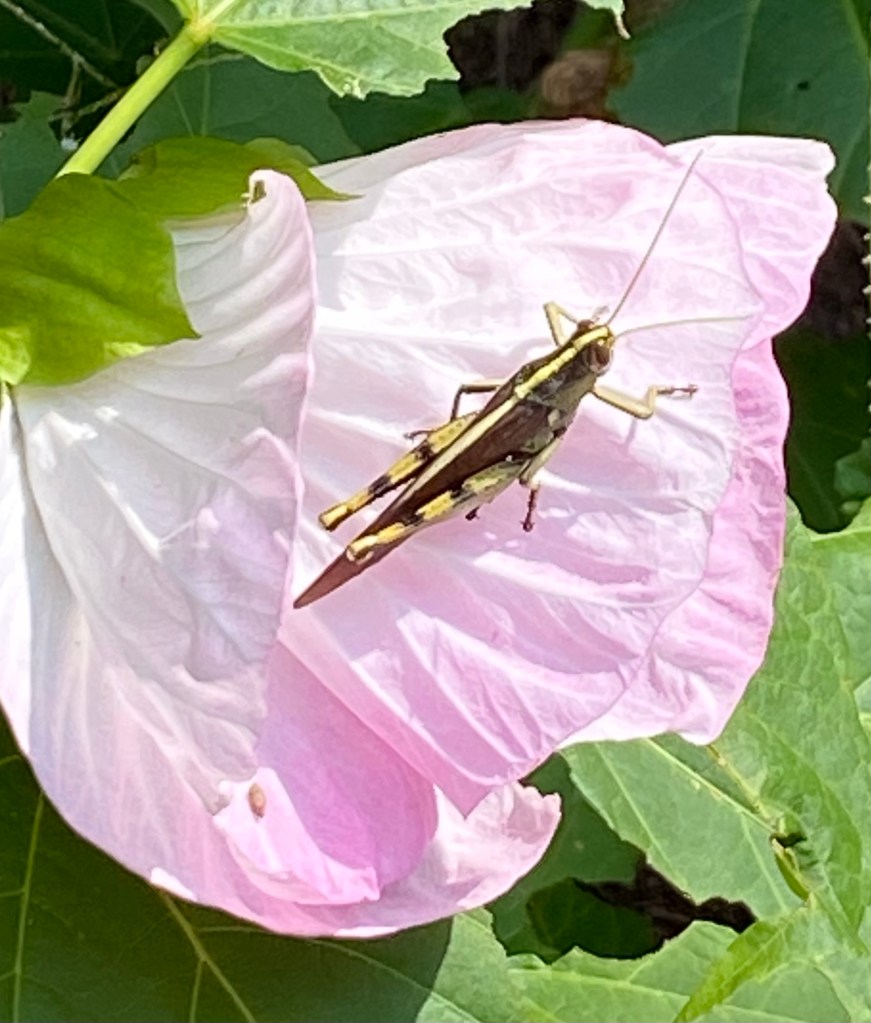
I was struck by the dark body and bold striping on the grasshopper perched on a fading hibiscus flower. It was also a good opportunity to take a picture of one to compare antenna size relative to a katydid’s. The grasshopper’s feelers are not longer than its body, unlike the epicness of the Meadow Katydid’s antenna.

Grasshopper on a hibiscus flower

The grasshoppers are still gorging on my hibiscus, but they don’t take the entirety of each leaf, which leaves the plant at least some photosynthesizing capabilities. I shoo them off, but it doesn’t make much impact.

Blended

Next color experiment with my three colors of alpaca fiber is blending them all together with a little silk. (The silk makes it so strong I can’t break the singles by hand. I’m undecided how I feel about that.) I aimed for equal portions of each color, but I didn’t get out the scale, so I knew there would be variations in the rolags I produced from carding. (Honestly, there will be variation even if I weighed, but the subtle change in color can be quite pleasant.)

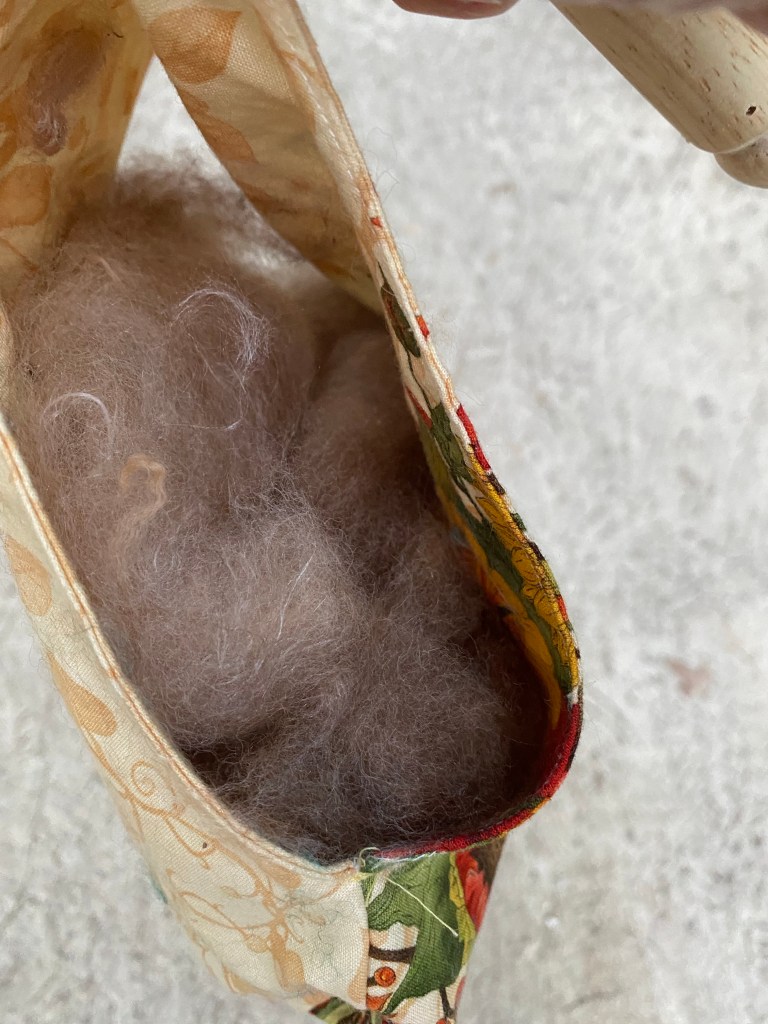
Blended alpaca silk rolags in my arm bag ready for spinning
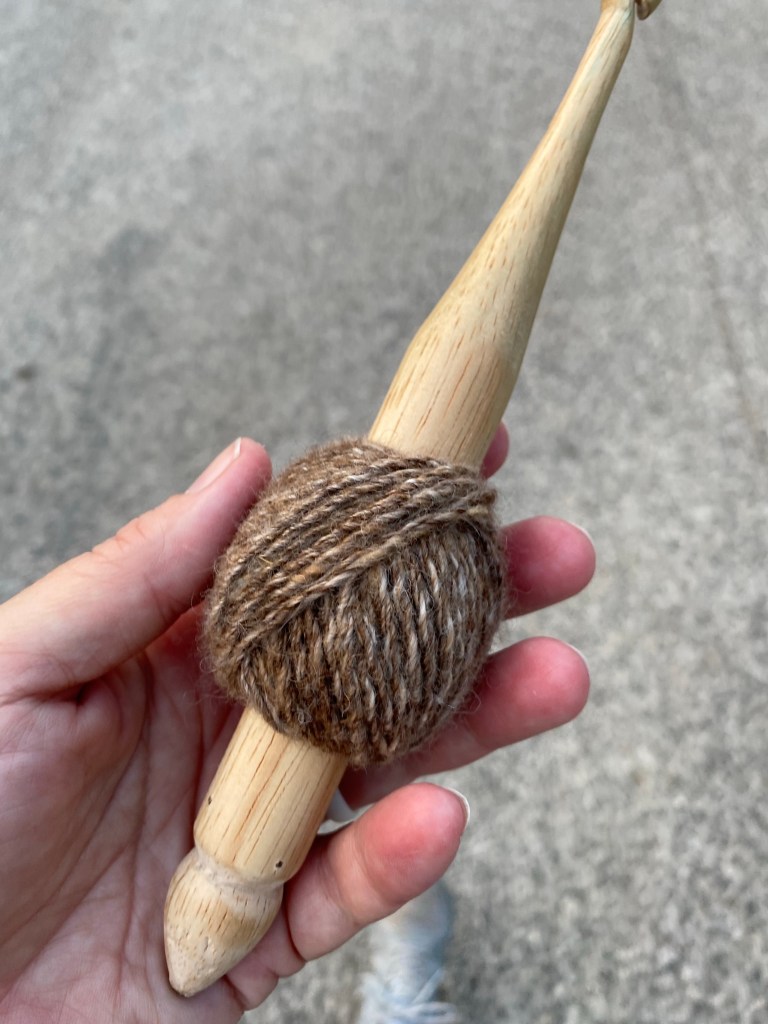
Cable plied (4 ply: spun, plied, plied again) alpaca silk blend

I think I like the subtlety of this yarn, but I want to make it up into something to be sure. Yarns can look very different in the ball or skein than they do in a finished piece!

Meadow Katydid

Meadow Katydid
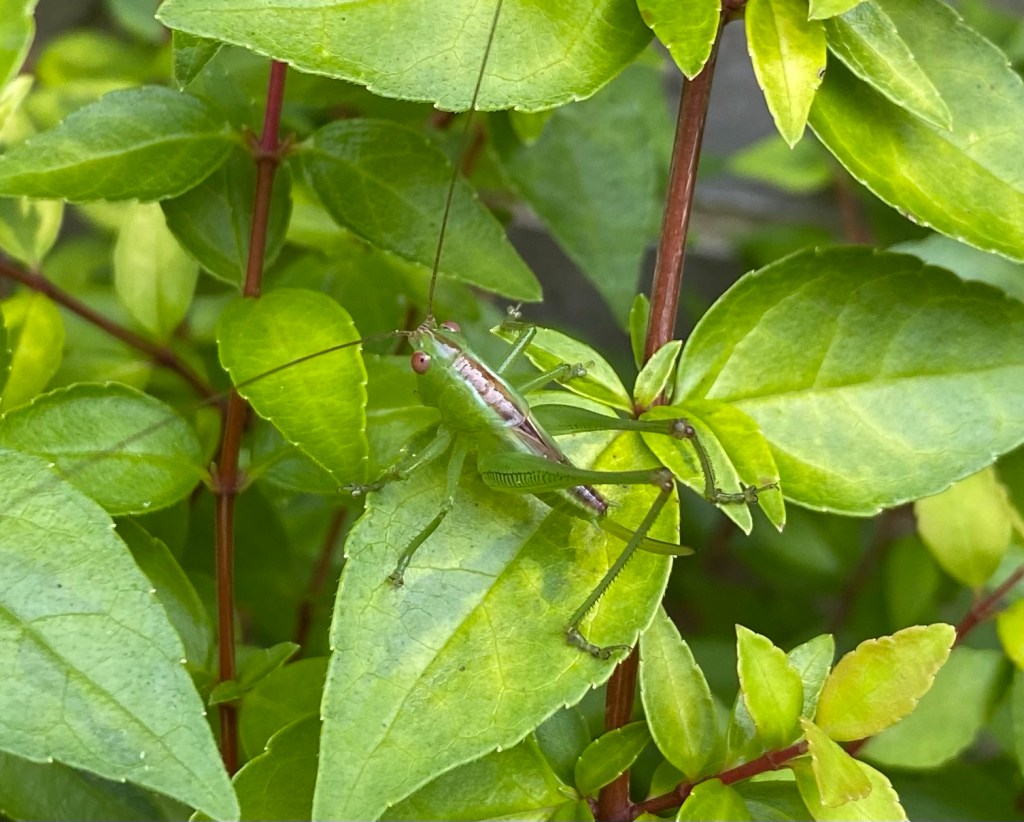
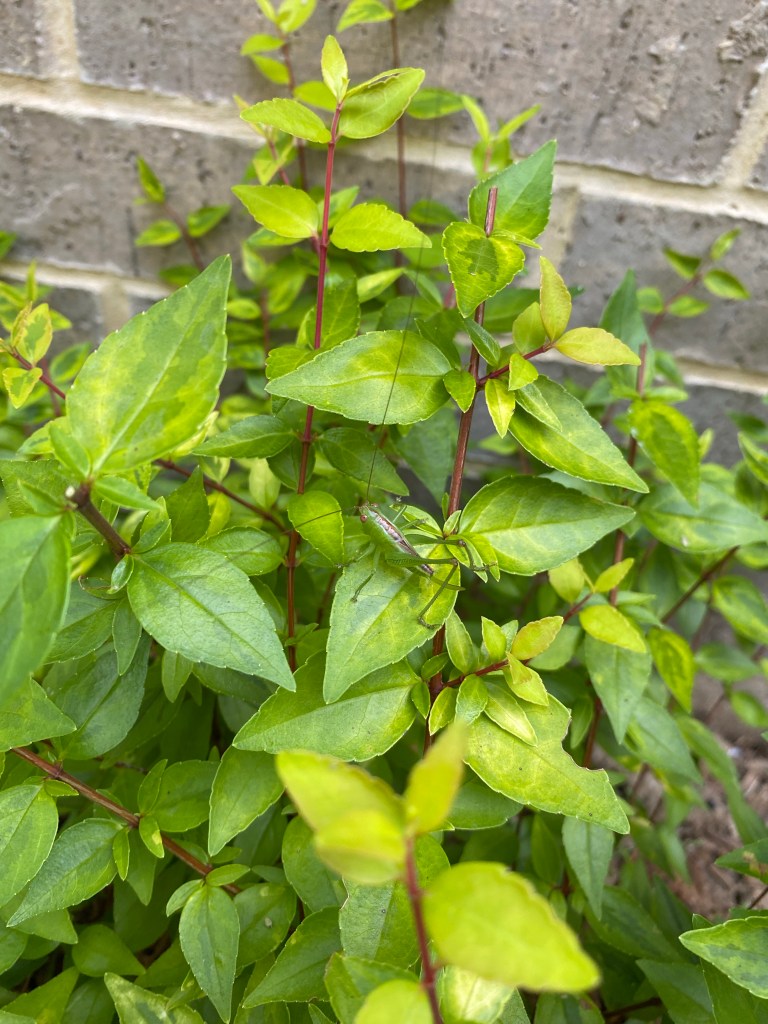
Meadow Katydid showing full (?) antennae

The antennae on this critter!! I have found these in my garden before, and had trouble photographing their sweeping feelers that seem to reach over three times their body length. I did not realize that they are a kind of katydid and that the immense antenna length is one of the distinguishing factors between Katydids and Grasshoppers. It matches the abelia bush nicely too, with its stem-colored stripe down the back.

My bed!

Missy was quite concerned when I opened up the seam on her bed and started stuffing polyfill in.

What are you doing to my bed, Mom?!?

The round was decidedly not round, but rather sad and nearly flat. I obtained more stuffing and, in a matter of minutes, had the bed filled to a firm feel and the seam resewn. Once the dog bed was back on the ground, Missy relaxed and crawled in. I guess I am forgiven!

Refilled dog bed meets her approval