French-style rolling pin

I thought a French-style rolling pin would be a nice easy turning project. Hm. I started with a maple wood blank and roughed in the shape, which is tapered at each end. These rolling pins do not have moving parts, but are used by rolling your palms across. I intended the center of the pin to be 2” in diameter, but it is much harder to get a long straight section than I thought! I stopped chasing the illusive straight line in order to preserve some of the diameter, which ended up closer to 1 3/4”. I finished by sanding down in increments to 400 grit, then wet the whole piece, let it dry, and sanded with 400 grit again. I then used a acrylic paints to decorate the pin with daisies for my mother-in-law. To keep everything sealed, I applied seven coats of tung oil by rubbing it into the surface in thin layers.

French style rolling pin with daisy decoration along the side

Thistle spurtle

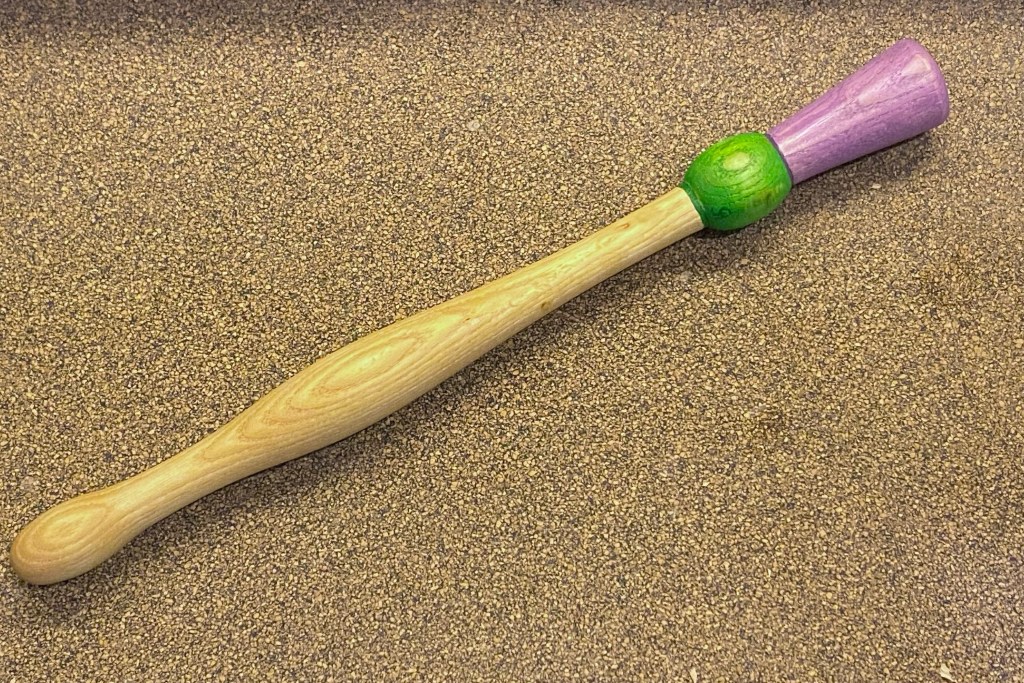
Since the Scottish Spurtle, a tool used to stir porridge and stews, is often turned with the handle in the shape of a thistle, I decided to go a step farther and paint the handle thistle colors as well. I turned the spurtle from a maple blank, sanded it down, then used thinned acrylic paints to paint the bulb green and the bloom purple. I also added a bee on top. Once the acrylics were dry, I sealed it in many layers of tung oil because tung oil is food safe.

Bee painted on the end of the spurtle handle
Finished Spurtle

Toy top the first

Since the lathe has been set up, I’ve been itching to attempt turning toy tops. After having my burl explode, I decided to try something small and happy. I used a bit of maple wood and secured it in my four jaw chuck with the jaw flipped around, and used my new roughing gouge to get rounded, then refined with my old skew chisel. I made little bumps because they made me happy. Making the stem made me nervous and I didn’t get it as thin as I wanted, but it spins!

Turned toy top made of maple wood

Then, because why not, I painted the bumps with acrylic paint so that when it spins, there is a gradient.

Blue and red acrylic paint applied to the top
Top spinning, showing the gradient of mixed colors

I finished the top with several coats of tung oil.

Exploded burl

I attempted to make a bowl on my lathe with my four jaw chuck. To say that I am still climbing the learning curve would be most accurate. I did use my band saw to trim the block close to round and remove the sharp corners, but I couldn’t get it set solid in the chuck, it kept slipping out of round. So I used four small screws and attached it to a face plate instead of using the chuck. That worked much better for this piece of wood. I was able to rough in a bowl shape, but then things took a turn for the worse. It turns out that the burl block had a fissure running through that split as I began to hollow out the bowl. (The turning puns will probably continue, just so you know.)

Fissure through the burl

I probably stood there with the bits in my hand for a good five minutes assessing the damage. Then I carefully removed the piece from the lathe, stored the screws, and put the burl halves in my wood bin. I cannot currently conceive of rescuing a bowl from the wood, but burls are precious and can be beautiful, so maybe there will be some future turnings that can be salvaged. I think it is time to try something else for awhile, and let the trauma of an exploded burl rest.

Clean chuck

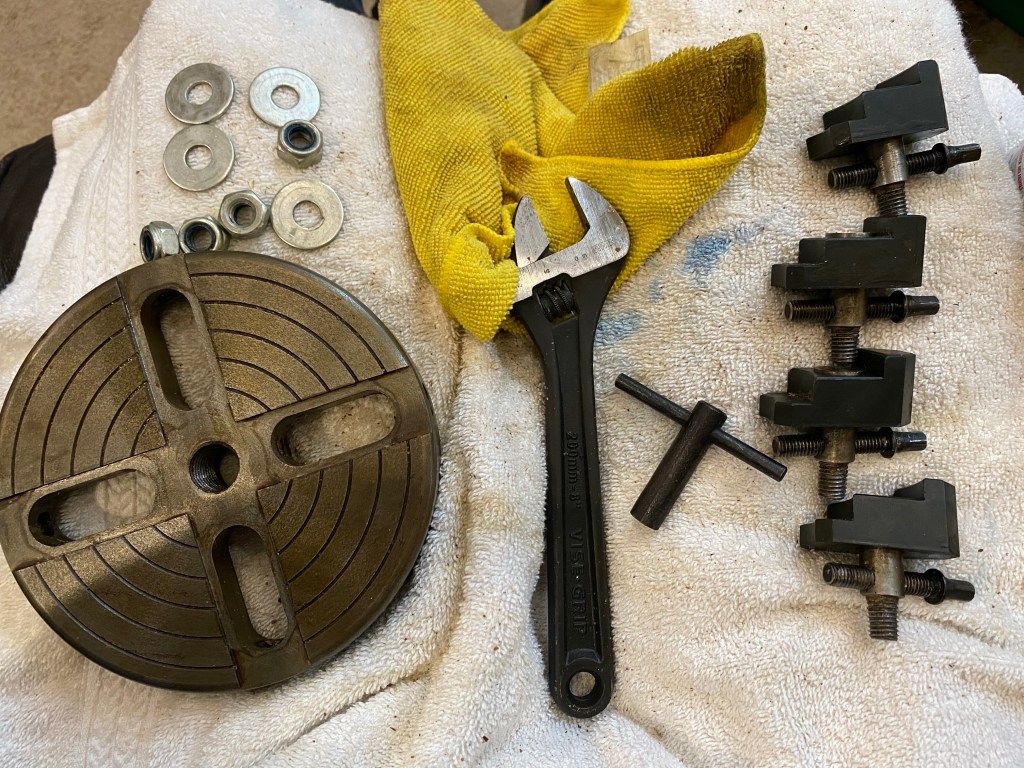
I’ve had a four jaw chuck for my lathe since I’ve had the lathe, but have never used it. I kept it in a protective plastic bag, but still wood shavings found their way in, and the protective oil polymerized, making the surface of the chuck a sticky mess. So it was time to disassemble and clean it! (And see how it works.)

Four jaw chuck taken apart for cleaning

I removed the jaws and gave everything a good rub down with liquid wrench and a rag. I needed to let some of the jaws soak, then give them a right whack to loosen the bolt so they could rotate. Once all the old lubricant was removed, I reassembled it.

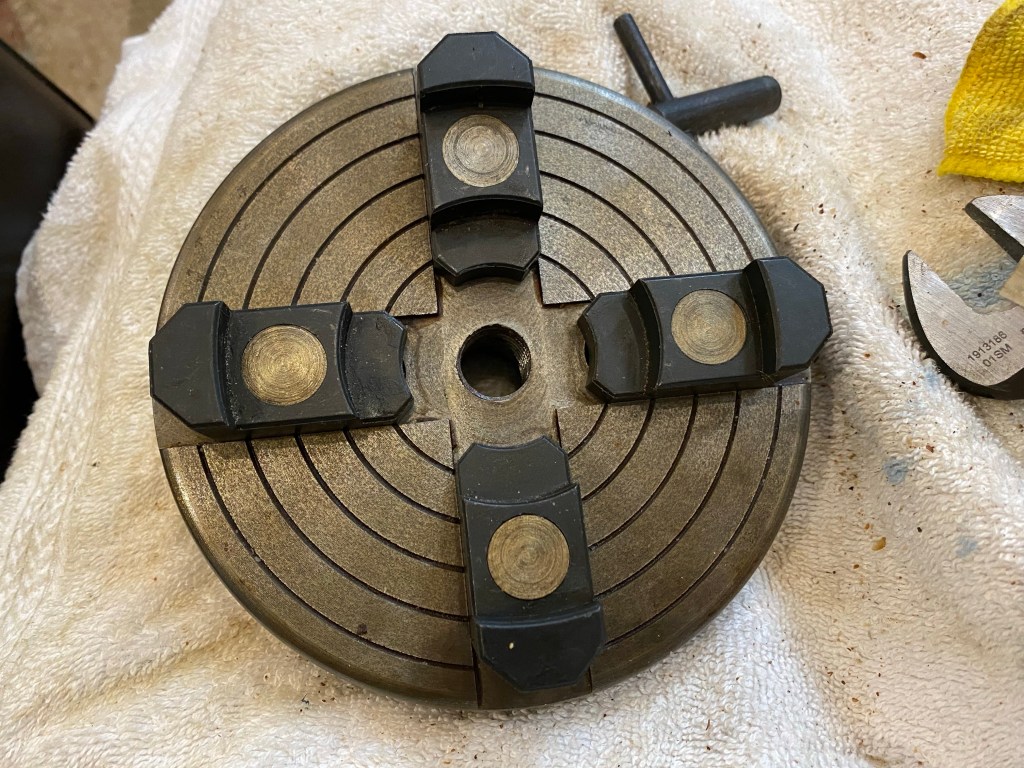
Reassembled four jaw chuck

The chuck itself does not have a maker’s mark and the instruction manual is not with my other manuals. So I had to look up some videos on how to use it (and found some really poorly translated instructions). I tried setting it up as pictured, but wasn’t comfortable with the security of the grip, so flipped all the jaws around to hold smaller stock, which does work well.