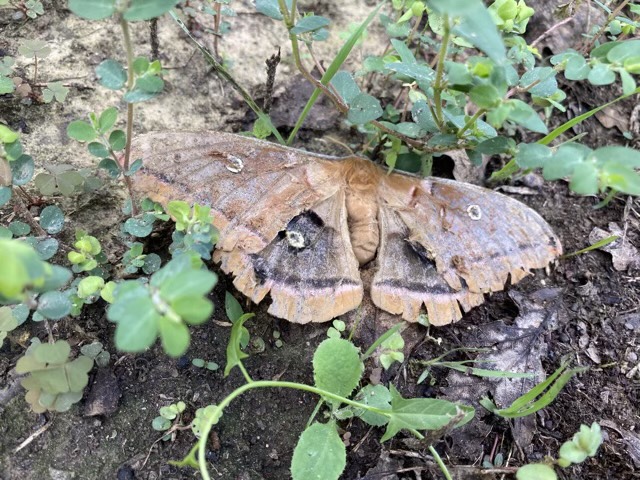
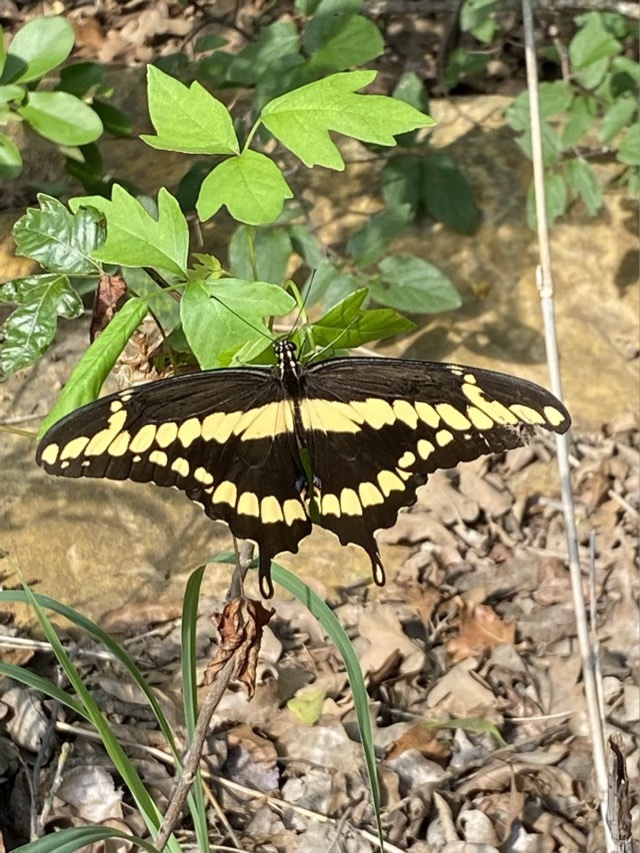
Within a day of each other, I was able to capture photos of a giant moth and a giant butterfly. I’ve digitally captured this kind of moth before, but never this butterfly. These are both as wide as my outstretched hand (about 7-8”). Neat.

Within a day of each other, I was able to capture photos of a giant moth and a giant butterfly. I’ve digitally captured this kind of moth before, but never this butterfly. These are both as wide as my outstretched hand (about 7-8”). Neat.
I was out doing morning chicken chores, and I found two eggs. What? I admit that I have not been vigilant in checking the nest boxes since the hens stopped laying two months ago because last year their last egg was mid-September. Last year they did not start laying again until February. They do appear to have finished their fall molt, but I haven’t seen any of them do the squat (that says they are ready for a rooster).
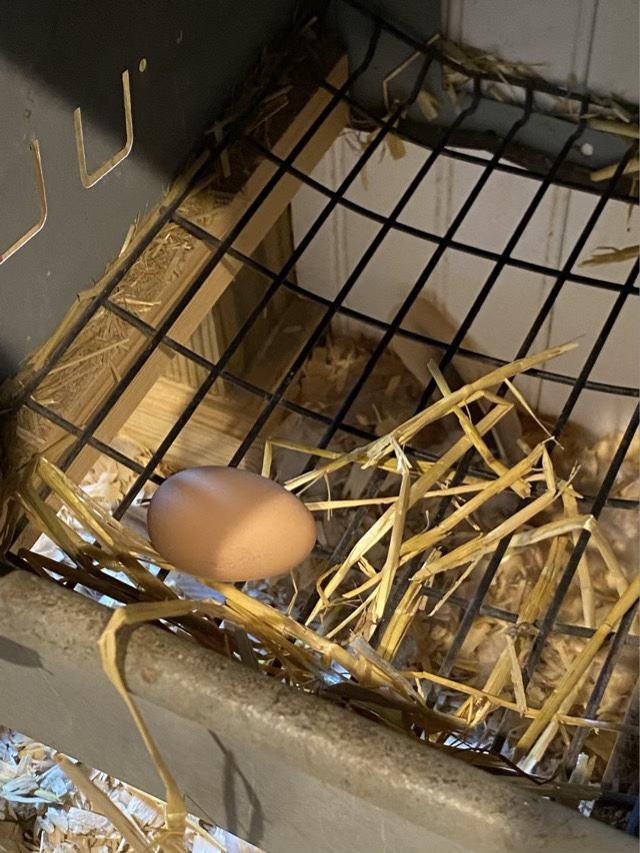

I did do a float test, and both eggs sunk to the bottom of the container of water and laid flat, which means they are fresh eggs. So they didn’t stay undiscovered for long.
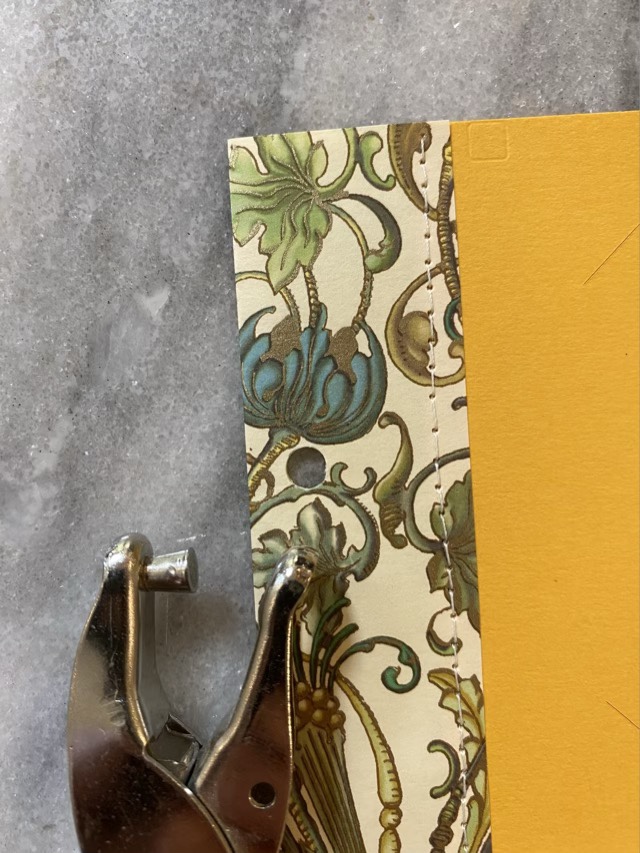
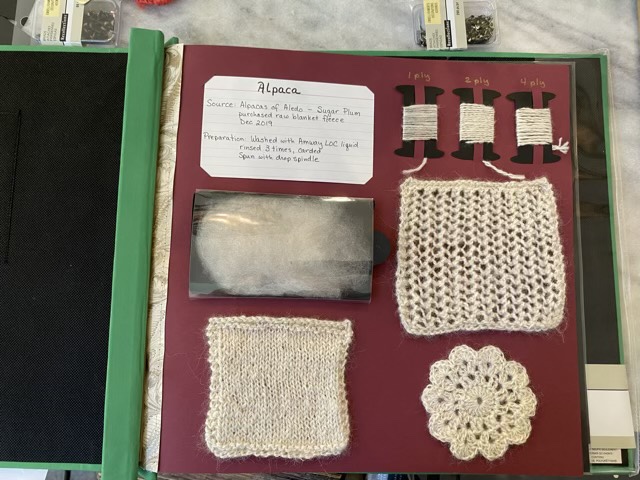
As I spin through as many different fibers as I can get my hands on, I am creating a scrapbook page for each to build a reference book. This is how I build my pages.
Materials:
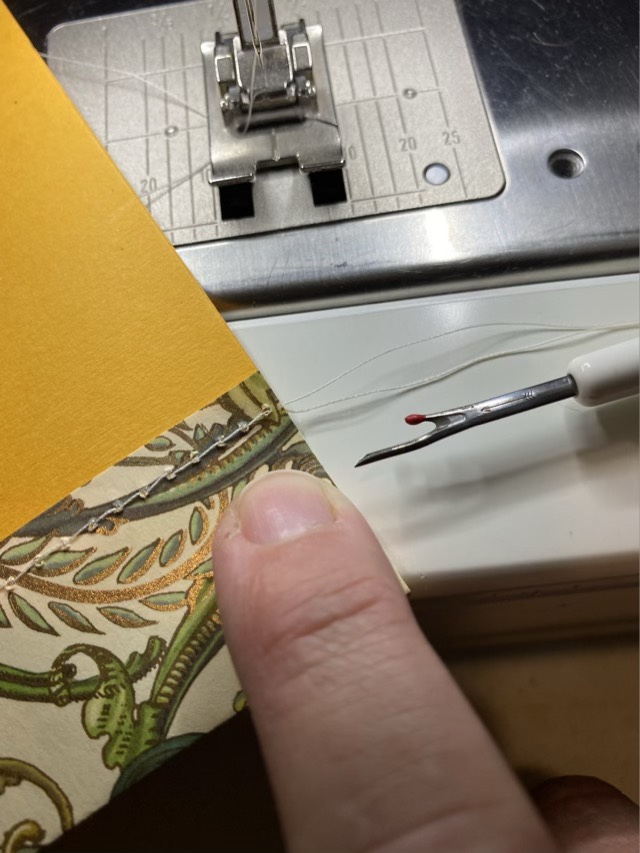
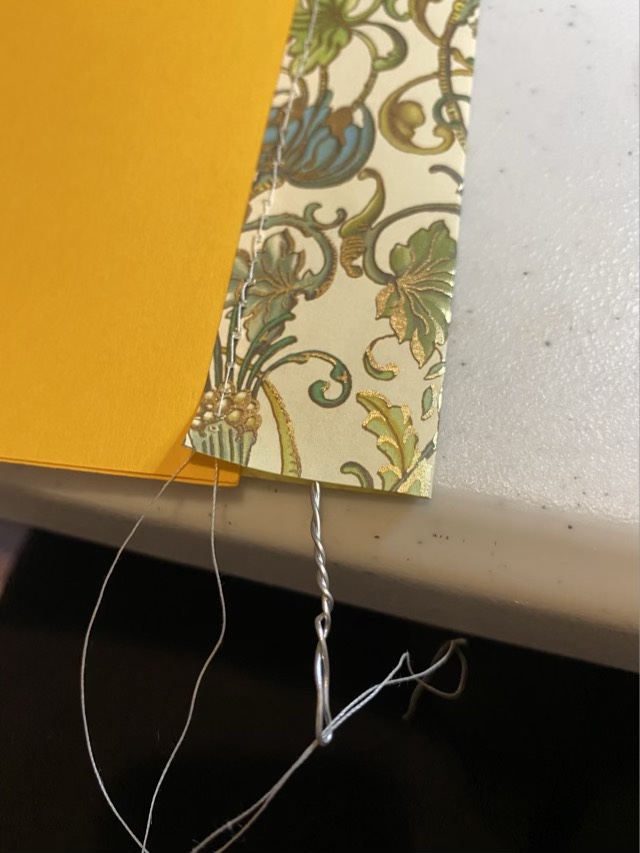
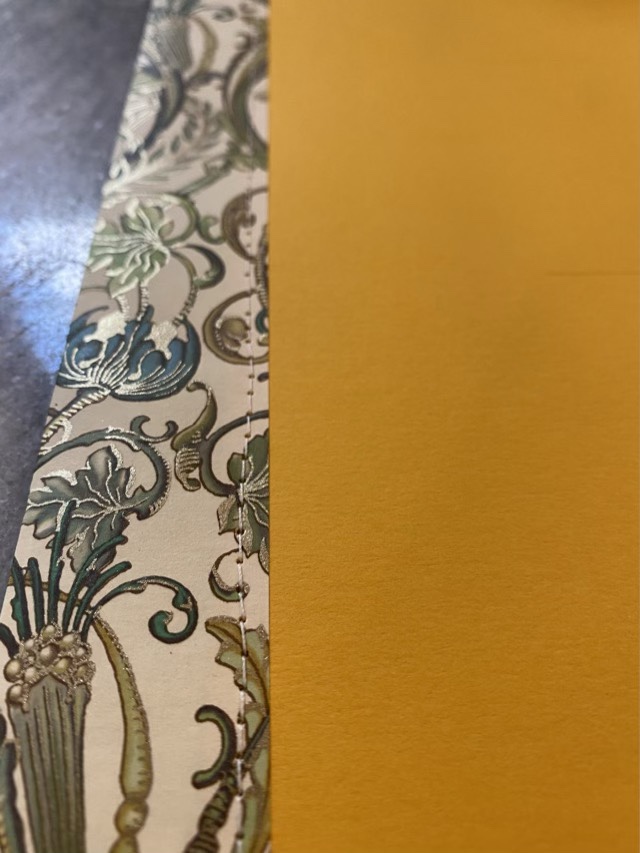
I use a Cricut electric cutter to score and cut my cardstock, but similar preparations can be done by hand with a craft knife. I make a 1/4” drawer, three “spools” from coordinating cardstock, a drawer sleeve from heat-sealed laminate, and cut one sheet of cardstock with slots to hold each element. Paper brads will hold the swatches onto the page. The Cricut project is available here: https://design.cricut.com/landing/project-detail/630799ca21506d2c4716a4c2
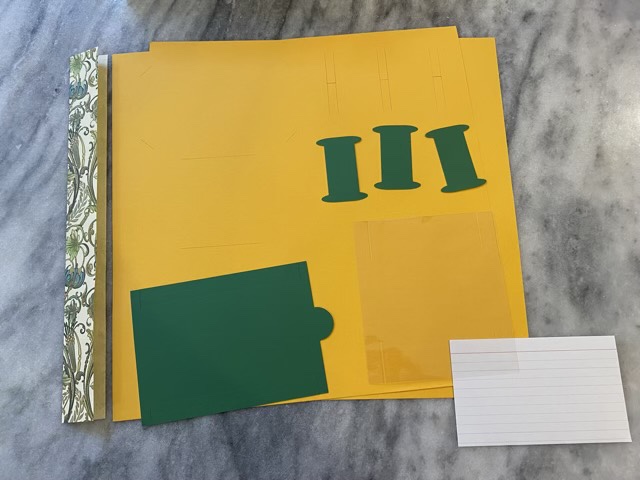
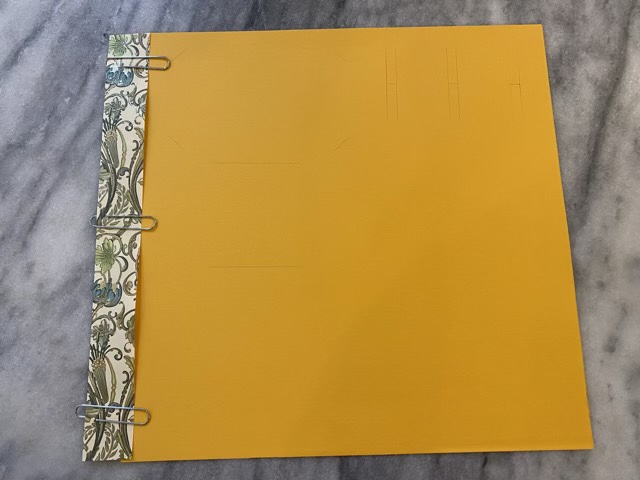


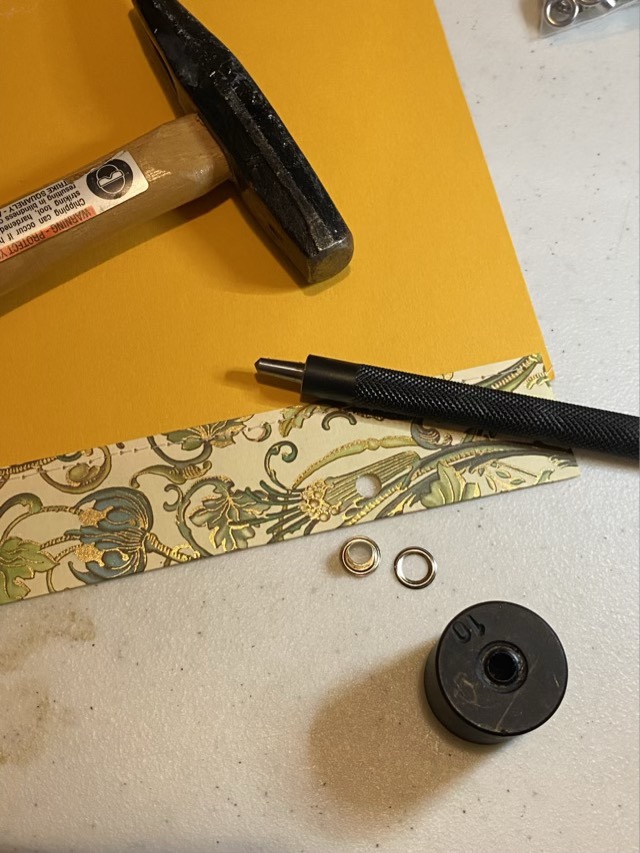


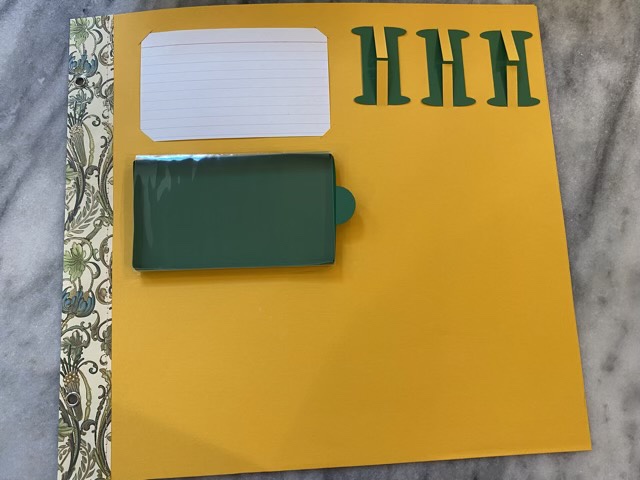

Descriptions of the yarn can go on the index card, unspun fiber can go in the drawer, spun yarn of different plies go on the spools, and knit, crochet, nålbinding, or weaving swatches can be attached with paper brads to the open areas.

My hibiscus is still producing blooms. Most are below the crown, hidden behind fading leaves, but we had one present front and center. I think it is interesting that it forms blooms from the top down over the season. The leaves are starting to get their fall wilt going; it is slightly cooler, but we are not at fall temperatures yet.

Now that the temperatures are dropping, and my Achilles tendon is healed, I’m starting to walk and spin again. Joy. I picked the Clun Forest wool from my stash, which I bought as roving, so it is ready to spin from the bag.
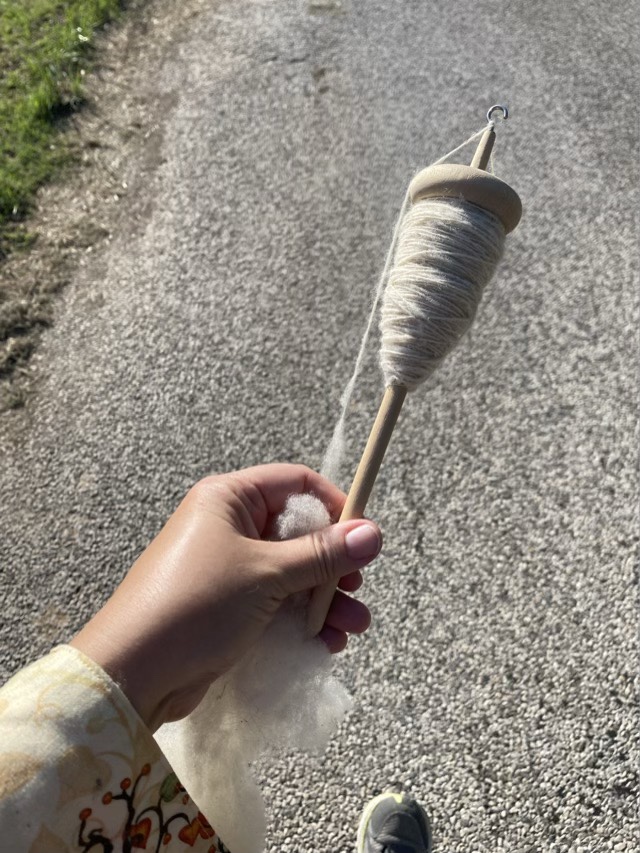
This wool is very different from the Merino and Shetland wools I’ve spun so far, it has more lanolin for one, the energy in the crimp is higher, and it is coarser. I find spinning it a little thicker makes us both happier. There are fluffy little balls in the roving, called noils, and if they want to incorporate into the yarn I let them, but if they float to the side, they are set free in the breeze.
