Antler lucet fork

I have a bag of deer antlers that I picked up at a local garage sale, and noticed that the tines on some of the sets looked like lucet fork prongs. So I cut off the tines, sanded down the end, and drilled a center hole. (Definitely wear a mask while working bone.)
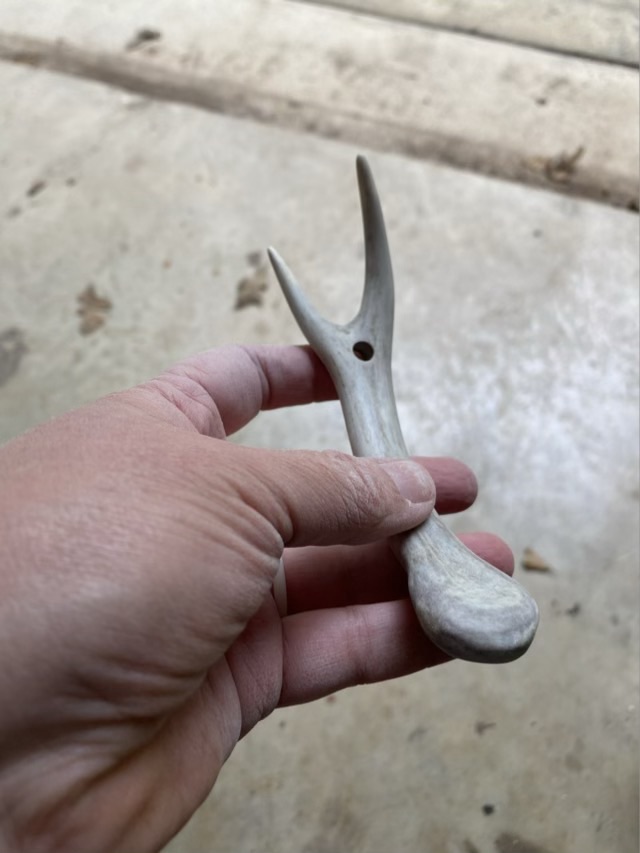
Photo description: deer antler made into a lucet fork

I sanded the surface down to a shine (1500 grit) and used satin cord to test out the cord making ability.
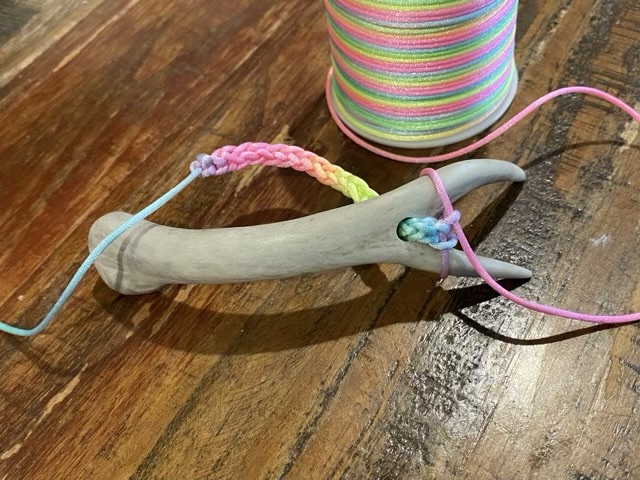
Photo description: rainbow hued satin cord made into a braided cord using an antler lucet fork.

The antler works well to make cord! The shiny bone surface allows the string to move smoothly along the tines, and which aids the ease of making. Curious on how lucet forks are used? Here is a link to my video how-to!
Japanese Honeysuckle

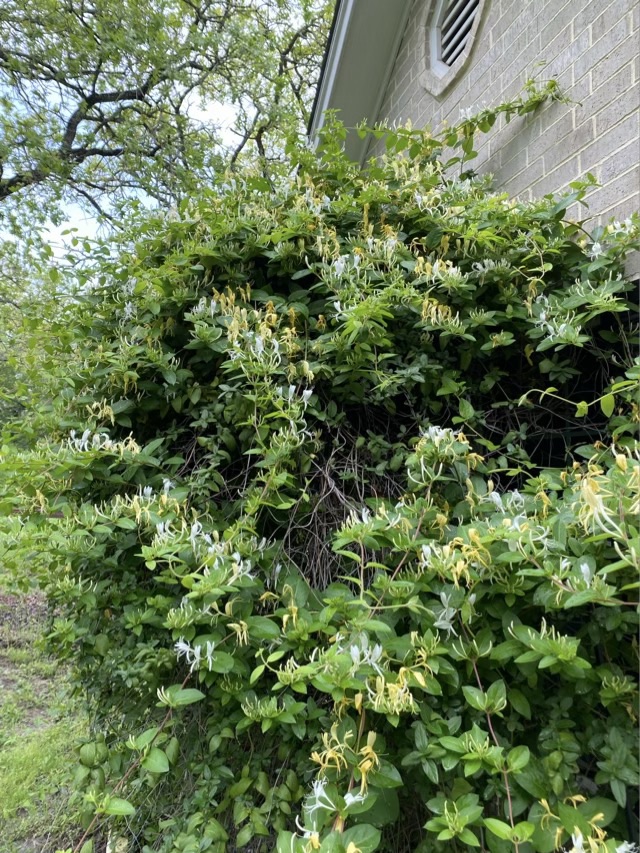
Photo description: Japanese Honeysuckle mound with yellow and white blooms growing about 8 foot high

Once again I lament that I can’t provide you with smell-o-vision with the Spring honeysuckle blooms. Although, you might not be happy with me if I did assault your senses with this; it is more like being kicked in the nose than a gentle waft of perfume. The smell in Spring is nearly overpowering and very sweet. It smells great from the road, but going out the front door gets you an olfactory ambush.

Currently the Japanese Honeysuckle is the only visible plant in the mound (there is a metal arbor under there somewhere). There was, and may still be, some native honeysuckle lurking in the shadows that has yet to bloom. The native on the corner of our fence did not fair well and has not come back after the heat of last summer and the freezes of winter. Japanese Honeysuckle is considered invasive and grows very, very well here. It was planted on the property before our purchase, and does have medicinal and craft use, so it is allowed to stay. I do need to rein it in though.

I will twine

What to do at the lake when you’re waiting for the fish to bite and there are downed reeds at your feet? Twine! It was a beautiful day, but the fish weren’t frenetic and my worm duties were low, so I stripped down a reed that had washed up on shore. After removing the inner soft material from the strong outer casing and tearing it into even strips, I started to twine. I had a new technique from Sally Pointer (on YouTube) that I wanted to try. Instead of adding strands end to end, she adds the new strand in the middle, so each side gets new material. Nice!

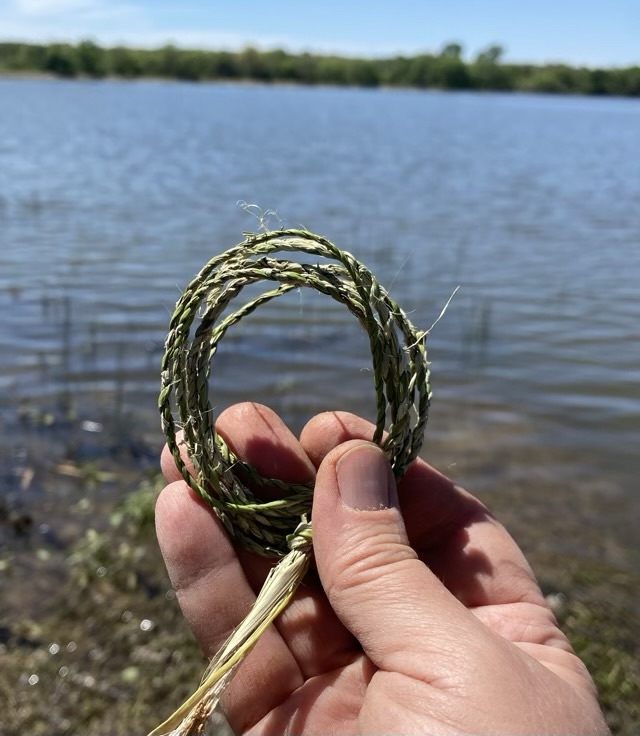
Photo description: five wraps of green twine made from reed with the lake and blue skies in the background. This is about an hour’s worth of twine.

This twine was quite strong; I couldn’t break it with my hands. Next time I might see how fine I can twine.

Black hairs everywhere

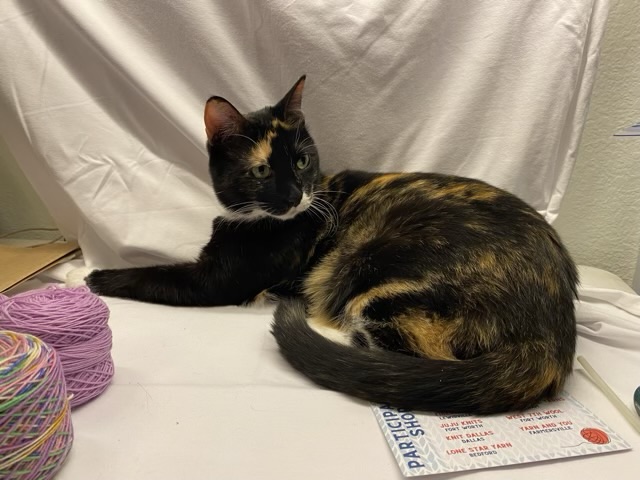
Photo description: mostly black calico cat laying on white fabric

I draped some white fabric over my workbench to take some photos and the next thing I know it had sprouted a cat. The particular cat that chose the spot is Izzy, who has the most black hairs of all our cats. There must be some universal law of attraction.

As an aside, it doesn’t matter what color I wear, there is a cat on the property that has contrasting fur.

Swatching

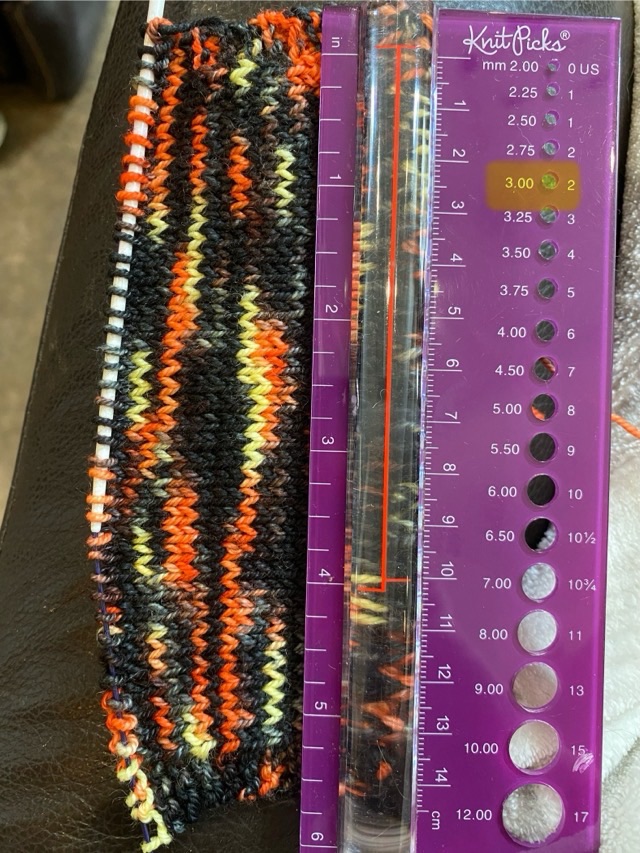
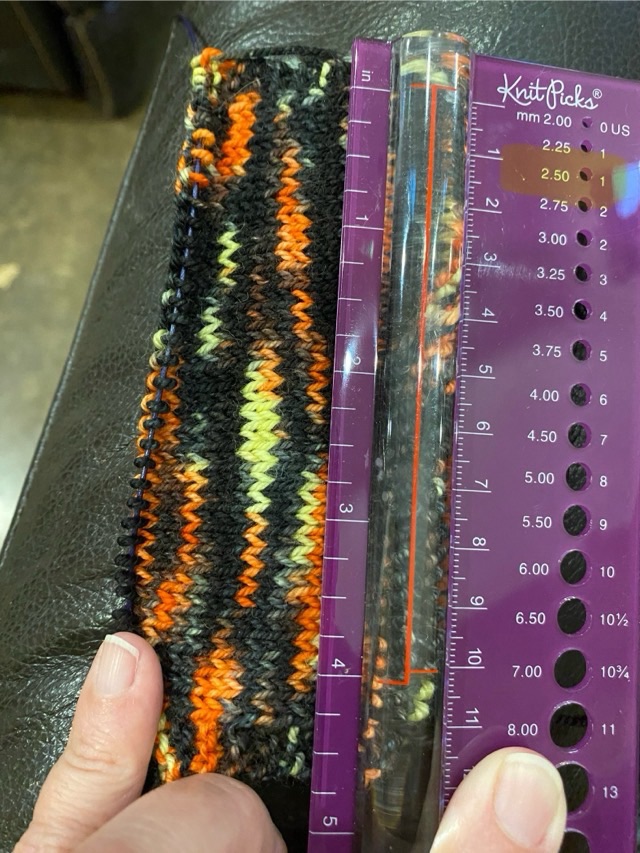
Ok, so I didn’t actually cast on my eclipse socks on Monday, but I did knit swatches. The instructions give a gauge of 32 stitches over 4”, with a suggested needle size of 2mm. I tried three different needle sizes: 3mm, 2.25mm, and 2.5mm.

Photo description: Shadow’s embrace yarn knit with 3.00mm needles, knitting ruler for scale.
Photo description: Shadow’s embrace yarn knit with 2.25mm needles, knitting ruler for scale.
Photo description: Shadow’s embrace yarn knit with 2.50mm needles, knitting ruler for scale.

Although the 2.25 mm needles gave me the correct gauge, I felt the fabric was stiff, and I don’t like working with the actual needle set. My preferred needles are made by Prym, and the smallest they make them is 2.50 mm. So I’m going to go down one sock size and knit at the slightly larger gauge.

Rather than throw all that yarn into swatches, I ripped out each swatch after taking a picture.