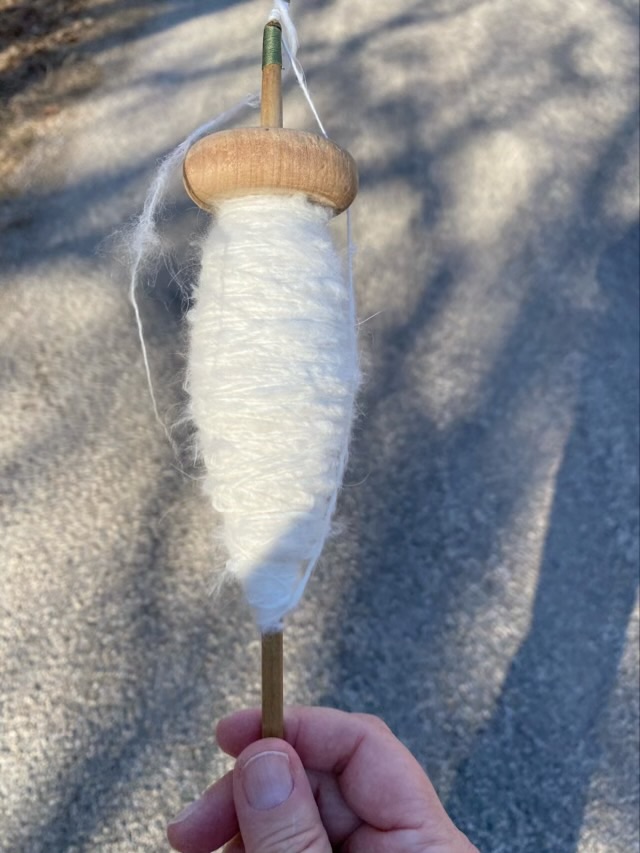
Photo description: single spun angora rabbit fur on a wood drop spindle, asphalt in the background
I finished spinning the angora rabbit fur I purchased from a Texas rabbit farmer. I didn’t wash, card, or comb the fiber, just took it out of the bag and started spinning, which resulted in a more uneven spin, but was worth the experiment.
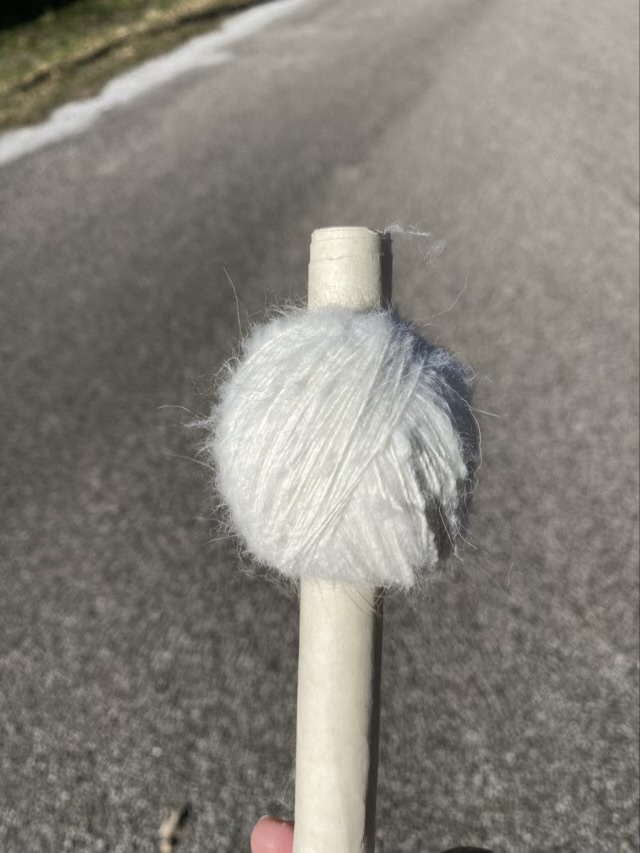
Photo description: single spun angora yarn wrapped into a center pull ball
The next step is to ply the yarn. In preparation, I wrapped the yarn into a center pull ball.
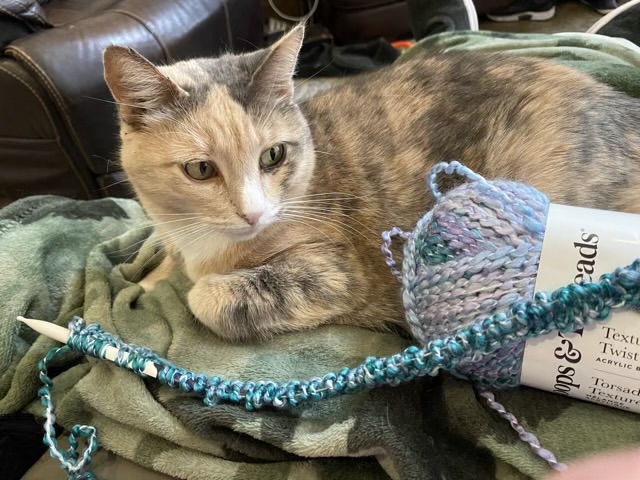
Photo description: Sophie the dilute calico sitting on my lap as I cast on a new knitting project
This is not my usual lap cat. Sophie, the outside cat that adopted us and moved inside, has decided that laps are warm and cozy, especially with a fuzzy blanket. She has not learned knitting etiquette yet, though, and thinks the yarn is for play. We’re working on it. Right now it is a balance of encouraging lap time and gently discouraging yarn gnawing.
The new project is a meditative piece using yarn gifted to me by my youngest. It will be a wide scarf done in garter stitch, so no pattern lines to follow, no perl stitches, just knit and turn.
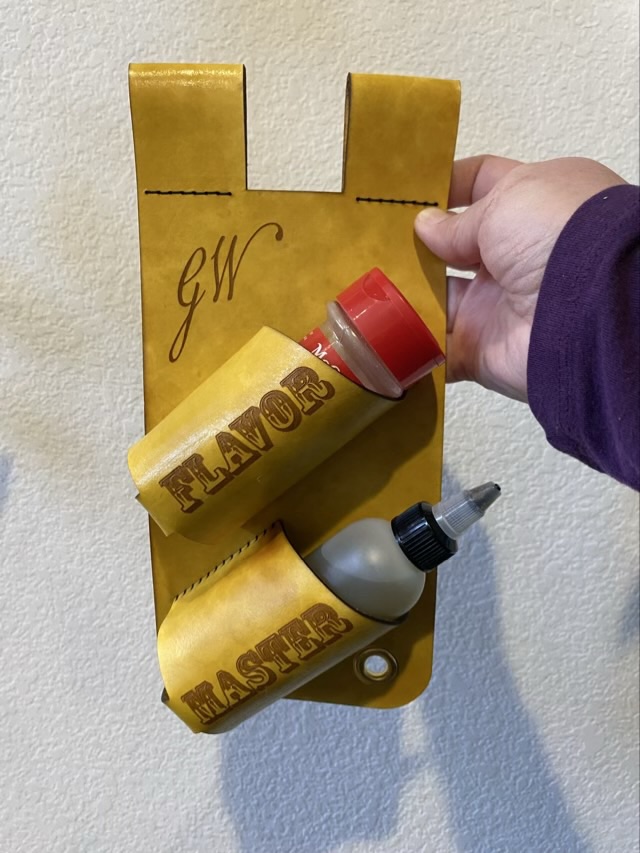
My Dad has been experimenting with making hot sauce. I thought he needed a hot sauce holster for either sauces or spices so they are easy to grab, so I made him one from leather. I started the design process with card stock, so I could get the sizes and shapes right.
Photo description: gray card stock cut into various pieces with two spice jars, pencil, and ruler
Once I was comfortable with my design, I used Adobe Illustrator to lay it out digitally, including engraving and lace holes. I included a “test” rectangle, which was very helpful and something I will include in future design projects, because I was able to use those elements to test my laser cutter settings before committing to larger objects.
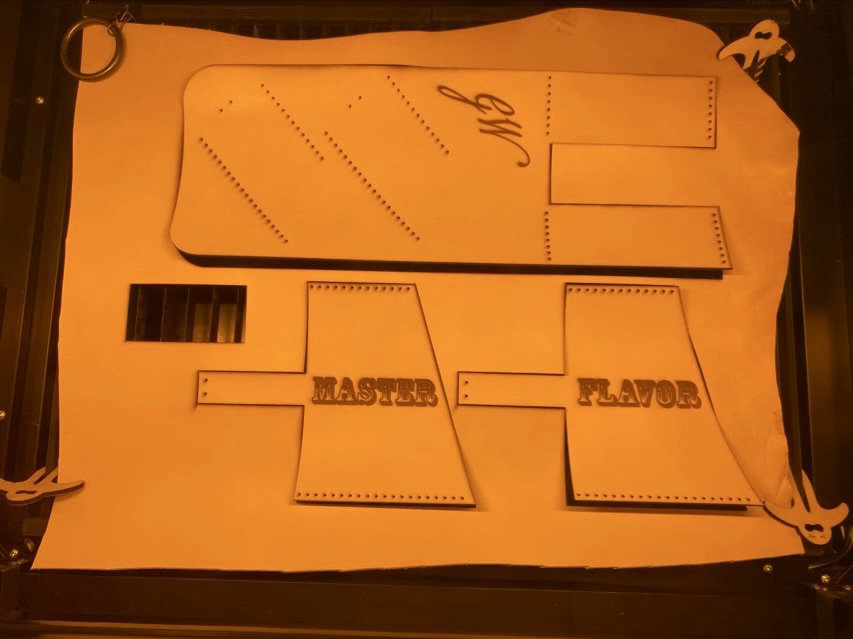
Photo description: four test runs of the word “test” and outline and hole cuts on scrap leatherPhoto description: leather still in the laser cutter, test swatch missing and three holster pieces engraved and cut
I rinsed the leather with water to remove the soot and smoke marks, then dyed it with leather dye.
Photo description: leather dyed with buckskin colored dye
I used waxed linen to sew the pieces together. I absolutely love how even I can laser cut the holes. Neat stitching is 90% hole placement.
Photo description: sewing leather at 90 degrees with waxed linen cordPhoto description: sewn leather holster with 3/4” grommet installed using Dritz pliers
I’m had some space at the bottom of the holster and thought that places to hang things are always potentially useful, so installed a gold hued metal grommet. I finally bought a pair of grommet pliers for this size, and it makes installation so much easier than hammering dies together.
Photo description: Finished spice holster with one spice jar and one hot sauce bottle and the words “Flavor Master”
The holster is designed to hang from a belt, and since it is wide, I separated the belt loop into two sections so it can accommodate a belt loop if necessary.
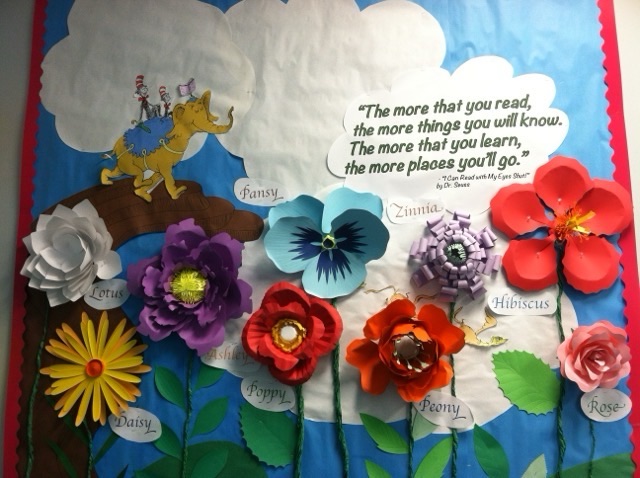
Back in February 2013 I was volunteering at my youngest’s elementary school library, shelving books and decorating their bulletin board. I really wanted to use my CRICUT cutter to make giant flowers and thought they would make a neat wall display.
Photo description: colorful bulletin board with large paper flowers labeled by name and The Cat in The Hat on an elephant with the words “The more that you read, the more things you will know. The more that you learn, the more places you’ll go.” from Dr Seuss
This is now a rare sight, because paper with that much dimension was deemed a fire hazard and it had to be taken down. The rest of my designs had to be 2D.
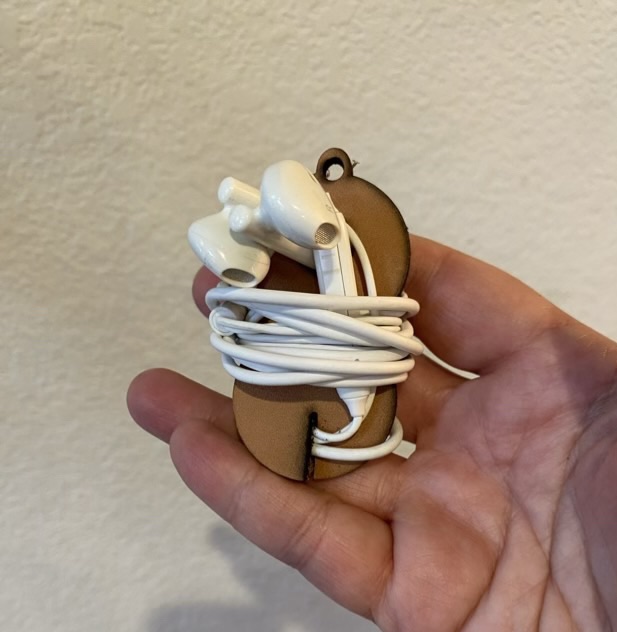
My headphones were in a tangle in the bottom of my bag. I realized that I now have a way to design and cut leather quickly, and could make a holder! I laid out an SVG file in Adobe Illustrator inspired by a Pinterest pin, put a piece of scrap tooling leather in my laser cutter, and ran the program.
Photo description: prototype leather headphone holder with key chain hole, hole for the ear buds, and slit to hold the end of the cordPhoto description: headphones wrapped around the leather holder
Hm. Not as neat as I hoped. Still, first prototypes usually aren’t spot on. This design would probably work better with headphones that don’t have a volume button on the cord, and have different shaped ear buds. I also need to beef up the keychain ring. It’s looking a little thin. Back to the drawing board. (Really, I’ll do a pencil sketch first on paper this time, then go to the computer.)