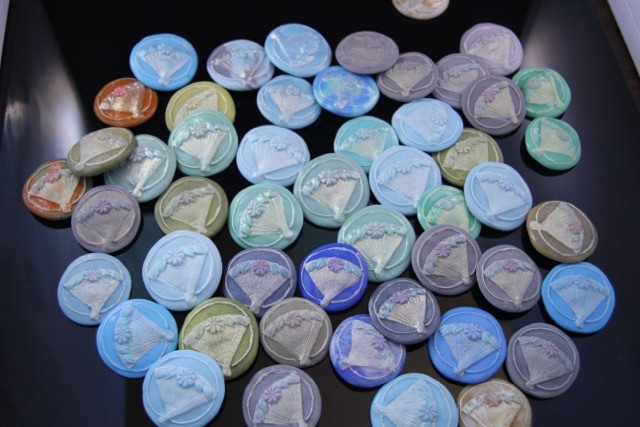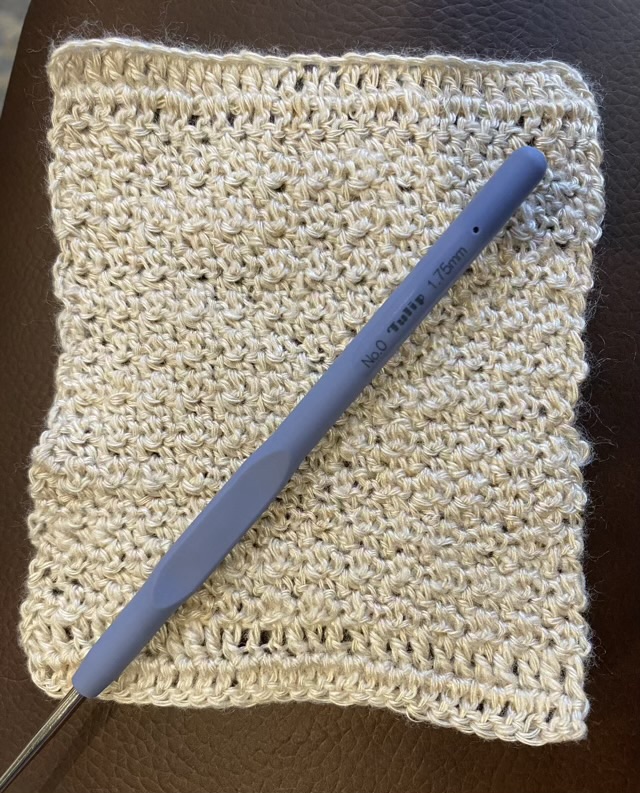
Today is the sixth anniversary of my blog! I did have a name change over that time from “of chickens and craft” to “critters and craft”. I do still have four chickens, and Wing Ding the Black Star hen is still laying eggs, even when there is snow on the ground, but things aren’t quite so chicken centric over here anymore. Now critters, we’re all about the critters, and making things.
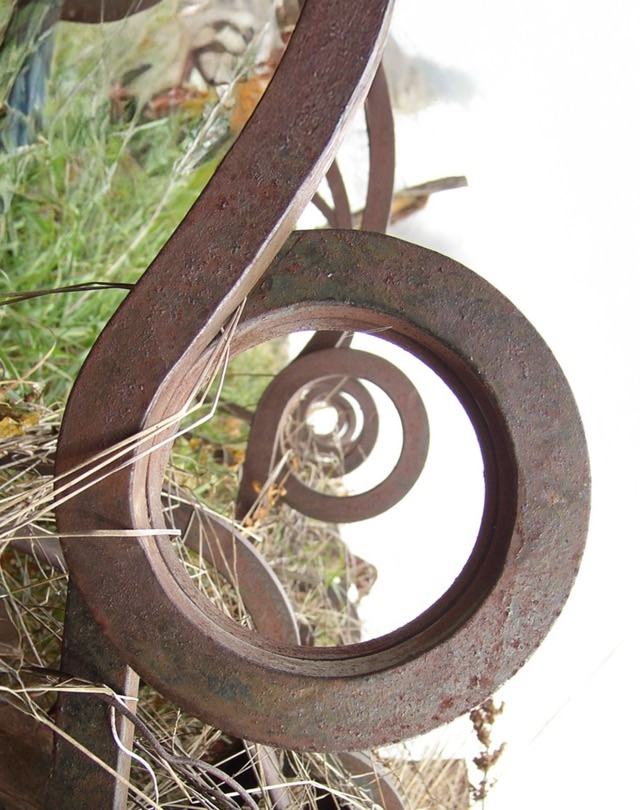
The sixth year anniversary token is iron. I found a photo I took of old rusted farm equipment and did a little Photoshop magic. I like using AI generation to change the ratio of photos and fill backgrounds on my own photographs and work. No fleecing other artist’s work in a dodgy way, and it is hard to anticipate all the potential uses of a photo when the shutter snaps. The original photo is below.
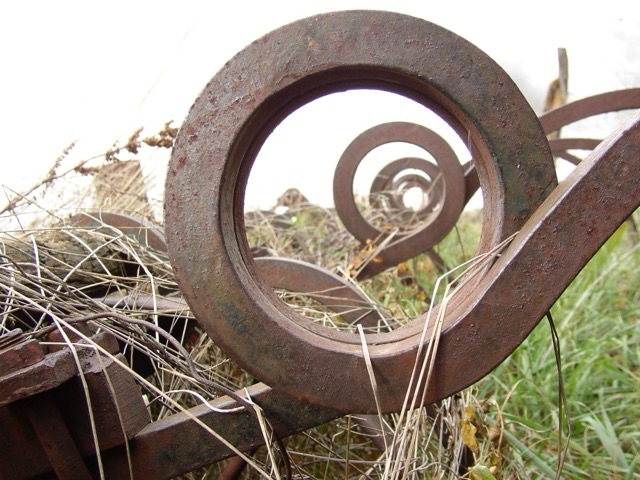
I also appreciate the search function in photo apps. It is still improving, but it only took a minute to find this photo in my gallery with the search terms “rusty iron”.
Here’s to more posts on critters and craft!