Here is a collection of spiders from around the house in celebration of Halloween.


Here is a collection of spiders from around the house in celebration of Halloween.
In October of 2015 there was a pumpkin display at the school library. The pumpkins couldn’t be carved because of the smell and mess, but could be painted or decorated. My youngest was very into Splat the Cat, so I crocheted a cover.

To get the fur, once the crocheted form was done, I brushed it with a boar bristle brush to raise the fibers. It worked quite well. The ears are also crocheted then brushed, with pink felt glued inside. The eyes are ping pong ball halves with green doll safety eyes installed. The nose is a safety nose on gray felt with an embroidered mouth, and hot glued inside place.
The best part is that the cover can be removed and reused.
I spent last week watching as much of the Sweet Adeline International Convention webcast live as I could. This gave my fingers long stretches of idle time, which I filled with nålbinding a hat. My parents-in-law recently visited Ireland, and brought me back some Aran wool, which is lovely to nålbind because it tears apart easily and felts back together well.
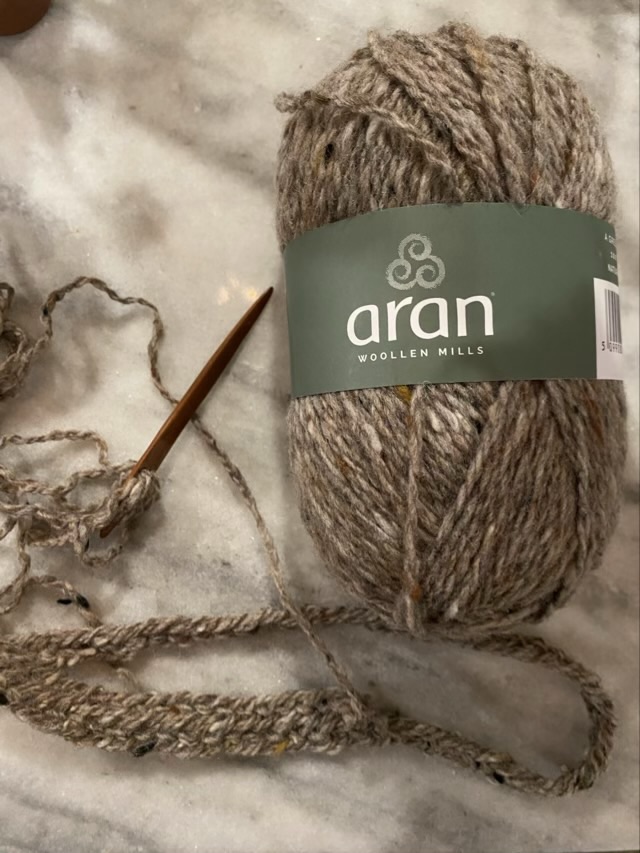
At one point I ran out the door for school pickup and dropped my nal somewhere. Waiting in the car I crafted one out of a straw by cutting one end at an angle and making two slits at the other end to hold the yarn. It worked, but wasn’t as pleasant as my wool polished cherry wood nal. I’m glad I found it when I returned home.
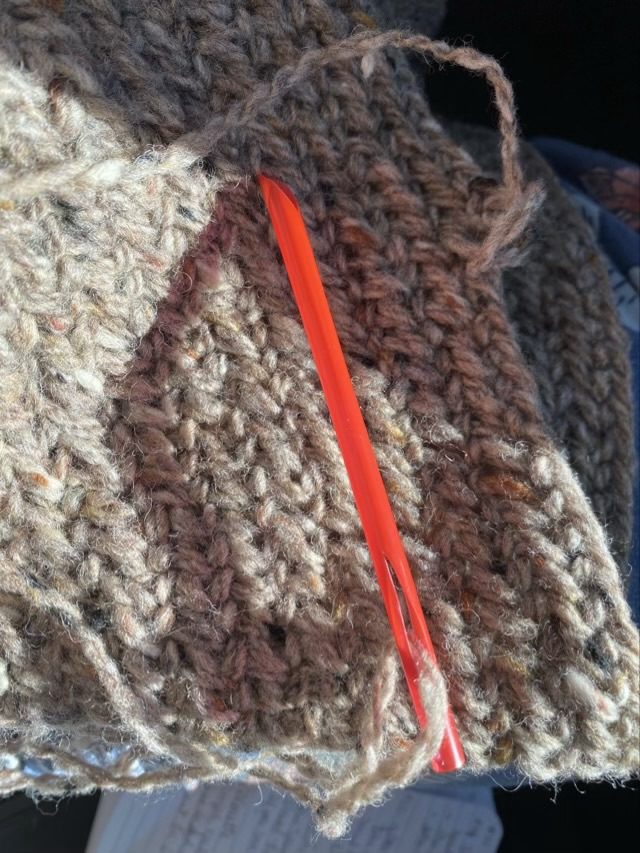
I know to make wool items bigger than intended because as it is worn it will naturally felt and shrink some. I thought my initial circle was oversized, but as I stitched the band contracted, so I switched my plan and added increases, and decided to gather the first rows together to form the crown. Aran wool is very lightly spun Merino, and does not have the strength to draw together and hold, so I made a length of flax cord instead. The flax won’t break and will probably outlast the wool.


I didn’t want to finish the hat with decreases, so I stitched a free length of Oslo chain, spiraled it into a rosette, and stitched down the bottom edge.

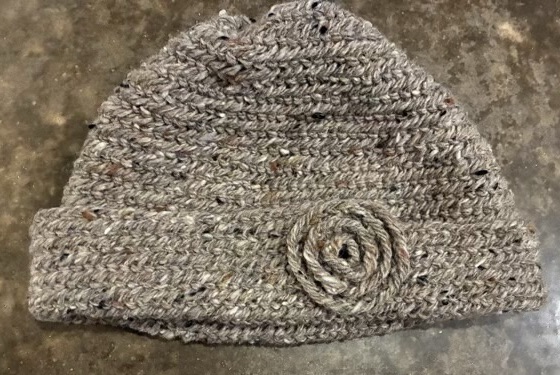

I finished twining and stitching a linen string bag using long line flax and a loop and twist construction. I would twine a section, then loop that section, so the bag was made with a continuous length of string. I did not used any tools other than my fingers. As you can see in the photo above it looks a little wonky. I took it to the sink, gave it a soak in tap water, then laid it out to dry. The transformation was remarkable.
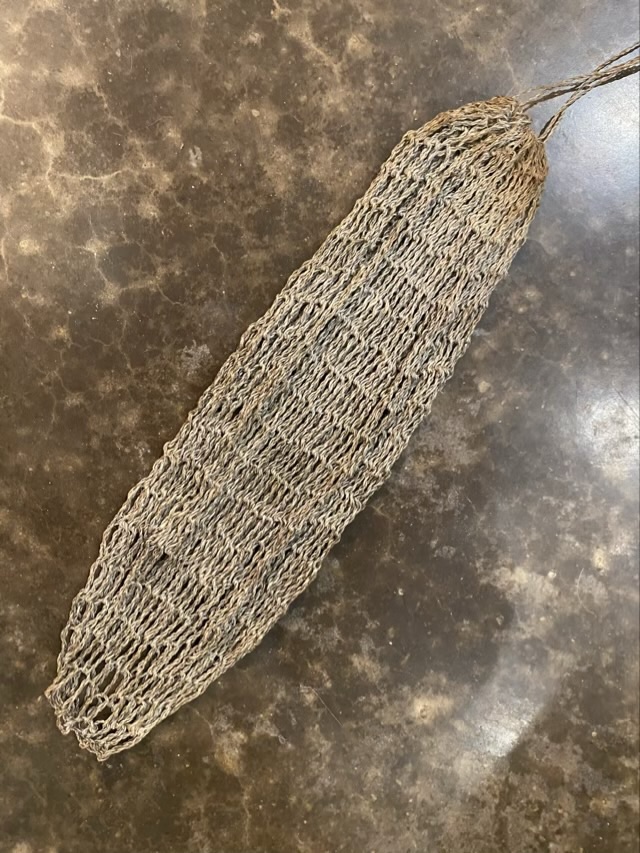
The bias twist in the stitches eased and it straightened out nicely. What wasn’t nice was the rust colored stains on the top.

I used a different batch of flax for the last few rows, and I think something on my well water reacted to something in the flax, which is disappointing. I washed it with gentle laundry soap and laid it out to dry again.

The rust color lessened, and now it looks more like a different batch of flax at the end, rather than a stain.
I’m also not pleased with the string ties. They are functional, but would be terrible to use to carry anything with much weight. The flax would hold, but the thin cord would cut into the flesh holding it. I do have an idea how to fix it.
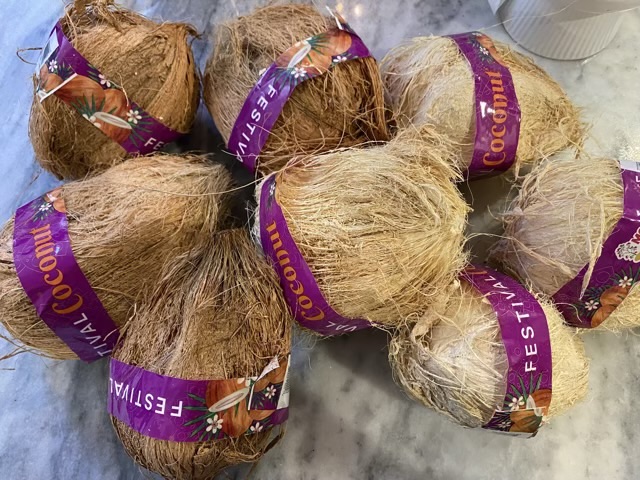
My grocery store had a large display of whole coconuts in the produce section, full of husk fiber. I went a little bananas and bought eight coconuts… for the fiber.
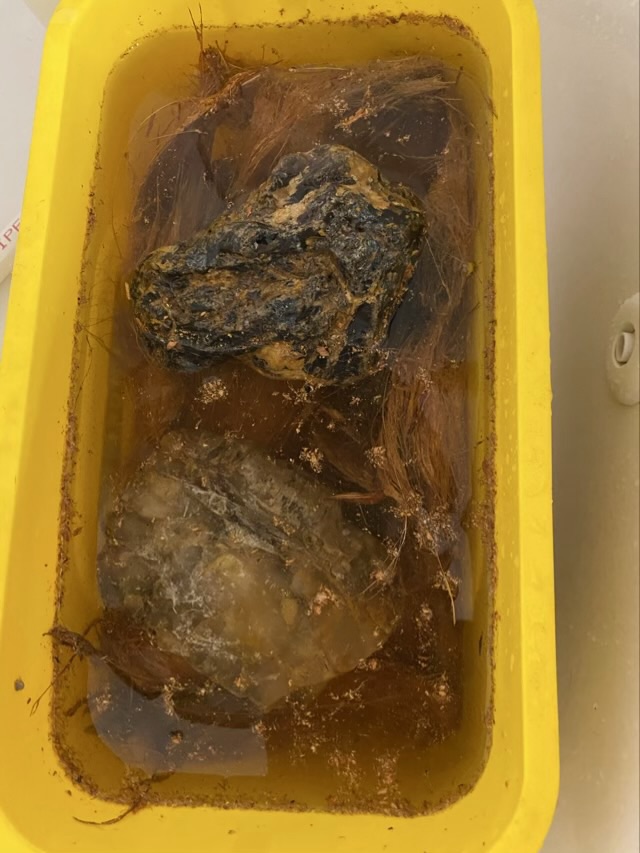
As I tore off the fibrous material from the coconuts I realized that maybe I didn’t need to buy eight. There is a lot of fiber! So I started with just processing four with the darkest color. I put the husk into a bucket, added water, and weighed it down with rocks.
I am also interested in making items from the coconut shells, so I found the one soft hole in the end of the coconut poked it with a gimlet, and shook out the water.

On the fourth coconut I finally had a method for cracking the shell cleanly. I whacked them with a metal rod (my knife sharpener) along the equator, then took them outside to tap on the concrete. I actually managed a clean break! One.
To get the flesh from the shells, I cooked them in my pressure cooker for 5 minutes, then let them cool. I cut a small wedge from the side of the flesh, which gave enough flexibility to use a butter knife to pry out the flesh.

I removed the brown skin on the coconut meat with a vegetable peeler.

Next steps include cleaning up the fiber and polishing the shells. And figuring out what to do with all that coconut meat.
