
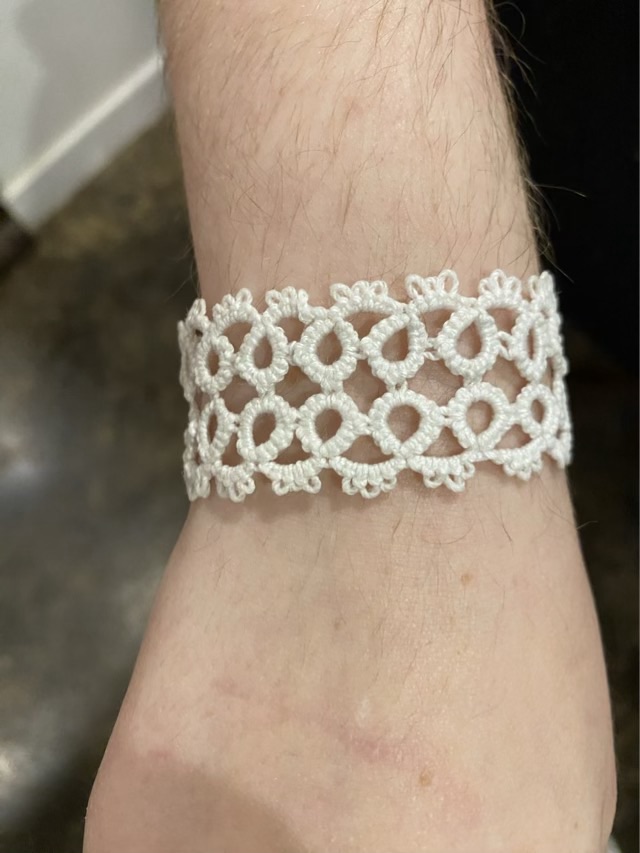
I saw a picture on Pinterest of a tatted bracelet that I recognized most of the elements used for construction. I’m having trouble interpreting written tatting instructions, but a picture is almost as good as a chart, and much easier for me to follow. I loaded up my tatting shuttle with #10 cotton, left it attached to the ball, and started with the ring part of the clasp. It took me a few hours to complete, and I carried it around in my purse for a while to work on when I was waiting. The bracelet is worked with the same series of a closed loop and a chain on both sides, and each connection used a picot.
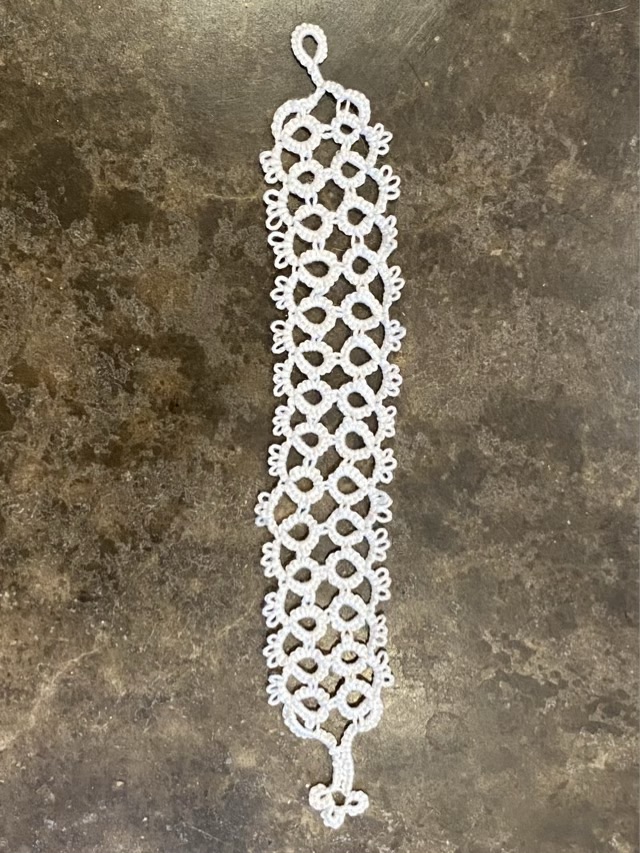
I did have to join in more bobbin yarn, but the ends were easy to weave in with a needle. I joined the last chain to the opposite side with a square knot and wove in the ends. To block it, I soaked it in a solution of white glue and water, to give it some stiffness and protect it from staining. I need to experiment with the ratio of glue to water. The bracelet turned out stiff and itchy, and didn’t resist a tea stain when tea accidentally spilled across the counter.

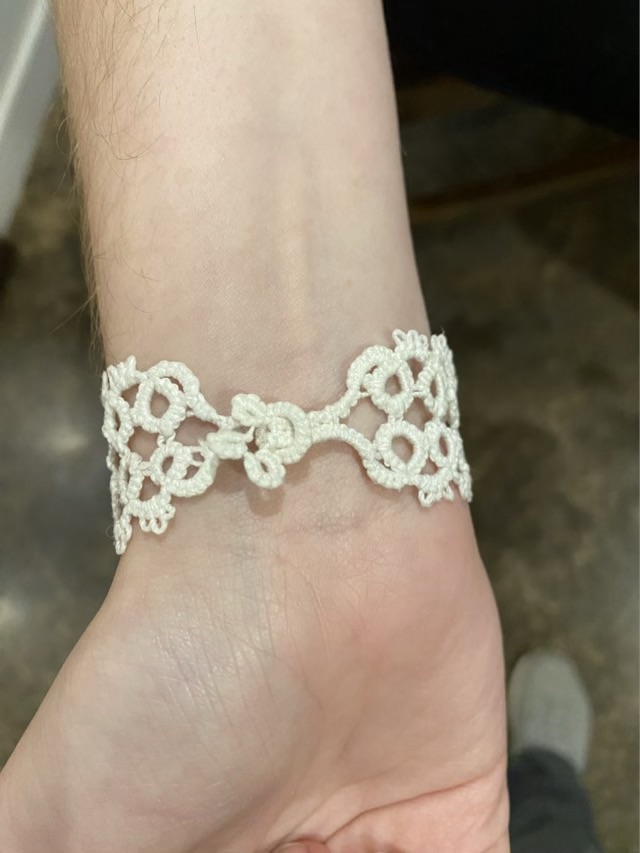
The clasp works reasonably well, although it takes a different set of hands to close.
I need to work on the tension of my knots, the consistency of picot size, and the consistency of the closed loop size. I may try another bracelet to get the basics down. The tatted lace is sturdier than crocheted lace, but the counting slows me down, and I need a different way to hold the shuttle so it doesn’t hurt my thumb. So, not my favorite craft, but could be useful in a future project on a small scale.
