Basket lining

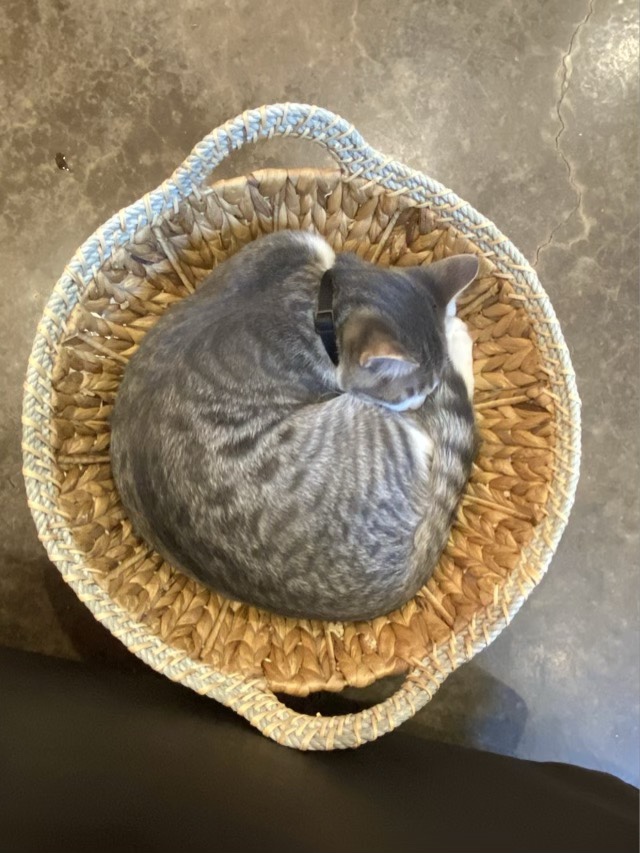
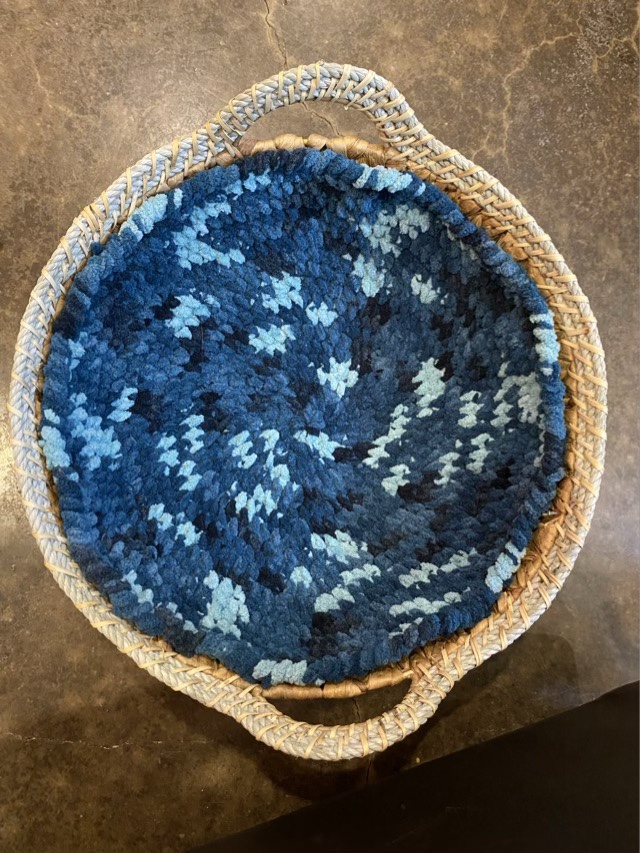
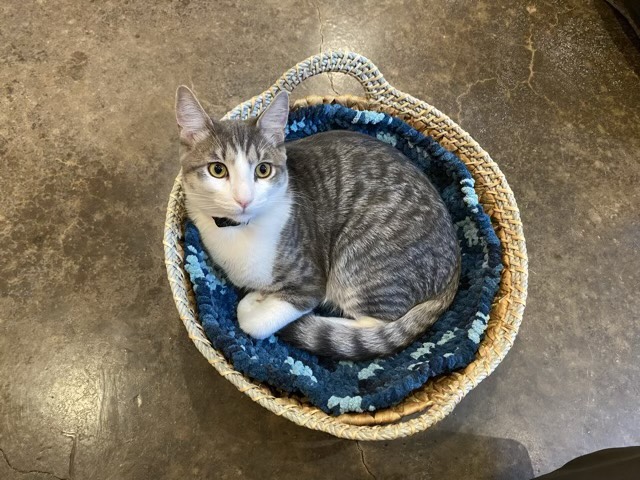
I’ve been slowly working away at my recycled yarn cat mats (which I first blogged about here), and decided to line the cats’ favorite basket. I started with a magic circle and used single crochet stitches. It starts as with any flat round crochet work, with increases spaced by single stitches that gradually increase in number, but as it climbed the walls of the round basket I found that I was still adding increases but not increasing the singles. That sounds more complicated than it was, huh. Here are some cat pictures.

Photo description: Gray tabby cat curled up in a round rattan basket.
Photo description: Round crocheted mat inside the same basket.
Photo description: Gray tabby cat on the mat in the basket, looking up.

I didn’t write things down as I went, I was crocheting by feel, but here is the approximate pattern, for those inquiring minds that want to know.

  • Single crochet (sc) 8 into Magic Loop
  • Increase (inc) in each stitch (st)
  • *Sc in st, inc in st* repeat (rp) 8 times (x)
  • *Sc in next 2 st, inc in st* rp 8x
  • *Sc in next 3 st, inc in st* rp 8x
  • *Sc in next 4 st, inc in st* rp 8x
  • *Sc in next 5 st, inc in st* rp 8x
  • *Sc in next 6 st, inc in st* rp 8x
  • *Sc in next 7 st, inc in st* rp 8x
  • *Sc in next 8 st, inc in st* rp 8x
  • Repeat last row to match the slope of the basket sides
  • Sc around for two or three rounds
  • Finish with a row of crab stitch (single crochet going right instead of left) to add structure to the edge.
  • Note: Increase means to make two sc in the same st.

Expanding my fiber book

I’ve been quite frustrated with options for expanding my fiber book. The longest binding post screws I could find were not long enough, and the “extenders” had multiple reviews that that the threads didn’t fit, and I couldn’t find extenders that came with the caps. Bah. Time for a trip to the hardware store, specialty fasteners to the rescue. I found 5 inch threaded rods and some acorn nuts. They aren’t as fancy as a binding post, but they get the job done and I can probably fit another 10 pages in my book. I did have to adjust the cover to accommodate the acorn nuts, but it worked just fine to unfold the edge. A photo book this size would be very heavy and unwieldy, but my fiber pages are light and have thick spacers, so it works. I suppose I could separate up the pages into different books (shocking, right?), but right now I’d rather spend my money on fiber than book covers.

Photo description: Acorn nut on a threaded rod going through the edge of a photo book, sticking up about one inch over the cover, colored pages are spaced with white foam.

It is in my plan to eventually have an elegant external presentation, but I’m still cogitating on how I want that to look. This does the job for now.

Getting better

Our back door deadbolt started to stick (most likely with how incredibly dry we are this summer). The bolt was rubbing on the top of the strike plate. I’ve dealt with this many times since owning a home, and it usually takes me half an hour of swearing and adjusting and fetching tools I forgot. This time I grabbed my 1/2” chisel, mallet, and the electric screw driver and had the plate off, a few millimeters chiseled out of the wood, and the plate back on in about five minutes. I’ll take it.

Photo description: Strike plate for a deadbolt moved up a fraction of an inch

The fix isn’t gorgeous, but it is functional. The deadbolt now slides smoothly into place.

Side gusset

My youngest has a favorite shirt that was getting snug. To prolong the life of the shirt and make her happy, I added a gusset to the sides and up through the arm. First I picked out the side seams about to the elbow.

Photo description: Gray knit material with blue thread and a seam ripper, showing a partially picked seam.

I had her try on the shirt at this stage to see how wide the gusset needed to be cut. Then I cut long rectangles of a similar weight black knit fabric and tapered the end by the elbow.

Photo description: Gray t-shirt on a white table with a black rectangle of fabric laid on top. The top of the rectangle has been cut to a point.

I put the right sides together, and starting at the arm, sewed in the gusset with a stretch stitch on the machine. To finish the bottom edge, I folded up a hem to match the sides and stitched across with black thread.

Photo description: Gray Oklahoma Thunder shirt with sewn in black gusset, side view.
Photo description: same shirt but laid in the table flat showing the front view of the gusset up to the elbow.

I was quite pleased with how the modification came out. The shirt fits better and looks like it was originally designed that way. My youngest is happy because the shirt is now much more comfy.

Corn fiber page

The Ingeo corn top was an interesting addition in my plant fiber sample bundle. It feels like cotton, but has a much longer staple length (the length of the individual fibers). I spun it up on a drop spindle and made a two-ply yarn.

Photo description: clockwise from the top left: Hearthside Fibers description card; paper bobbin holding the single; paper bobbin holding 2-ply; crocheted round (size C hook); four selvage woven sample(Clover mini loom); knit sample (size 4 needles); un-spun fiber in a paper drawer

I perused an internet search on the fiber, and liked the semi-science description (although it is still marketing speak) from Paradise Fibers:

“Extract dextrose from plant fibers, ferment, distill, and extract lactic acid into a polymer, creating silky, lightweight roving. Ideal for garments, biodegradable, breathable, high wickability, and flame resistance. Crimp and resilience make knitting easy. Low odor, good moisture management, fast drying, and soil release. Dye just like a protein fiber and marvel at the results! Renewable, natural, and simply divine.”

Some other sites also say that it is a good fiber for people with sensitive skin. I would certainly wear it. The samples I made up felt wonderfully soft. This is definitely a fiber I would buy in larger quantities to make full-sized project.