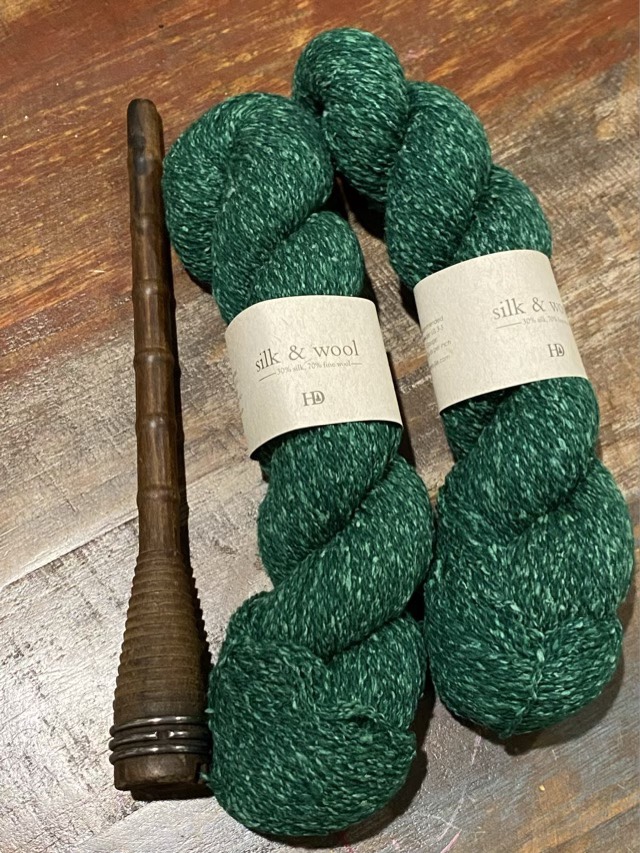
Harrisville Designs in New Hampshire has moved their machines back to the original factory floor in town, to strengthen the ties to the community, switch to renewable energy, and return the historic buildings to their original purpose. To celebrate, they offered customers a piece of history, an antique spinning mule bobbin, if you purchased a skein of yarn. I ordered yarn.
Antique maple spinning mule bobbin and new silk and wool yarn from Harrisville Designs
A spinning mule is a machine used to spin yarn on multiple bobbins as once. (Here is a place to get started on more information.) It drastically improved the amount of yarn that could be spun at one time and replaced the spinning wheel as the main production of yarn in the 1700s. This bobbin is between 50 and 100 years old. Fascinating. I can’t collect many antiques, I just don’t have the room, but this is small and will go with my hand spindles.
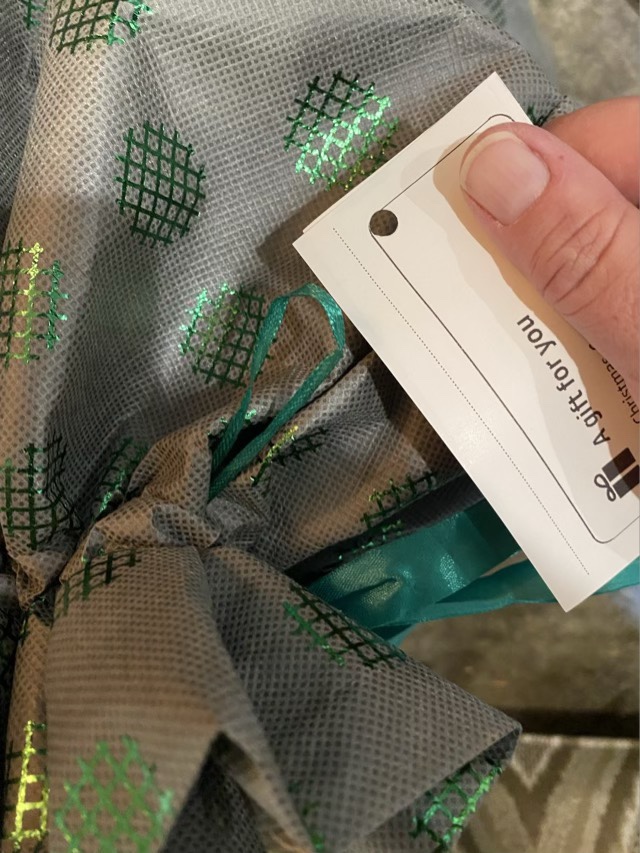
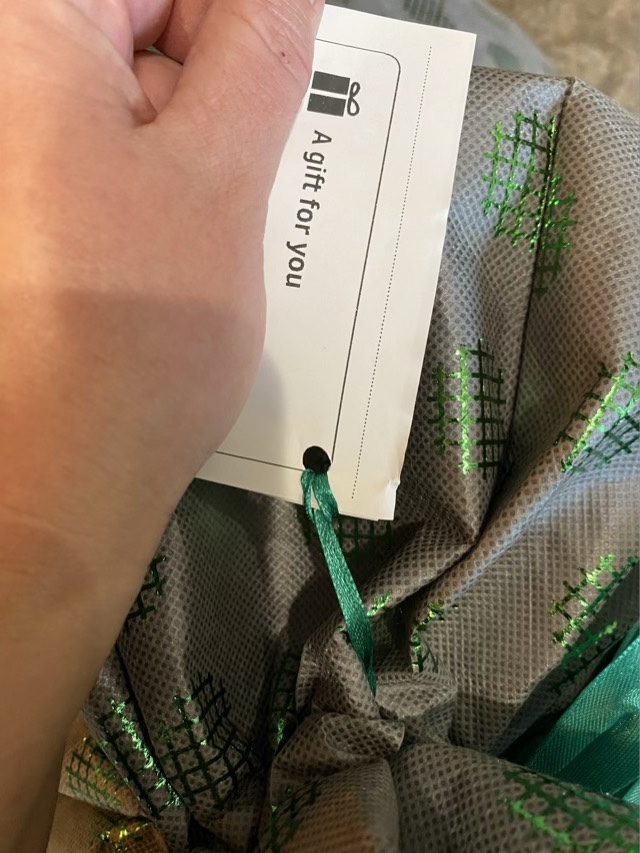
Our family exchanges many Amazon wrapped gifts. The bags are fantastic for reuse, and to make it even easier, the tag loops can be reused as well by removing the old tag and looping a new tag in (here is a short video). Even easier, fold the little tag Amazon sends with the gift, and punch a hole in. The paper is flexible enough to thread through the loop to attach the tag.
Old tag removed, new tag preppedNew tag attached
Yes, you could also glue or tape the preprinted tag onto the old tag. I have also been known to make a hand written new tag, but now I have another option to solve the labeling gifts issue. I like choices.
Here is how to make a smaller box from a big box. We get a regular supply of cardboard delivered to the house, but they are usually too big to use to wrap gifts directly. So I use them make smaller boxes.
What you need:
Large cardboard box (or sheets of cardboard)
Heavy scissors (I use kitchen shears)
Ruler
Pencil
Length, width, and height for the new box
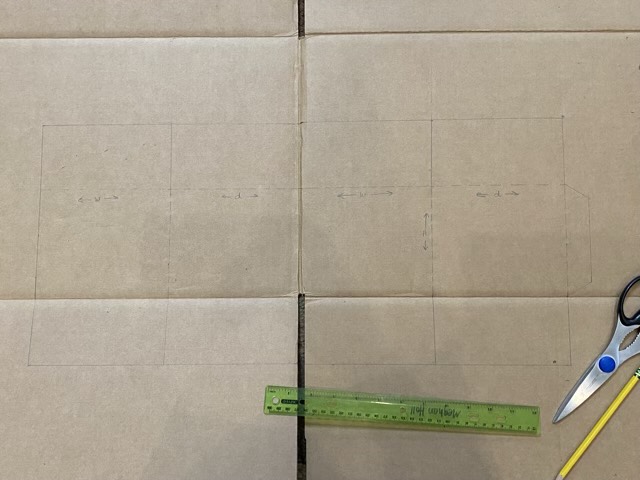
Start by deconstructing the old box. Most cardboard boxes have a single glued seam along a side edge that can be pulled apart. Lay the box flat and layout the cut and fold lines for the new box.
Cut and fold lines laid out on cardboard
I recommend using existing fold lines if possible. Measuring out from the center, mark the width of the new box with dotted lines (for folds). My box is 6x6x5, so the sides are all the same width. If you need different width and length, alternate the values as shown in pencil in the picture above. Mark the height of the box across the sides also with a dotted fold line. Make a one inch tab on the end (mine is on the right). Above and below each side, measure out flaps that have a height equal to 1/2 the width. Then using heavy scissors, cut out along the outside lines.
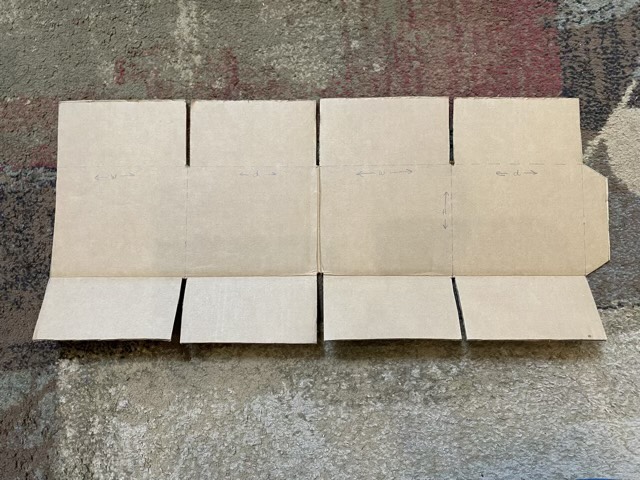
Box pattern cut from larger box
Cut the flaps free by making two cuts on either side of the line. This makes gives room in the corners when the box is assembled.
Box flaps cut free
Before folding the sides, tab, and flaps, gently score the lines using a ruler and a pointy, but not sharp implement (such as the outside tip of the scissors, or a dull pencil). Then gently fold the cardboard along the line. If the cardboard buckles instead of folding neatly, score again a little harder, and work the fold with your fingers close to the line.
Flaps, sides, and tab prefolded
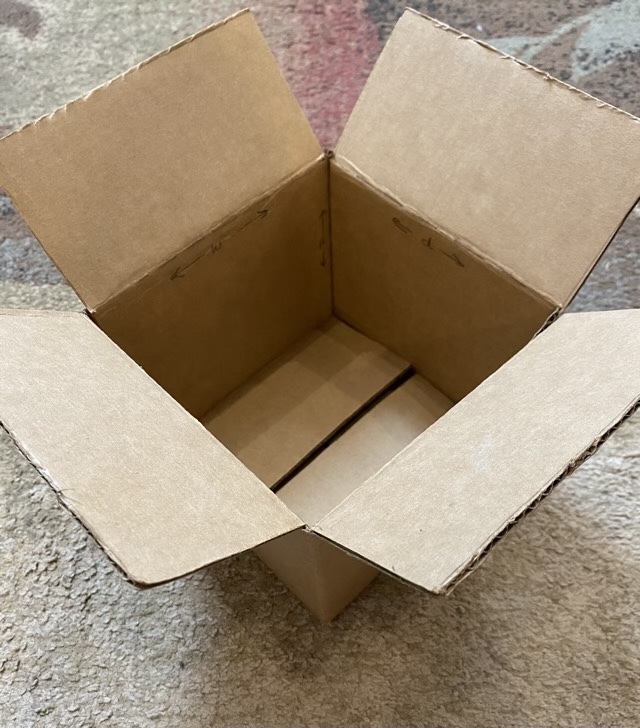
Check the box by folding it together with the flap inside the opposite edge. If it looks serviceable, use hot glue to secure the tab in place. The box can be store flat, or assembled with packing tape.
My waiting project is progressing. My original idea was a cowl double knit with polka dots. I chose two variegated yarns, which is making the pattern muddier than I envisioned. On the plus side, it looks like an old school monitor glitch, which is cool in its own right.