Here is how to make a smaller box from a big box. We get a regular supply of cardboard delivered to the house, but they are usually too big to use to wrap gifts directly. So I use them make smaller boxes.
What you need:
- Large cardboard box (or sheets of cardboard)
- Heavy scissors (I use kitchen shears)
- Ruler
- Pencil
- Length, width, and height for the new box
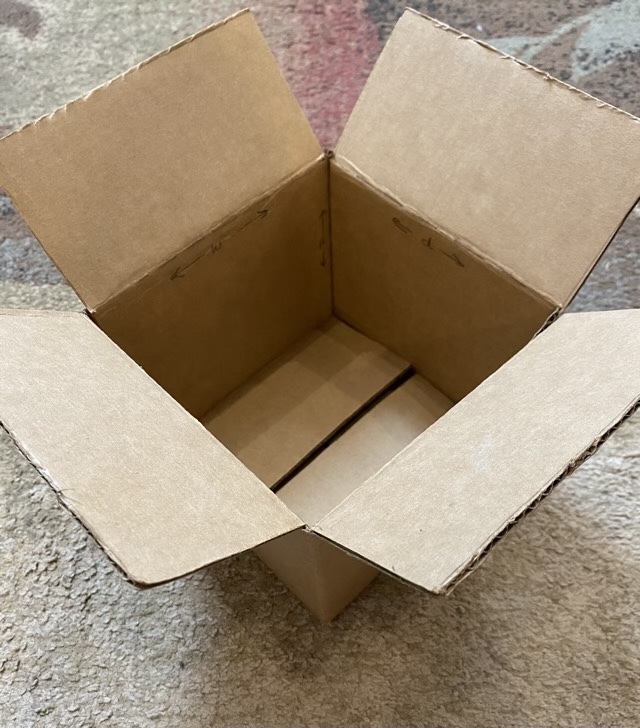
Start by deconstructing the old box. Most cardboard boxes have a single glued seam along a side edge that can be pulled apart. Lay the box flat and layout the cut and fold lines for the new box.
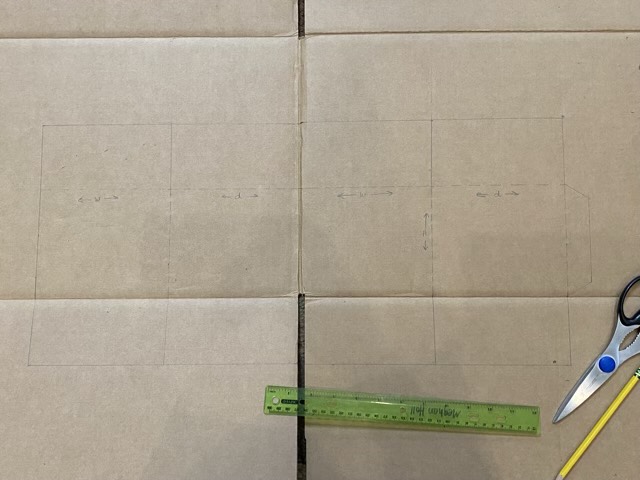
I recommend using existing fold lines if possible. Measuring out from the center, mark the width of the new box with dotted lines (for folds). My box is 6x6x5, so the sides are all the same width. If you need different width and length, alternate the values as shown in pencil in the picture above. Mark the height of the box across the sides also with a dotted fold line. Make a one inch tab on the end (mine is on the right). Above and below each side, measure out flaps that have a height equal to 1/2 the width. Then using heavy scissors, cut out along the outside lines.

Cut the flaps free by making two cuts on either side of the line. This makes gives room in the corners when the box is assembled.
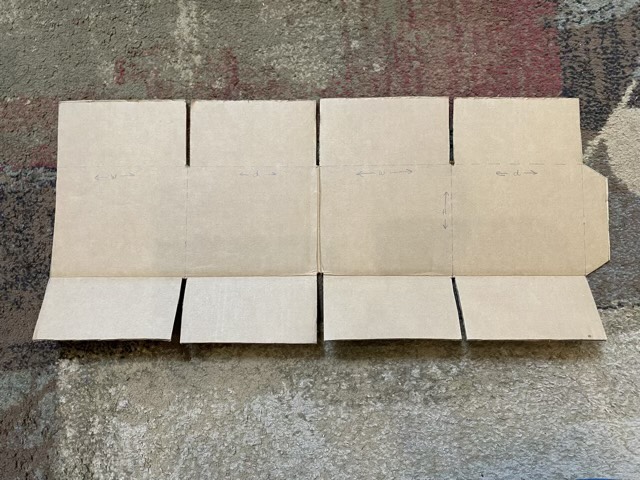
Before folding the sides, tab, and flaps, gently score the lines using a ruler and a pointy, but not sharp implement (such as the outside tip of the scissors, or a dull pencil). Then gently fold the cardboard along the line. If the cardboard buckles instead of folding neatly, score again a little harder, and work the fold with your fingers close to the line.

Check the box by folding it together with the flap inside the opposite edge. If it looks serviceable, use hot glue to secure the tab in place. The box can be store flat, or assembled with packing tape.