As I spin through as many different fibers as I can get my hands on, I am creating a scrapbook page for each to build a reference book. This is how I build my pages.
Materials:
Two 12”x12” sheets of card stock
One 8.5”x11” sheet of card stock
One 2.5”x12” rectangle of end paper (fancy printed paper with some strength)
One 8 3/4” x 11 1/4” heat-sealed laminating pouch (sealed empty)
One 3”x5” index card
Two 3/16” inside diameter metal grommets
Paper brads
Hot glue
Thread
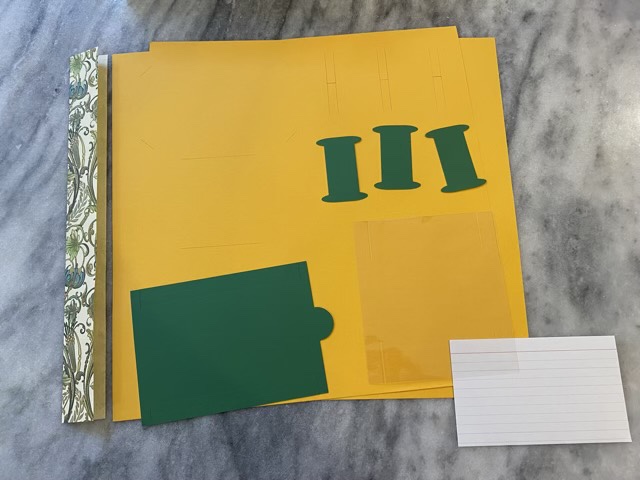
I use a Cricut electric cutter to score and cut my cardstock, but similar preparations can be done by hand with a craft knife. I make a 1/4” drawer, three “spools” from coordinating cardstock, a drawer sleeve from heat-sealed laminate, and cut one sheet of cardstock with slots to hold each element. Paper brads will hold the swatches onto the page. The Cricut project is available here: https://design.cricut.com/landing/project-detail/630799ca21506d2c4716a4c2
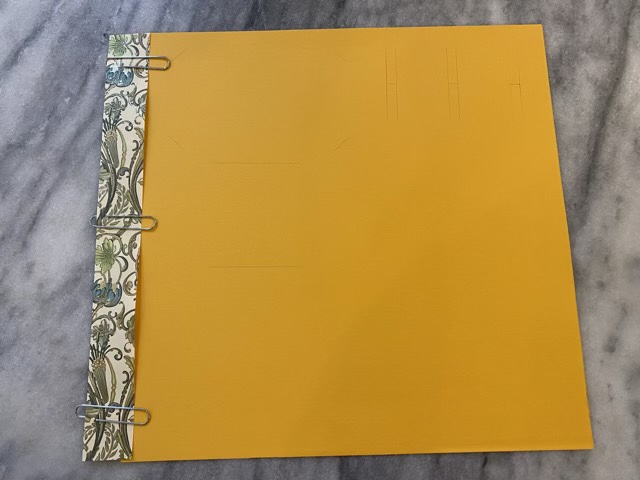
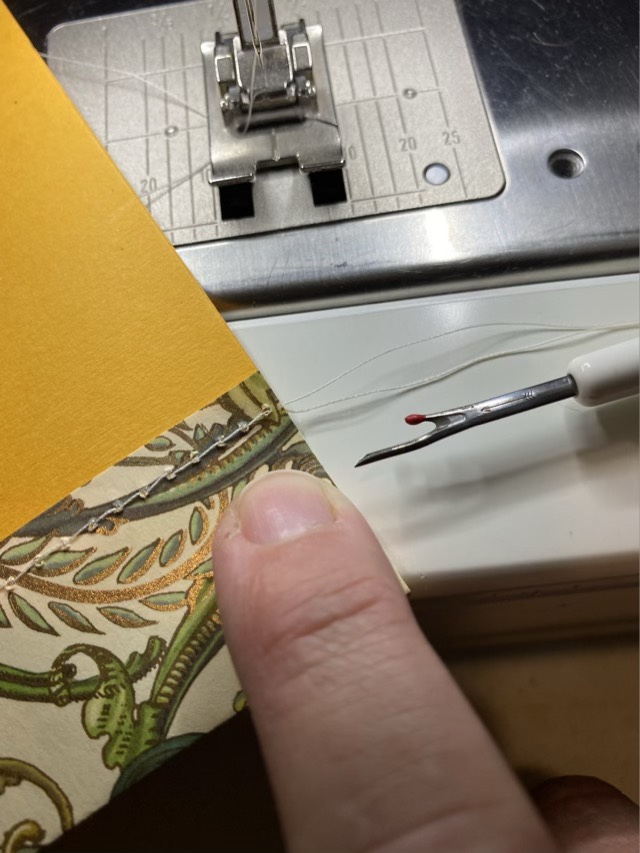
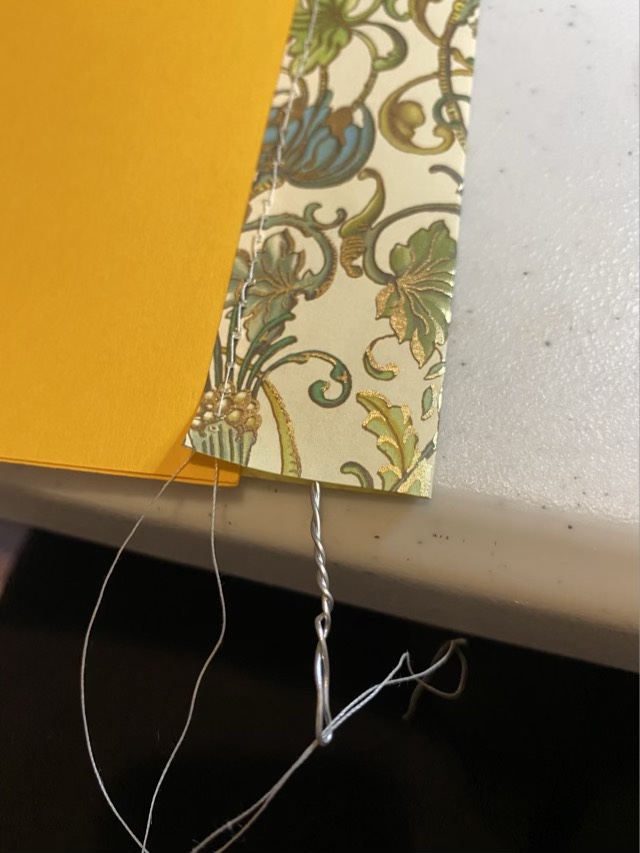
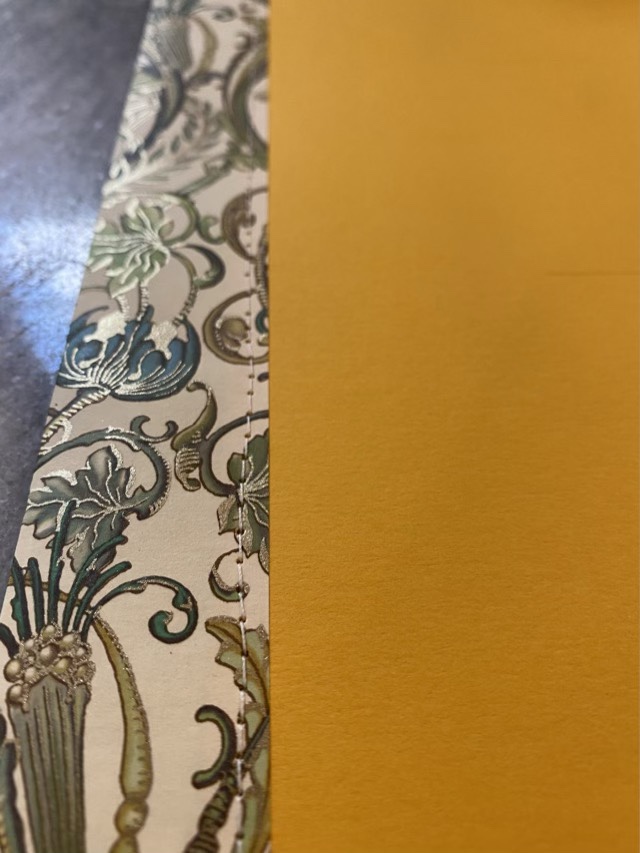
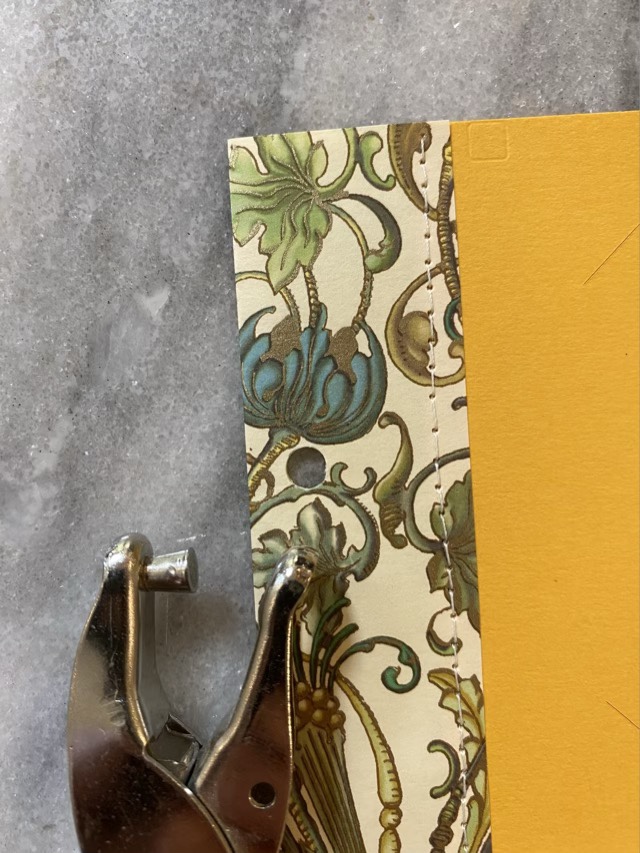
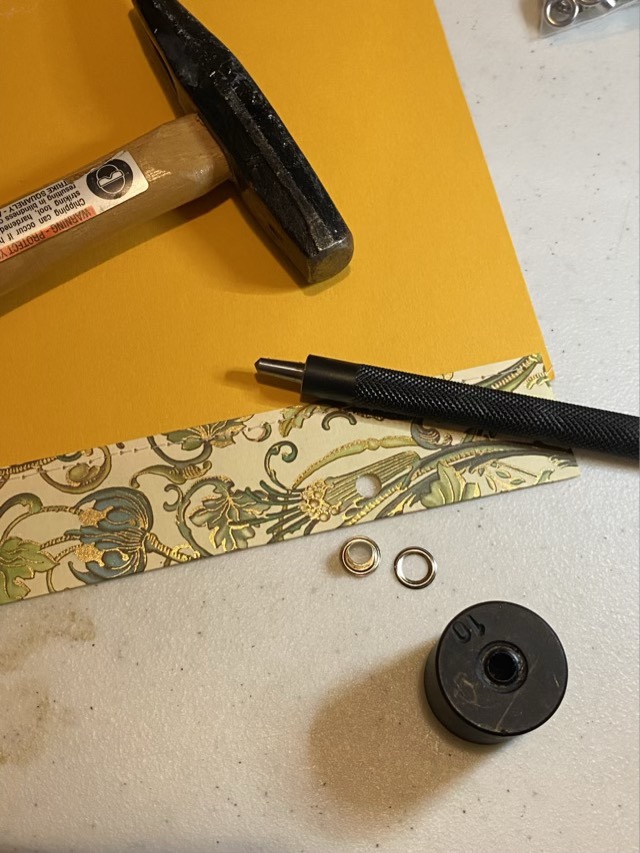
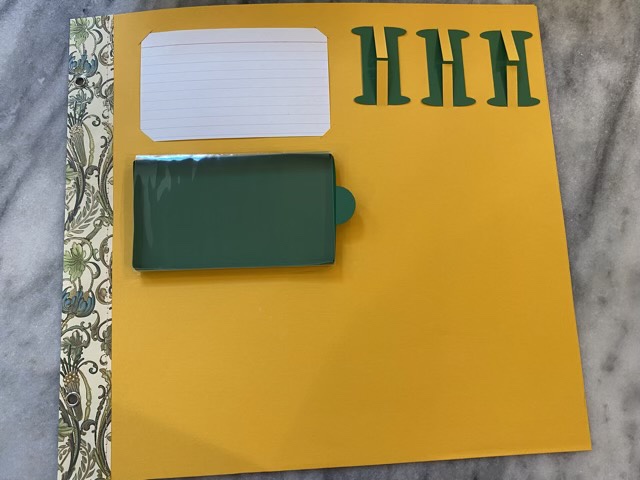
Cut, scored, and folded pieces ready for assemblyI use paper clips to align and hold the two large pieces of card stock and the folded end paper together with a 1/4” overlap. The back uncut sheet acts to protect the following page, and the end paper forms a spine to make the page large enough to fit in a standard photo book. Sewing, rather than gluing, provides a secure attachment for a longer length of time.Using a straight stitch I sew the three layers of paper together.I use a seam ripper to pull the threads to the inside of the layers.I knot the ends of the threads, then use a long piece of twisted wire to run the threads back inside the spine.Finished seam.A page from the scrap books works well to mark where the holes should go on the spine.I use a hole punch to cut the holes for the posts of my photo book.Two part metal grommets help reinforce the holes. These are easy to add with the right tools.Set grommet.A heat sealed laminate sheet is remarkably easy to fold. The drawer sleeve needs four creases to create a 1/4” high sleeve, then the tabs on the back fit into the slits on the card stock.The folded card stock drawer benefits from the ridged hot glue to reinforce the sides. The drawer works without the adhesive, but is studier with it.Assembled fiber study page. The spools are held with long tabs that can slide under the yarn once wrapped. Each spool has two slits one inch apart so the yarn’s wraps per inch is easy to see.A second page with a different color scheme for a lighter colored yarn.
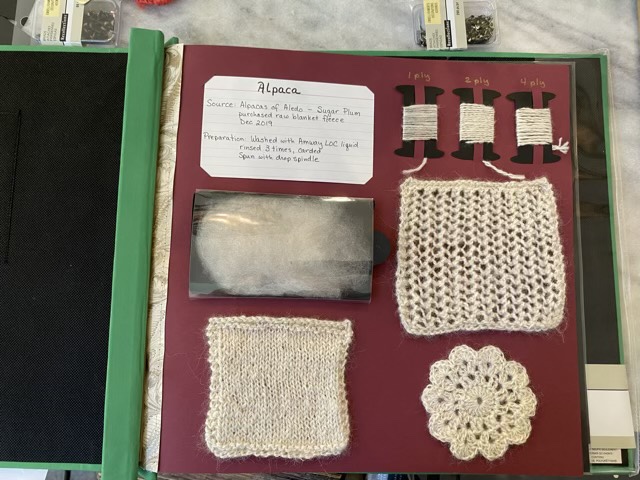
Descriptions of the yarn can go on the index card, unspun fiber can go in the drawer, spun yarn of different plies go on the spools, and knit, crochet, nålbinding, or weaving swatches can be attached with paper brads to the open areas.
Back of a finished page showing the connections and the protective sheet.Finished page with alpaca yarn installed in a scrapbook.