Brioche

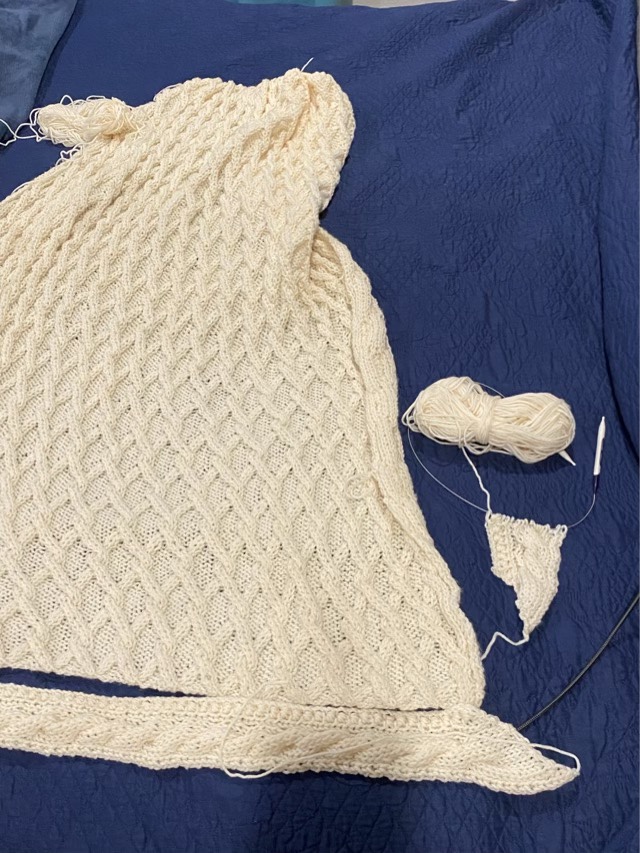
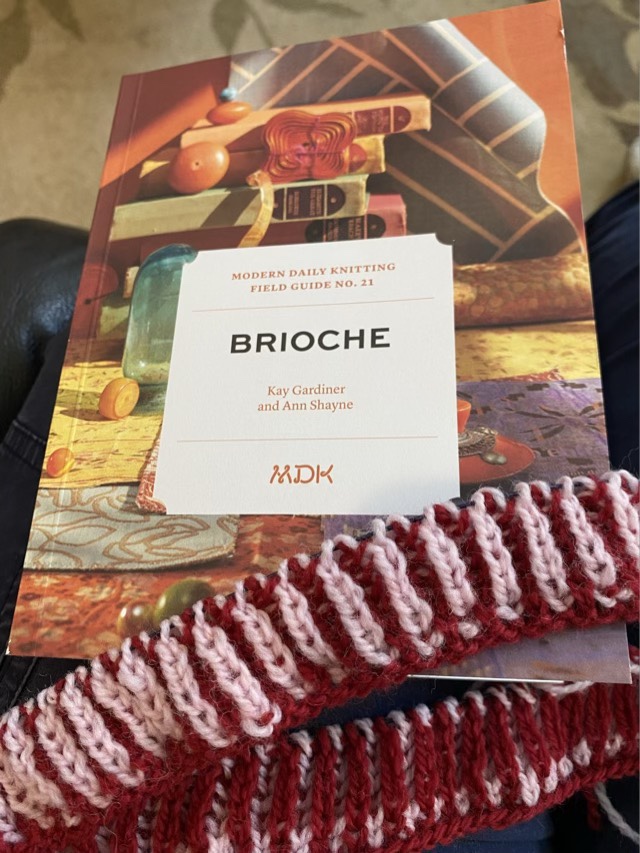
Surprisingly, this post is not about bread. Brioche is also a style of knitting; it is often used with two colors of yarn to beautiful effect. The technique first caught my eye when I was scrolling Pinterest (rabbit holes!!) Then Modern Daily Knitting collaborated with Nancy Marchant (brioche guru) on a new Field Guide with four beginner brioche patterns. I couldn’t resist. Today starts a new MDK knit-along for the first pattern in the book. This is my first attempt at a knit-along, so we’ll see how it goes!

Learning brioche knitting

I’m sure no one else is counting, but I’m acutely aware that I am now in the middle of three knitting projects. Hm.

That was unexpected

I wanted to try my new professional wood burner setup on some paper. I ordered some handmade paper that looked vintage and setup my wood burner with a small writing tip. Since this was new, I started on a low setting on the control box. I had an unexpected result. The lines on the paper where lighter, not burned. I turned up the dial and then achieved the brown color I was expecting from hot metal applied to paper. I made little circles and wrote down my dial settings.

Different effects at different temperatures of a wood burner with a writing tip on handmade paper

The light color was intriguing. Was it a fluke? Could I reproduce the effect? Being able to add dark and light to a drawing certainly opens up interesting possibilities. I turned the dial back down and was able to get light lines again. Maybe the fibers are being ironed down. Maybe the gentle heat is reacting with what ever was used to age the paper. What if I use a different tip?

Different burn results using a loop tip

Different tips do carry the heat differently. I was almost able to achieve the lightened effect with a slightly larger tip, but only at the lowest setting. Still, so many possibilities.

And Happy Father’s Day to all those that fill the Father’s role!

So many peaches

Freshly washed Parker County Peaches (about 1/4 of my whole haul)

I recently went to the local Farmer’s Market in town and loaded up on local peaches. I think I had nearly 10 pounds! At home, I put them in a large paper bag to finish ripening. We did eat some right away, and some the next day, and the next, but we still weren’t able to get through them all when they hit peak ripeness. So I decided to freeze them. Ripe peaches are fiddly things to cut! I tried several methods, but found these steps listed below worked well for me.

First two longitudinal cuts allow one section to be removed
Cut one slice at a time and use a slight twisting motion to release the slice from the pit
Skins remove easily by sliding the knife between the flesh and skin

My slices aren’t beautiful, but they froze well and go great in smoothies. The skins I popped into the food processor, then froze as a block to give to the chickens later. (It is rather hot here, frozen treats are favorite.)

Update on Grandma’s blanket

I’m still working on my Grandma’s last unfinished project. I’ve been knitting along on the main body of the blanket and I had a chilling thought. What if I don’t have enough yarn to do the border? I have an idea of how long she intended it to be, but what if I’m wrong? What if I’m missing a skein or two? Yikes! Deep breath. I’ll just make the borders now, while I have plenty of yarn.

Grandma’s blanket with one border side complete

The top and bottom border strip are a fixed length, so I’m starting with those. For the side borders, I will knit them as long as I think the blanket should be, but not finish the taper, rather I’ll put the stitches on a stitch holder, and if I need to rip out, I can do so. Then I can go back and put 90% of the rest of the yarn into the central field. When almost all the yarn is gone, I can finish the side tapers and sew it all together. I don’t need to save yarn for the tassels called for in the pattern (I don’t like tassels, they just get tangled), so I just need to save enough to piece it all together. I have a plan.

Nodes

I have been diligently using clean shears to remove the spent blooms on our hearty hibiscus. I’ve read that Thrips get to the dirt when the blooms fall, and there can complete their life cycle. So any damaged or finished bloom needs to go before it falls. As I was clipping, I had one come off in my hand before the scissors could touch the stem. What? Upon closer inspection I noticed a node in the stem about an inch down from the bloom. On every bloom and bud. It takes very little effort to snap off the end at this natural weak point. Neat. No remembering to bring the scissors, I can just pop off the old buds each day as I walk by.

Hearty Hibiscus spent bloom with arrow pointing to the node.

We are getting less Thrip interrupted buds and more blooms daily. The blooms only last a day, so many opportunities to snap stems at the nodes.

Two blooms!!