Missy went in for her spay, and rather than a cone of shame or donut of doom, I made her a surgery wrap from knit fabric. The wrap keeps her from licking the incision site, and a little shaping keeps it clean and dry when she has to do her outside business.
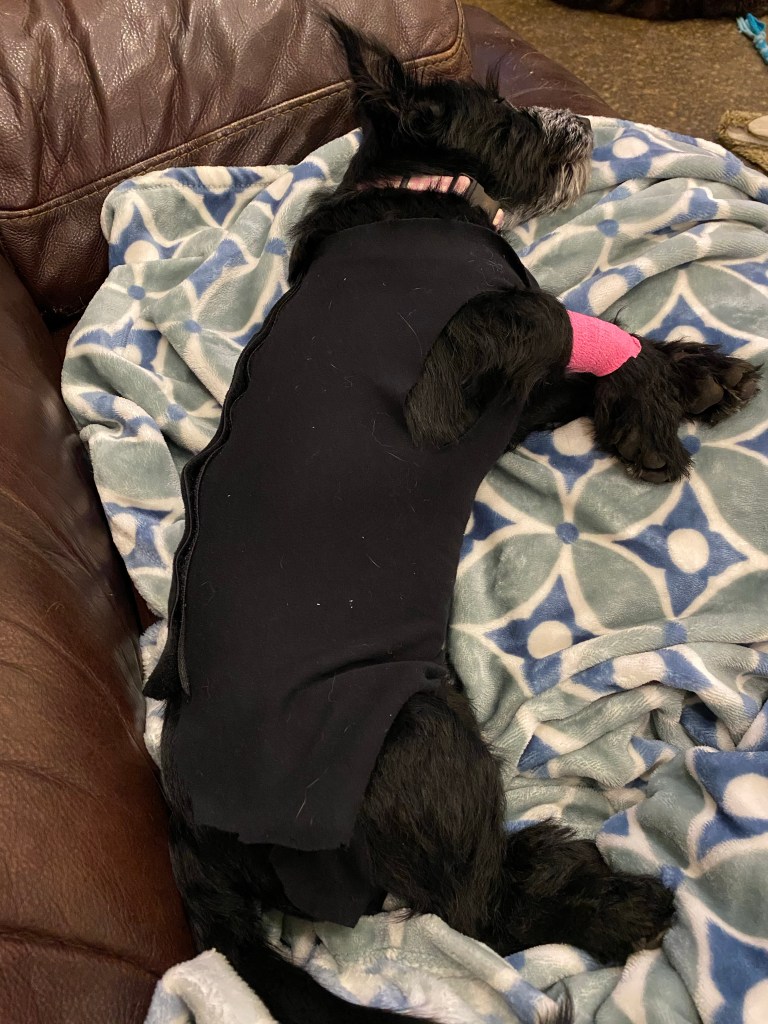
To make the wrap, I measured her back from neck to tail (16”) and around her chest (18”). I cut a rectangle from knit fabric that was 16” x 19” (the extra inch around makes it easier to pin). I measured between her front legs, across her chest (4”), and made 4 slits 4” apart at the top and bottom of the wrap for her legs. I cut a curve out between the back legs so the wrap wouldn’t get wet or dirty when she eliminated.

I tried a version with velcro, but it didn’t fit as well as when I just used three safety pins to pin along the back (and velcro is loud!) I put her legs in the four holes, pulled the fabric snug but not tight, and the pinned the fabrics at the back of the neck, mid back, and near the tail.
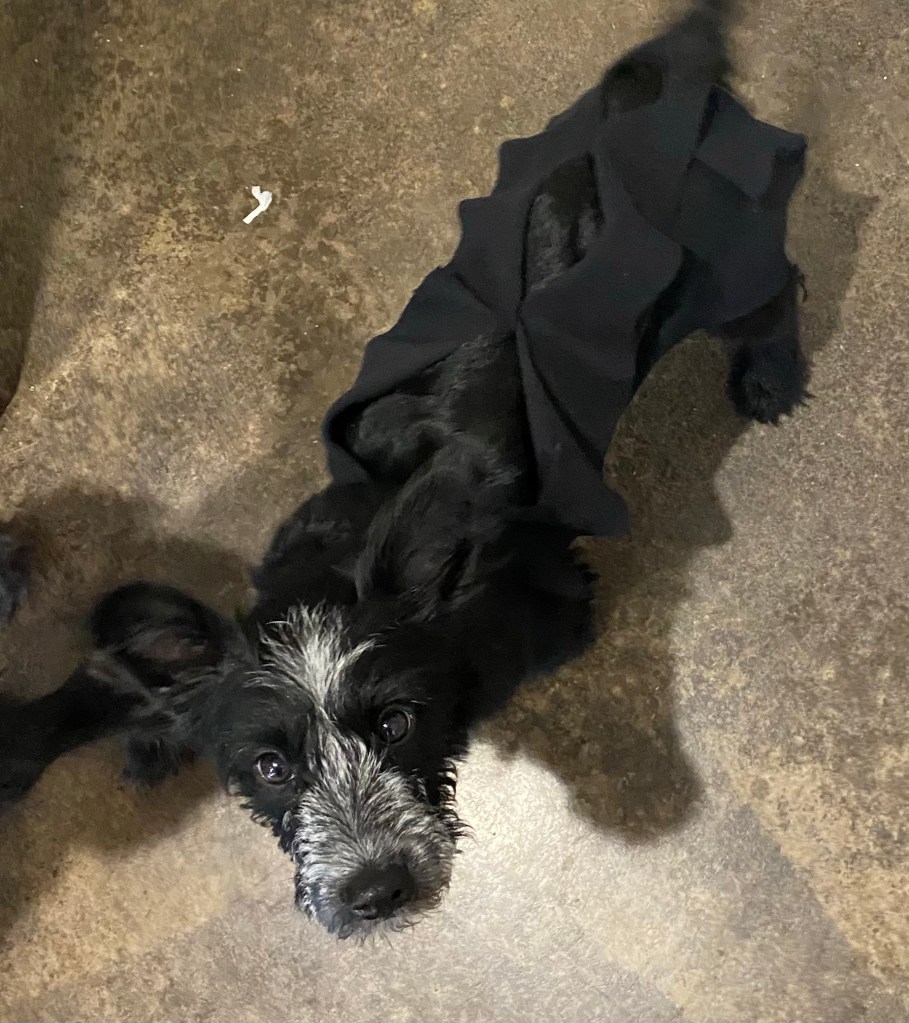
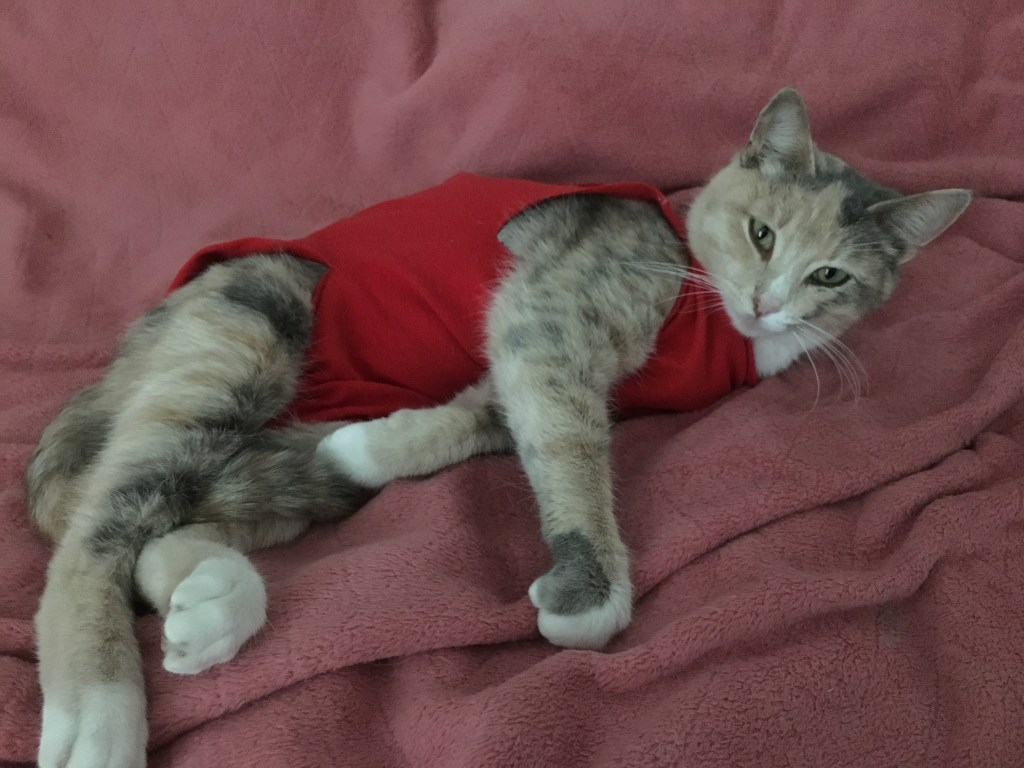
Missy is surprisingly OK about wearing her little vest! Is it as fancy as the surgery wraps you can buy? No, but I’ve made them out of old t-shirt material, so they can be free to make. For something that you only need for 10-14 days, free is good. They work for cats too! At least female ones. When Sophie had her spay, we used a similar surgery wrap.