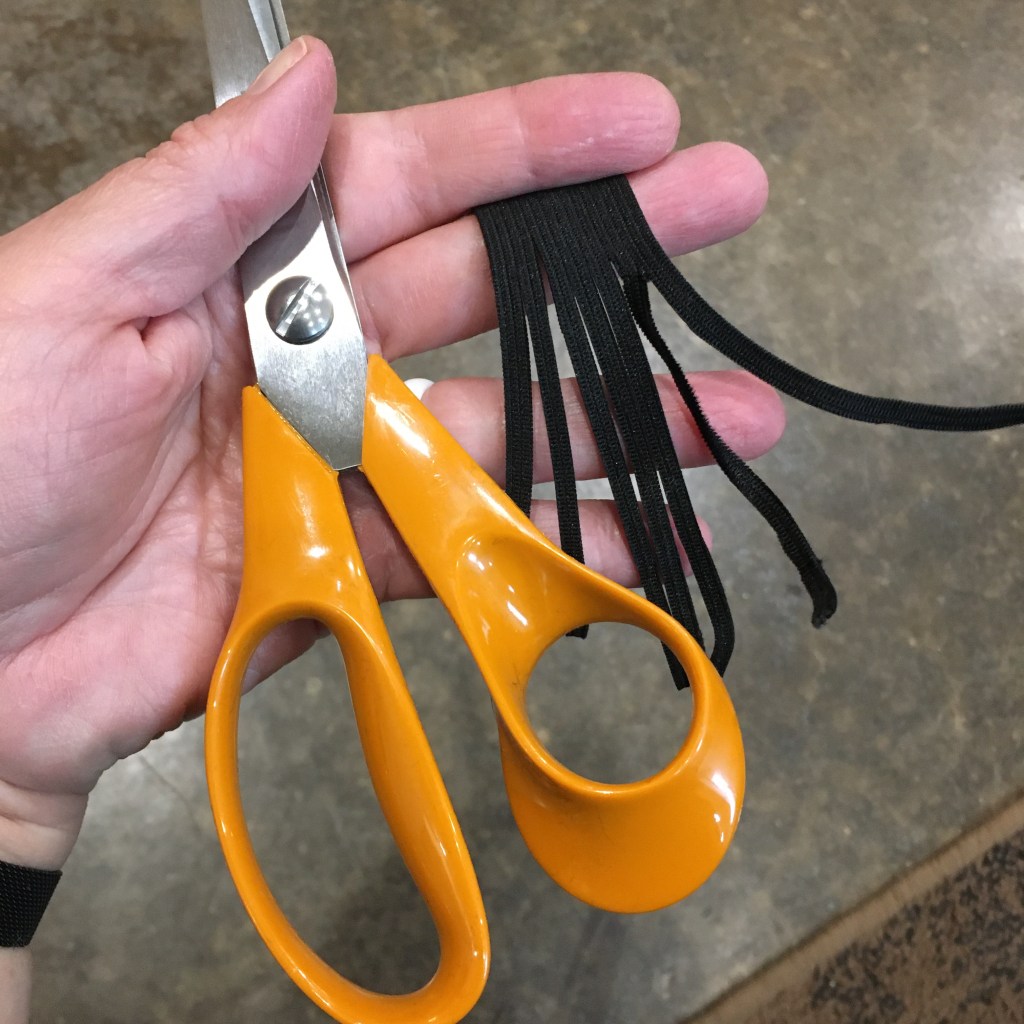
Elastic for masks is hard to come by. I’d like to use up my cotton fabric stash making masks for our local children’s hospital, but I have no 1/8” elastic. None. Nada. But I do have 1” elastic, and JoAnn’s fabric website has a useful video on how to cut wider elastic into smaller strips. So I tried it. THEY DON’T UNRAVEL. What?!? How? Well, the how will have to wait until later, I have elastic straps to make. I do seal the short ends of the elastic by melting with a flame (just a little, just to melt the fibers, not to burn). Then I use sharp scissors to cut down the channel between the elastic ridges. I do not need to seal the long edges of the elastic. As long as I cut in the valleys and don’t accidentally cut across a ridge, the new smaller strip does not unravel. I pulled on it, hard, ran it back and forth between my fingers, and all the fibers stayed in place. Wow. Neat. Ok. Onto production!
Here we go, supporting the home front by producing cloth masks at home. There are SO MANY patterns and advice and tips. I admit, I had some craft paralysis. That is where there are too many options and too many choices and it is all too much, so you just… don’t.
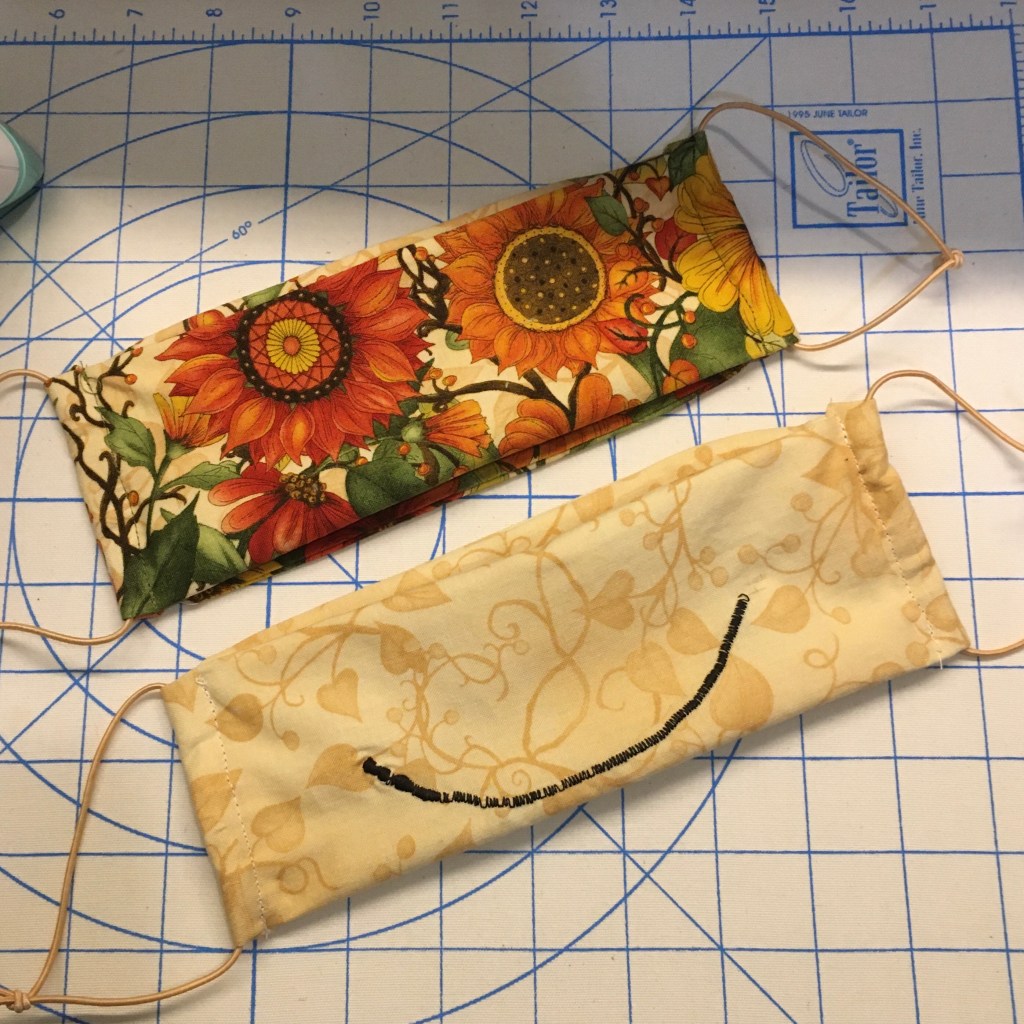
But I will eventually need to go to the grocery store, so I used the first pattern I printed (probably about two weeks ago, yeah). Then a day or so later I tried one of the accordion type masks. I think the pocket for a filter is important, and wire for the nose (because honestly my glasses fog up without it), so I incorporated those. I tried knit material straps and bias tape straps, and wasn’t impressed with either, but the knit were more comfortable (for a given level of comfort).
Making masks, first two
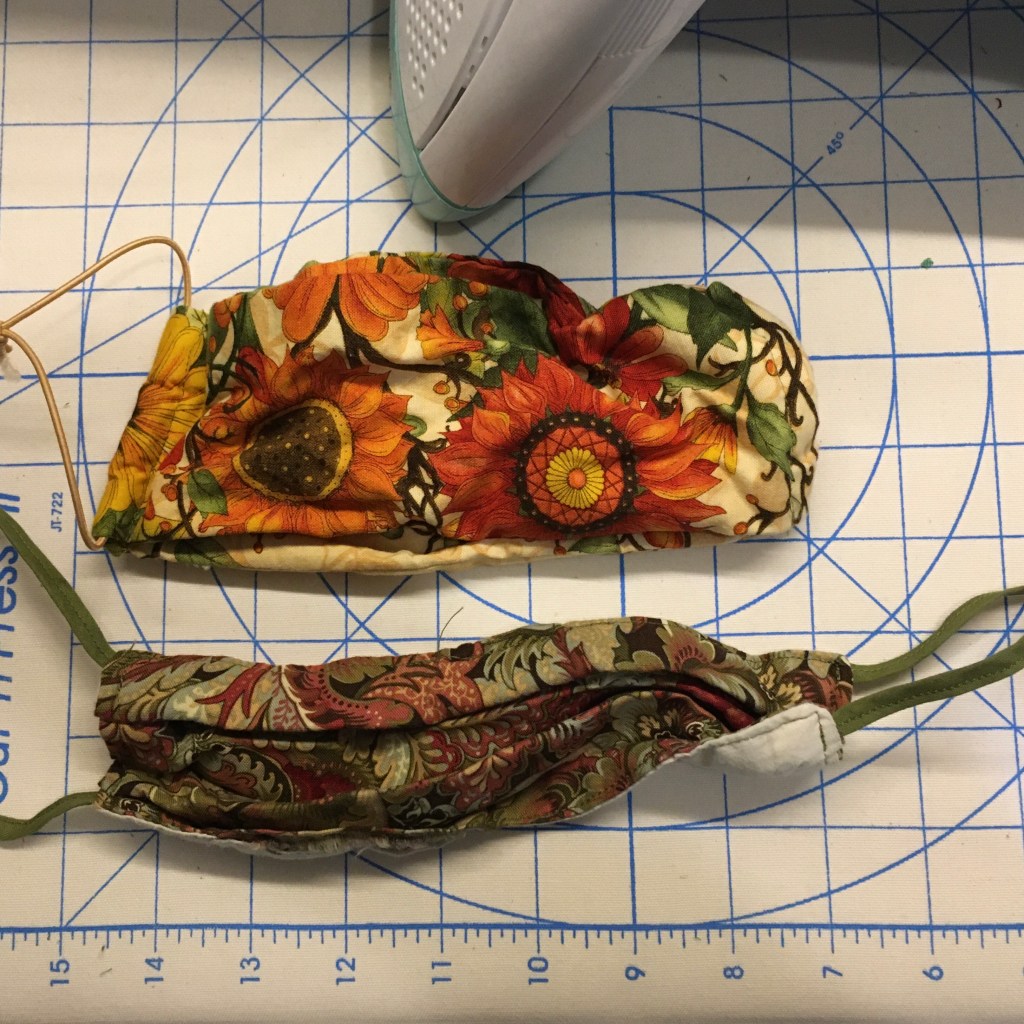
Then our local children’s hospital came to my rescue and published the pattern that they are asking people to make and donate. It has a filter pocket, nose wire, and a strap pocket so the elastic can be changed out. The construction is smart: easy to sew once you get the hang of it, and the masks lay nice and flat for storage, but form to the face when worn.
Trial runs of a hospital approved pattern
I made one with a smile, because the biggest problem I have with the masks is that you can’t see people’s facial expressions. It seems like everyone is mad all the time. My youngest likes the smile, my oldest thinks that it is creepy. Hmm, I tend to agree with my eldest.
I used some unused ballet shoe elastic I found in my stash for these tests, and the ear loops were more comfortable than I anticipated. I did try to make a button ear saver (a strip of fabric with buttons on each side), but it was more uncomfortable for me. By the way, HUGE shout out to all the people with 3D printers that are making the plastic ear savers and donating them. That is awesome. Love it! I love the creativity in all the different designs as well.
Masks after a wash before steaming
The hospital provided pattern also survives the wash better and is easier to steam flat than the accordion style. My family bought me the small ironing board and steamer a year ago, and it is very useful for these masks.
They aren’t lilies, but we have some beautiful white irises blooming this weekend! My Dad gave me these two years ago and I planted them right away. This is the first year they’ve bloomed, which he says is typical for irises. They are pretty! And there is a promise of more!
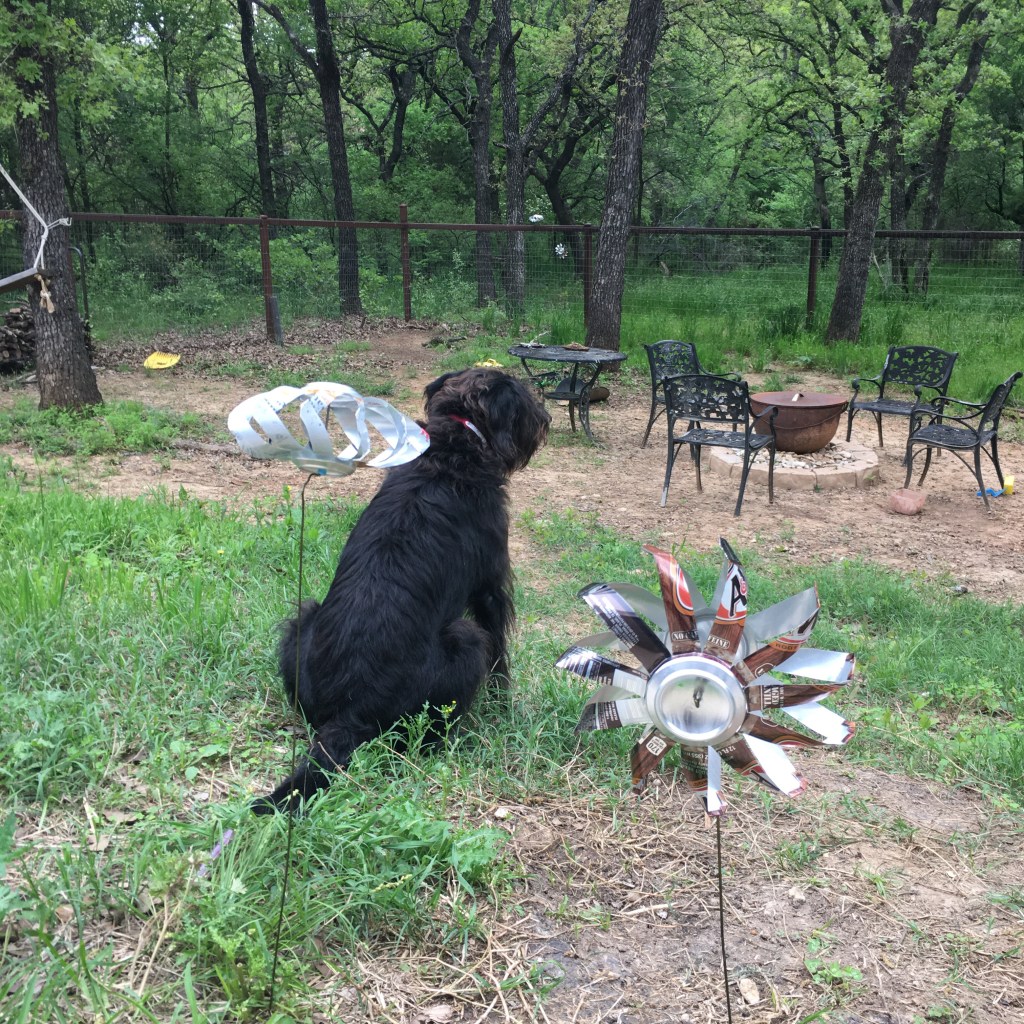
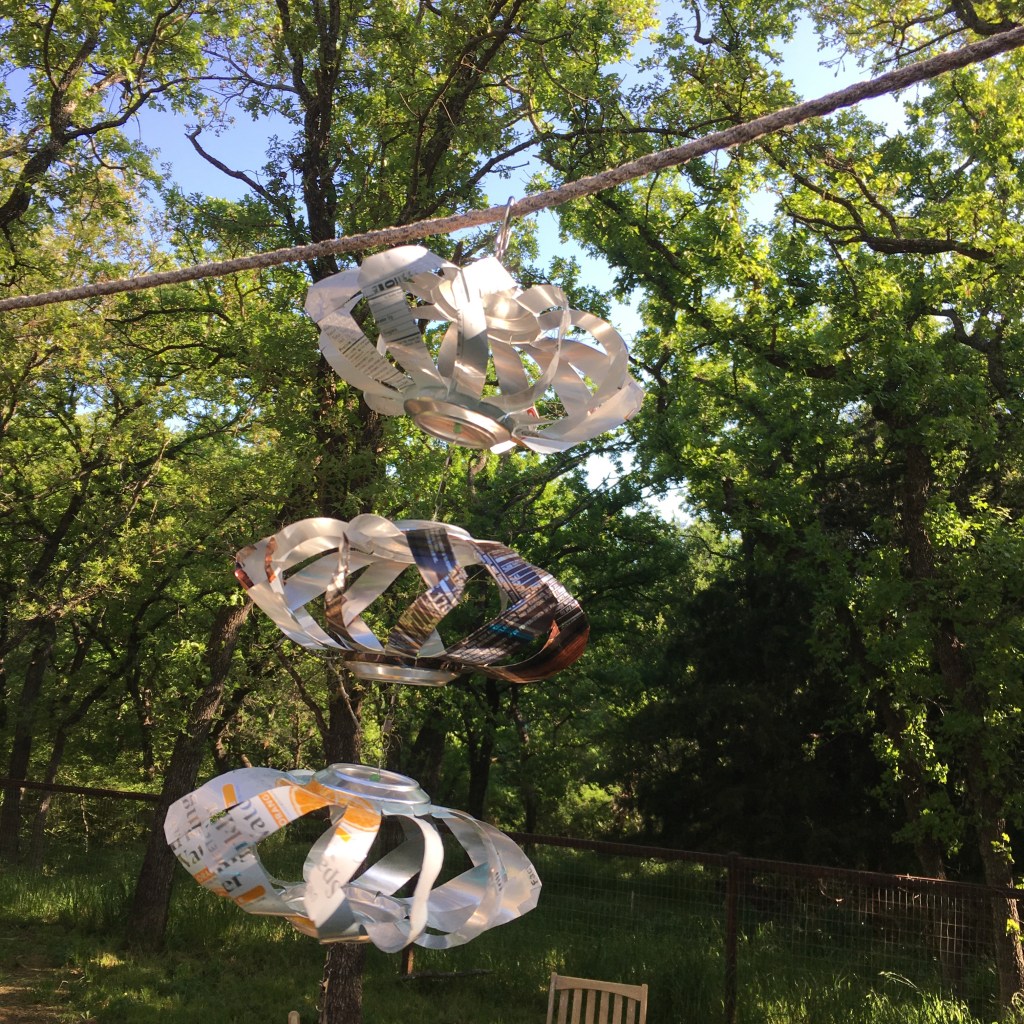
I found a tutorial for making wind spinners from two cans and I may have a problem. These are easy to make, I can make them while still being present for my kids and watching after them as they do their homework, each one doesn’t take much time, and I really like watching them spin. I’m currently experimenting with the best way to get them to spin easily. I have some set up as traditional pin wheels, and some set up on vertical spikes. I’ve been using old wire hangers as supports (seriously, I think these propagate in the dark, I always seem to have some even though I haven’t had dry cleaning done in months).
Aluminum can prep
I found that marking 3/4” around my cans gives me 11 even spokes. It is easiest for me to remove the top of the can with a craft knife, then cut the spokes with kitchen shears. My fingers work fine to bend the spokes out at the base.
Two cans ready to connect
Bent nose pliers make folding up the ends of the spokes easier, and to start, I just bend up about 1/4” to 90 degrees. Then when putting two spokes from different cans together, I finish crimping down the fold, and add a corner fold to secure the connection.
Connected spokesMy dog photobombing the spinner experiment
So the best way is stringing vertically and hanging, by far. The hanger wire mounts seem to have too much friction. I hung three with beading wire (nylon coated steel cable), with glass beads and separated with fishing swivels. Even the slightest breeze gets these spinning!!